
|
 |
||||
Tonight was the big night...did all the work I did yesterday on the cowl rings pay off or was I in a worse postion? When I picked the cowl up I notices that the epoxy resin oozed onto the wax paper I laid down under the rings. Man, I am really glad I put down wax paper. Having wood stuck to the front of the cowl would of been just aweful. 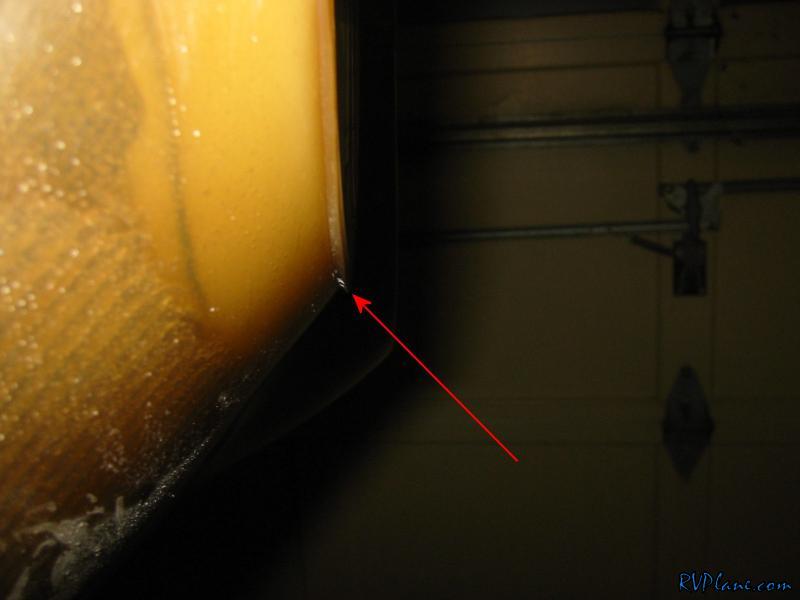 It took a little bit to crack the cowl. Not too much work, but some selective use of a razor blade. After about 30 minutes of struggling, the two halves popped apart. I spent the next 1/2 hour or so digging out all of the clay I had in there and cleaning everything up as much as I could. 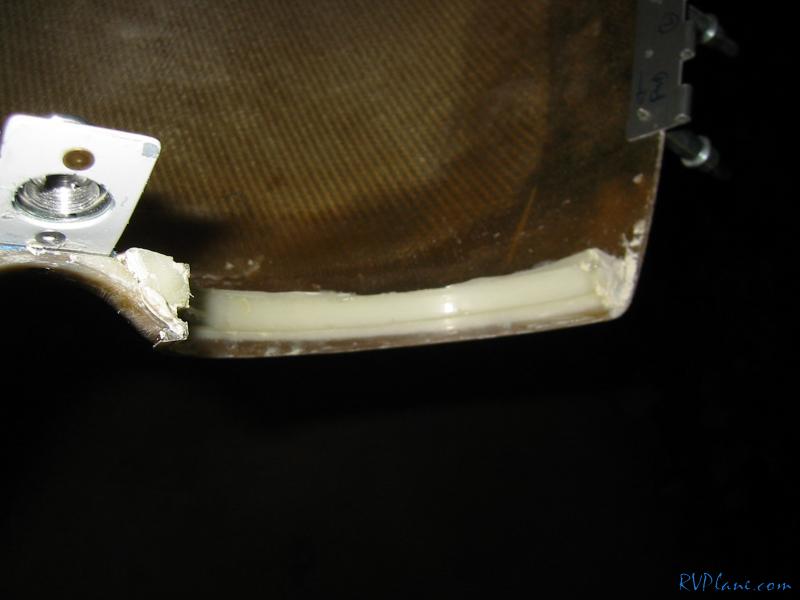 Next I reassembled the two halves. 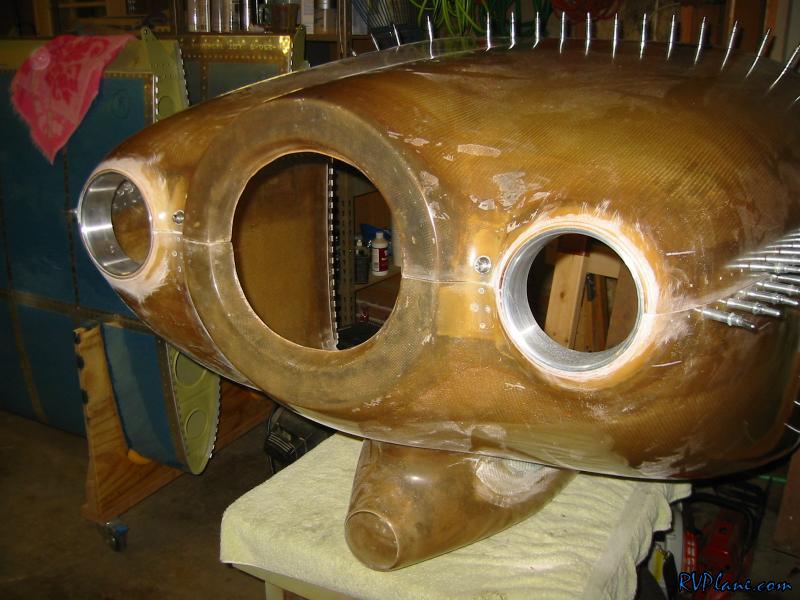 The left side was solid, but the right side had some slight gapping going on. Both sides of the inlet ring has a small gap. I fixed this a little by taking a dremel to the flox mold to knock it down a few mills, but I didn't want to get too aggressive because then my inlet mounting would look funky. I got it a little better -- good enough for the hinge pins to go in on either side. I will fill in the other gap later on. 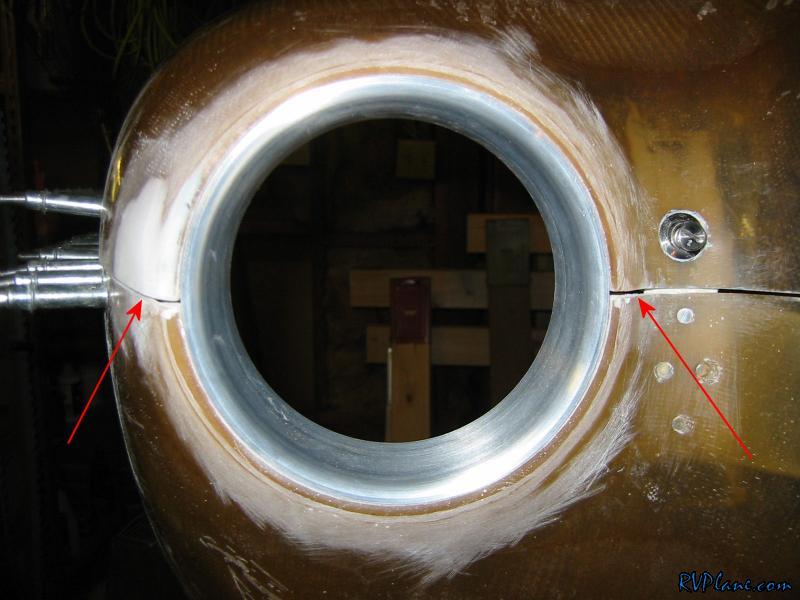 I have been playing with making the hinge pins be inserted from the cabin to keep the cowl clean. However, its been a royal pain to climb in there and install them for all this fitting. Today I broke down and made a small #30 hole in the cowl so I can insert the side pins from outside. I still don't know what direction I am going to take on these side pins. Inside is turning out to be a major pain in the ass. I am working on a creative way to hide these outside pins because I think its an easier way to install and remove them. 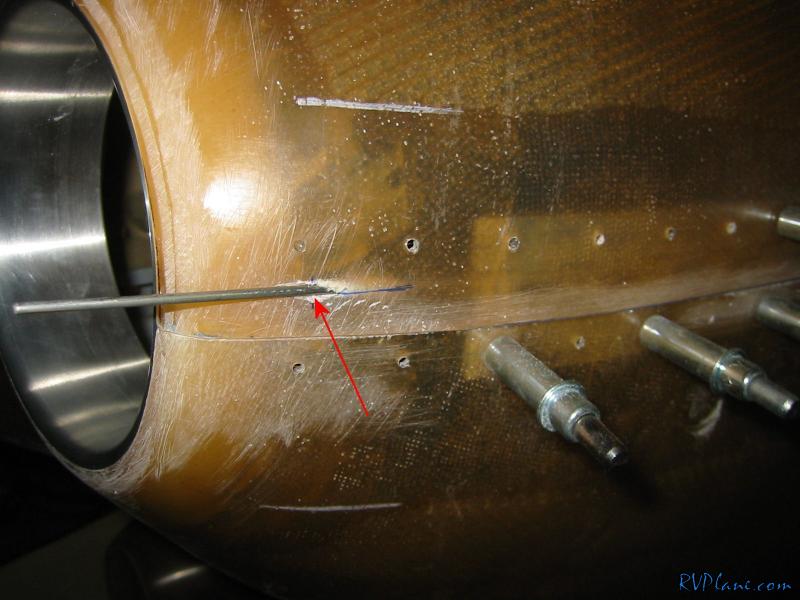 And here the cowl is back on the fuselage. The pins went in fairly easily. I am really thinking the cowl is close to being completed. 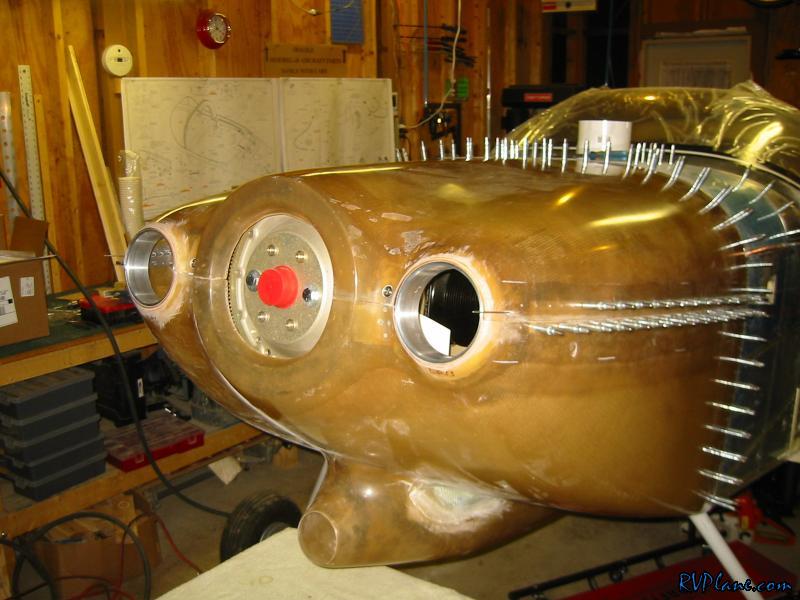
|
|||||
|
http://RVplane.com |
Last Modified: June 22, 2025 |