
|
 |
||||
I figured tonight was a good night to glass the intake rings into the cowl. These don't get perminantly mounted. They are removable, but you need to buildup glass around them that fills into the groove on them. You keep the epoxy from sticking to them by waxing them. Here I taped off the front from epoxy contamination with some packing tape. 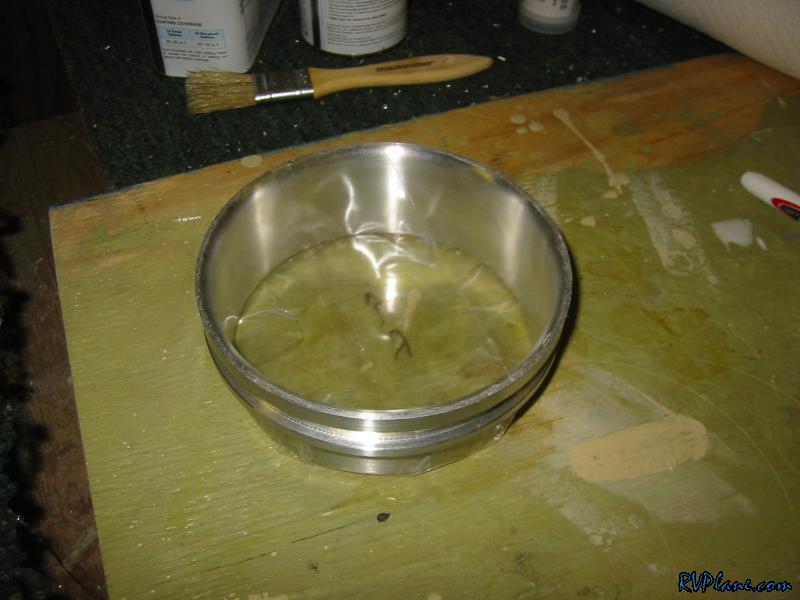 And the same deal with the rear. 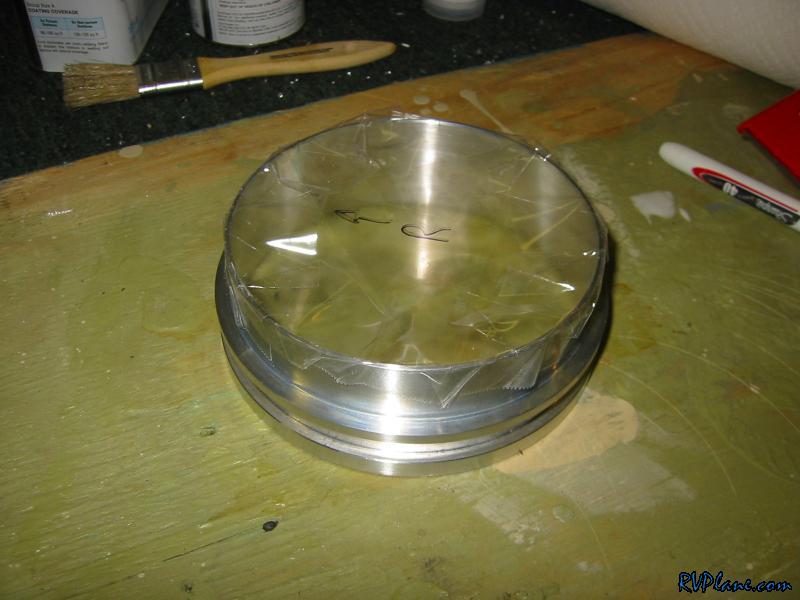 The Sam James instructions had a great pointer to put some clay between the cowl halves so they didn't get glued together. 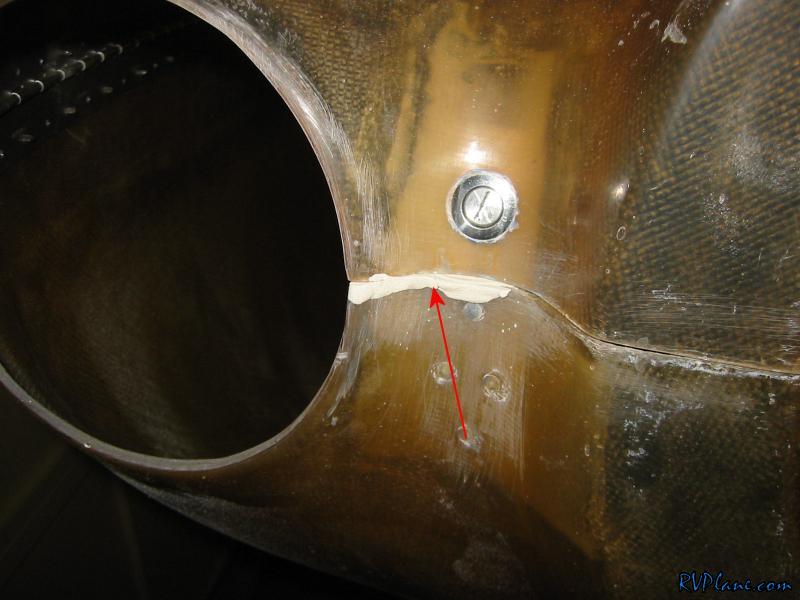 Also to keep the cowl halves from being glued together I made some dams out of clay. 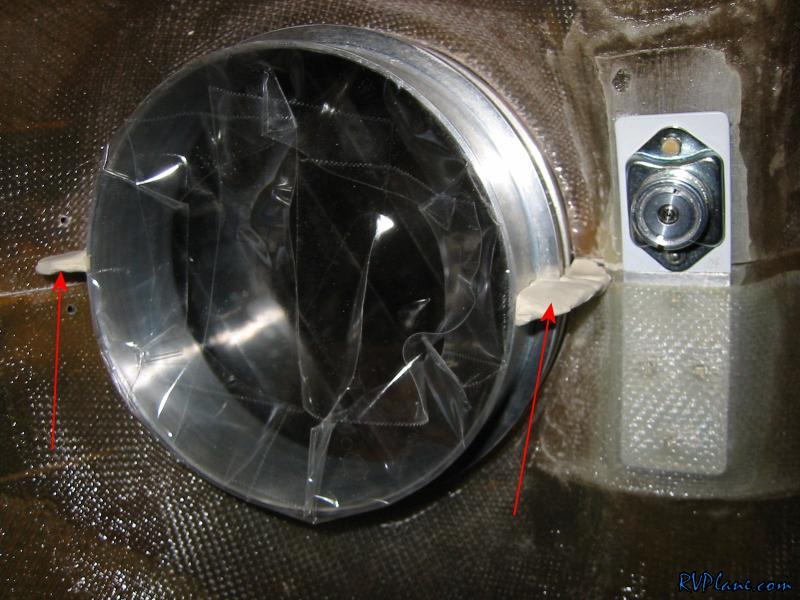 Here is another look at the clay dams I made. The outside is contoured to the cowl. Also notice in the pic the exposed metal of the intake is nice and waxed up. I hope this keeps the epoxy from sticking. 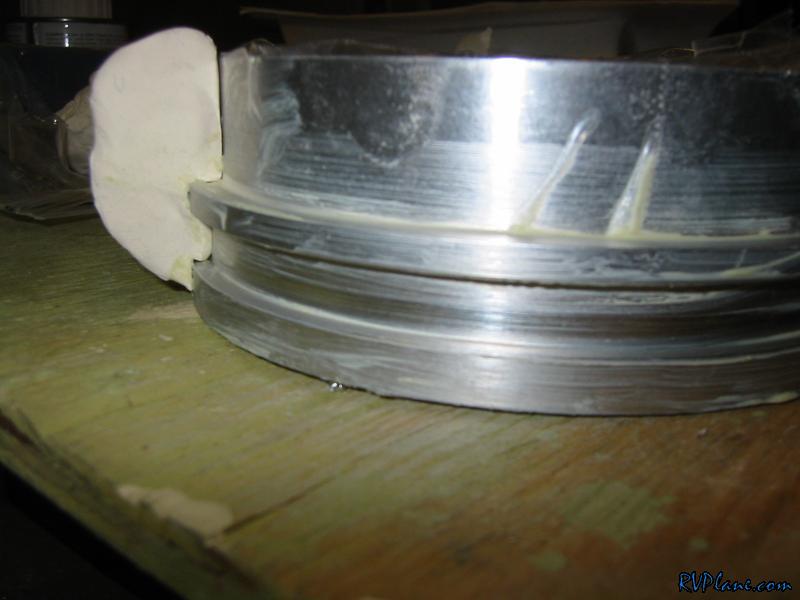 Since I wanted gravity on my side, I mounted the cowl with the front towards the floor. This was a somewhat complicated mounting method to make sure I had the cowl intake flush with the front of the cowl.  I put some wax paper on some 1/4" board and shimmed the board until it was even with the intake holes. 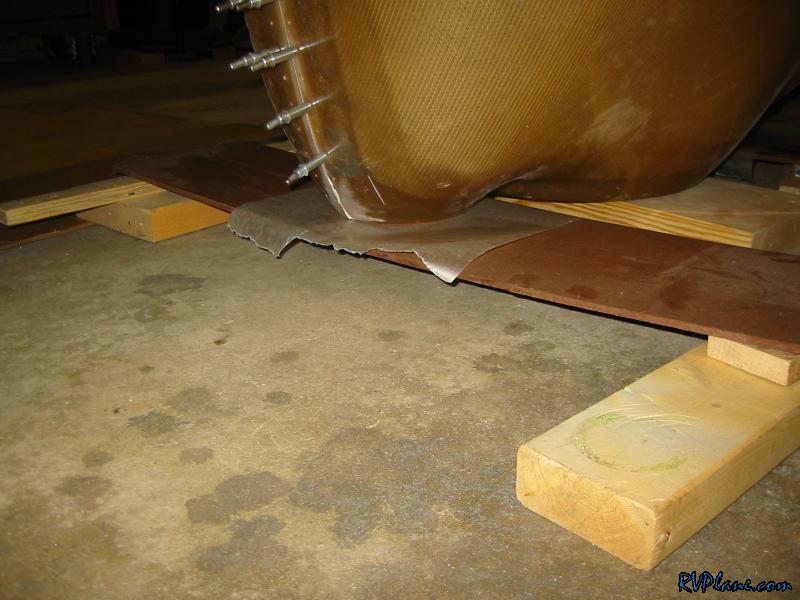 Here is a shot from the inside. That's wax paper you see in the intake hole. 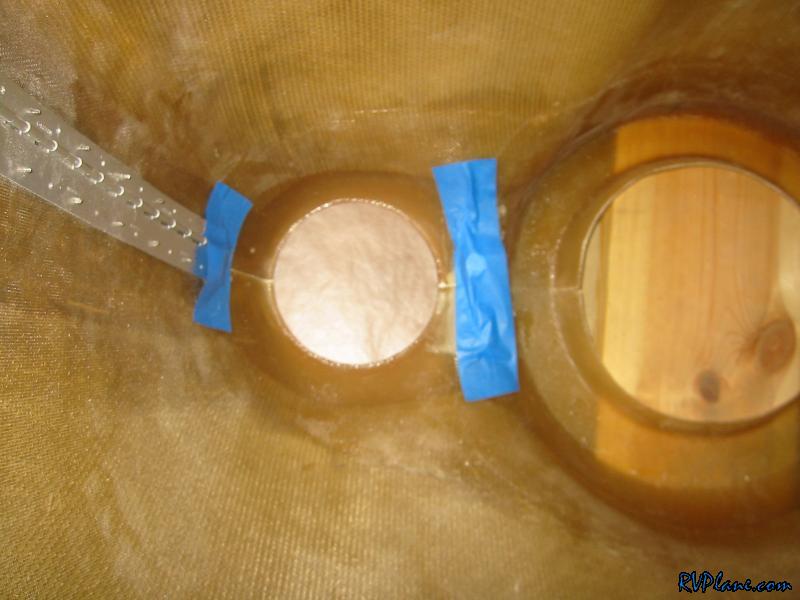 Next I popped in the rings and formed the dams on either side of the ring to the cowl. 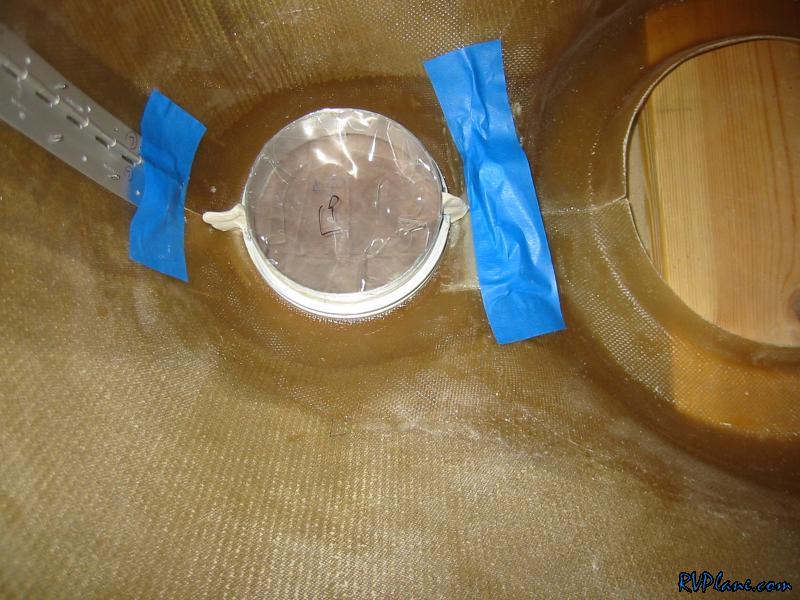 Here is the final result after a TON of flox mix was poured into the cowl. I probably went through 9 pumps of epoxy and a equal amount of heaping spoonfuls of flox to get this done. Its amazing I am running low on epoxy already! This is going to sit for the night and check it out tomorrow evening. I feel pretty good about how this turned out, but only time will tell. 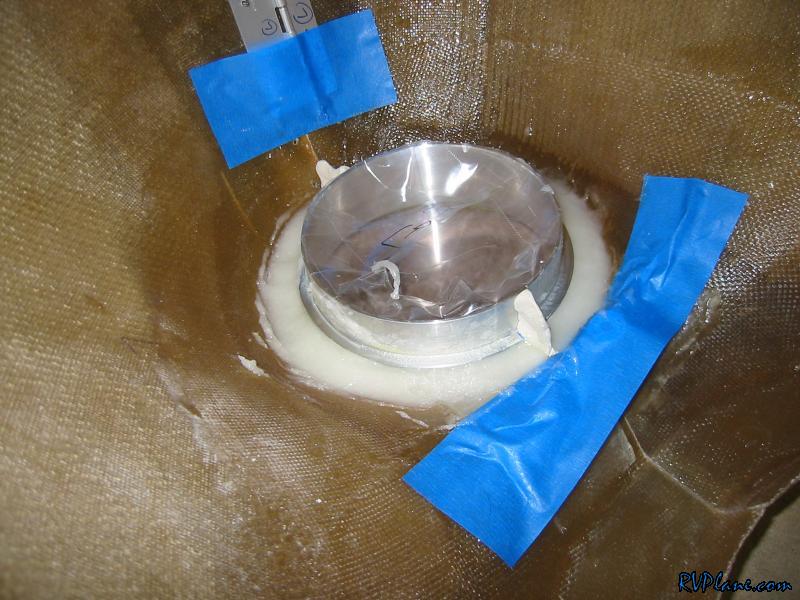
|
|||||
|
http://RVplane.com |
Last Modified: June 22, 2025 |