
|
 |
||||
When I got home there was a box from UPS with my Lord engine mounts. I decided not to go with Van's standard mounts because I have heard they are pretty much the cheapest things out there. On the other side of the engine mount spectrum are the Lord mounts. I have heard how they have superior vibration absorption characteristics. The model number appropriate for the RV Dynafocal 1 mount is J-9613-40 or J-9613-49 from the R&D I did on them. These are the J-9613-40's I picked up from AircraftSupply.com for $96 each (cheapest price for them). To compare price, Van's mounts are $60 each, so this set me back an extra $144....chump change when you consider the project cost 70k 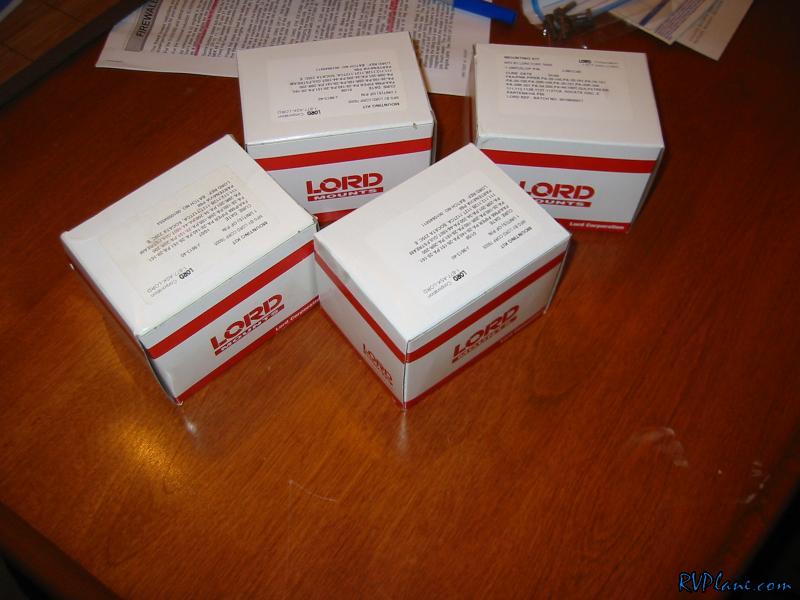 I was a little concerned over what I was really getting in the box from Lord. On the Van's drawings, there is an extra washer (VIP50074-11 or J-221861) that I couldn't find a reference to anywhere. Luckily they were in the box. Here are a couple of shots of what comes in the box...I haven't seen anyone else post them. 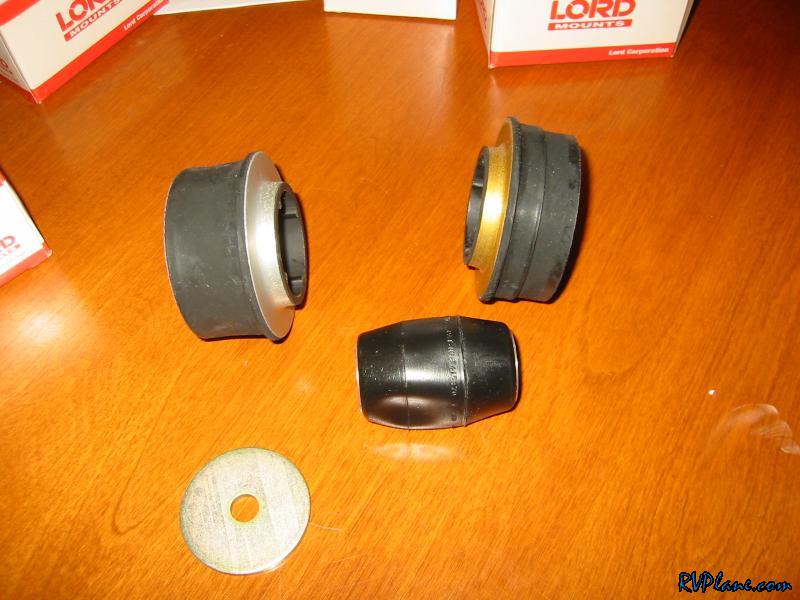 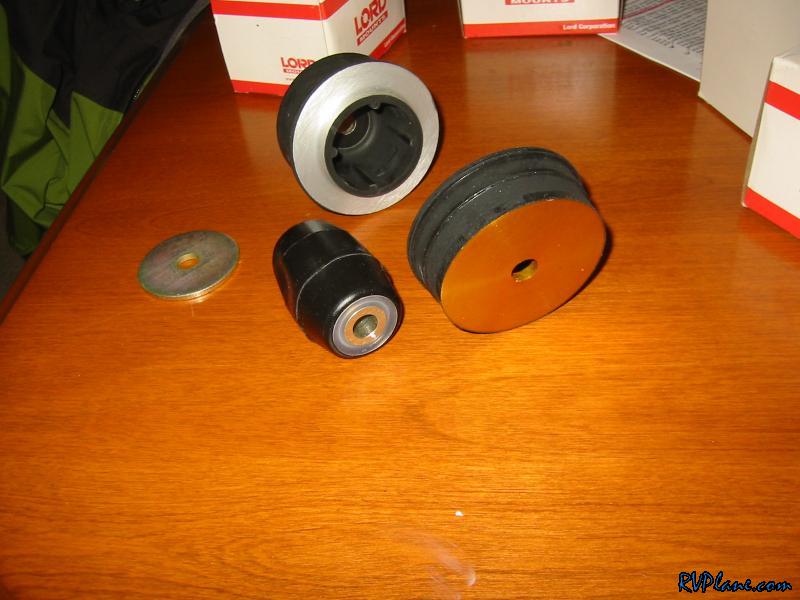  Besides engine work tonight, I did install the break pedals. I was talking to Brett at Bonaco today to sort out what length lines I will need. I needed to put the pedals in to get the proper lengths measured out. I gotta say I am pretty impressed with the quality of service from Bonaco. Brett was totally on top of whats going on in the RV-7 and was a pleasure to work with. Hopefully I will finalize everything tomorrow anf get these puppies on their way. 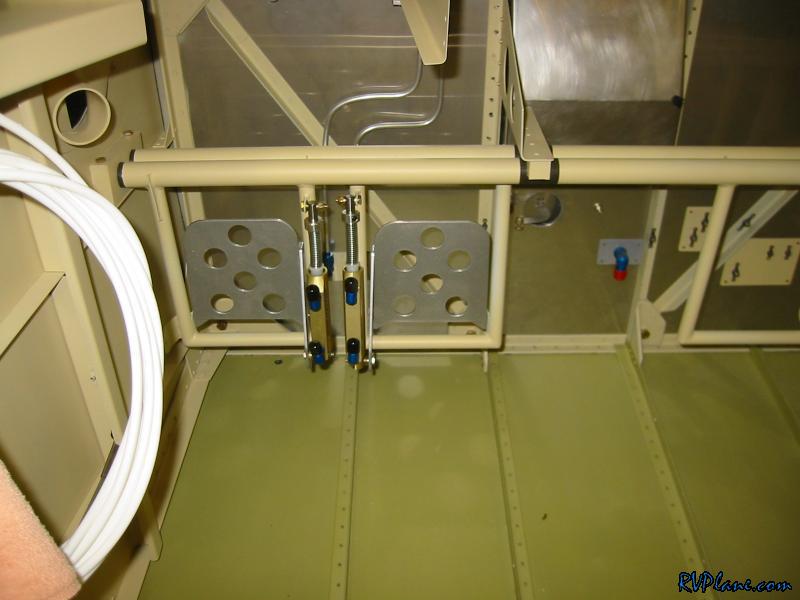 Onto the meat and potatoes of tonights work. I wanted to get the prop governor taken care of. From Superior, the engine comes with a cover on the prop governor pad held on with what appeared to be hardware quality bolts. I took it off to expose this gasket. Now, this gasket will get replaced with the gasket that I got in my PCU5000X governor box (it has a screen in it).  I scratched my head for a while because there were freakin' bolts in here. Everything I read said there should be threaded studs. I went through the box that came with the engine and ran across the 4 studs, nuts, washers, etc.. that are to be used for this. Here is one of the studs. I found that the stud would easily thread in one way, but when I tried the other end, it didn't go in smoothly at all. I tried all 4 of them in all 4 holes and the same thing. OK, can't be bad parts, so I did a little R&D and ran across thsi gem of information Mahlon from Mattituck engines posted on the VAF forums: That is the way things should be. The fit of the stud threads is what prevents them from backing out once installed. Screw two nuts on to the end that they screw onto easily and tighten the nuts against each other effectively making a bolt. Lubricate the threads on the other end of the stud and screw the bolt into the gov. pad to a height appropriate to you governor. Loosed the two nuts that you tightened against each other and remove them. Proceed to the next stud and repeat the procedure. The driving force of screwing the stud into the pad takes some torque and doesn't screw in real easy. This is normal and the fact that the nuts won't screw easily onto that end of the stud is normal. 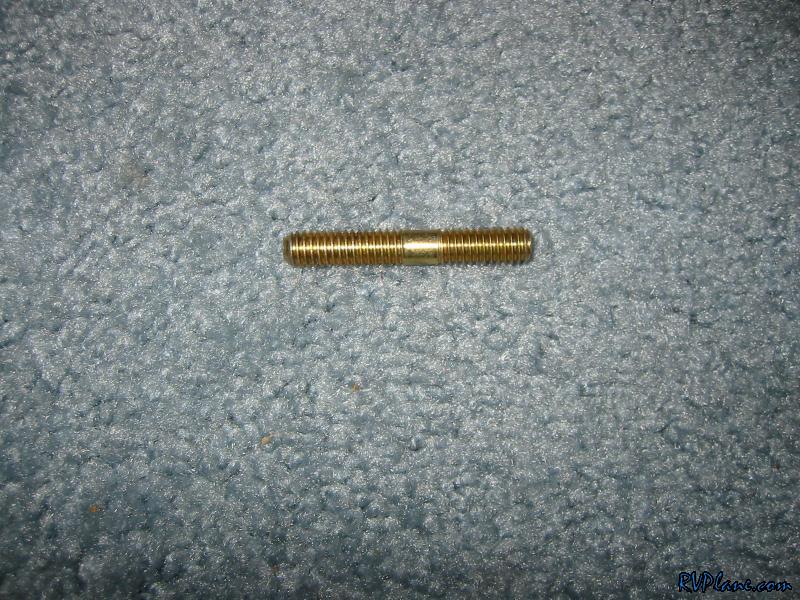 Knowing that, I put on two nuts and tightened them against each other on the "easy to thread" side of the stud. 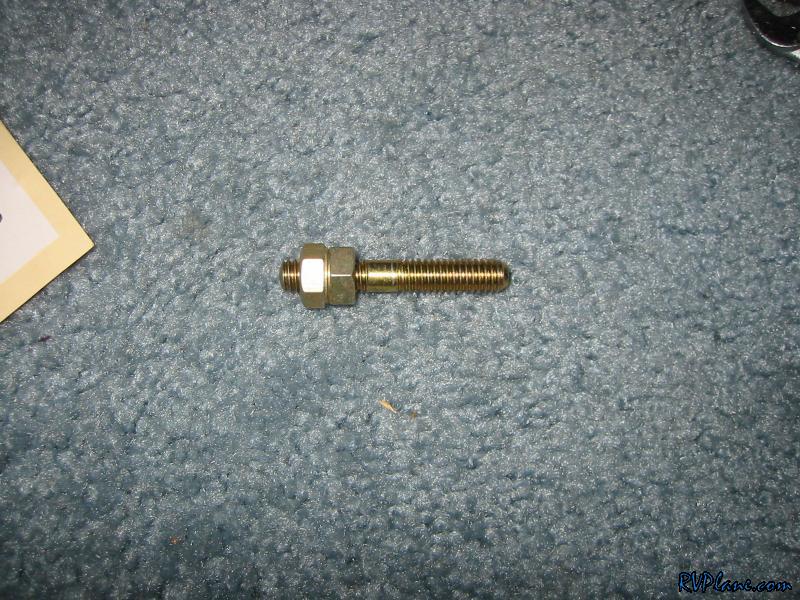 I greased up the stud with AeroShell 5 and set it.  Because the two studs on the left side have to hold on the prop governor bracket, they needed to stick out 1 3/8". I used my digital caliper to measure. The other two needed to stick out 1 3/10". I had no issue setting the four studs. 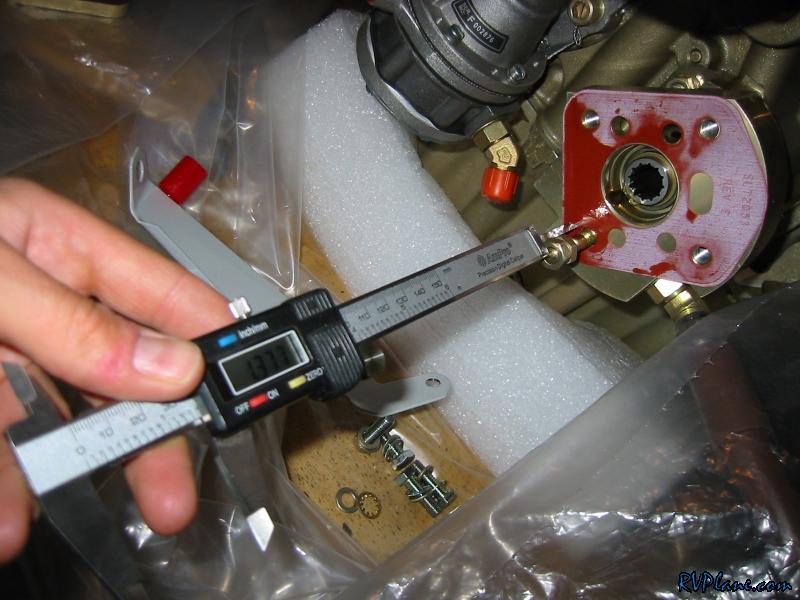 Here is the PCU5000X propeller governor. You can see on the top how the aft surface isn't parallel to the mounting surface -- it arcs up slightly. 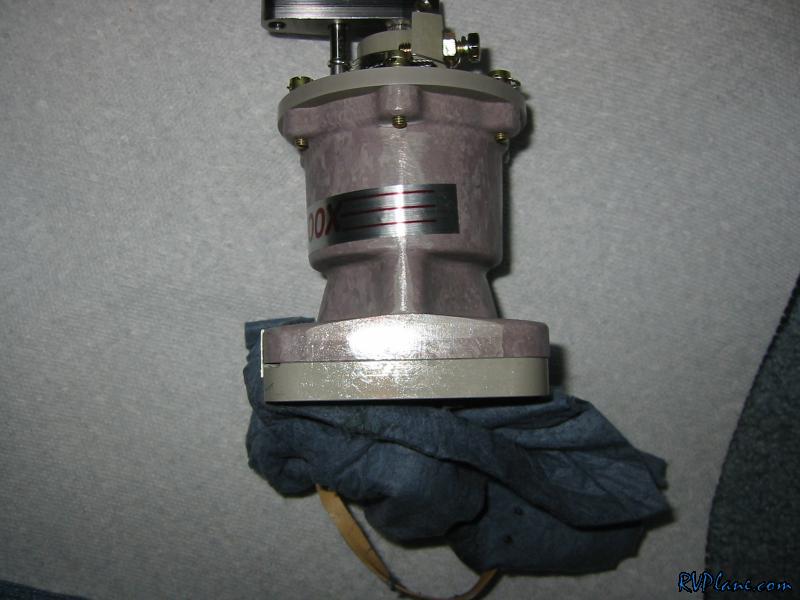 This was a problem because the prop governor bracket(VA-183) is straight. It needed to be bent slightly to it would lay flush (this pic shows it not laying flat, obviously). 11/2/2020 Update - Van's does not make the VA-183 bracket anymore, as there was reported cracking in one of the bends. They replaced this bracket with the VA-153, which attaches to the screws on the back of the governor. If your governor does not have these screws, and you need the VA-183 style bracket, Whirlwind sells it as part number WWA-007, at around $35. Thanks Spencer Bell for this updated information!! 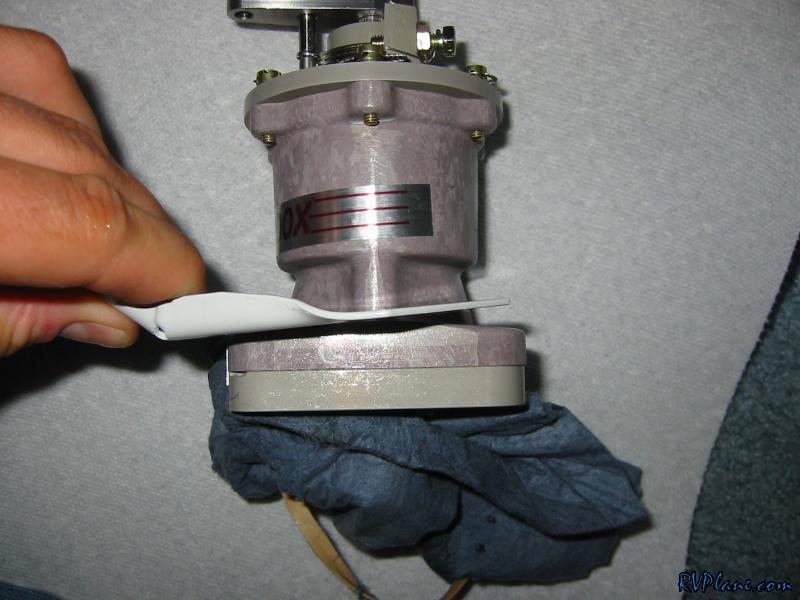 OK, everything is bolted on temporarily. Looks good right? 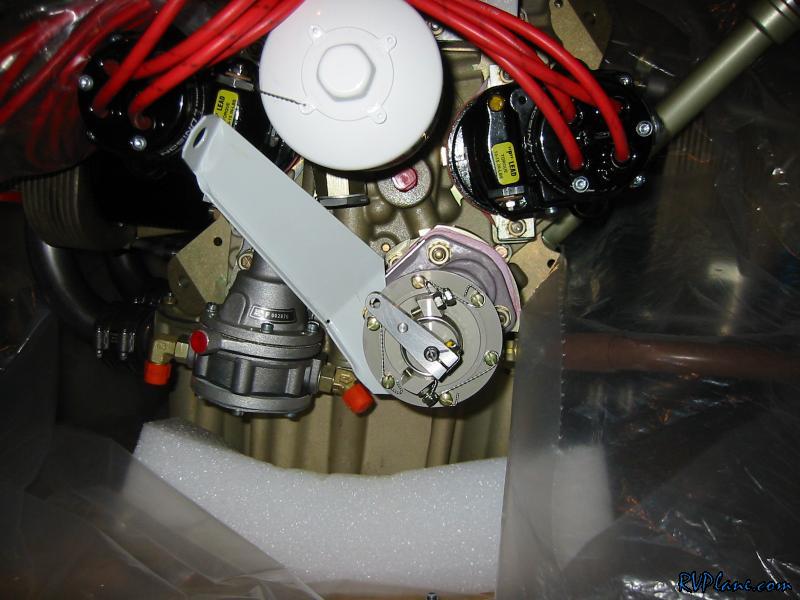 Next I got out the governor cable (blue knob) and test fit it. Uh oh...no way it is going to connect into the control arm on the governor. 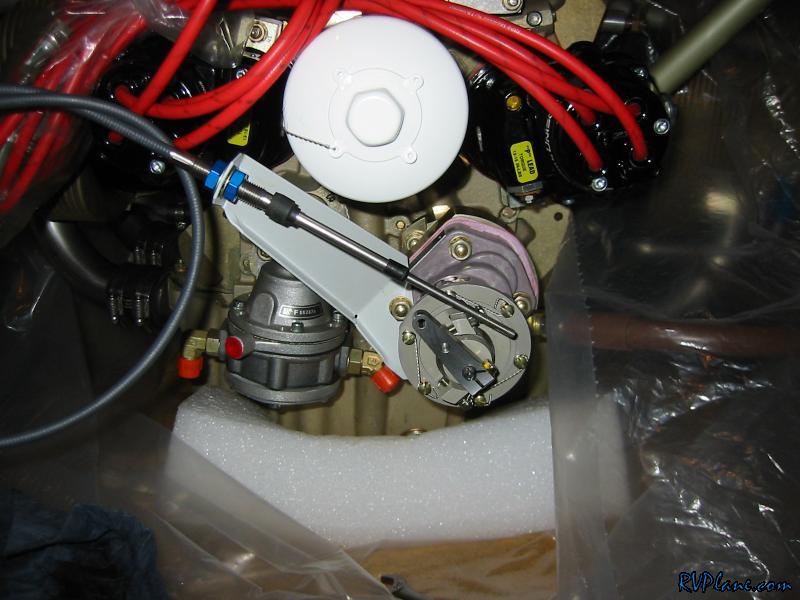 This is even worse... 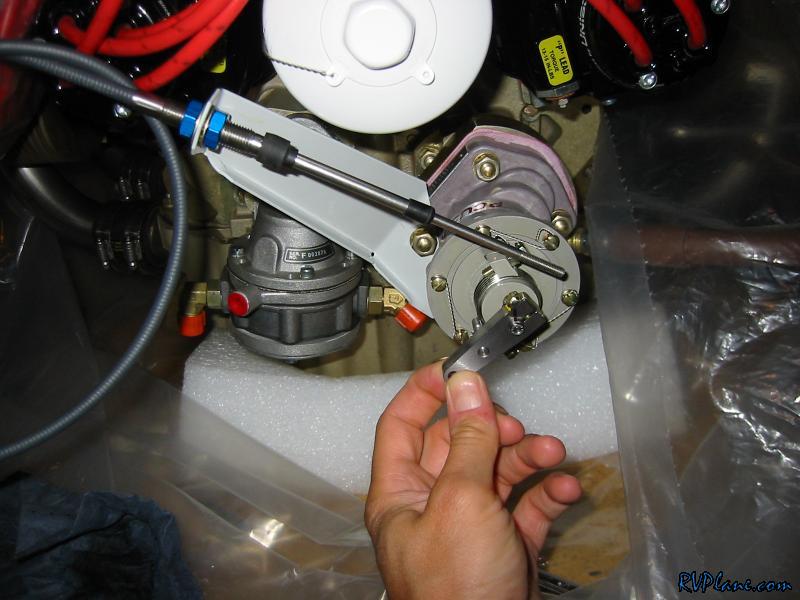 Luckily this is easily fixed...first I cut off the 3 pieces of safety wire holding on the 6 screws.  I unscrewed all 6 screws (not completely out, but very loose) and the center section could rotate. I readjusted it to the perfect point, where both stops are hit when I actuated the control. 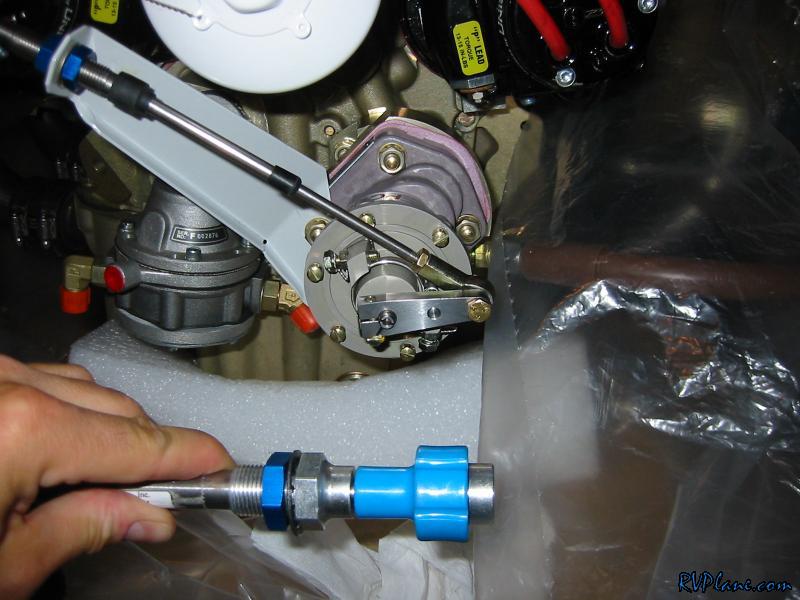 Here is the control all the way out.  Next I safety wired this mess back together after torquing the screws down. My safety wire job wasn't the most beautiful, but it is functional. The safety wire that came with it was much smaller diameter than the stuff I had, so that is the excuse I am using. 
|
|||||
|
http://RVplane.com |
Last Modified: January 31, 2026 |