
|
 |
||||
I did some research this morning on how to fix my extra dimple. I found some people who had solutions for the extra dimple problem on rivetbangers.com's forum:
Also, Dan Checkoway had some good advice:
I did just that - I used the flush rivet set and squeezed the dimple flat. I drilled out the hole to a #30 (that was the side I needed to encompass the new hole as well as the crack), then I deburred the hole, then dimpled the right hole. It turned out looking pretty nice. Next thing I read was that you are supposed to bevel the edges of the counterbalance skin to smooth the transition of the outer skin over the inner skin where it passes over the spar and top rib. The instructions didn't say anything about this, but it did on the drawings. So, I got out the drill and took off the counterbalance rib once more. The hardest thing about filing the counterbalance skin was clamping it solidly. Some 2x4's and a piece of 3/4" plywood strip worked nicely for me. I filed this puppy down and then primed the new raw aluminum spots. When it came to riveting this guy back on, it was a real pain. I ended up squeezing it. My recommendation is get it right the first time. These small screwups only take 1 second to make, and my average fix time is 2 hours or so! The next thing I did was put a slight downward bend in the outer skin that met the counterbalance skin. I think this is called a lap joint where 2 or more skins meet. In Tom's class, he said to do this because the outer edge will want to bend upward, hence leaving a gap. The rollers didn't work here, but the Avery hand seemers did the trick. Next was time to rivet on the skin to the spar. I did the left side first and shot/bucked all of these rivets. The hardest one was the very top on because the skin wanted to rise from the spar because the counterbalance skin was right there. On the right side, I squeezer it and that allowed me to control how much to push downward on the skin. I was about to shoot this one just fine, but squeezing this is the way to go. One thing that was bothering me is the trailing edge. I knew it needed to be pro-sealed. I looked at the tank sealant section of the manual and for surface prep is recommends using a scotch brite pad on the surface to allow for maximum adhesion. I didn't feel like scratching more than I needed to, so I put the wedge in place, drew a line to where it met the leading edge of the rudder skin. Next I put some masking tape along the line, and then went at it with the pad. Since this surface was dimpled, it ate the hell out of my scotchbrite pads. On my next RV, I will be sure and do this step before dimpling. Next I used the I used the squeezer much more for the right side until I couldn't reach the rivets anymore. This was smooth sailing. Next was the outer-skin to counterbalance skin to spar rivets. Two of the three you can reach with a squeezer. The innermost one you need to shoot and buck. I could not figure out how the hell to get this one. What I ended up doing is taking the smallest bucking bar and smoothing out one of the corners to fit. This worked most excellent. In hindsight (which is always 20/20), I would of not put the counterbalance weight in until I needed to put on the top rib. This is because without the counterbalance weight, I could of bucked this rivet without needing to modify a bucking bar, hence wasting time. ALSO, with the weight attached to the rib, and the rib attached to the spar with just 2 rivets, the hole setup is waaaayyy too flimsy. I see no reason at all why you can't wait to install this. The outcome was awesome once all those rivets were done. I am glad I put a slight bend in the rudder skin because there is no gap where it meets the counterbalance skin. Next was onto riveting on the top rib. I was able to squeeze all of the rivets except for the very last one. Next I did the bottom rib rivets. The horn brace rivets were a bit of a pain, but I was able to nail all of them with the longeron yoke. I switch to the no-hole yoke and keep on truckin. On the right side I was able to squeezer every rivet! I don't know how I got the last one, but it took some persuading. I wasn't so lucky on the left side, because of the interference with the rivet on the other side, I couldn't squeezer the last rivet. So, 3 blind rivets were needed. Not too shabby. One thing I noticed on someone elses website is how the rivet gun wants to jump into the skin after the rivet pops. This is because you need to put some force on the gun to keep the rivet as flush as possible. I put some masking tape around my rivets to protect the skin. I am glad I did because the gun slipped on 2/3 rivets. Finally, I ran to Home Depot to pick up some aluminum angle. $30 dollars later I had a nice straight piece. Last thing I did was cut it to 54". The lovenote from Van's telling you to bevel the counterbalance skin. 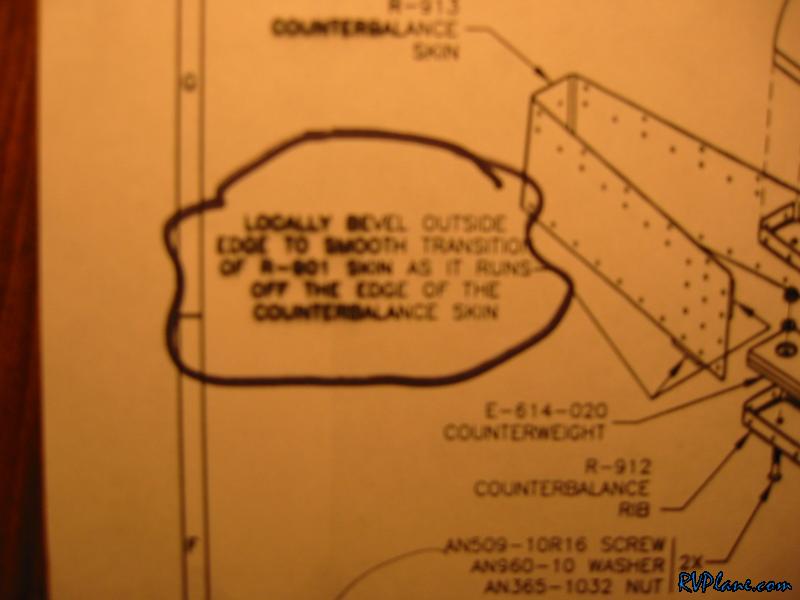 My setup for getting the skin clamped down.  Beveling 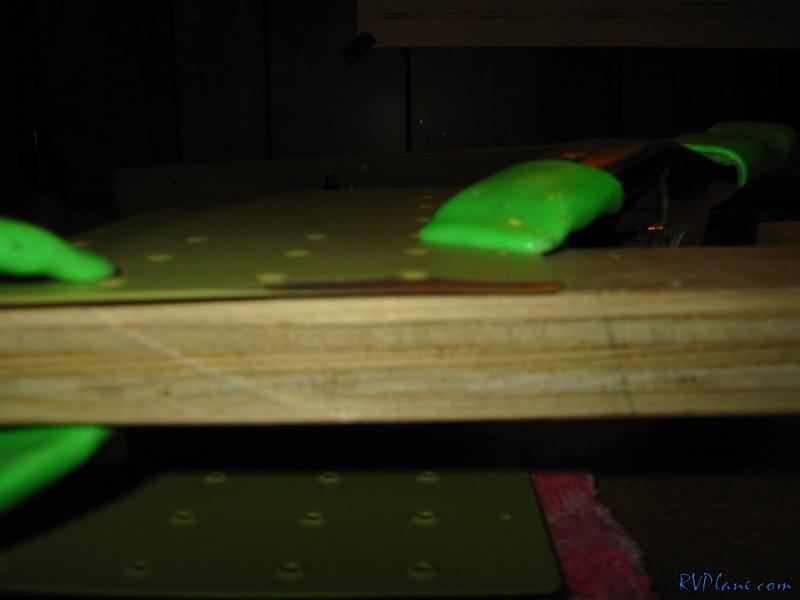 The finished product. 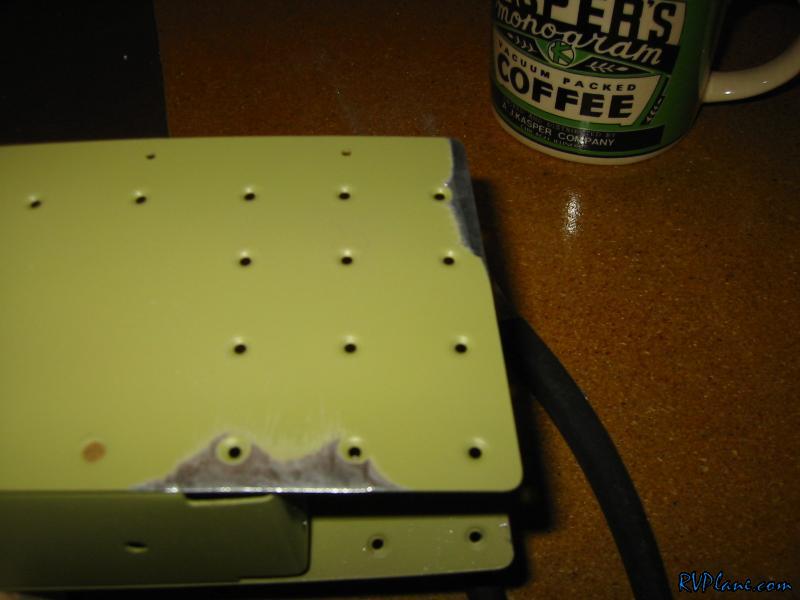 The skin getting ready to be riveted. 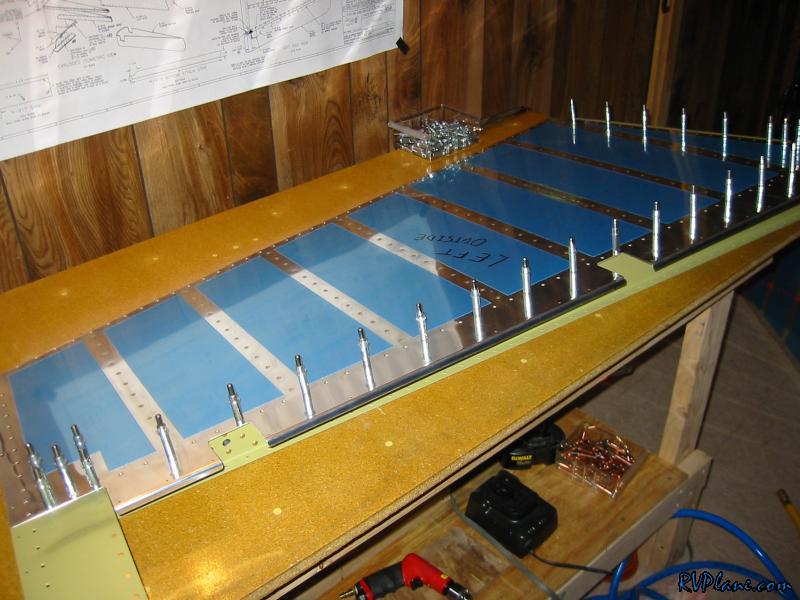 I marked on the skin the rivets needed here since it isn't the same one. 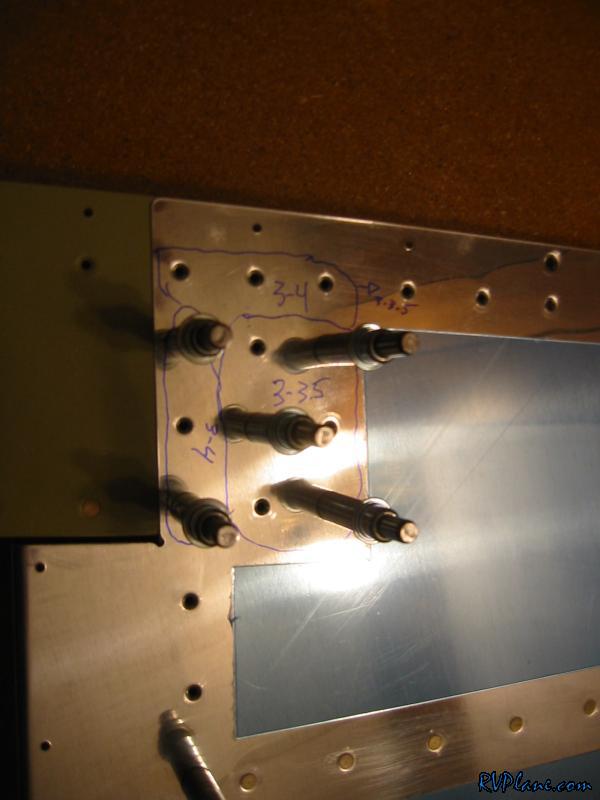 The left skin on. 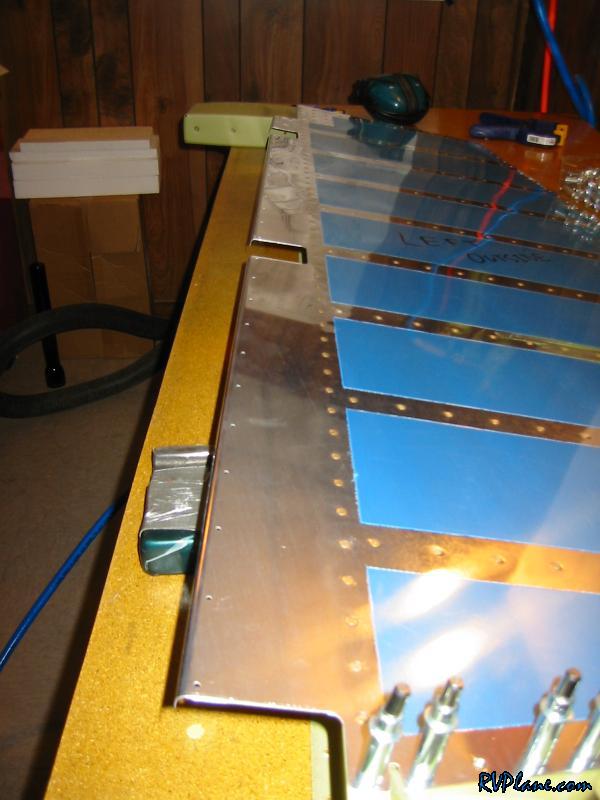 I used masking tape to allow me to etch the trailing edge without etching anything else. 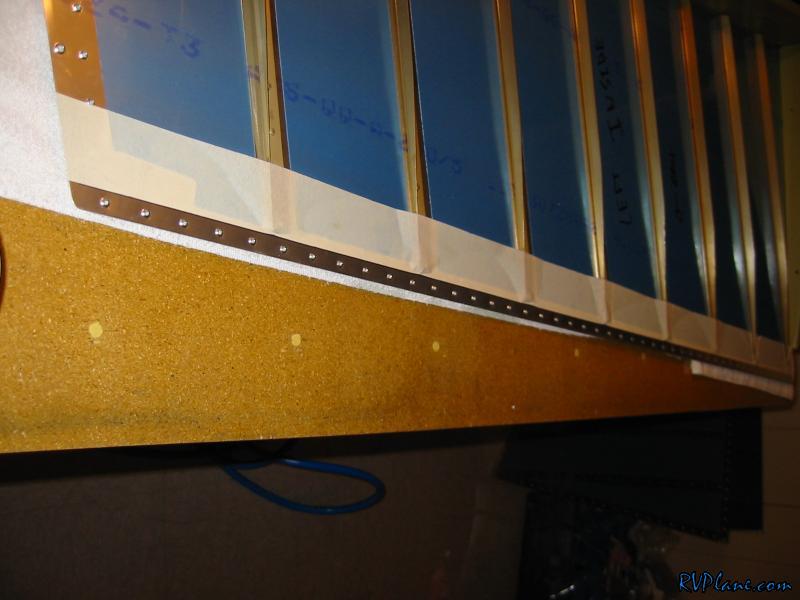 The finished product. It looks wayyyyy cool. 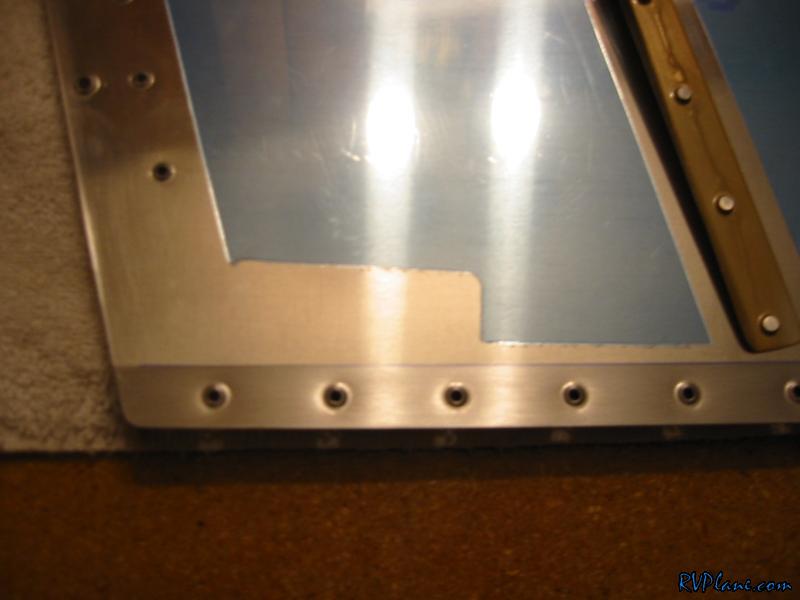 This was the rivet that no bucking bar or yoke could reach. 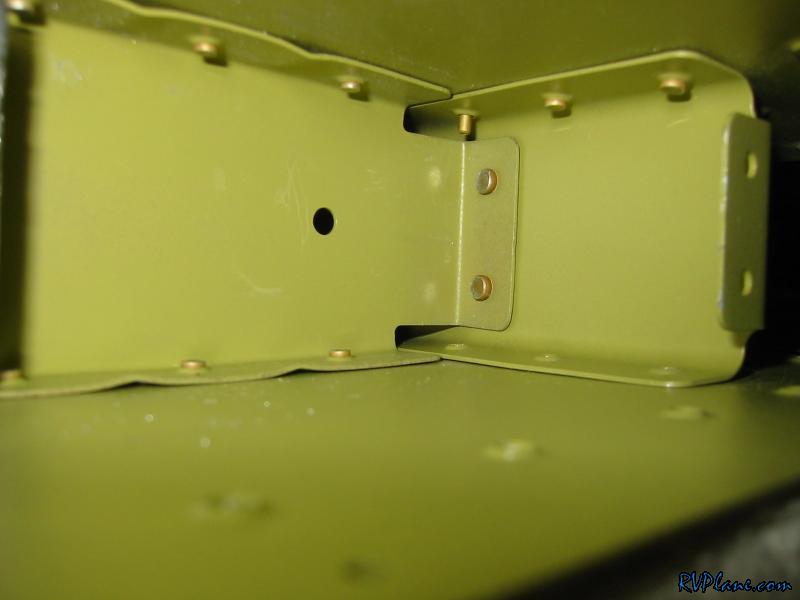 This is the mod I made to get that troublesome rivet. It worked great. 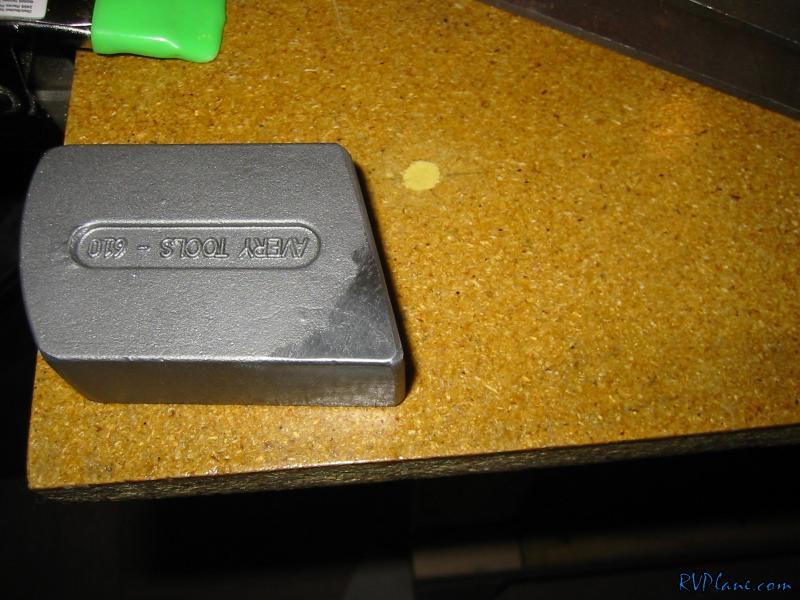 All the rivets for the counterbalance skin done. 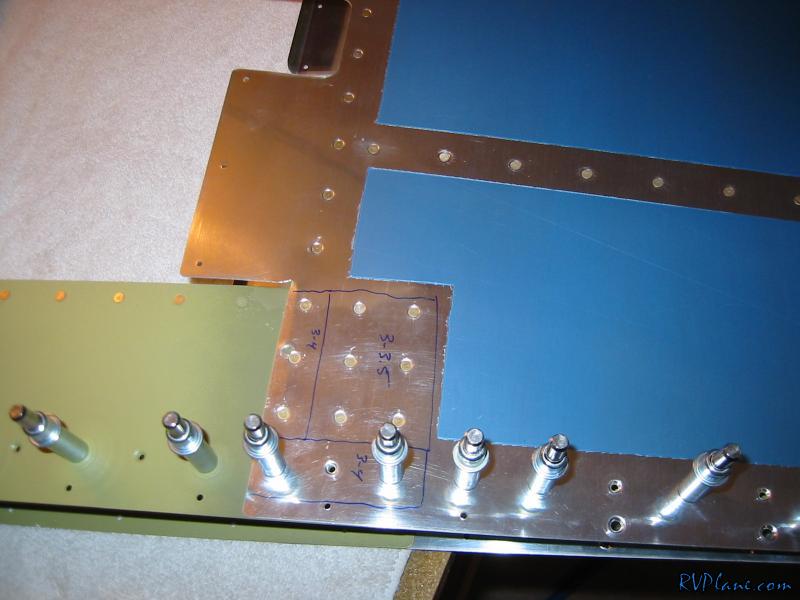 Notice how nice my transition is from one skin to the other. I attribute this to the slight bend I put in on the outer skin. 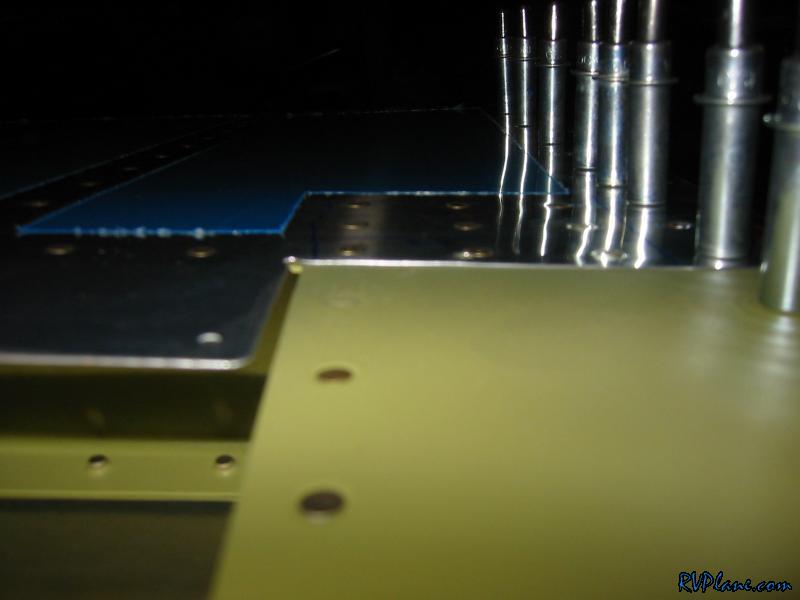 Perfection is obtained. 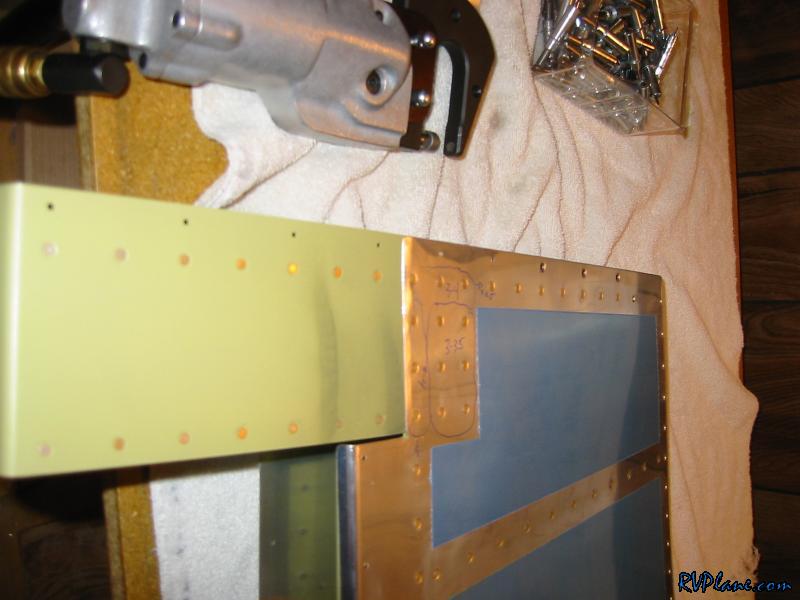 I was able to nab all of the rivets in the horn brace. 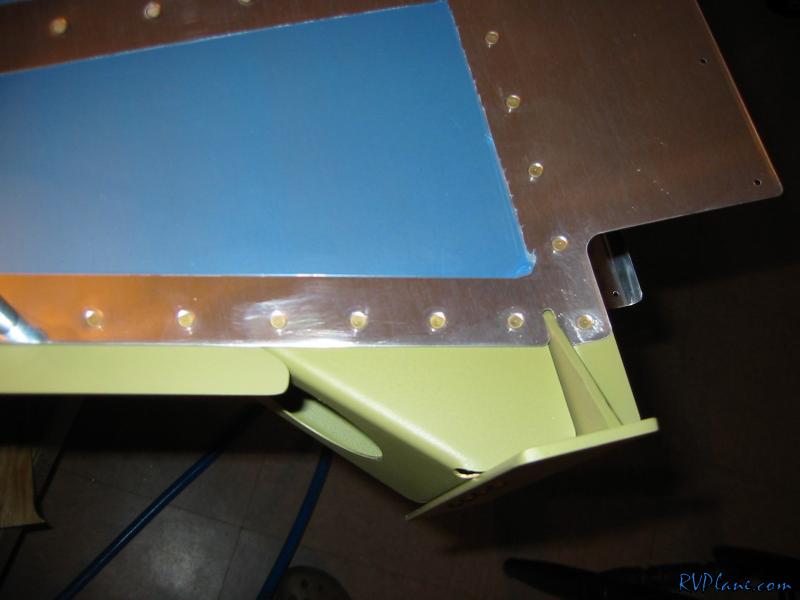 The inside shot. 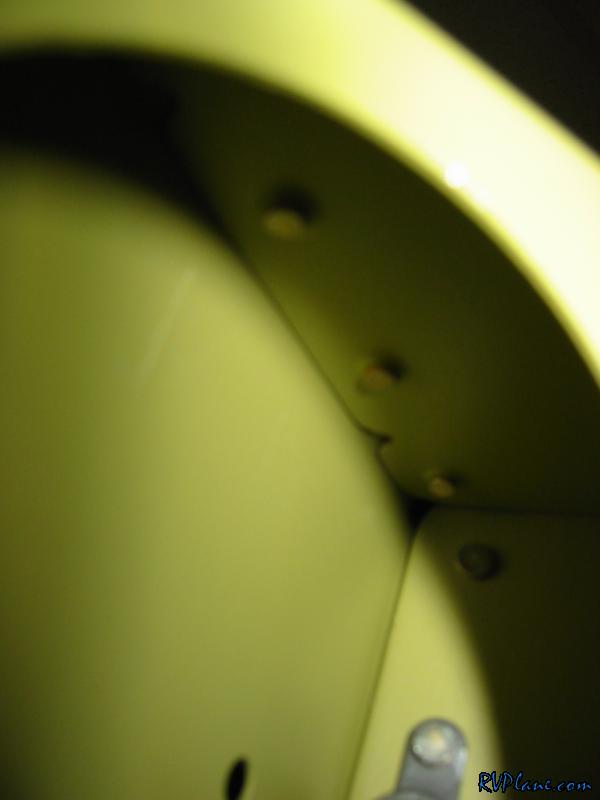 This is the bottom edge where I was able to reach all of the rivets.  This is the masking tape protection plan I subscribed to in order to keep the pop rivet gun from scratching the skin. 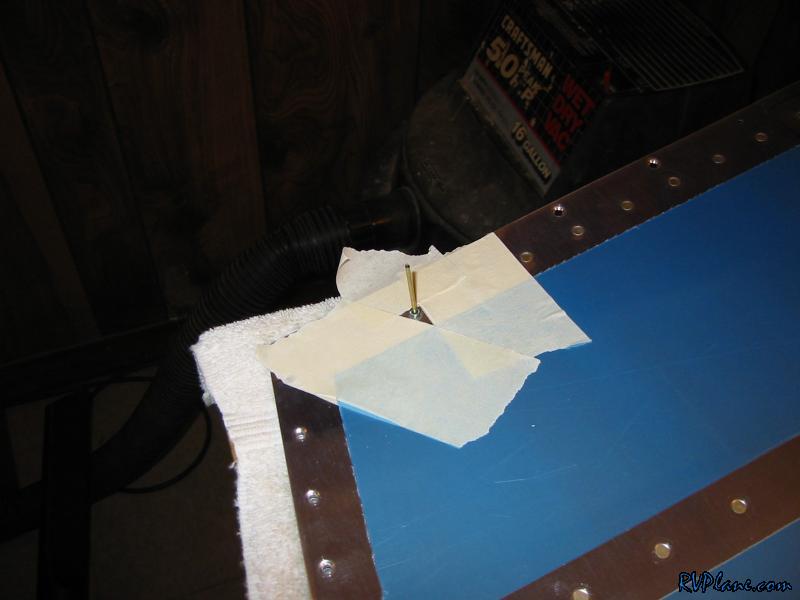 The angle I got from home depot ready to be cut into a reasonable length. I used the rotor zip for this without any trouble, 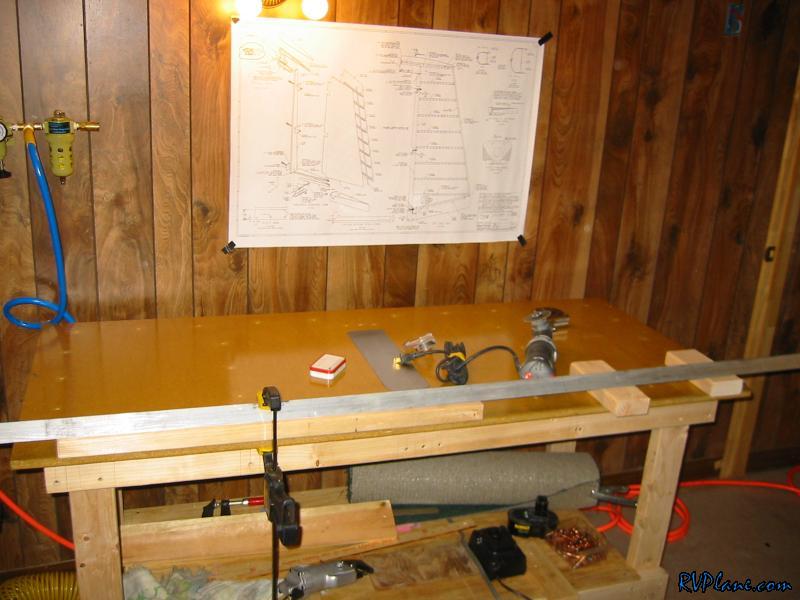
|
|||||
|
http://RVplane.com |
Last Modified: January 31, 2026 |