
|
 |
||||
Finally tonight I got to do some riveting! First things first, I straightened out all of the ribs that I needed to bend outward to dimple. The lower rib was a real SOB to get back to straight - that thick aluminum didn't want to budge. After that, I riveted on the nutplates, followed by the lower rib. I was able to get good rivets all over the place, even in the somewhat blind spot where the horn brace attaches. I pretty much has no view of the shop head as I was squeezing them. Next was onto the counterbalance rib and skin. First thing I did was rivet the rib to the spar. For the life of me I couldn't find the rivet to use on the diagram. I figured I would use a AN470AD4-4 since that is what was used to hold the horn brace onto the bottom rib. I went searching on the net and found other builders using the 4-4 or 4-5. Then I clecoed the skin to the rib....uh oh. For some reason the skin didn't line up at all with the spar. It didn't make any sense! Did someone sneek into my house and swap a part on me as a joke? Well, after avout 5 minutes of deep concentration, I realized that I put the rib on the incorrect side of the spar. I drilled out the rivets (oh, and have you know, they were the most perfect rivets yet), reversed the rib and re-riveted. I clecoed on the skin and it looked much better. Next was onto riveting the counterbalance skin onto the counterbalance rib. I did this by putting clecoes on the front of the skin and the top, and I let the bottom rest on a piece of 2" thick styrofoam board. I didn't see the need for clecoing it because it would only add to the confusion of how to support the skin while riveting. The thing is wavey enough as it is. I started the rivet line in the middle of the rib and worked myself outward. Checked the rivets, flipped, did the other side, then did the front two rivets. I will have to pat myself on the back again with how well the rivets came out. The counterbalance weight installation was pretty straightforward, except I needed to file out two columns on either side of the weight to account for the rivets. I slammed that weight in. One word of caution on this is that you need to put a lot of force into the #2 screwdriver to keep it from slipping out of the #10 screw. I clamped everything down so I could accomplish this. Also, do not turn the screw to tighten it. This will only mar up the primer under it and it is not good technique. Keep the screw static and rotate the nut. Next I needed to dimple the rest of the skins. I don't know why I didn't do this yet, but it is just one of those things. Everything was going great until dumb dumb me put an extra hole in the skin by being trigger happy with the pneumatic squeezer. I am asking the experts on the best way of fixing this. I know I read on some other sites how to fix this, but for the life of me I cannot find it now. That figures - you can never find what you need when you need it. The 2 nutplates clecoed on and ready to be riveted.  The bottom rib clecoed on. 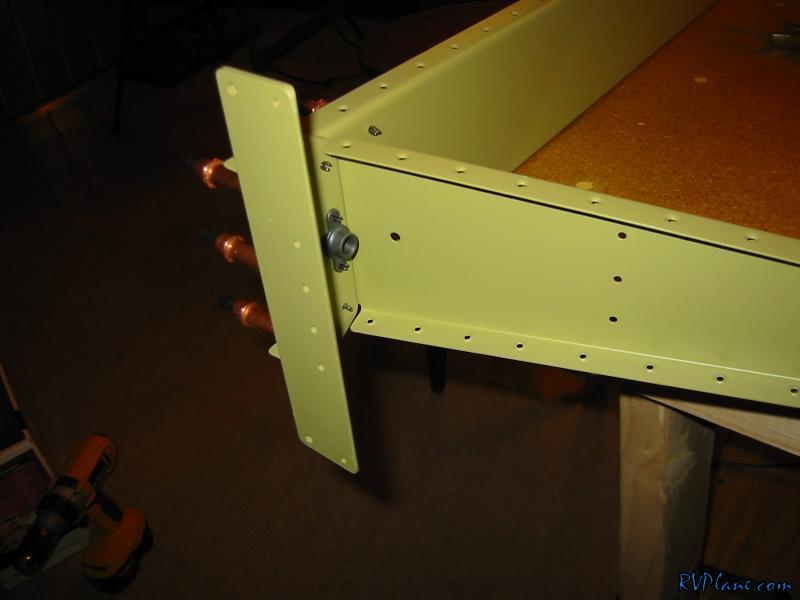 Bottom rib riveted. Some people said they had problems getting the rivets that hold the rib to the spar near the flanged. The longeron yoke worked fine for me. In fact, for some reason, I prefer the longeron yoke for all AN470AD4-? rivets. They just seem to turn out better with that yoke. 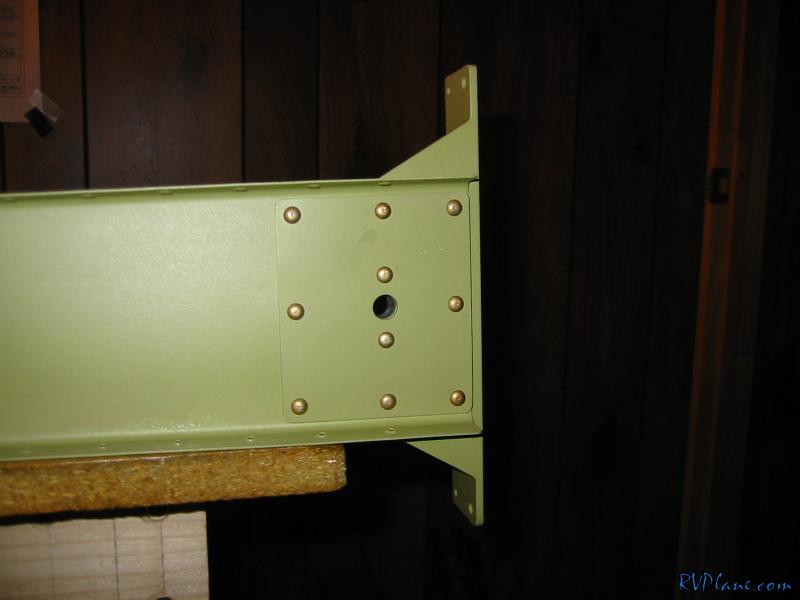 Inside shot of the shop heads.  The horn brace clecoed on. 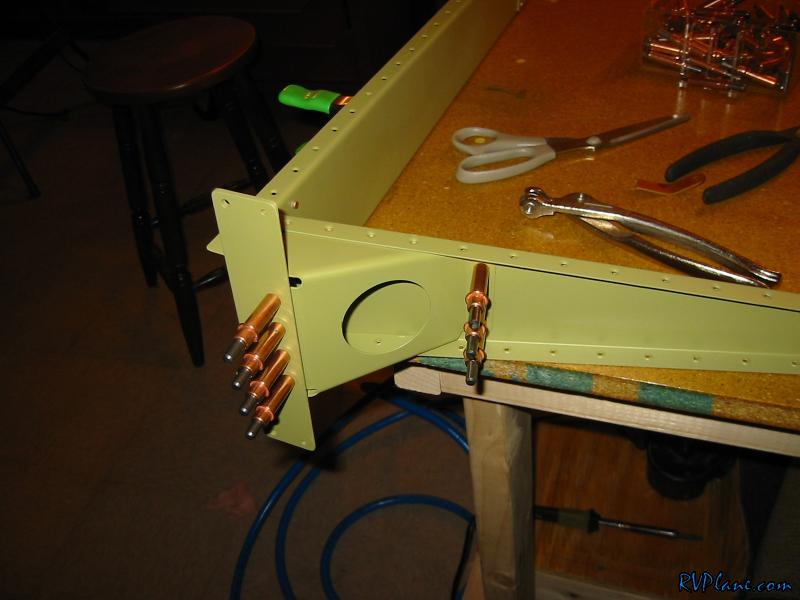 I clamped down the skeleton like this to do all of my squeezing. You are pretty much blindly squeezing the rivets on the shop side fot eh 4 on the bottom of the horn brace. 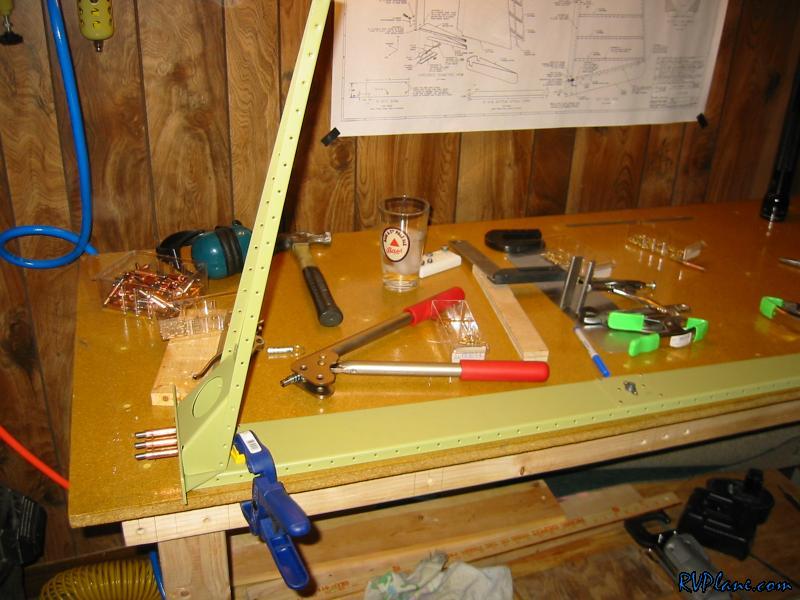 These rivets turned out most excellent. 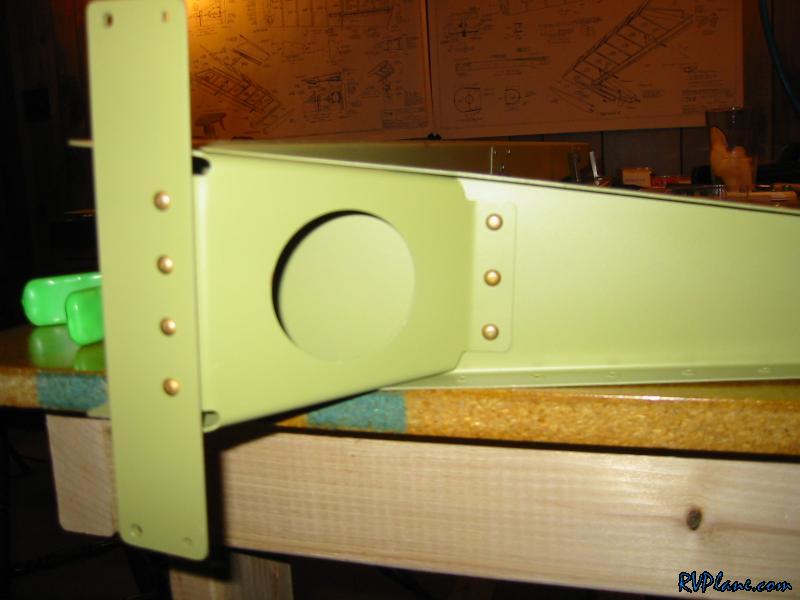 Something doesn't look right here. Why is the counterbalance rib in the same direction as the lower rib??? Oh yeah, time to drill. 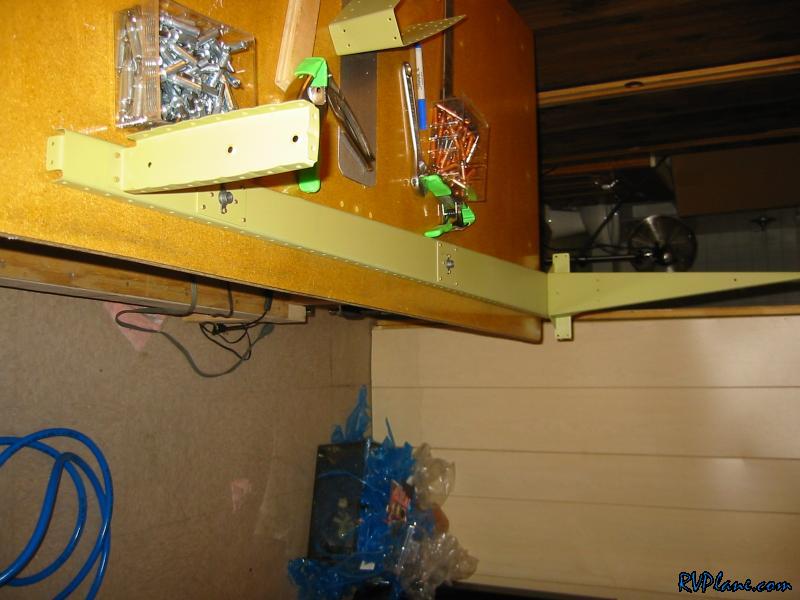 Re-riveted the counterbalance rib...not the counterbalance skin fits nicely. 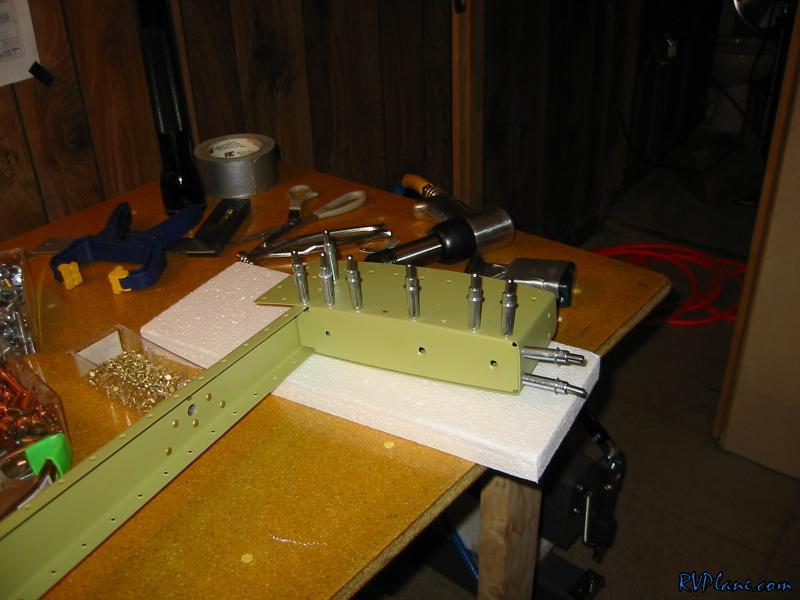 I bucked all of the rivets inside of this thing. 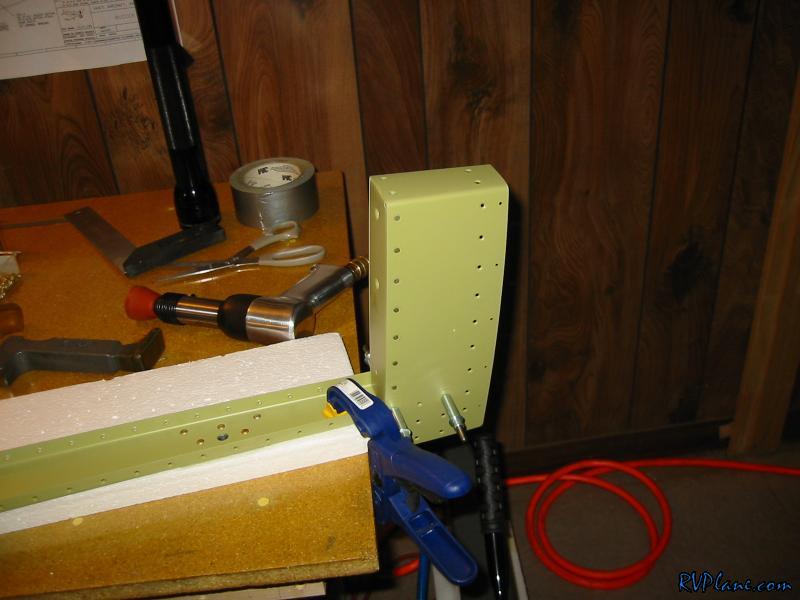 Nice nice nice...some of my best bucking to date. 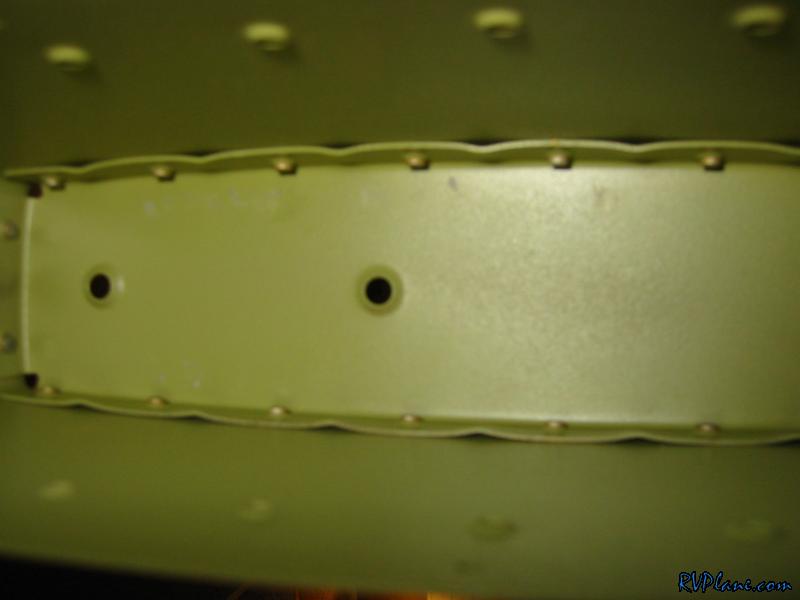 The rivet shop heads interfere with the counterbalance fitting. For my plane, the front two rivets only interfered. I got out the round file and knocked these puppies down. 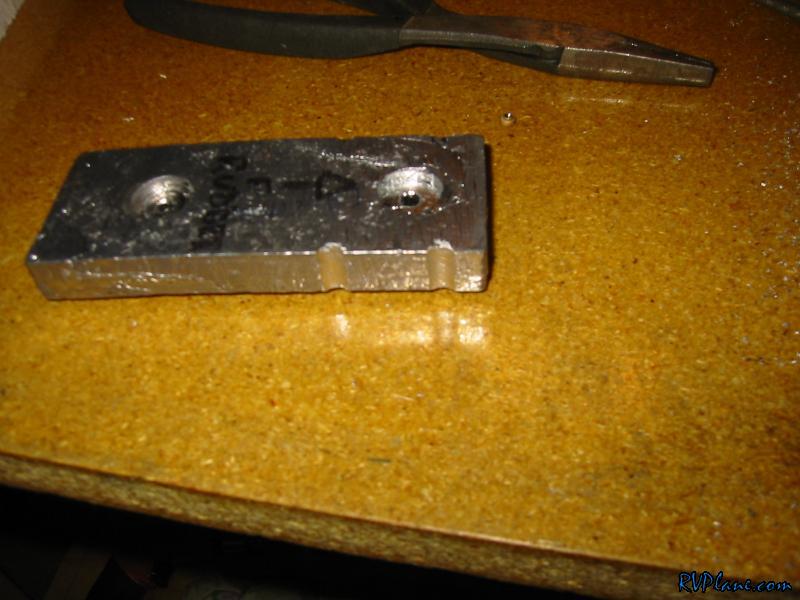 After two itterations, the counterweight fits.  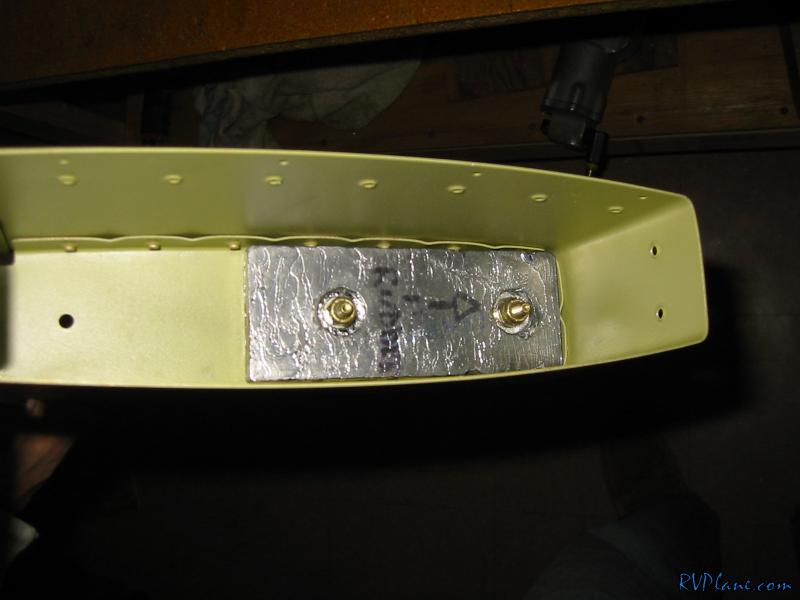 This is where I stopped for the night. Can you guess what dimple doesn't belong.  In case it wasn't obvious in the previous pic, here is another shot. 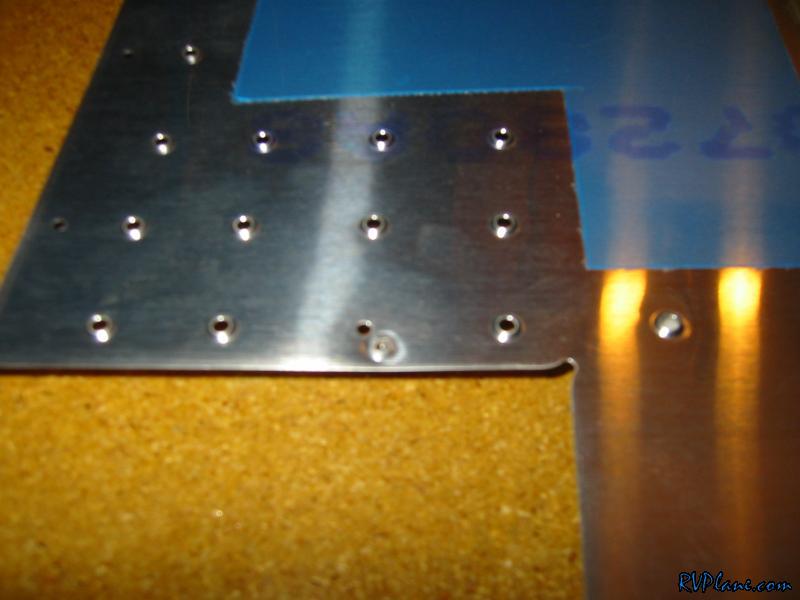
|
|||||
|
http://RVplane.com |
Last Modified: January 31, 2026 |