
|
 |
||||
Today my Dad and I installed the left wing onto the RV permanently. Why only the left? Well I don't think both will fit in the hangar with my hangarmates RV-4 in there. No biggie, one wing will give me a few weeks worth of work with pitot wiring and wingtip work. Installing the wing was pretty easy. I ran some nylon cord down the conduit to pull the wire, slammed on the wing, then installed the close tolerance bolts. Since it was somewhat warm out, the close tolerance bolts had no problem going in. 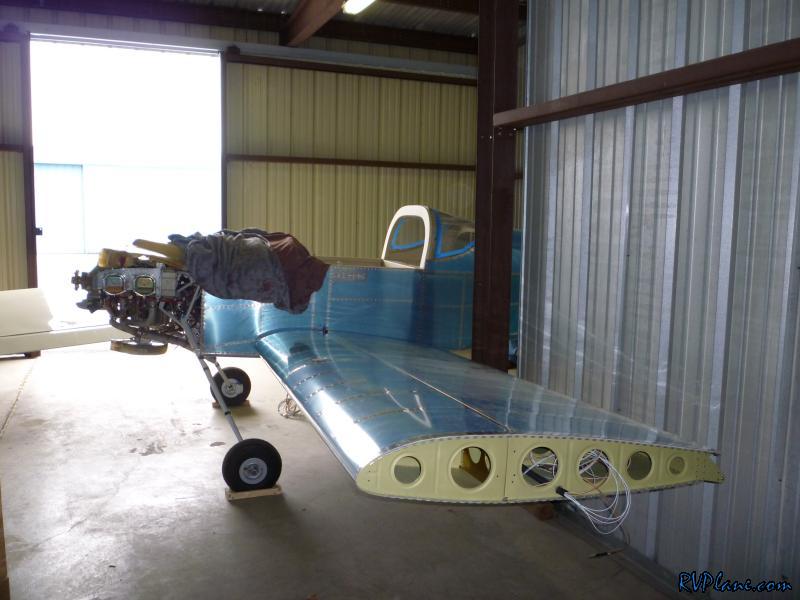 This pic makes the airplane look more legit. 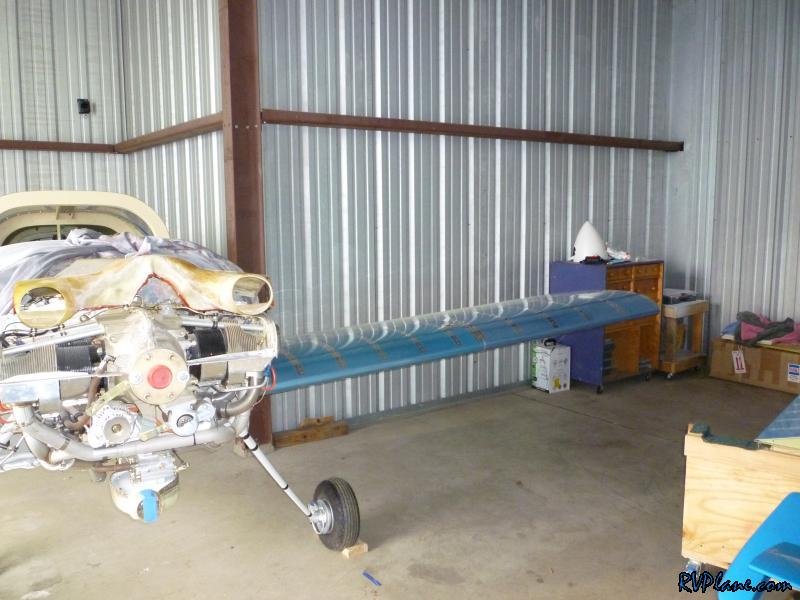 And this pic makes the project look less legit. I think I should be able to install the other wing over the easter weekend. 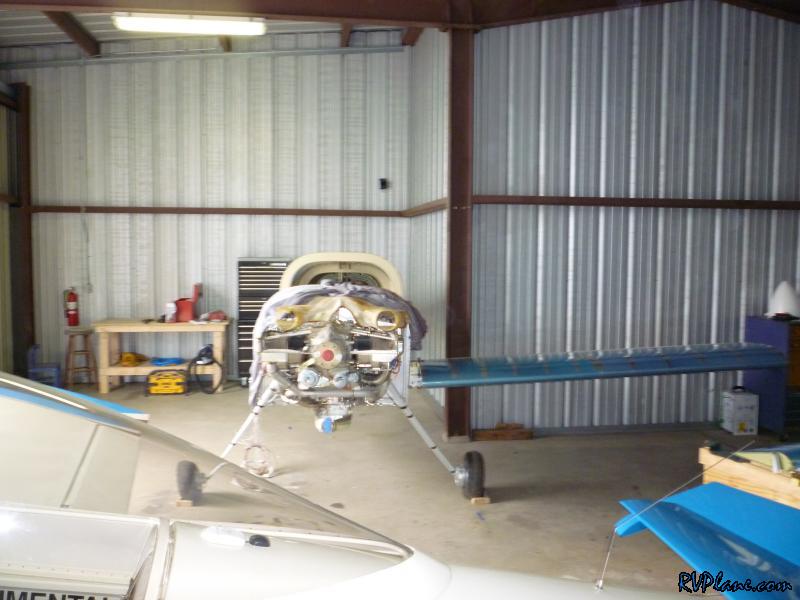 The close tolerance bolts were installed but not torqued when I put them in initially. I forgot to bring my foot-lbs torque wrench with me to proper tighten them down. 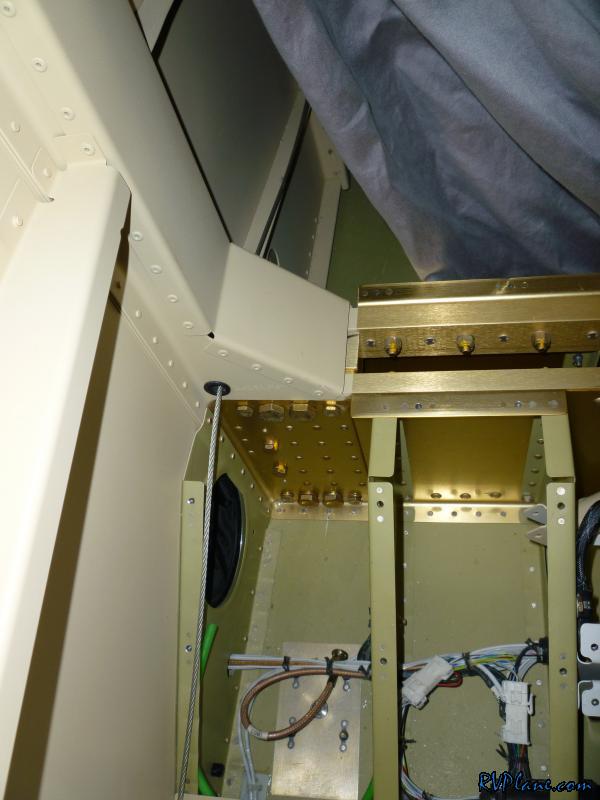 I temporarily also installed the AN5 bolt on the rear spar. 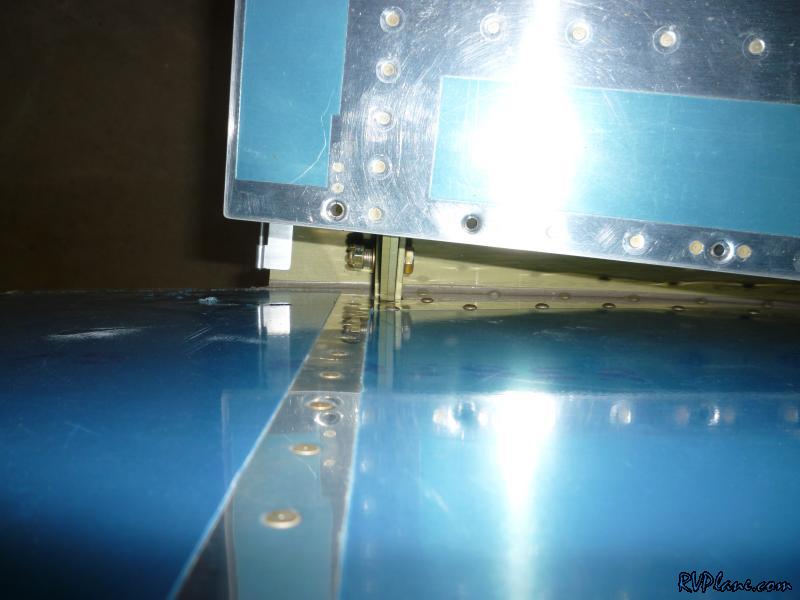 So fast forward a few hours and I decided to go back to the hangar and work on some things on the wing. First up was installing the pitot tube. 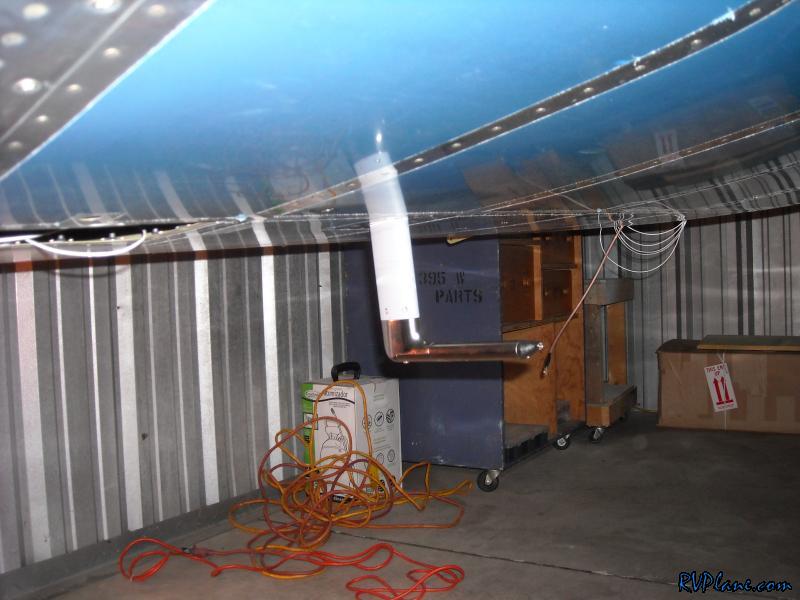 Next, and the biggest pain in the ass tonight was installing the pitot heat controller. It was just miserable using a screwdriver and nutdriver through the access hole. I really should of put some nutplates on the pitot heat controller. I installed the controller but didn't wire it because I needed a nylon wiring mount to dry to the wing rib to secure the wires properly. 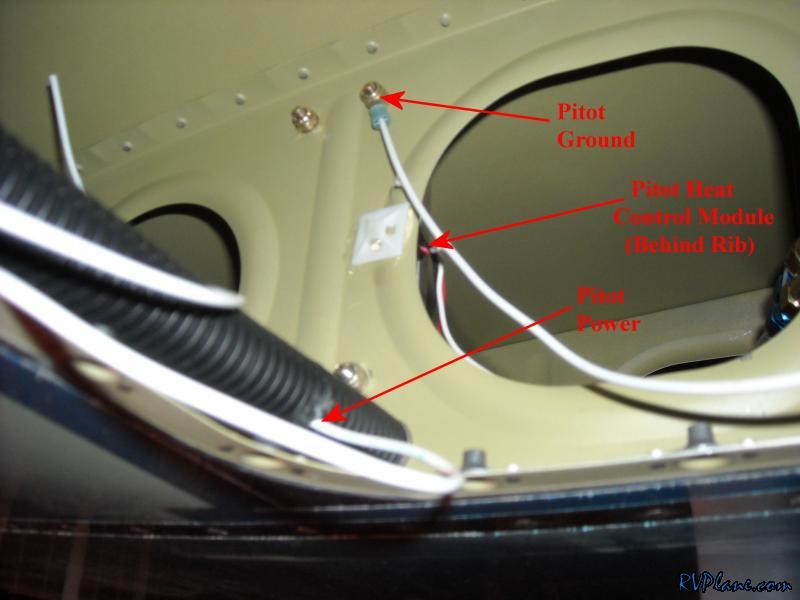 I did, however, run the pitot run.  I remembered the torque wrench and tightened down all the wing bolts.  Next I moved onto securing the front tank attachment to the fuselage. This bolt is only supposed to be tightened until the large washer doesn't spin. Then I drilled a #40 hole int he steel attachment bracket and safety wired the bolt. 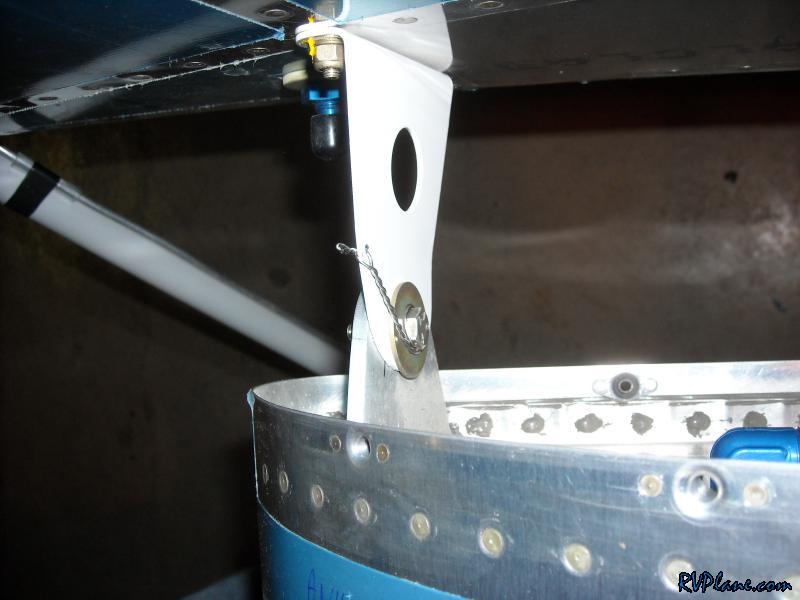 Finally I installed the AN5 bolt for the rear spar and installed a cotter pin. Good day with a lot of forward progress! 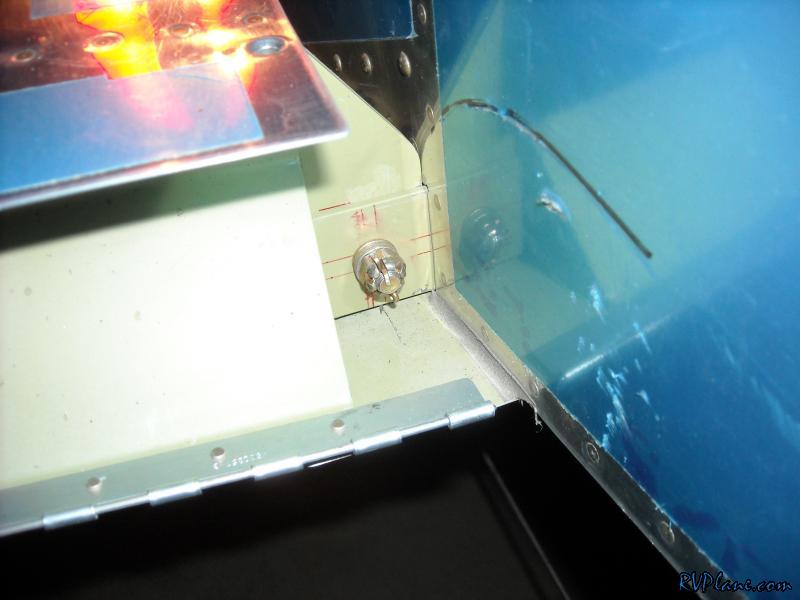
|
|||||
|
http://RVplane.com |
Last Modified: January 31, 2026 |