
|
 |
||||
Tonight my main focus was on the lower empennage fairings, which are just pieces of aluminum. There is a rubber gap seal which goes between this fairing and the bottom of the horiz. stabilizer. I match drilled this to the fuse with a #40, removed it, enlarged the holes to #27's and dimpled for a #6 screw. I did not enlarge the foremost hole or dimple this because this is where the fairing will attach to. The fairing will be countersunk, so this hole does not have to be dimpled. 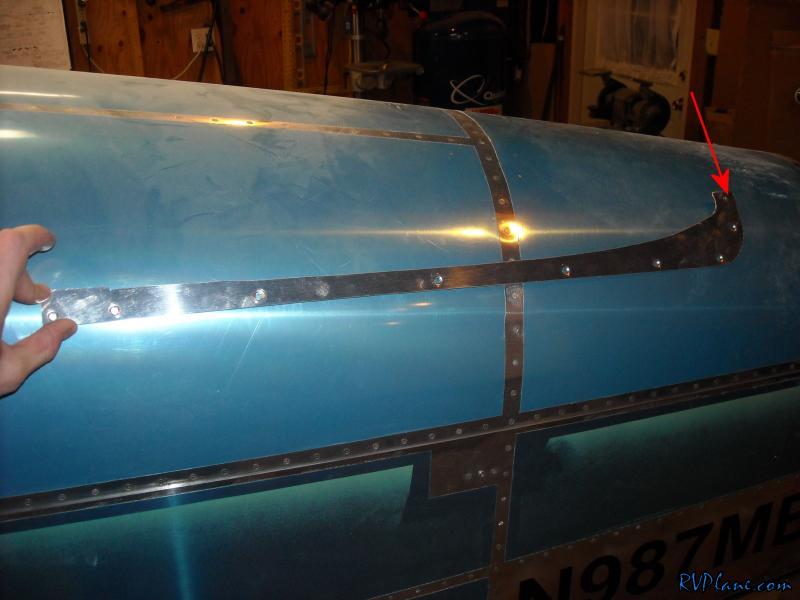 On the top forward two holes on the cover plate I did the same. 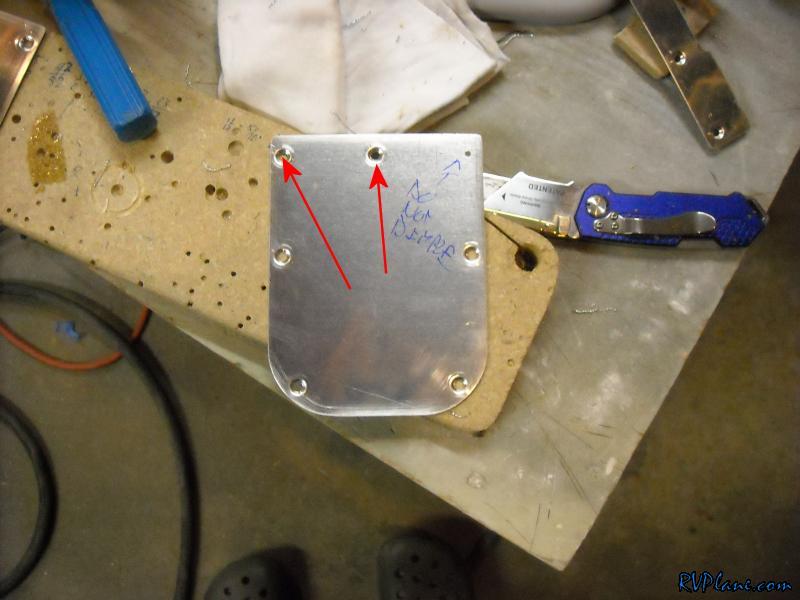 With the holes in the fuselage drilled to #40, I countersunk them for a #6 dimple. Notice I didn't countersink the most forward one and the most aft one. Tinneman washers get put on the empennage fairing, so there won't be countersunk material here. 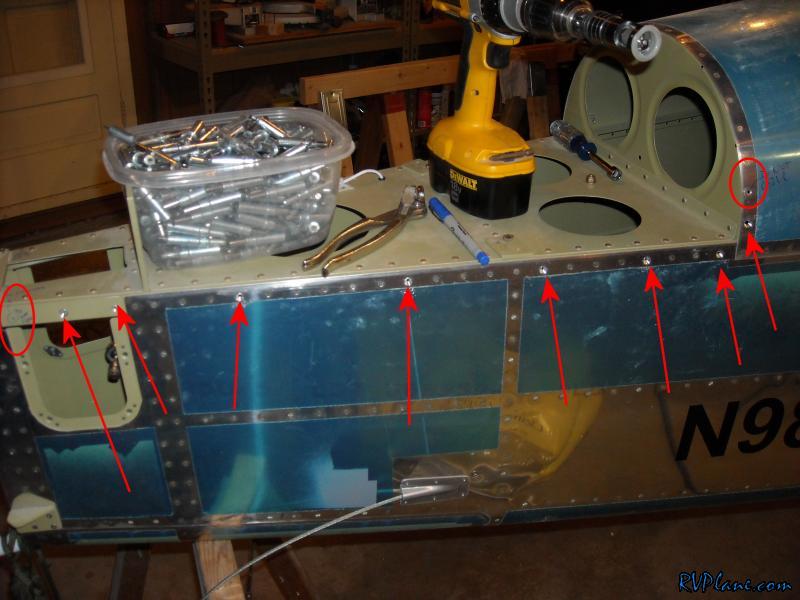 Next I drilled the countersunk holes out to #36 and tapped them with a 6-32 tap. 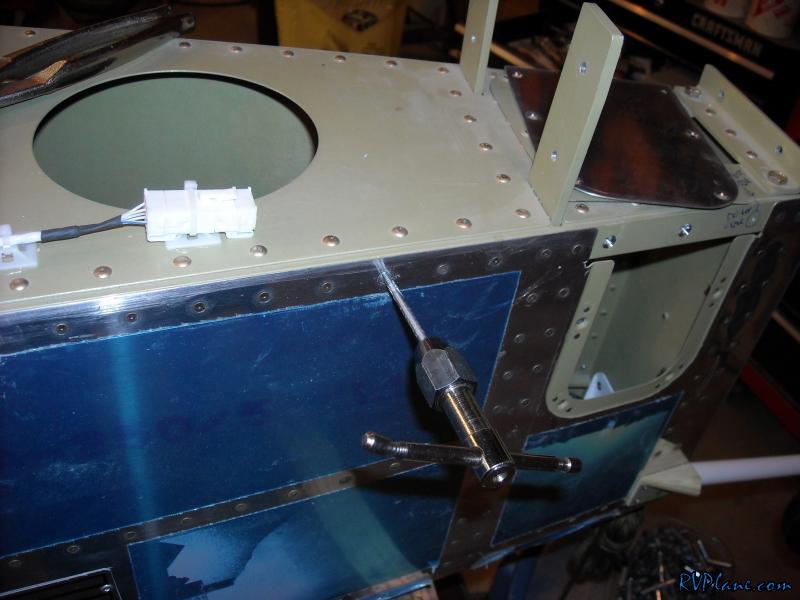 Now the most forward hole I made didn't go through the longeron, so it needed a nutplate on the back. I needed to crawl to the back of the tailcone to drill this SOB of a nutplate.  Here she is. This wasn't terrible, its just awkward in the tailcone with the elevator pushrod installed and all. Unfortunately, I will need to get back here once more for one more nutplate. 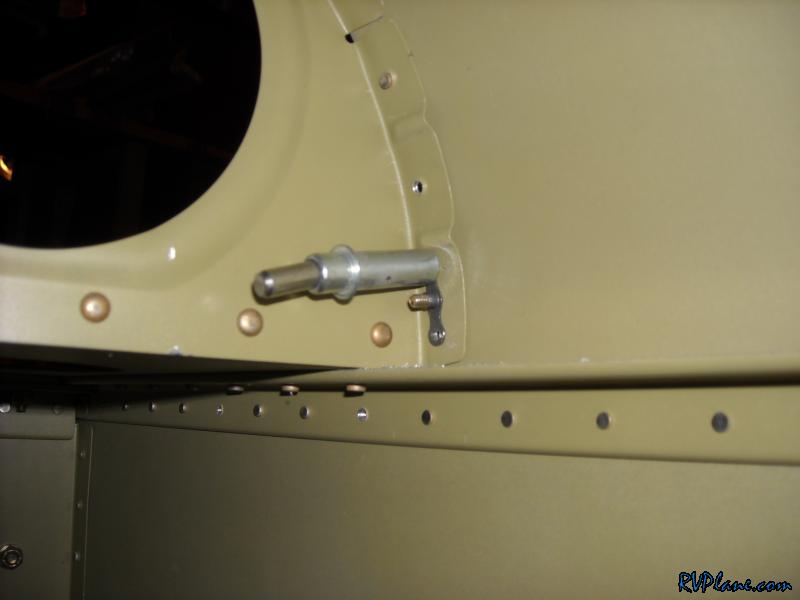 Nutplate installed. Yeah yeah, I know the holes aren't perfectly inline. Its covered by the fairing, so don't worry.  Finally I went back to work on the fiberglass fairing. I sanded down the bulk of it and it's looking pretty good. However, I am not happy with how the aft section was trimmed. So I am filling it back in to bring it back further aft. This will take a little time to get it back to where it was. I slapped some layers of glass down then used the rest of the epoxy and mixed it with flox to fill some little gaps. 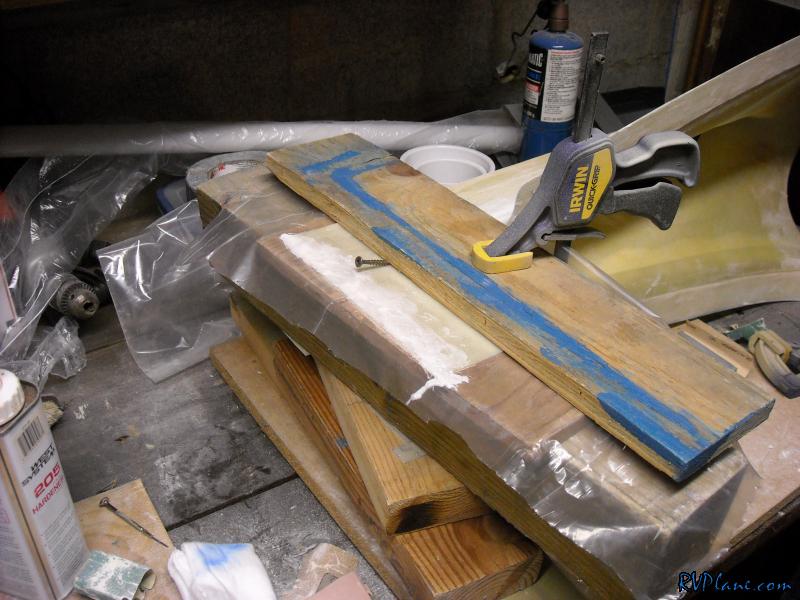
|
|||||
|
http://RVplane.com |
Last Modified: January 31, 2026 |