
|
 |
||||
So yesterday I pretty much decided I needed to rethink the way my intake ramp worked. So I sliced the one I bent off the stock part off the rest of the forward #1 cylinder baffle. 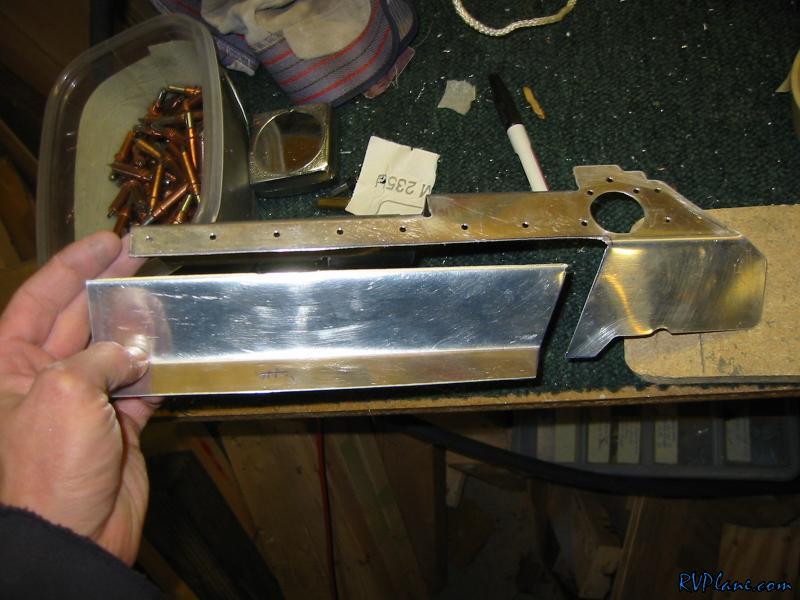 Next I clecoed it back to the engine. 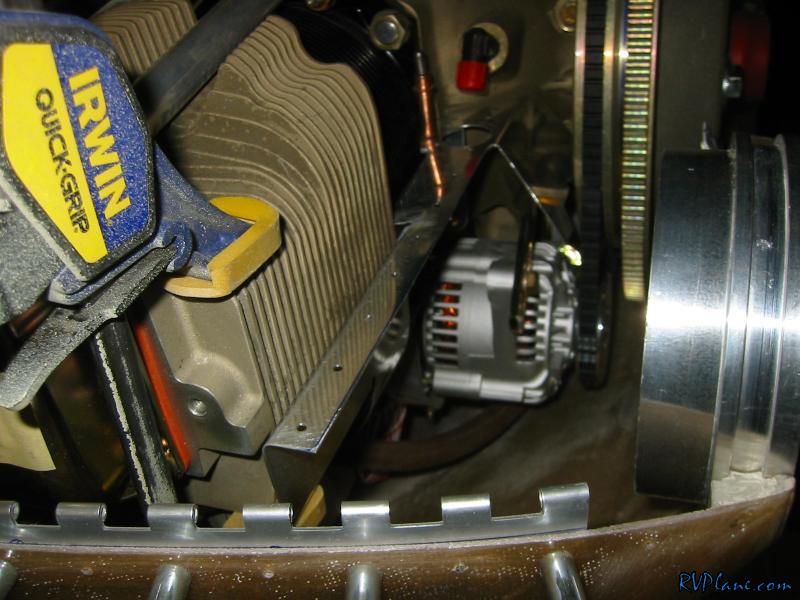 So here I made a new inlet ramp from some 032. I would try to describe how I made it, but the picture should make it clearer than my words.  Here is a shot from the rear. I don't know why I put some 063 angle on the back of it. I don't think it will need any reinforcement. 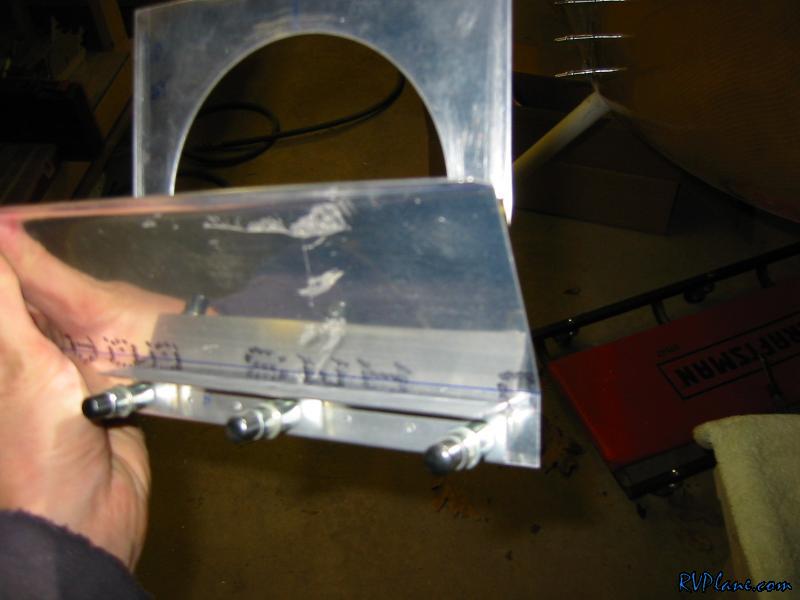 Here it is attached to the engine baffle. 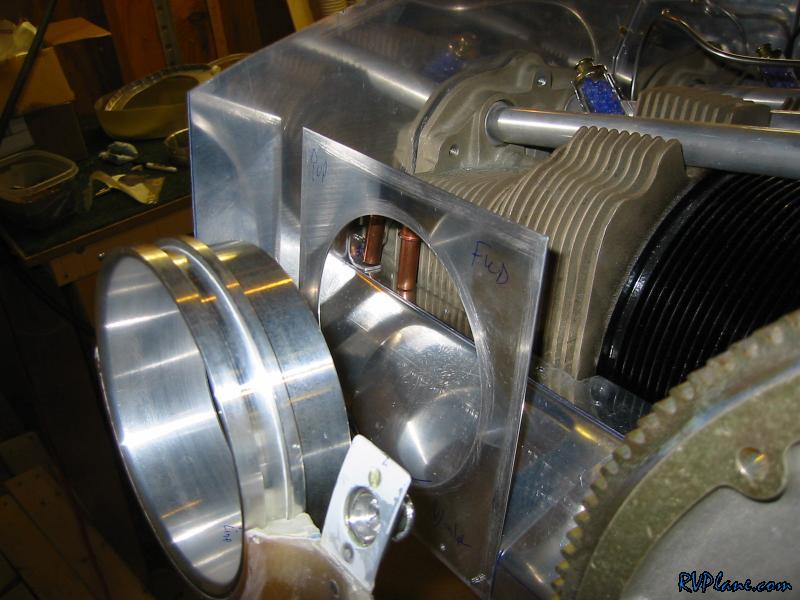 And the alignment. Looks awesome, and it is. 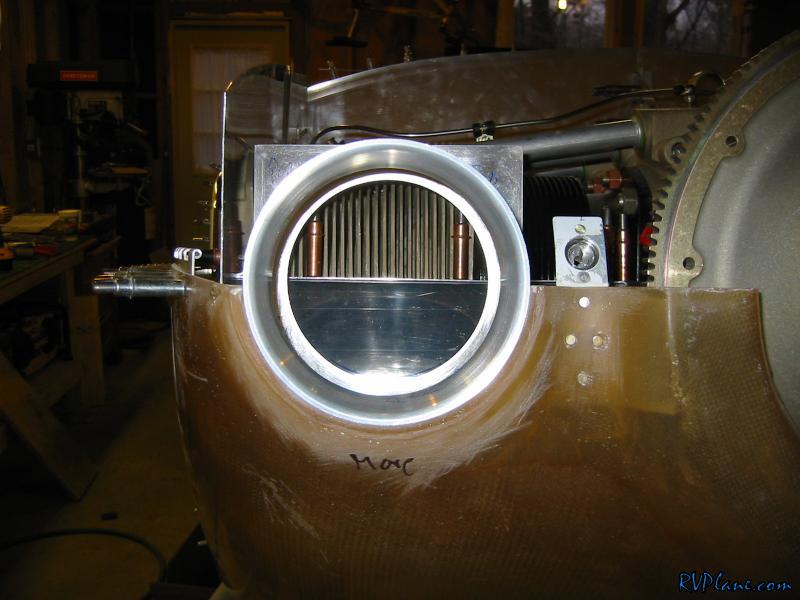 Next I bent the right side baffle around into the adapter. 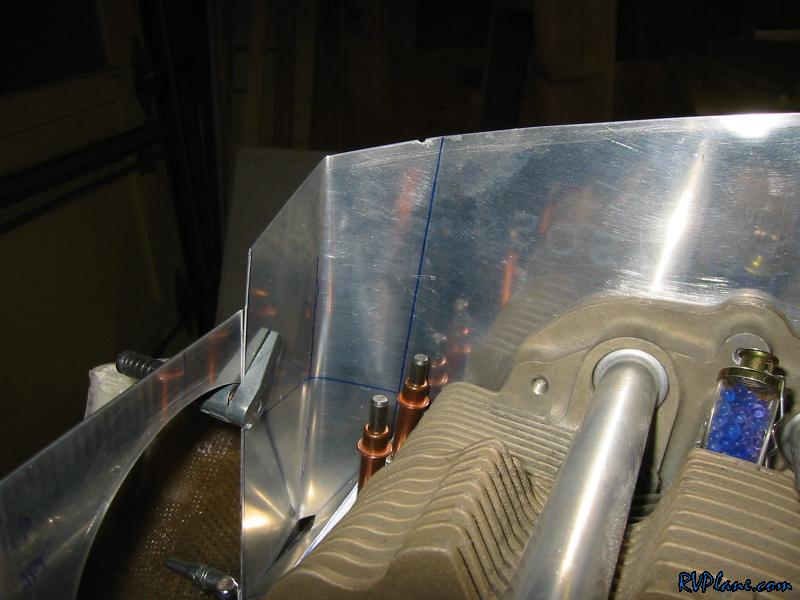 Another shot. Took two bends to get it where it needed to be. 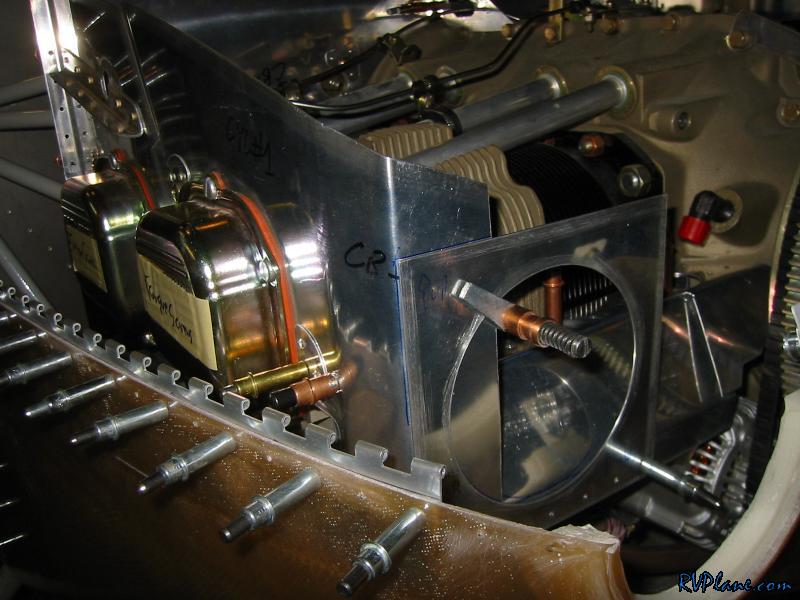 Next was the inboard baffle. I needed to take out a bend from this one and make the more inboard bend less aggressive. 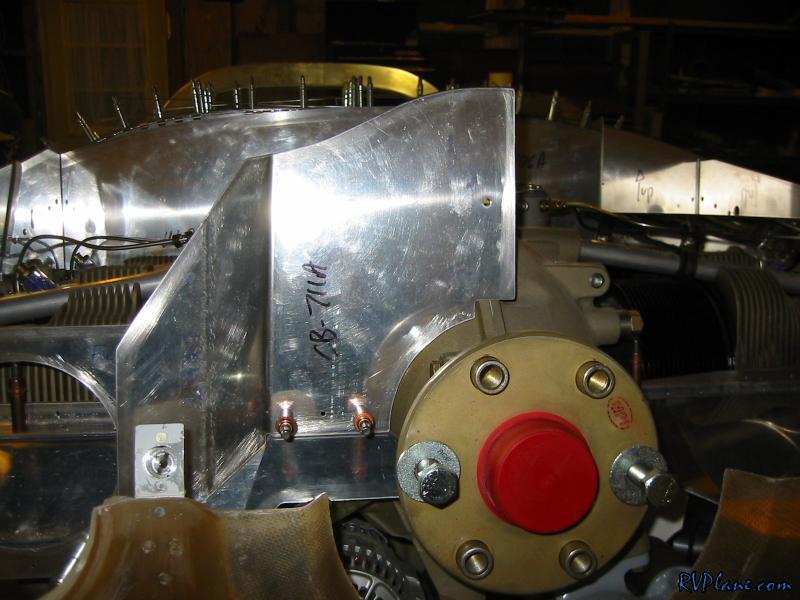 I added another bend to get it to interface to the adapter plate. Things are looking good. 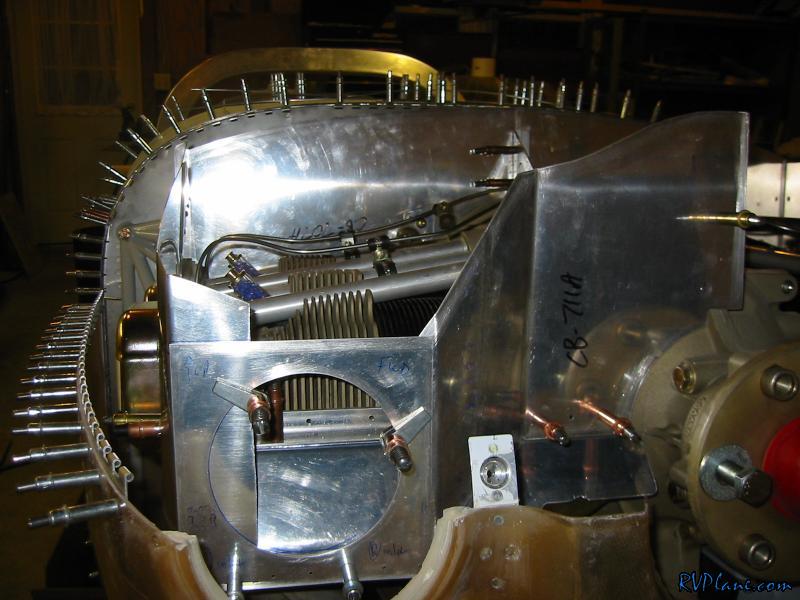 Here is a look from the inside of the baffle compartment as to how everything overlaps. 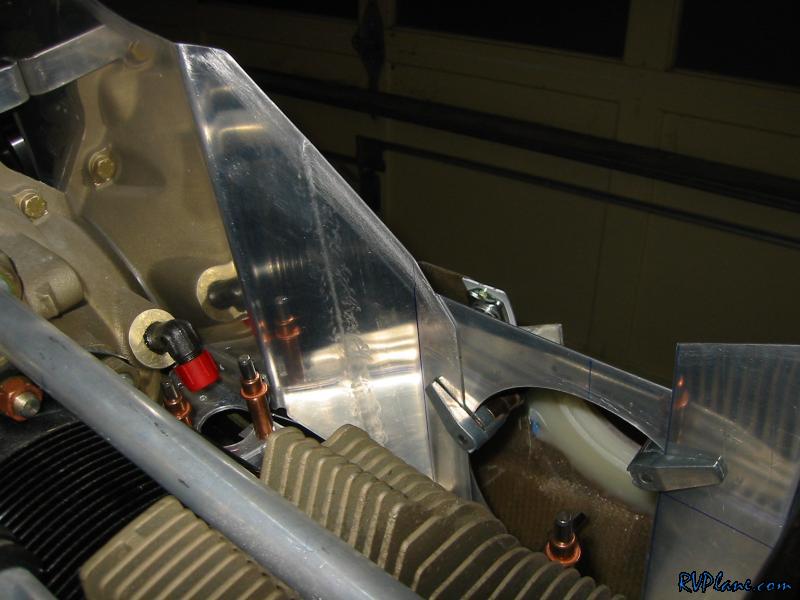 Next I needed to add to the top of the adapter to get it to seal against the cowl. However, to do this I wanted to know how low the baffles needed to be when they were trimmed. So now I needed to do what I really wasn't looking forward to -- trimming the baffles to the cowl. I had heard this was a nightmare. I had seen people using paperclips to judge how close the cowl was to the baffle. A million iterations with little to no progress in between. Seemed awful. However, I noticed I could get my hands in under the cowl through the BIG Sam James inlets. It occurred to me I might be able to use a sharpie with a spacer on it to ride along the cowl and trace the cowl contour to the baffle. So I went spacer shopping. I quickly found a 3/8" nut threads nicely to a thick black sharpie.  It's hard to tell, but thats my skinny hand in the cowl with the sharpie. This worked unbelievable well....at first. I would mark the trim line, remove the top cowl, trim the baffles with aviation snips, wipe off the old marks with acetone, put the top cowl on and repeat. However, after each repetition, the cowl got closer to the engine and my arm had less room to work. 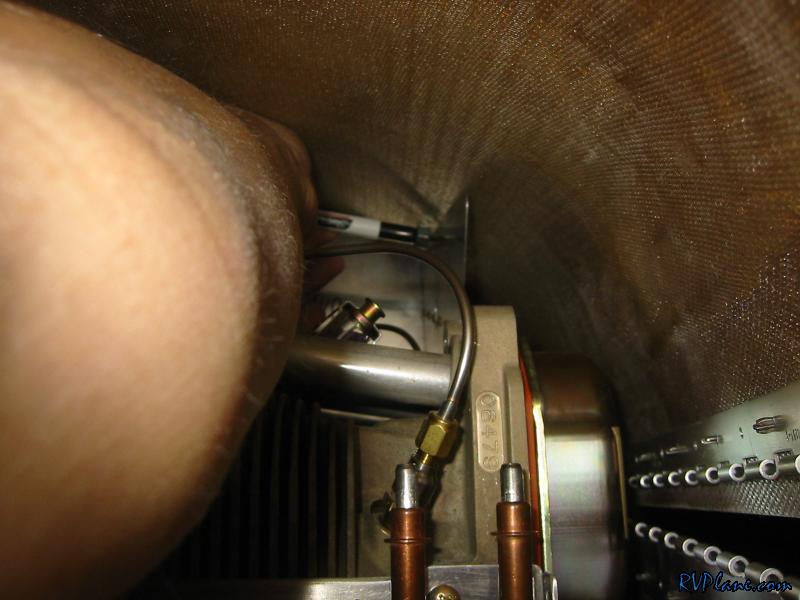 Here is the trim line. I trimmed on the bottom edge of the black line. Van's says to get within 3/8" to 1/2" from the cowl when it is finally done. I estimated this would give me closer to 1/4". 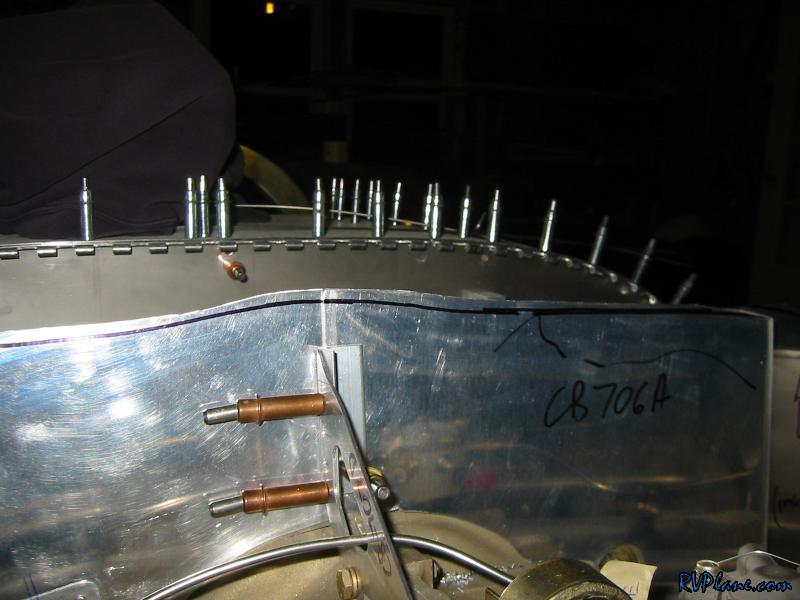 And here is the first round trimming done. It works really well. Took no time at all to get it all trimmed perfectly. 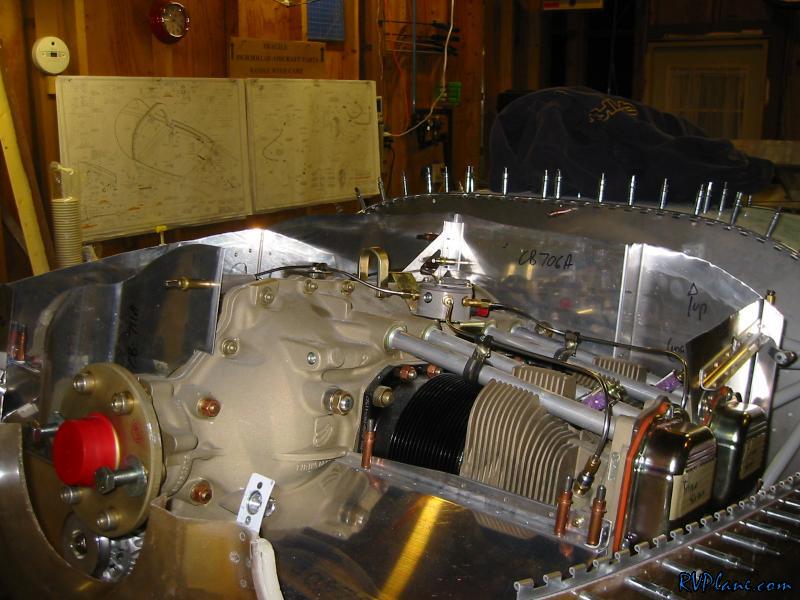 Shot of the back of the cowl. 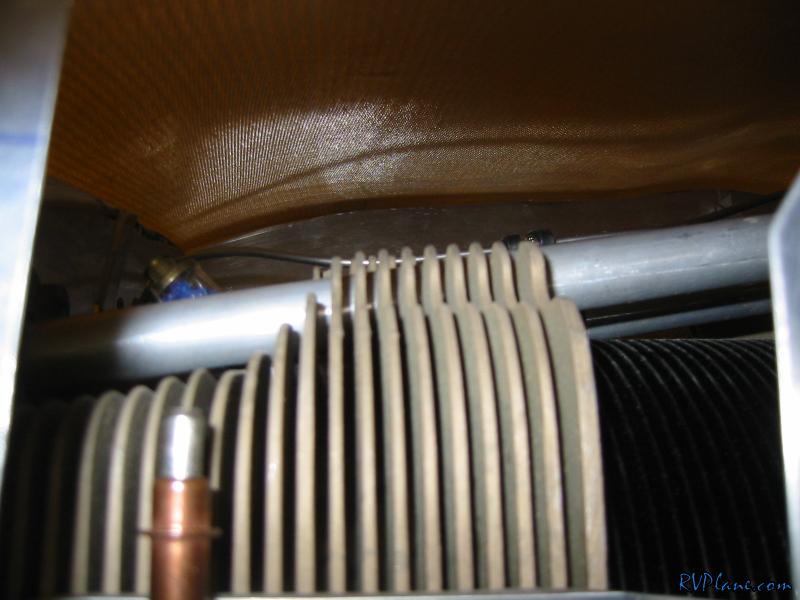 And the front right inboard side. 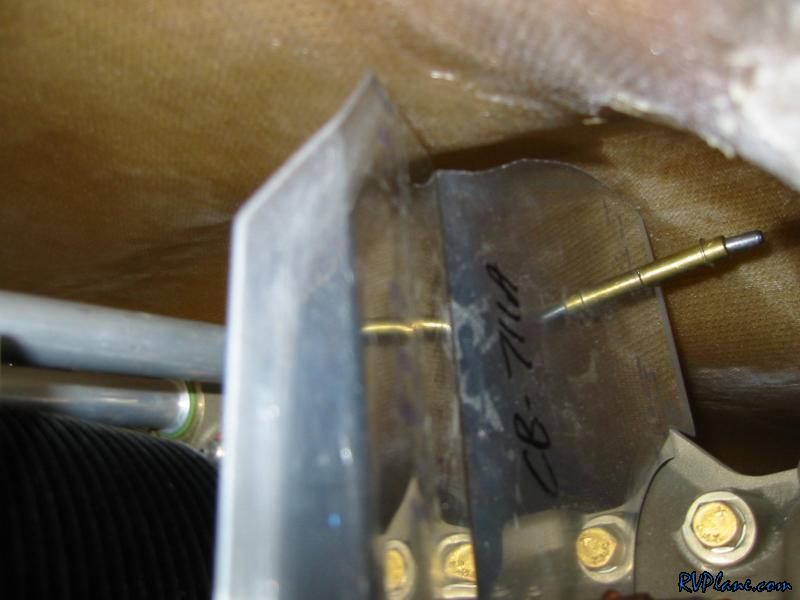 So, now knowing how close the cowl comes to the intake adapter, I drilled and clecoed the two sides of the adapters to the respective baffles. The bottom and outboard sides are really solid. The inboard side of the adapter isn't so solid. I will need to fabricate up some support tomorrow. 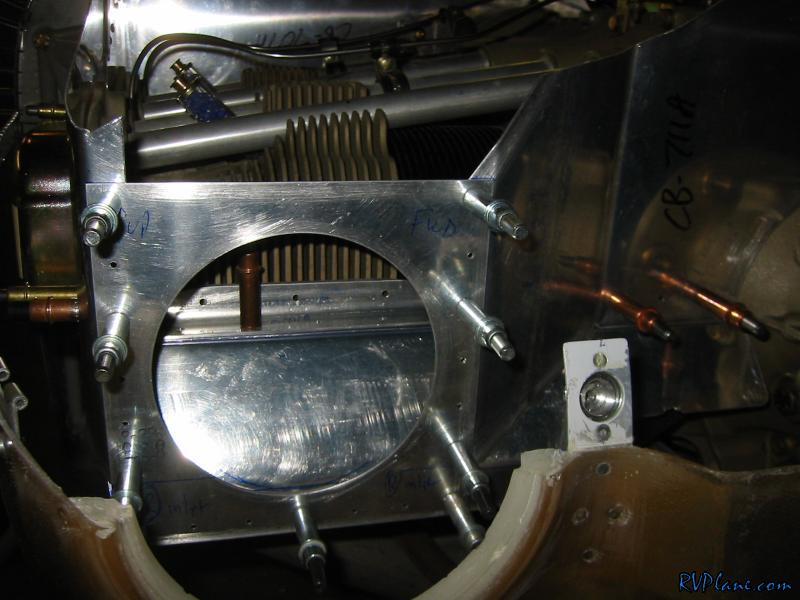 Here is just a taste of the trimmings I made tonight. I have sharp scraps all around my project. This was a great day on the project. I made some unbelievable progress and overcame two big hurdles. 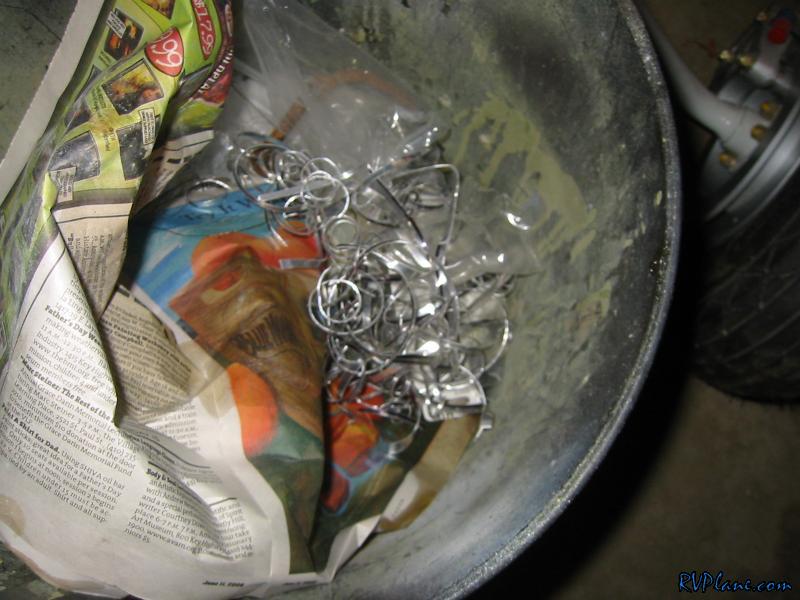
|
|||||
|
http://RVplane.com |
Last Modified: June 22, 2025 |