
|
 |
||||
I had three rivets on the lower cowl hinges that I couldn't get with a squeezer. I figured I would try to make a bucking bar to get these. 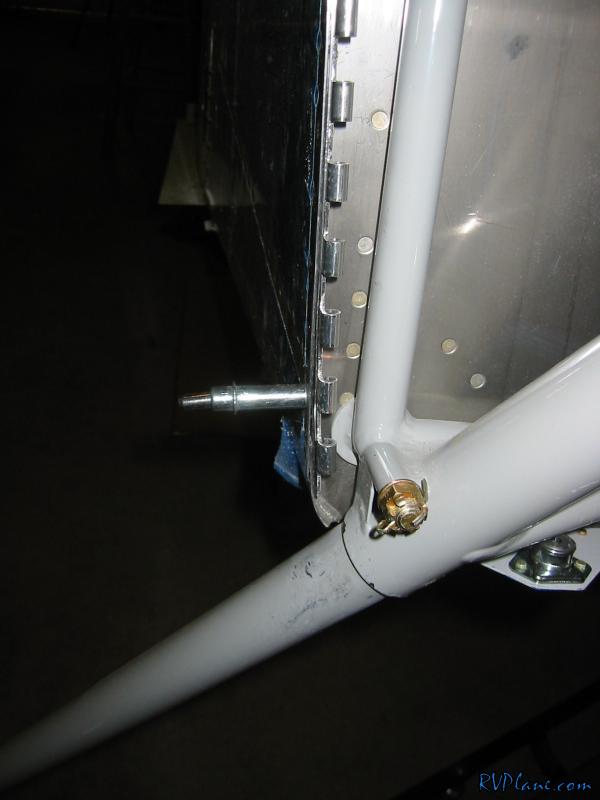 I found a pair of pliers that had the perfect head on it to get around the hinge eyelets. The real bonus was it was already polished. I taped some bucking bars to the pliers to give it some mass. 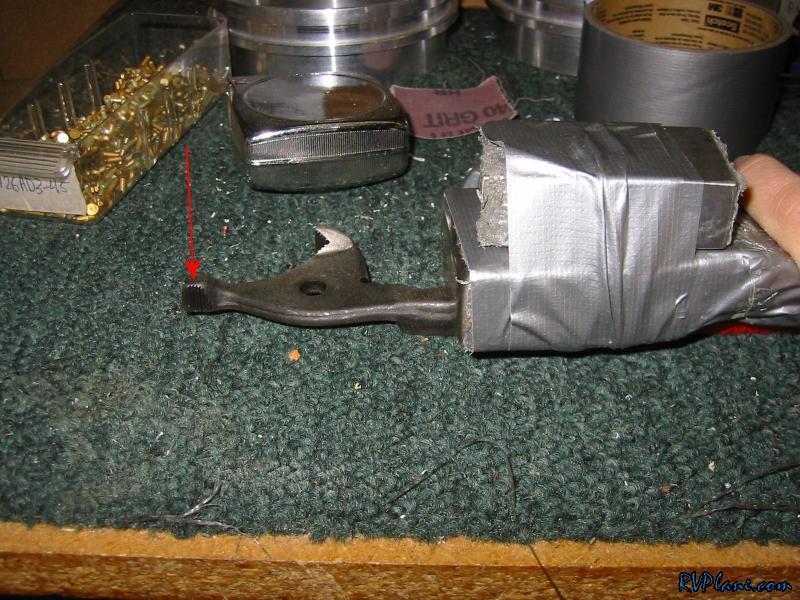 Really tough to see from this blury pic (my old camera is a POS, but very garage worthy!). The pliers worked OK. Not my best shop heads, but totally acceptable. 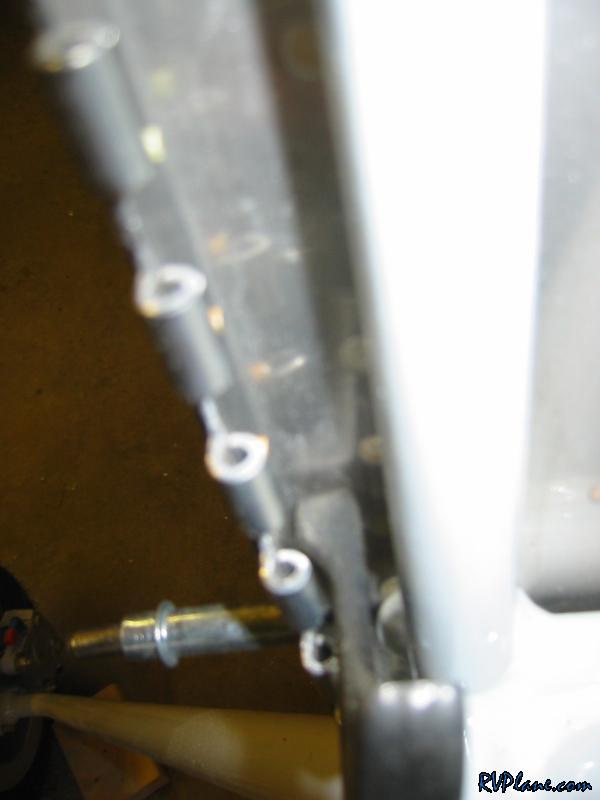 Next was more FAB work. I needed to make a ramp to adapt the top of the circular input to the flat bottom of the FAB top plate. I made this ramp out of some modeling clay. 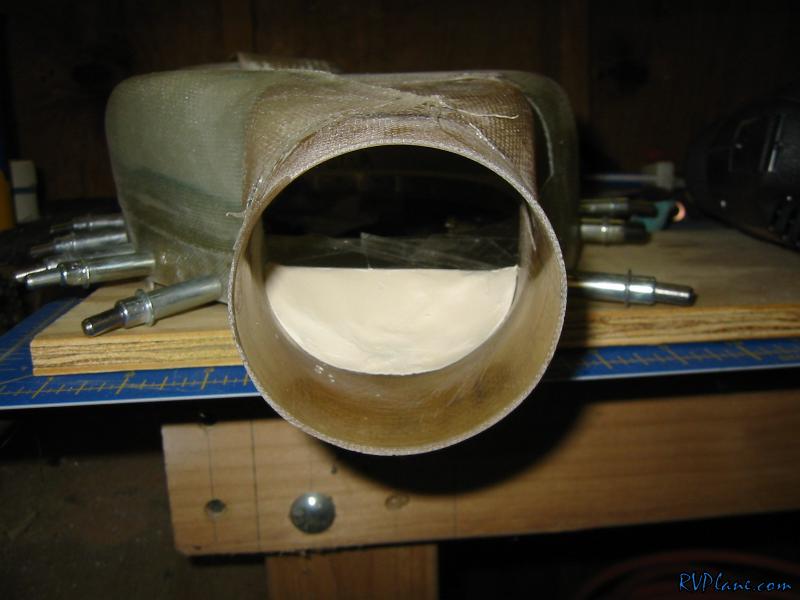 Next I put s few layers (2) of glass over it. 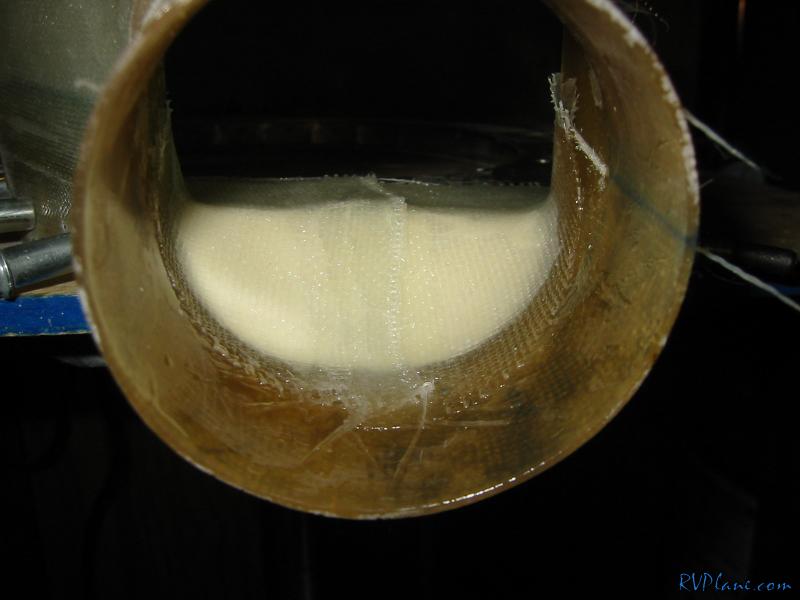 While I had the epoxy mixed, I also put some glass on the other side from what I did the other night. 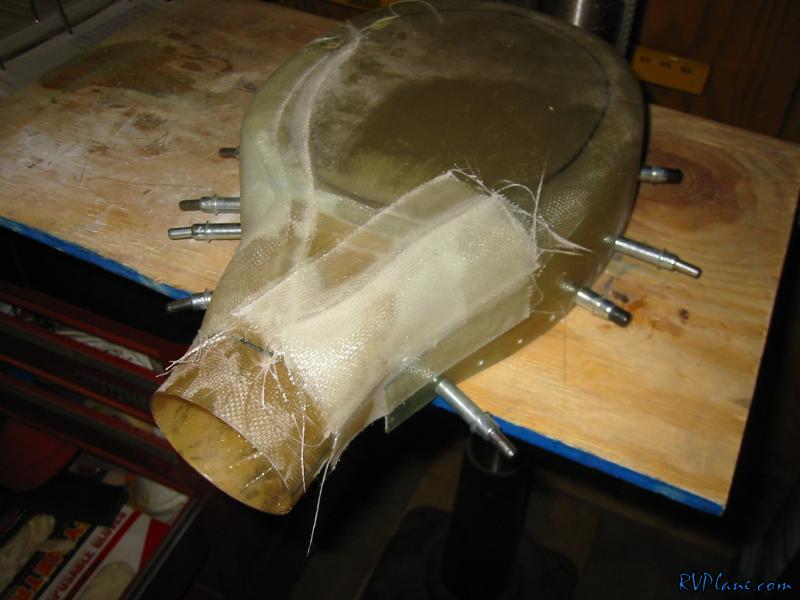 While I was in epoxy mode, I figured it was a good time to glass in the intake ring. I set up the lower cowl on some boards and shimmed everything perfectly. 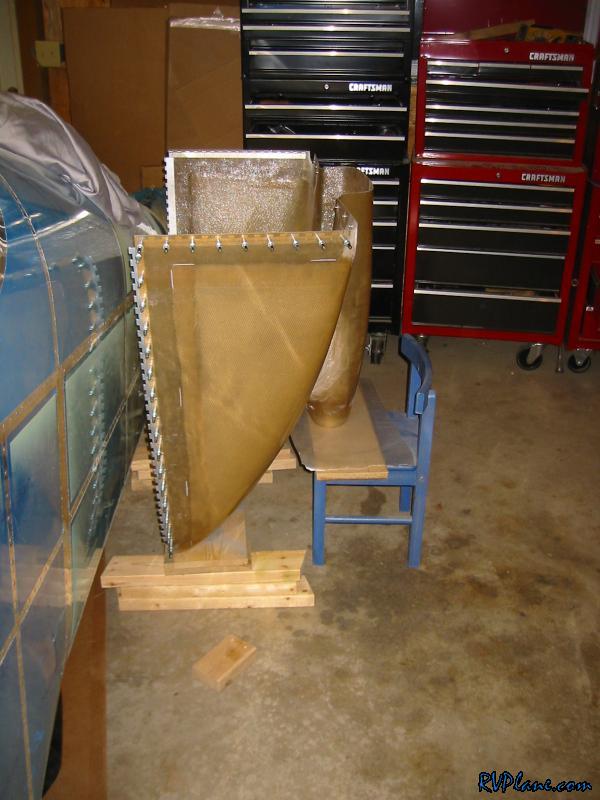 I took the inlet ring and taped it off. This ring gets permanently mounted in the cowl, so there isn't all that much that needs to be done line the cooling inlet rings. I taped off what I didn't want to get epoxy on it. 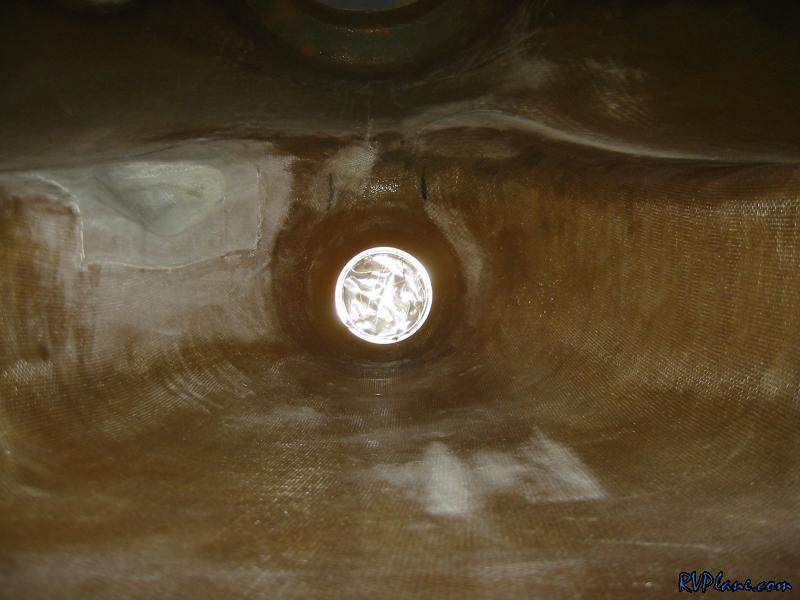 Here it is with the slurry of flox poured on it. 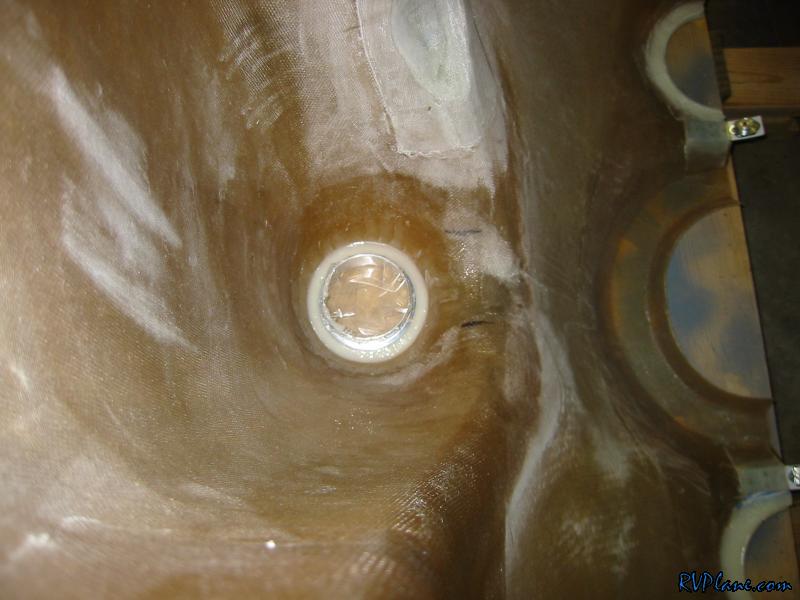
|
|||||
|
http://RVplane.com |
Last Modified: January 31, 2026 |