
|
 |
||||
Wow...I can't believe its been a week since I last worked on the project. I was pretty much dead-to-the-world sick for the past 6 days. Good news is I am pretty much over it now and feel good enough to work with fiberglass. Anyways, just because I was sick, didn't mean the project would stop. Local RV-7 flyer Bill Rogers ended up getting a hangar at DMW, and let me know I could rent 1/2 of it when I am ready until my name comes off the wait list. Cool! I have a home. Liz James called me up to let me know my cowl will ship this week. I also got my Odyssey PC680 battery. I bought this off of EBay for $120 (shipped!) with a metal jacket included (its the PC680MJ, MJ for Metal Jacket). I had a PayPal $10 off coupon, so I decided it was as good as time as any to not let it go to waste. Anyways, I got the metal jacket version to roll my own mount to the firewall. Van's charges $50 for theirs, so I figure I saved some dough there. 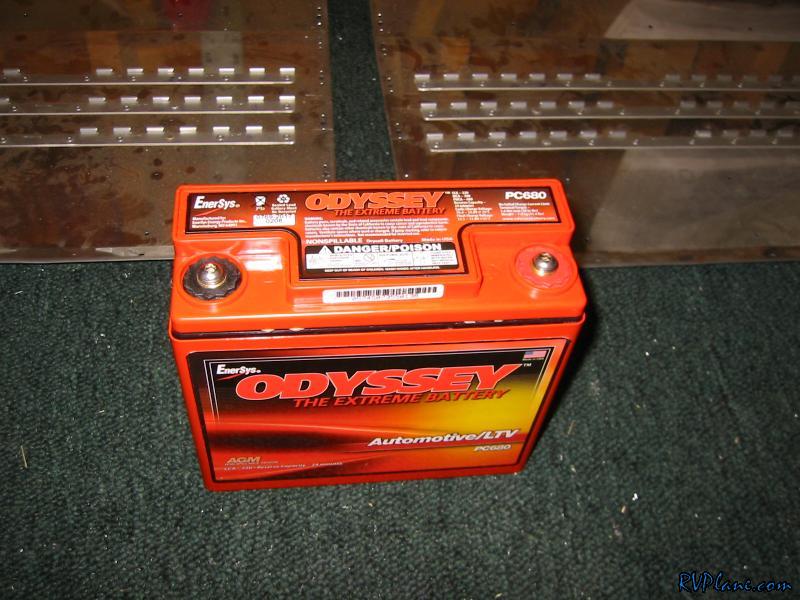 Here is the steel enclosure with the battery removed. It looks to be identical to what Van's sells. 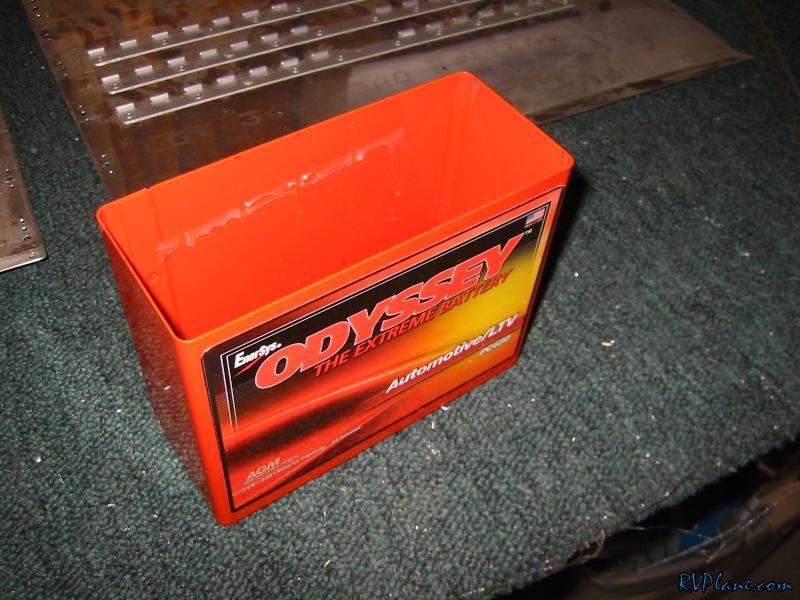 Next was onto attaching the wingtips to the fuselage. I am going to attempt to use hinges to attach them. The pin will be inserted at the trailing edge. First I needed to trim the edge of the wingtip so it would fit the wing. This was an iterative process, but I nailed it. 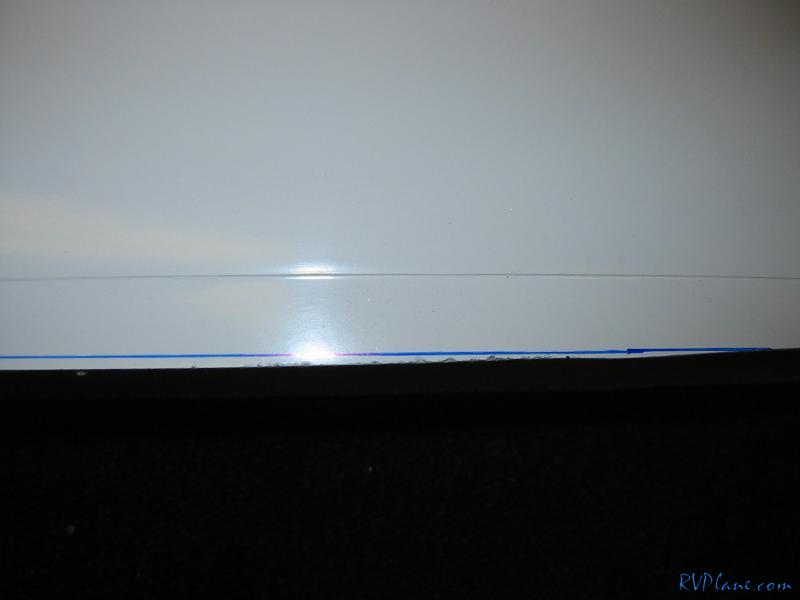 At first fit, the trailing edge of the wingtip is about 3/16" longer than the aileron. The typical fix for that is slicing the trailing edge off and regluing it back together with a flox/epoxy mix. I am not going to worry about that util the ailerons are rigged for good. 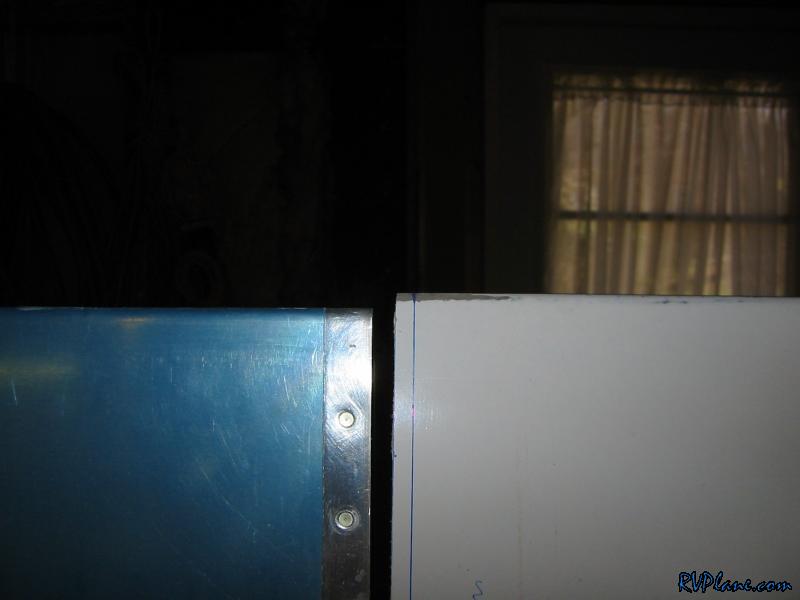 I taped the wingtip to the wing and drilled the wingtip with the predrilled spots on the wing skin.  Then I went back and put a new hole between the prepunched hole. Since screws were originally supposed to be holding on the tips, I decided more rivets would be needed. I don't know why I did this step after that last step, because I needed to put the wingtip back on the redrill it anyways. Wasted time... 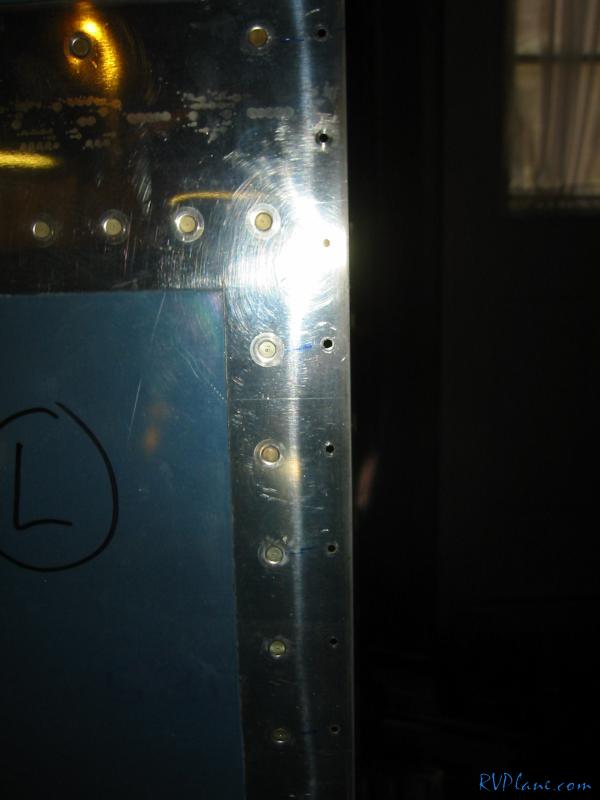 Using the holes in the wingtip, I backdrilled the hinge. 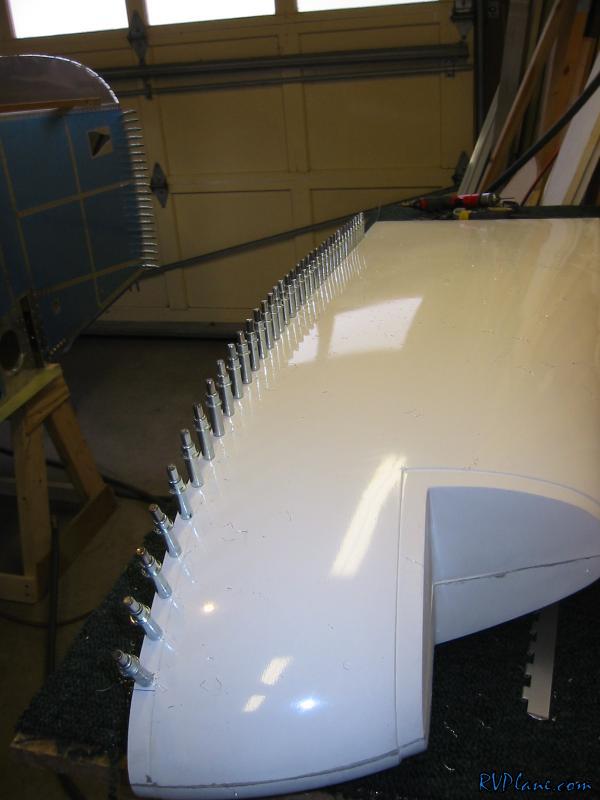 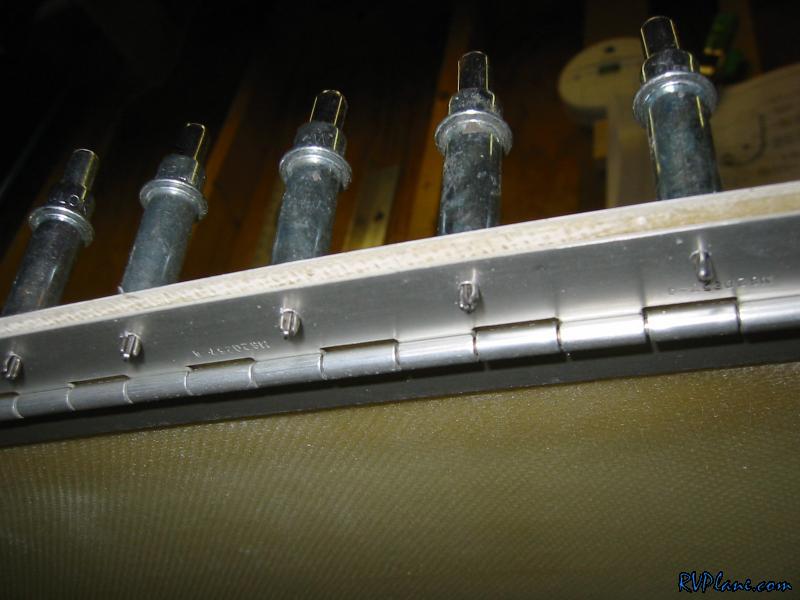 I then marked a line for the centerline of the other 1/2 of the hinge and crossmarks for the rivets. 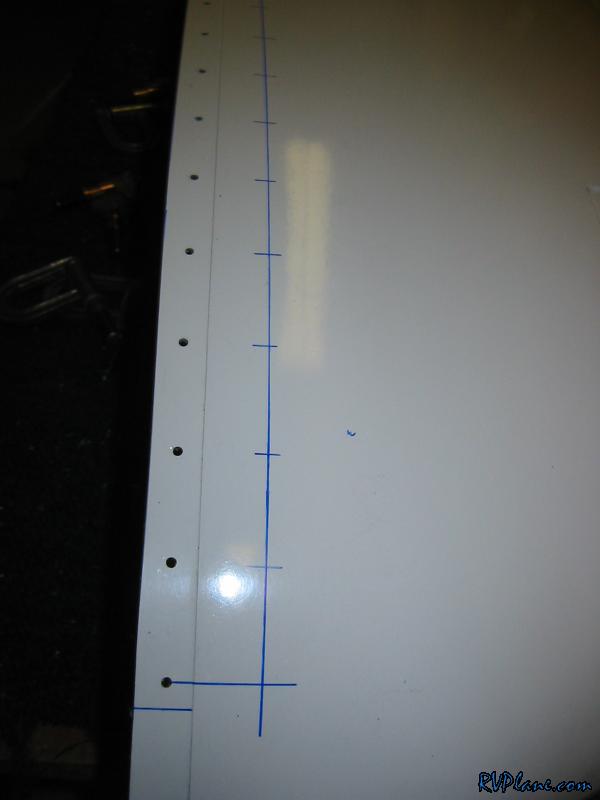 I then backdrilled the other 1/2 of the hinge. 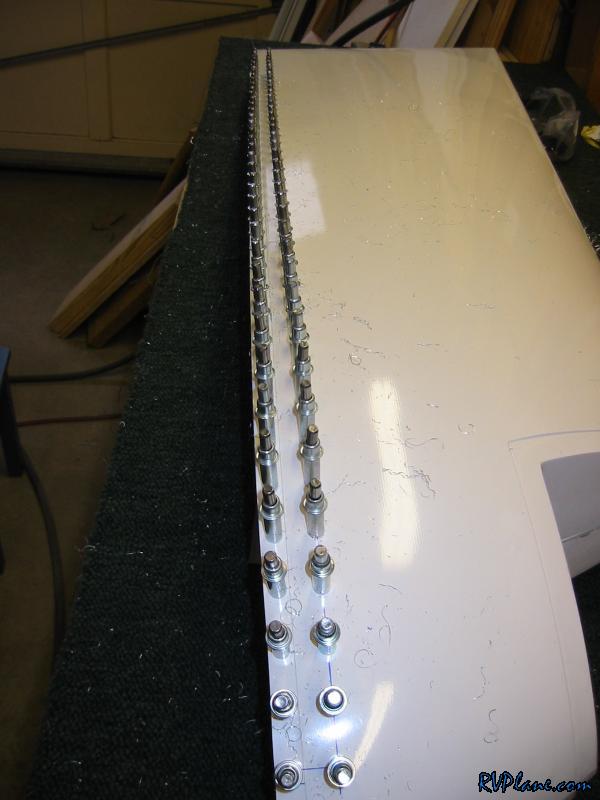 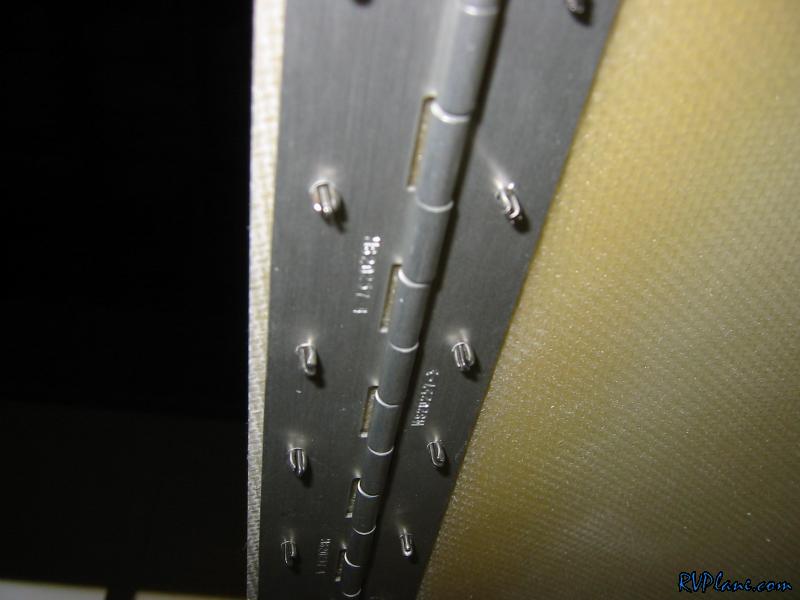 I then cut off the flange under the inboard portion of the hinge. This will act as a spacer on the wing to offset the thickness of the fiberglass under the hinges. 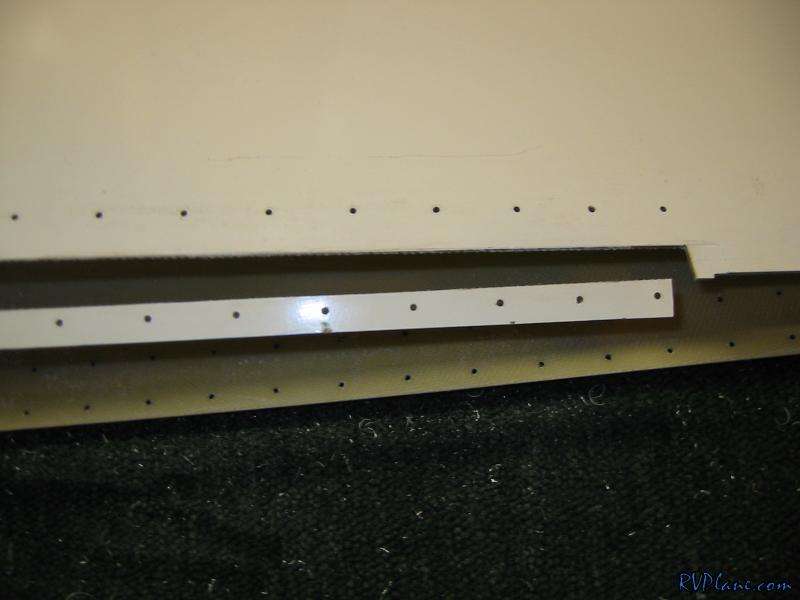 I didn't disturb the leading edge's flange, as this will still be under the leading edge. 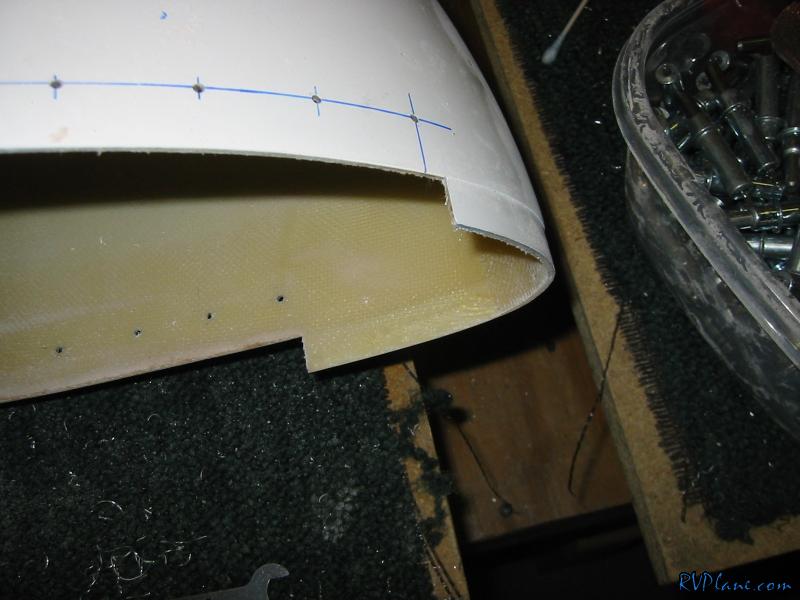 I clecoed the hinger on the wing. I used thicker "P4" hinge on the wing side so the eyelets would not be under the seam between the wing and wingtip. Local RV-8 builder Jack Savage recommended that, so if there is a gap, you don't see the eyelets. 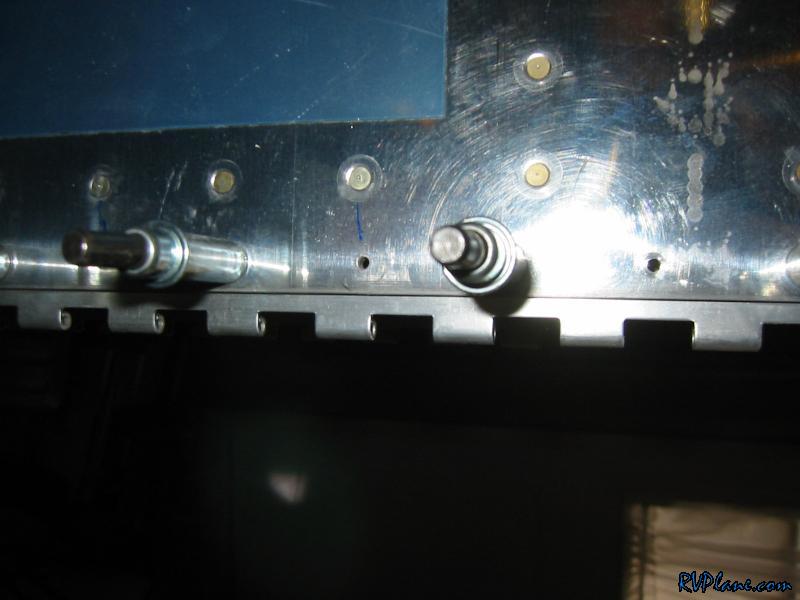 You can see how the fiberglass flange is sandwiched between the wing skin and the hinge. This will need to be countersunk eventually. 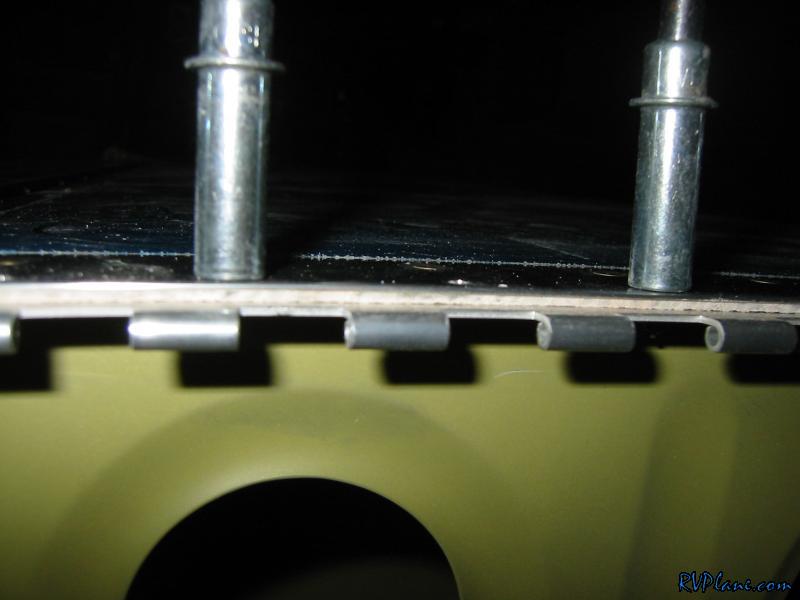 And here is the official first test! After some minor sanding, the wingtip first PERFECTLY! I still have to do a little finish up work, but it didn't take too long to get these things to this point. 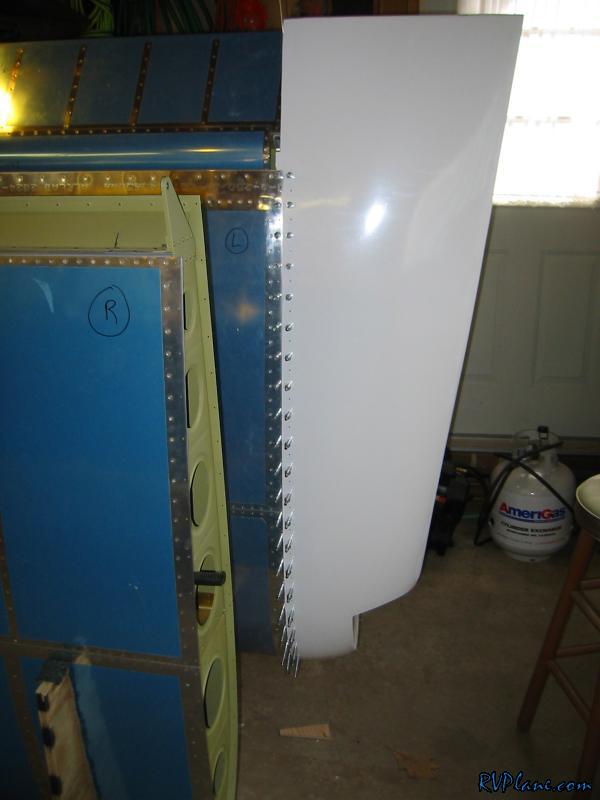
|
|||||
|
http://RVplane.com |
Last Modified: January 31, 2026 |