
|
 |
||||
I started out today with a cold garage. 44 degrees or so. I fired up the heater and an hour later it was 55 degrees. That was better! I installed the heater at the perfect time, me thinks. I started out making wing jacks to take the sag out of the center of the wings. I did this the el cheapo way with a 12" 3/8" threaded rod (like a buck at the depot) and some left over 4x4 from the wing jig. I drilled into the bottom 4x4x4 with a 3/8" drill bit, put a washer over the hole, threaded two nuts onto the rod then shoved the rod into the hole. Basically, you screw down on the nuts, it pushed against the bottom 4x4 and raises the 4x4x1.5" on top. I have to say that this is the best way I can see doing it. You could get fancy and get hydrolic jacks, but lets face it - the wings don't weigh that much. This method gives me ultimate precision and I put a lock nut on to secure everything when it is done. Does a hydrolic jack have a lock nut? Next I headed up the DMW for the monthly EAA1384 meeting. It's always good to get out with other builders (yeah, even on RV builders..they're OK guys too, I guess) to swap ideas. The biggest, bestest news was that in the near future, KDMW is planning on developing 14 acres of the county properties into T Hangars. I think that the RFP's are due back in the beginning of '07, probably that means that at the earliest they will be available in mid '08. I think I got a goal ;-) I had dinner with the folks then got home and marked the 0.025 sheet for the wing doubler. It is actually two 10" x 48" 025 sheets that you need to cut down to 26" x 9 3/8". Supposedly it is OK to leave the 10" side, but I am going to take these into work tomorrow and cut then with the hydraulic shears. Wing jacks. Assembled and unassembled. 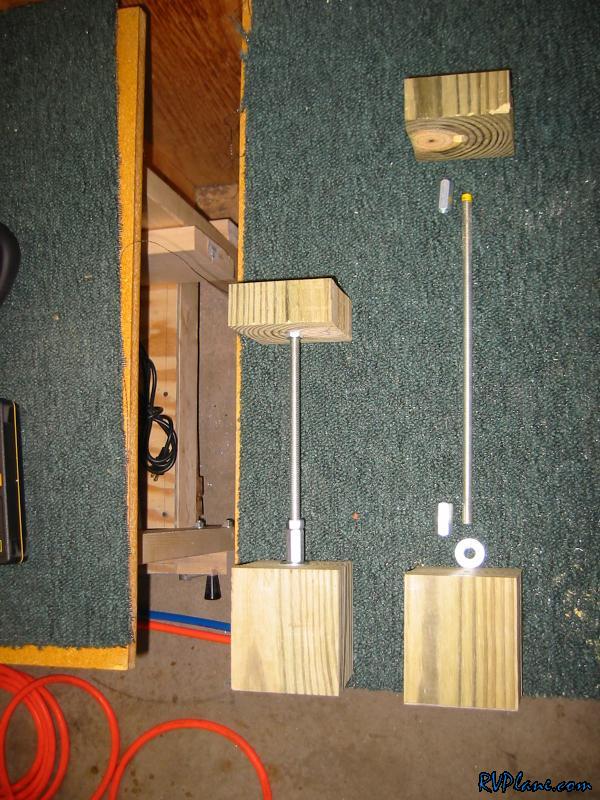 I screwd down the tip side with 1/4" screws. I left enough space so I wont need to notch the support angle because of skin interference. I measures the skins and determined that you need about 1" from the center of the holes on the tip rib. 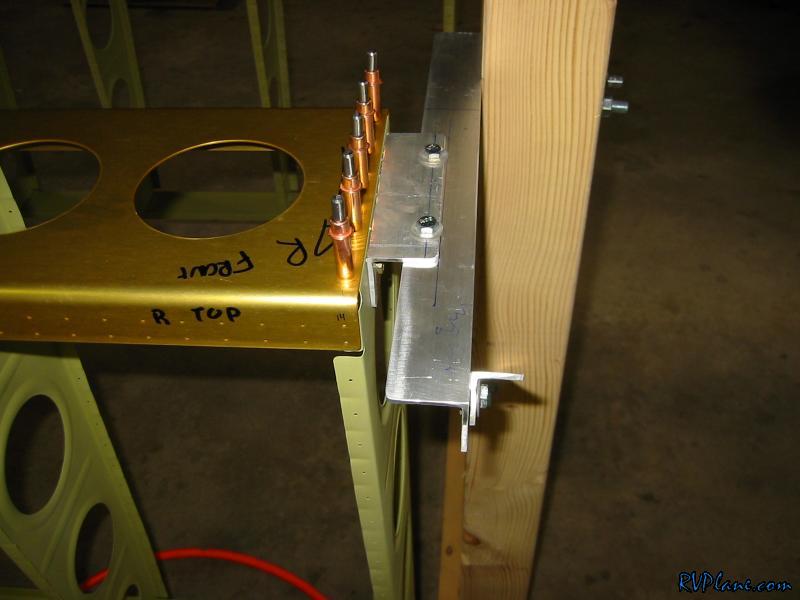 Then I clamped down the root. I put plywood under the clamps to protect the spar. Plus I didn't tighten them down too much. 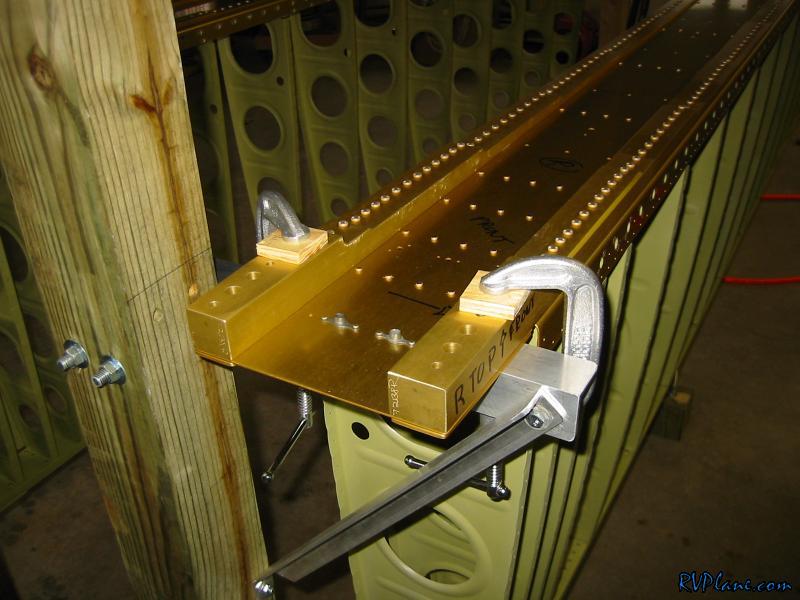 Looks good here 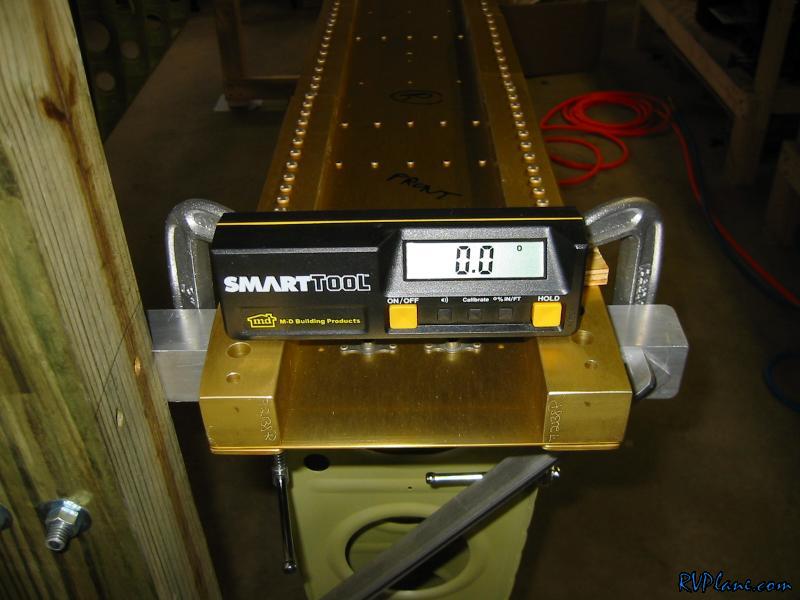 ....and here. 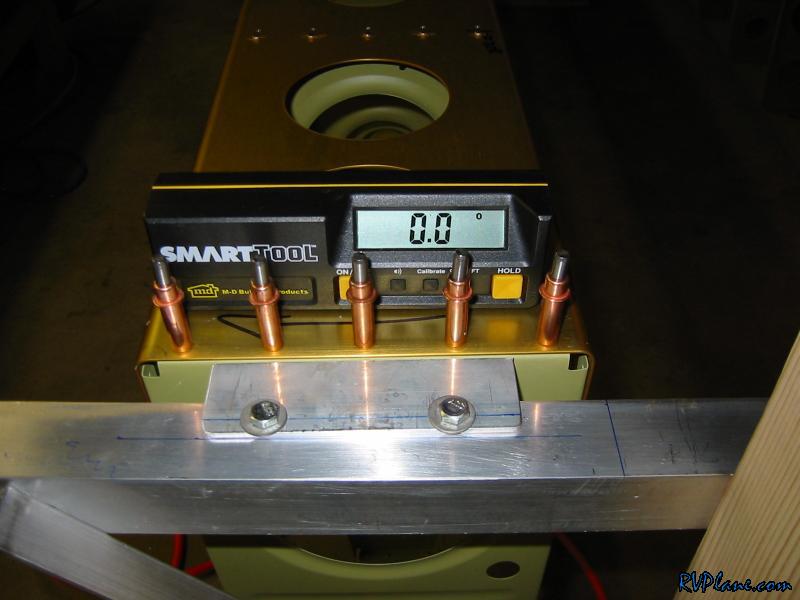 This is the amount of sag I am dealing with. The fishing line should line up with the top of the holes on the bottom of the spar flange.... 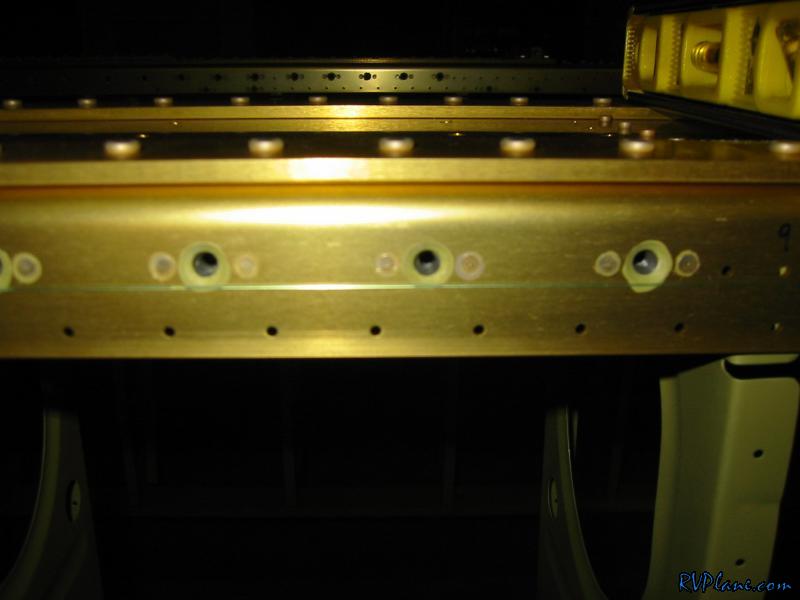 .....or, better illustrated, like this! 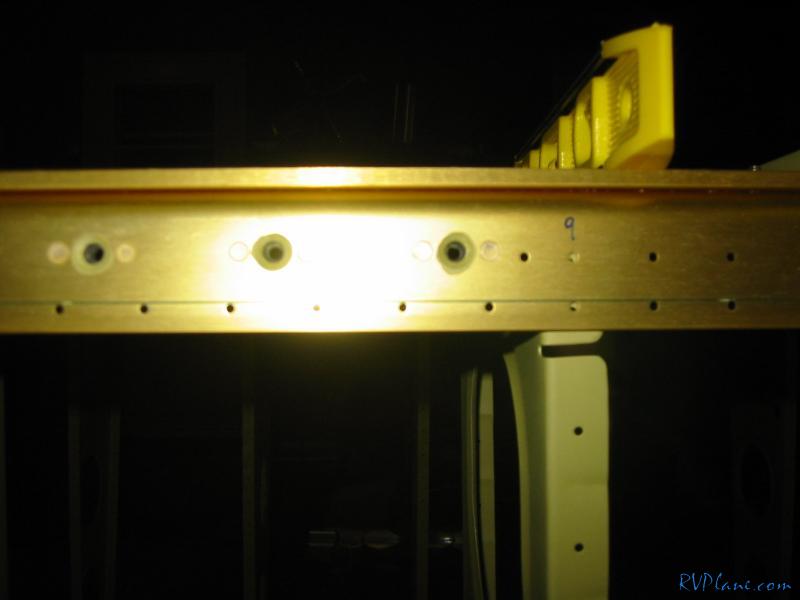 The doublers marked off. 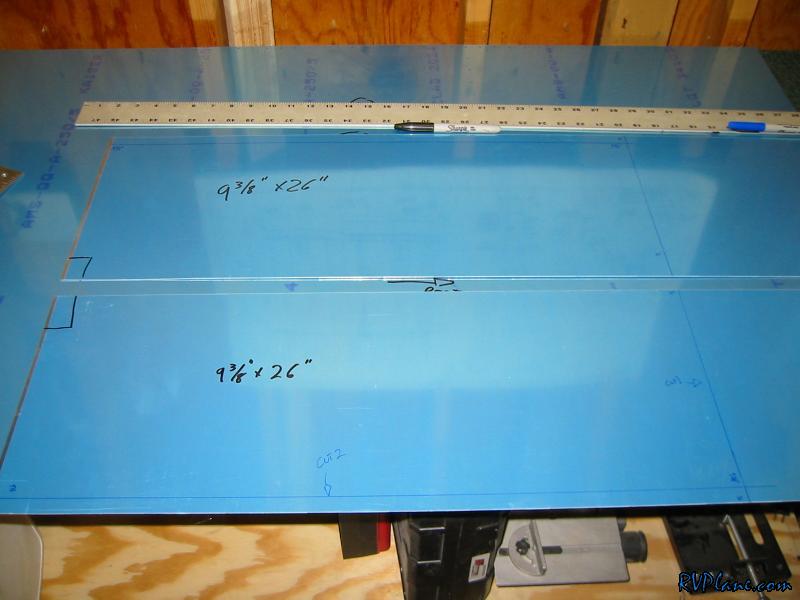
|
|||||
|
http://RVplane.com |
Last Modified: January 31, 2026 |