
|
 |
||||
My annual inspection continued on, so I decided to take my lower spark plugs home to be cleaned in the comfort of my basement. 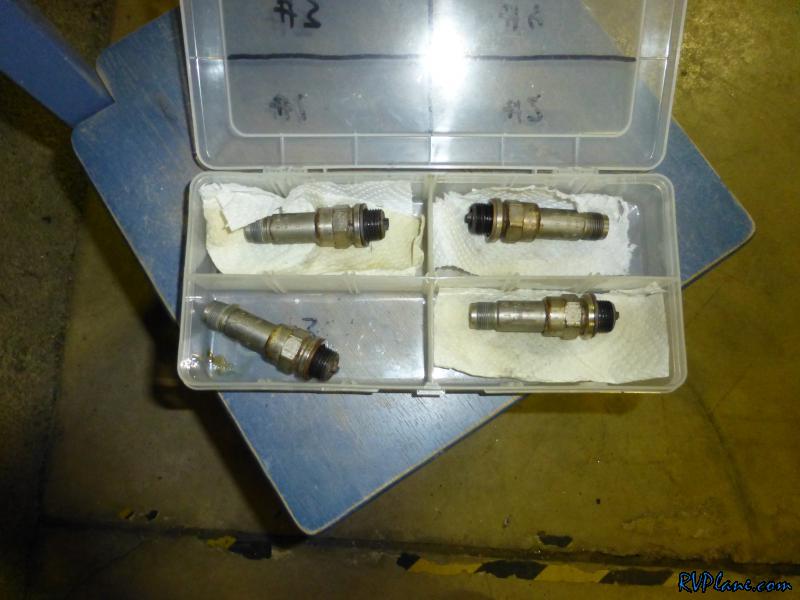 Last year my friend John D'amico let me borrow his Aircraft Tool Supply (ATS) PA01 spark plug cleaning tool. It worked amazingly well - way better than the methods I have used in the past. However, for $40 it seemed to be overpriced...just like everything else in Aviation! The took was nothing more than an engraving tool with a special attachment. SkyGeek sold the attachment (PA01-1) for less than $5, I already had an electric engraver ($8 from Harbor Freight), and it took a couple of minutes to modify some leftover parts in my basement to attach the spark plug cleaning end to the engraver. 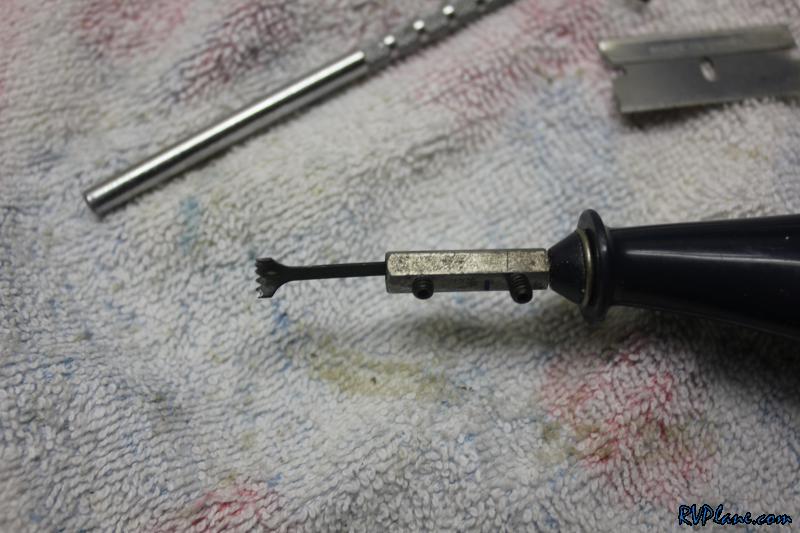 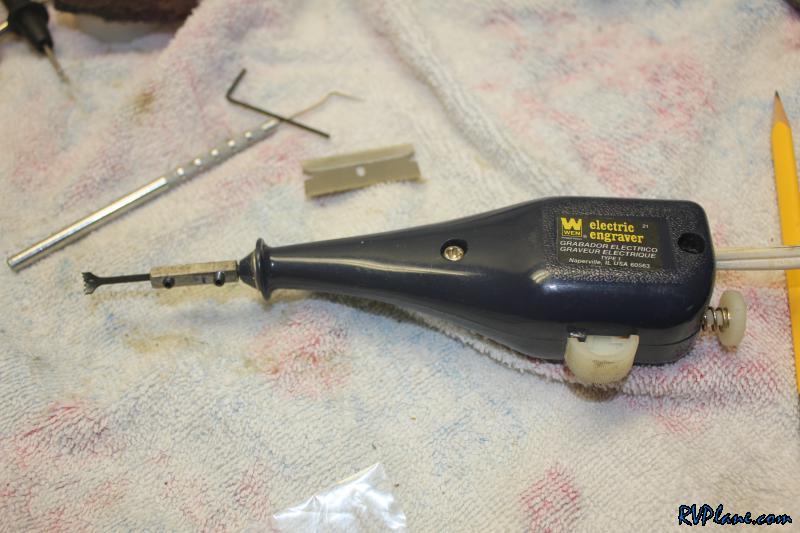 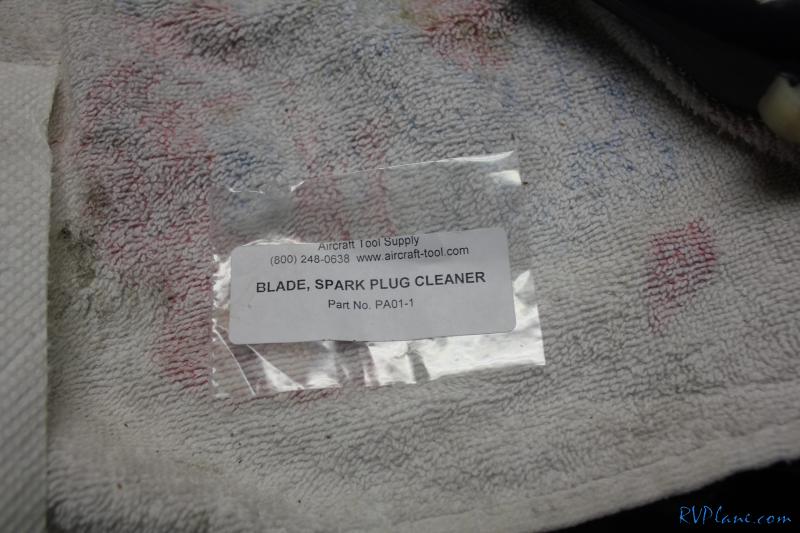 This was the amount of lead deposits the tool was able to get out of just one spark plug!  I used a wire brush wheel to clean up the threads and the general exterior of the plug. 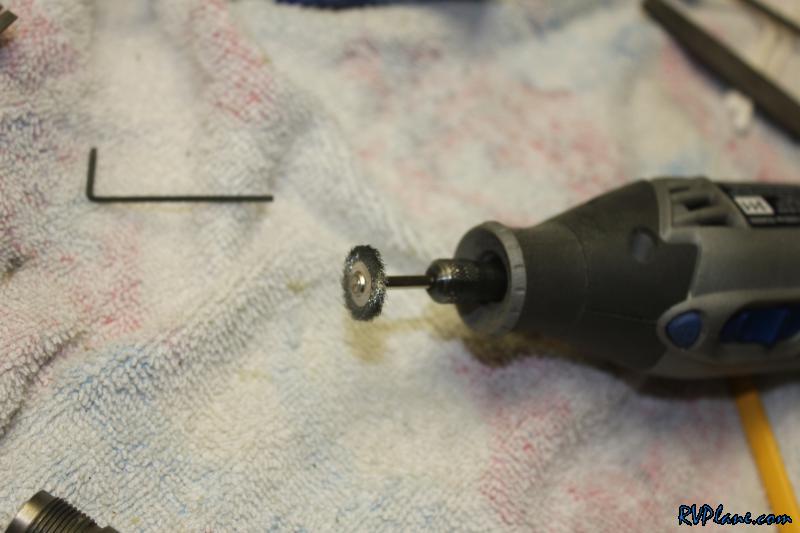 Voila! Like brand new! These plugs have roughly 350 hours on them. 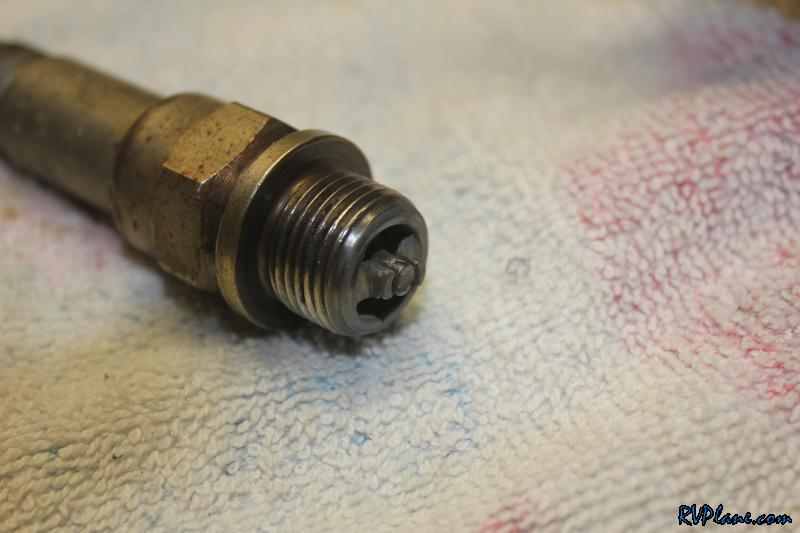 Back at the hangar I noticed there were some rubbing marks on the bottom of the lower cowling. 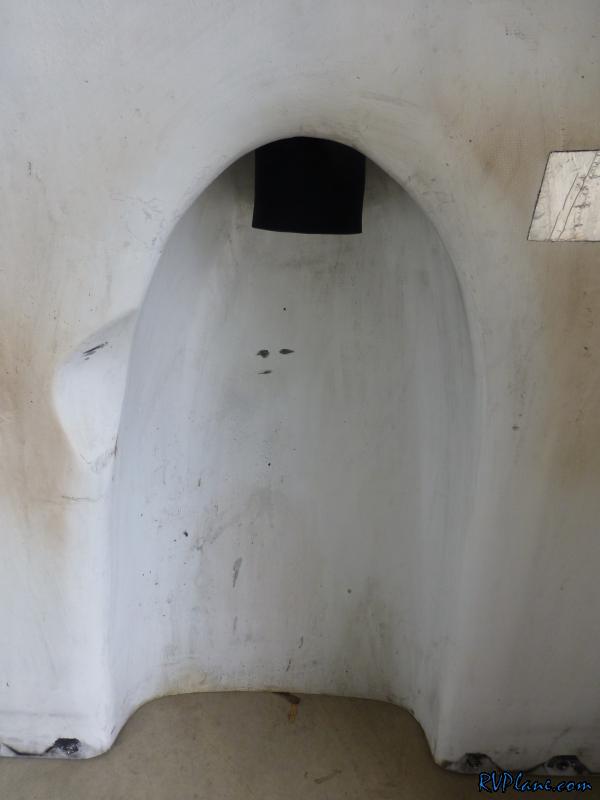 Closer look. It appears as if the bracket I made that connects the wire from the alternative air to the door was rubbing. It doesn't surprise me all that much - that bracket was really low. 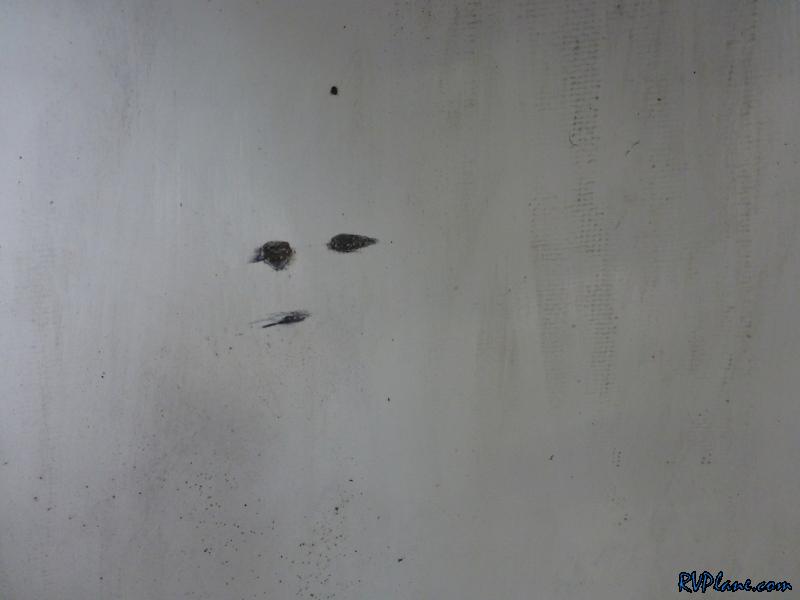 While I have high hopes for the new FAB mounting plate to not crack, I wanted to build some reinforcement from the FAB to the engine in order to reduce any excessive vibrations int he FAB and future cracks. I thought the best place to mount this to was to the bolts that mount the fuel servo to the oil sump. I made this bracket out of some 063 angle. 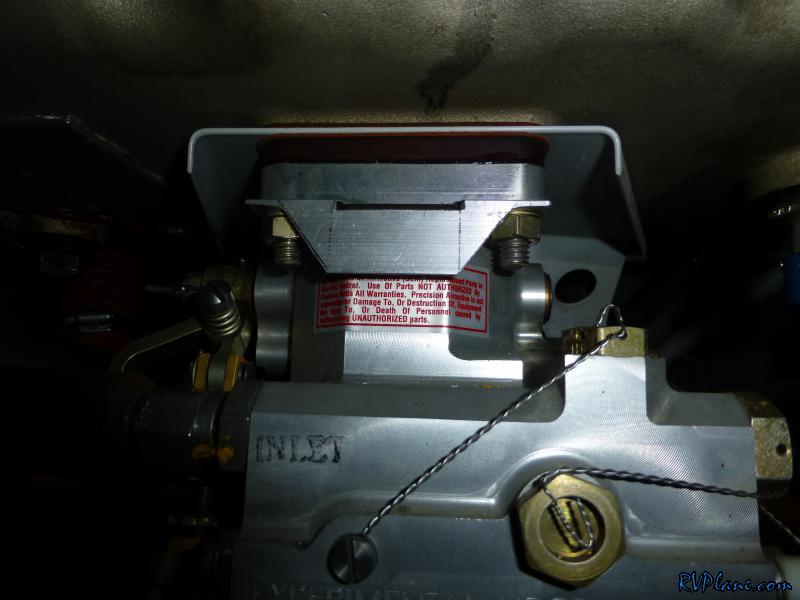 The rest of the reinforcement arm. This REALLY stabilizes the FAB. 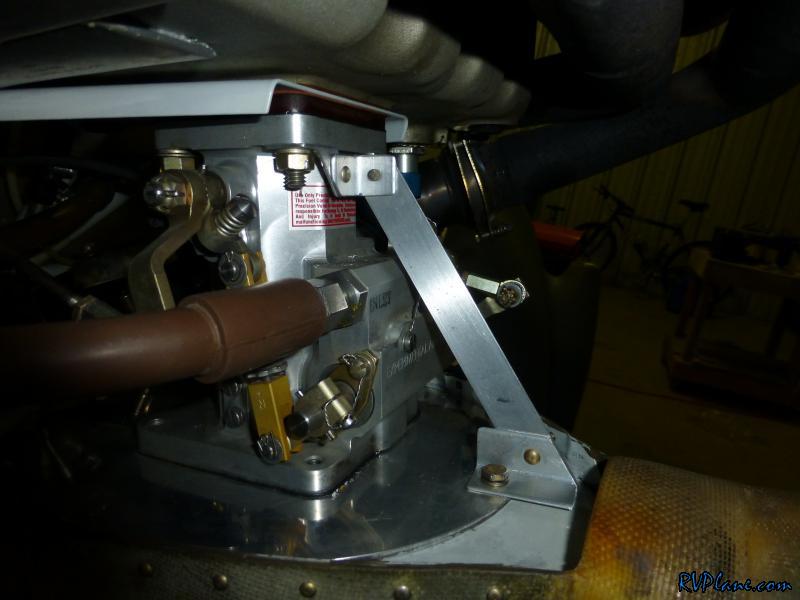 Next up was reworking my bracket to connect the cable from the airbox bypass to the bypass door. By removing some washers I was able to reduce the thickness by about 1/4". 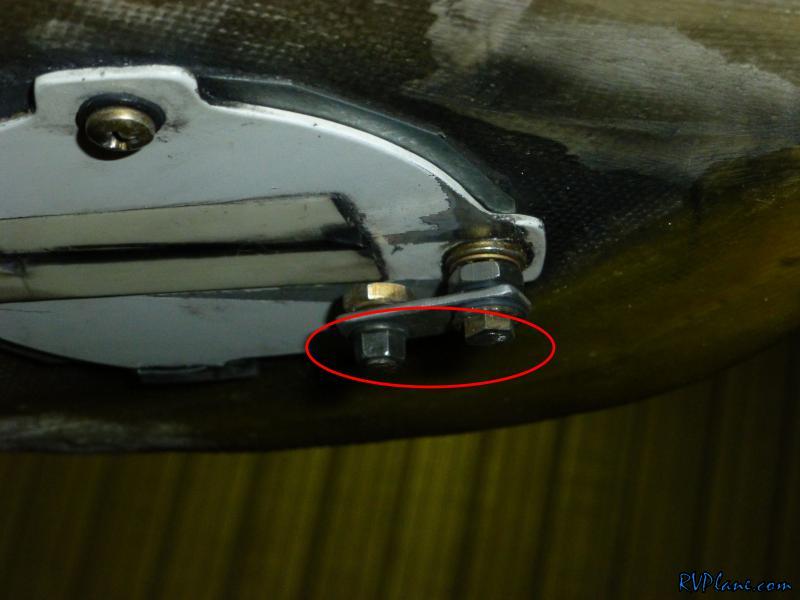 I also redid how the cable was routed. Before it was attached to the FAB with just a single adel clamp. Now it has two clamps. 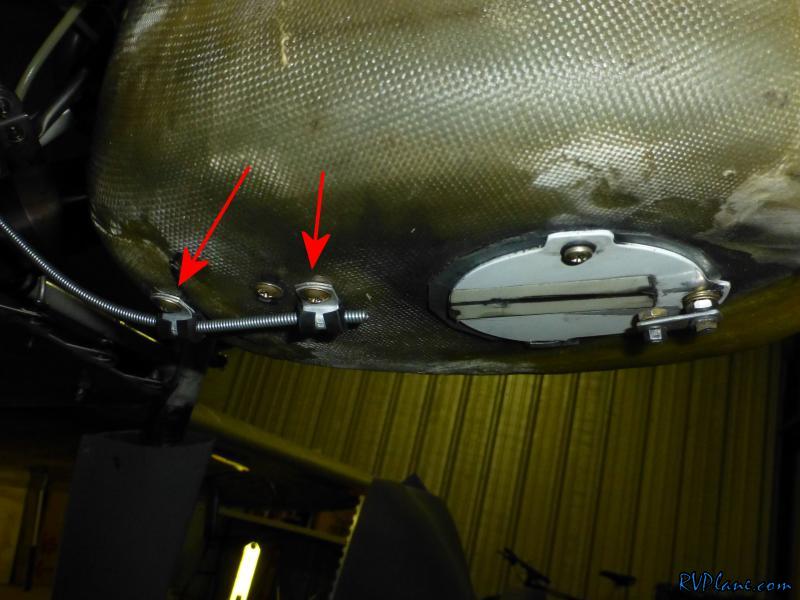 The completed FAB! I hope I never have to touch this again....however, I know I've said this before. 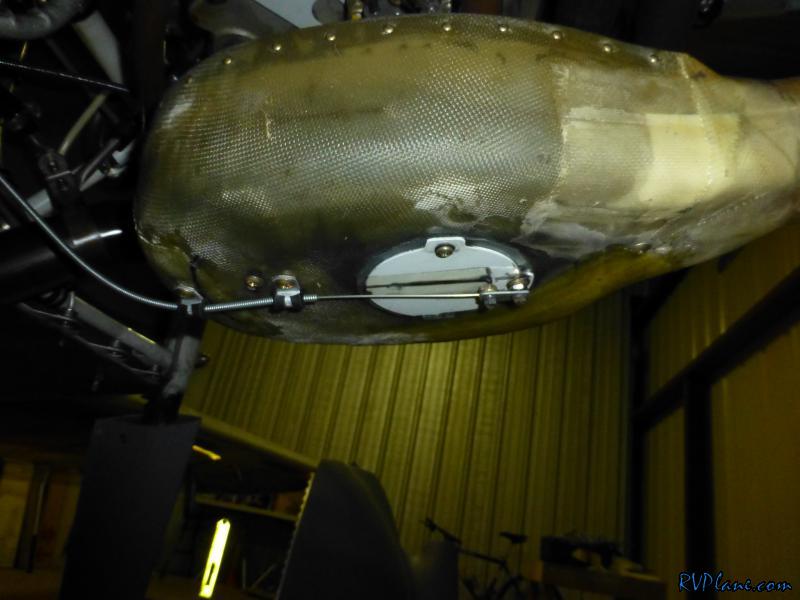 I elected to be classy and replace my old black knob with a red one instead. I can just feel the value of my airplane increase! 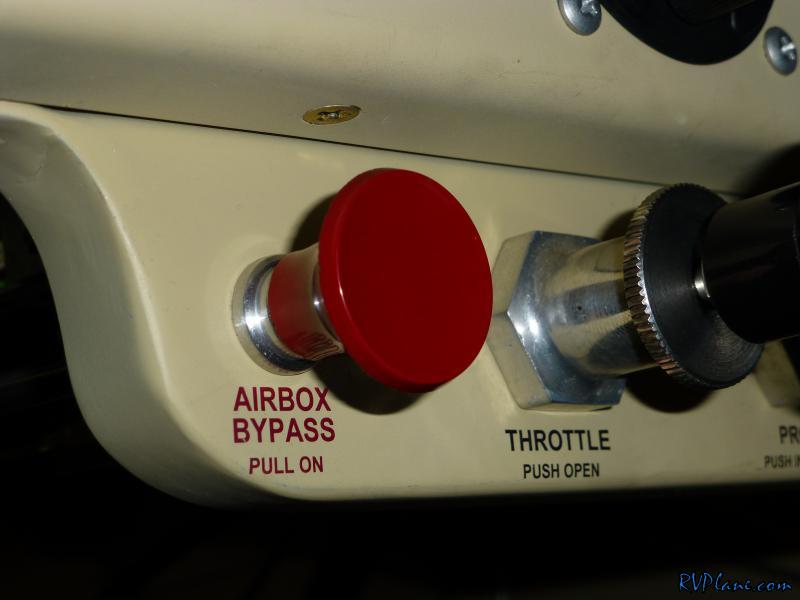 Now with reliable Wifi in the hangar, it was time to put it to work with my hangar heater. On VansAirForce, someone recommended the Ankuoo Neo Wifi power switch. For $22 on Amazon, I didn't have too much to loose. I gotta say this thing is a piece of cake to get configured, and it works flawlessly from my mobile phone. I can easily see the current status of the device, turn it on and off, as well as set a schedule or countdown clock for turning it on and off. My only complaint is the app is a little buggy, requiring me to occasionally restart the app.  In doing an inspection of the spark plug wires, I noticed one of the mag wires had a little wear on it where it was rubbing against the EMAG. This should take care of it. 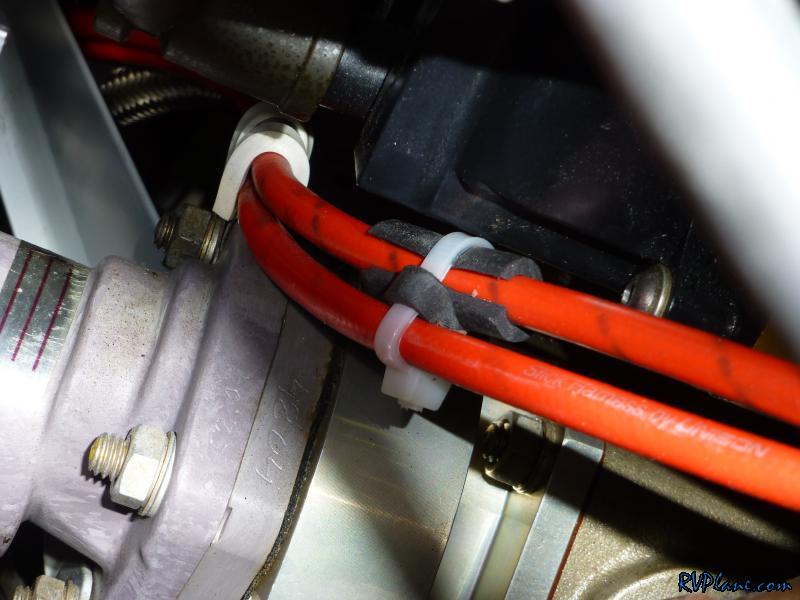 My friend Steve Kozial stopped by the hangar to chat RV with me. We were talking about the annual inspection, and he commented how I was lucky to have never of experienced a crack behind my #4 cylinder in the baffling. I am pretty sure he cursed me, because right after he left, the next step for me to inspect was the baffles, and wouldn;t you know that I found a nice crack! Newman!! 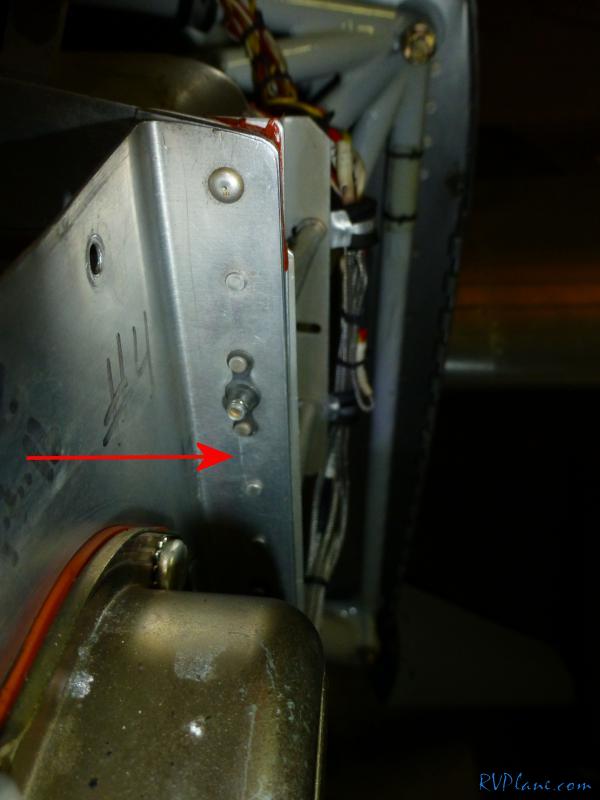 I hemmed and hawed over how to fix this without taking the baffle and/or oil cooler off, but in the end the best way to do a proper fix was to take it completely off. I'm very confident I spend more time procrastinating than it really took me to get it off.  In little time I had the rivets removed and it was time to get to work with the fix. 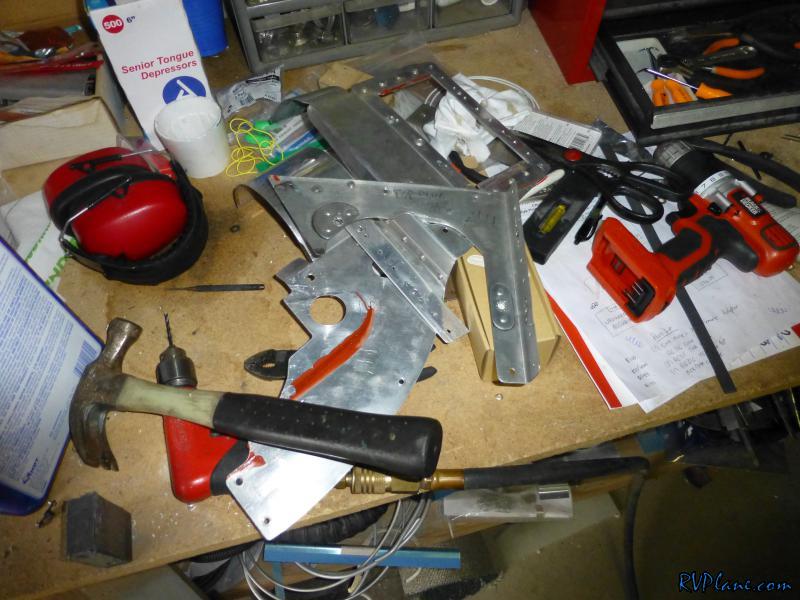 There were more cracks in the baffle than I originally saw. This crack was the worst around the lower nutplate. 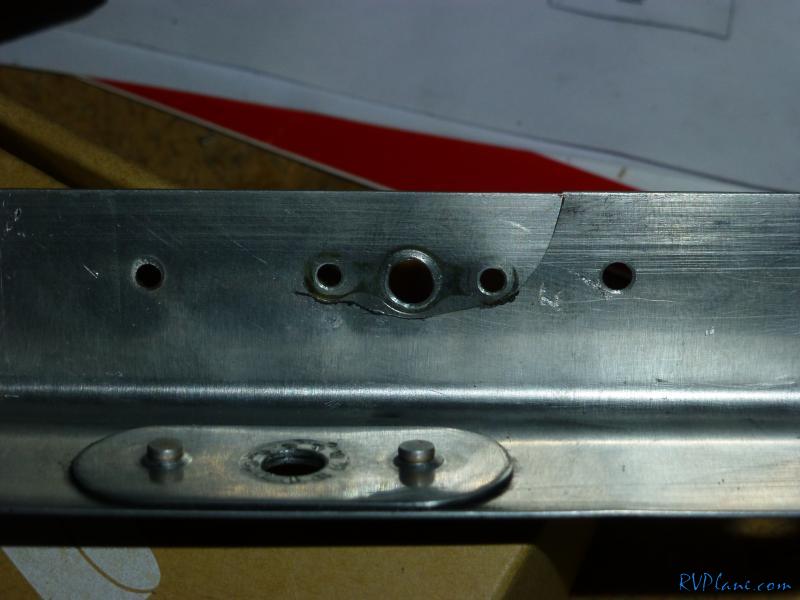 And this crack was longer than I originally thought it was.  I decided not to mess around and replace it with some scrap .125" angle I had leftover. I woudl attach the angle to the engine and also the plenum to make it solid. 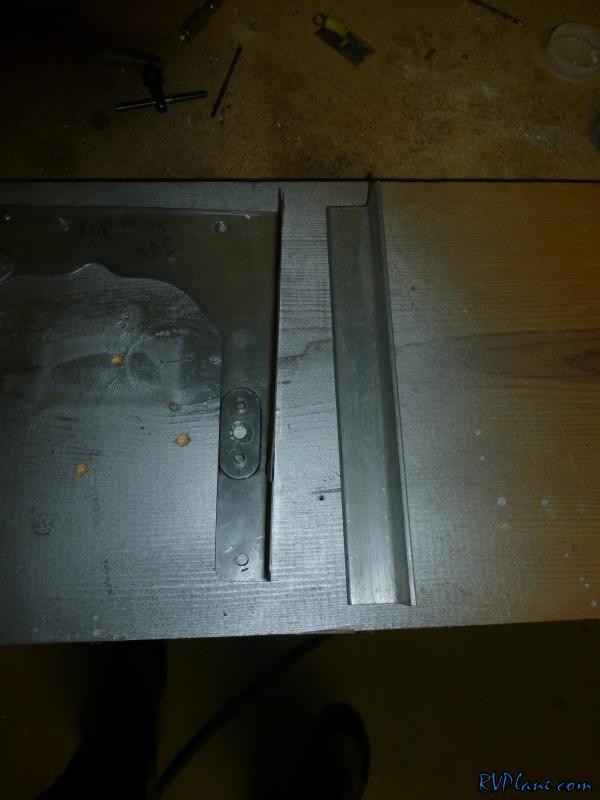 The hard part was figuring out a way to duplicate the exact position and existing holes in the part of the baffle with the crack in it. I wanted to cut that part off and not have to worry about it in the future. I used some scrap angle and clamped the baffle to some wood in order to get the duplication of holes and position perfect. 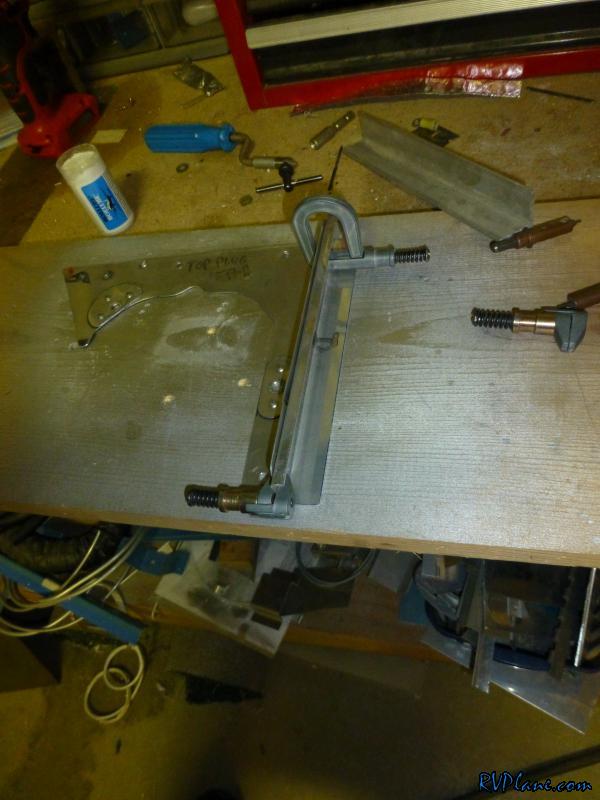 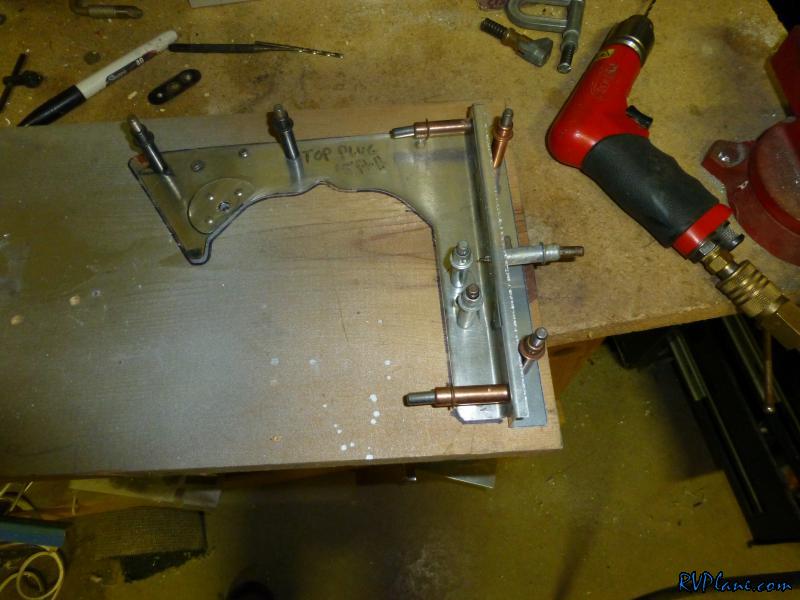 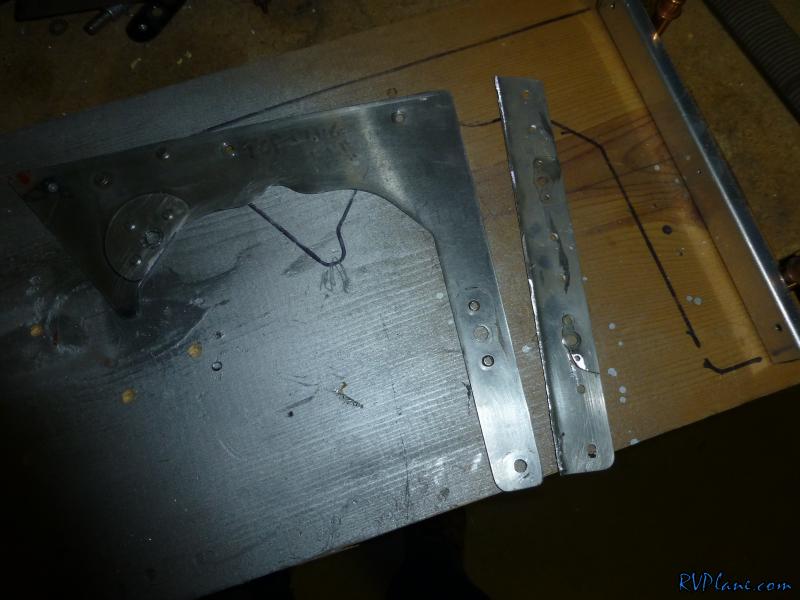 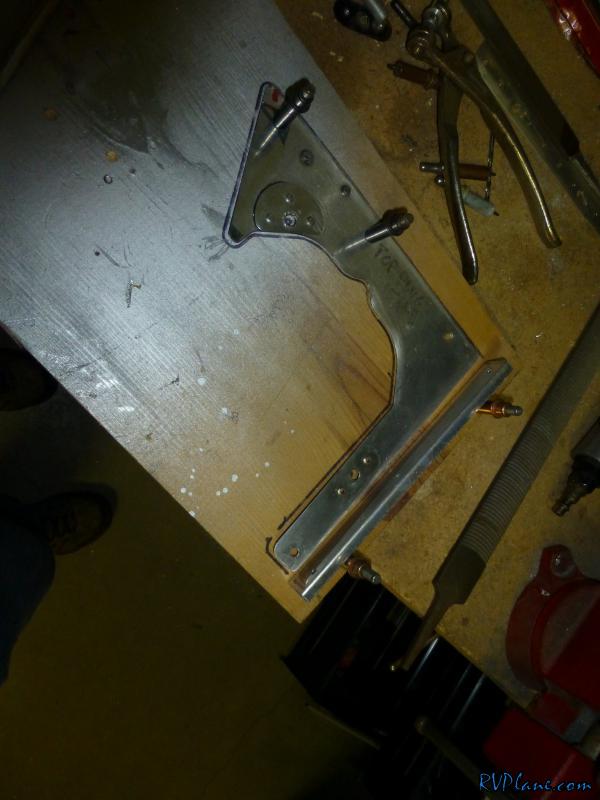 And the finished piece! This sucker is BEEFY! 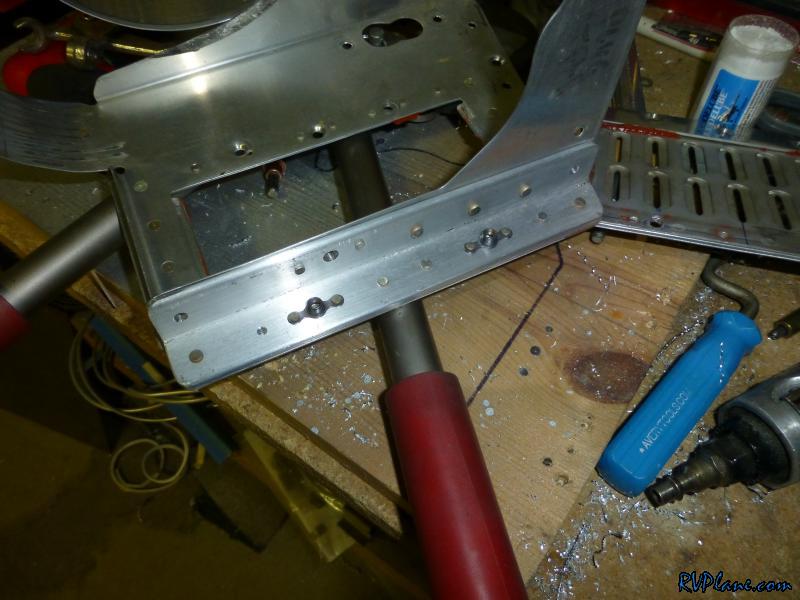 It wasn't too painful getting the baffle back on the airplane. 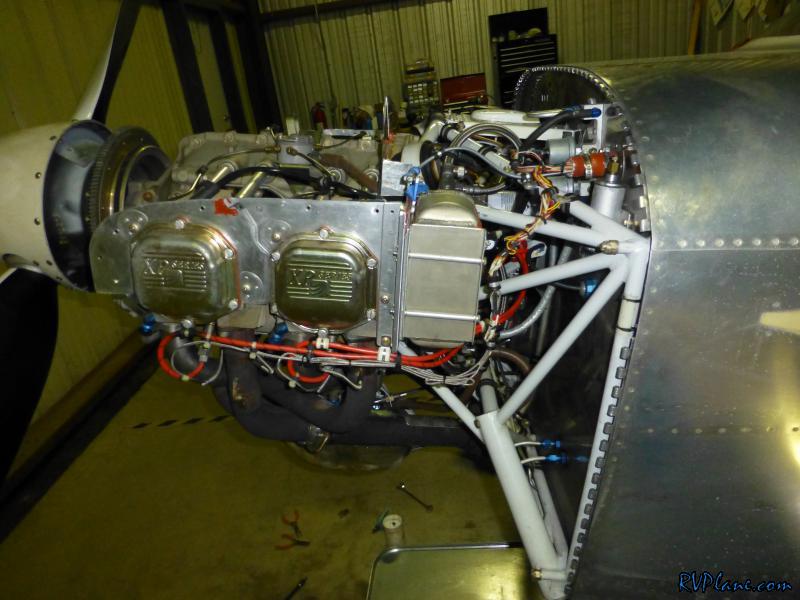 With the thicker material in place, my AN3-42A bolts weren't quite long enough. I have a range of new bolts on the way from ACS to make this right. 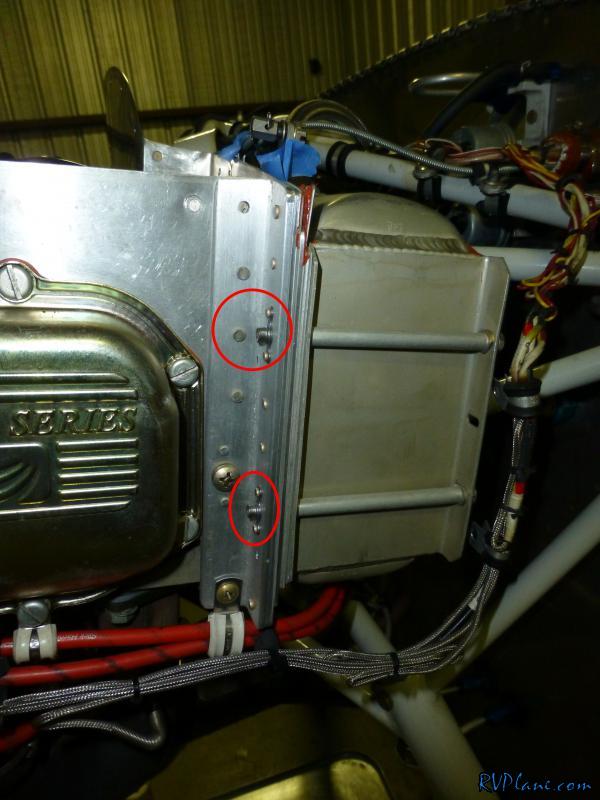 Continuing on, I found there was some significant oil stains around the oil pressure regulator. I took a wrench to it and it was definitely loose. I tightened it up, re-safety wired it and cleaned up the oil. 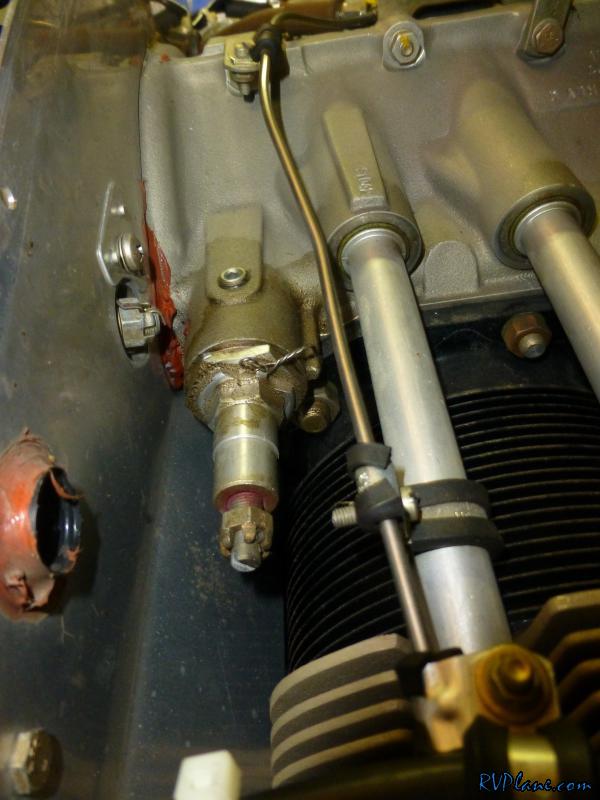
|
|||||
|
http://RVplane.com |
Last Modified: August 13, 2023 |