
|
 |
||||
Today was the day to fix my sticky #2 exhaust valve. After doing some research, it seemed to make sense to drop the exhaust to get access to the exhaust port on the #2 cylinder.  It's not much access, but it's enough to be able to grab the exhaust stem once it is out of the guide. 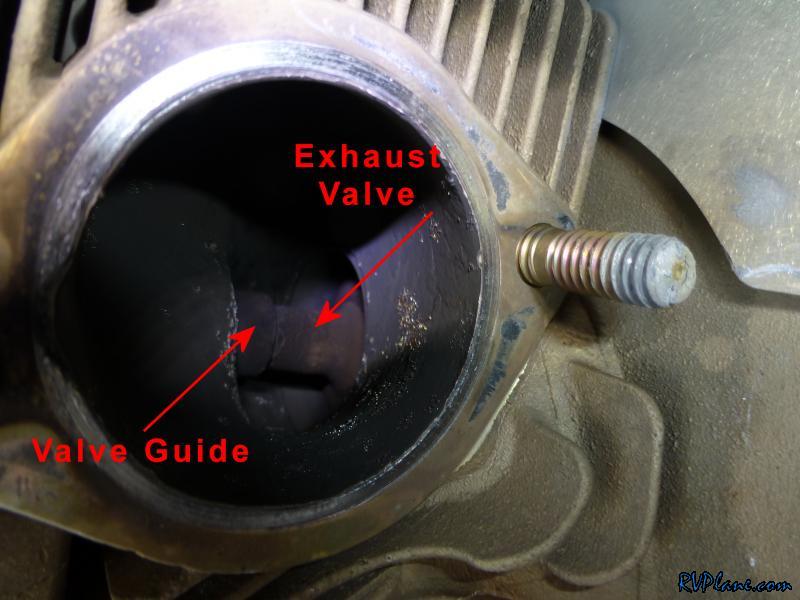 I used a 7/16 wooden dowel to use a hammed against to push the valve into the cylinder. 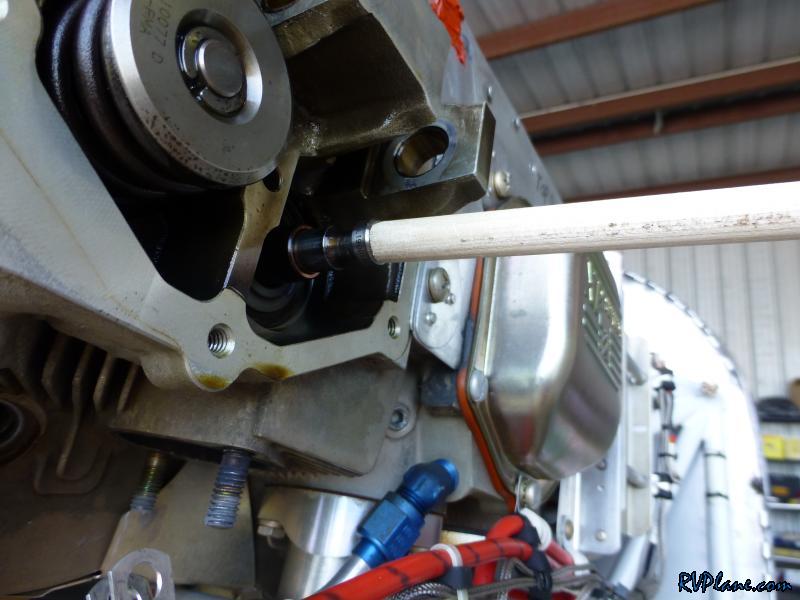 It's tough to see, but I used a set of mechanical pickup jaws to grab the step of the exhaust valve once it exited the guide. 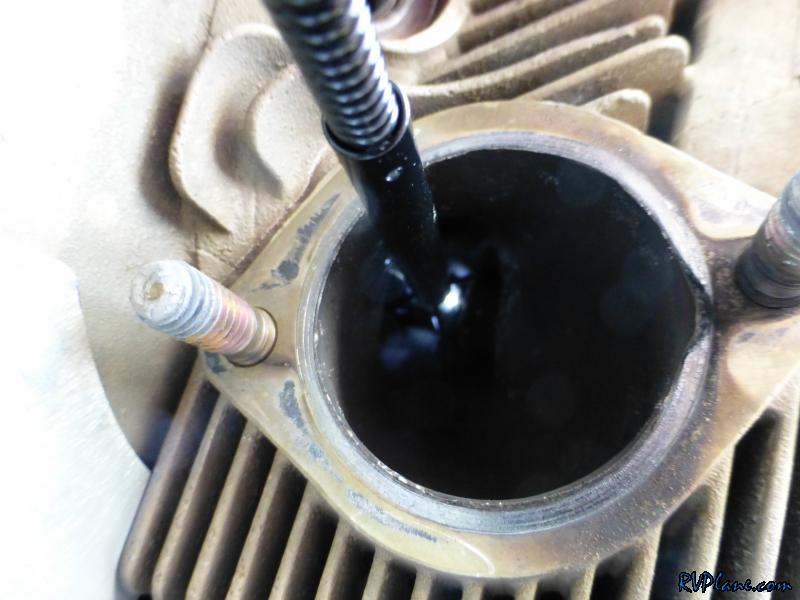 This tool is amazing - the jaws have a fantastic amount of strength, and there is a built in LED light at the end of the tool. For $8, it's a bargain. 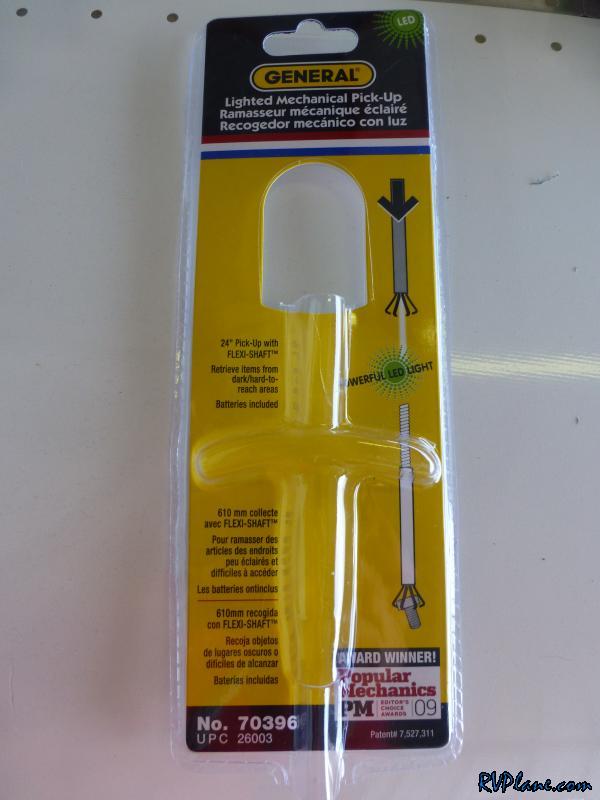 I bought this 0.4995 reamer off of EBay for around $25 shipped. The total cost to fix this issue is under $50! I'm thrilled with this!. 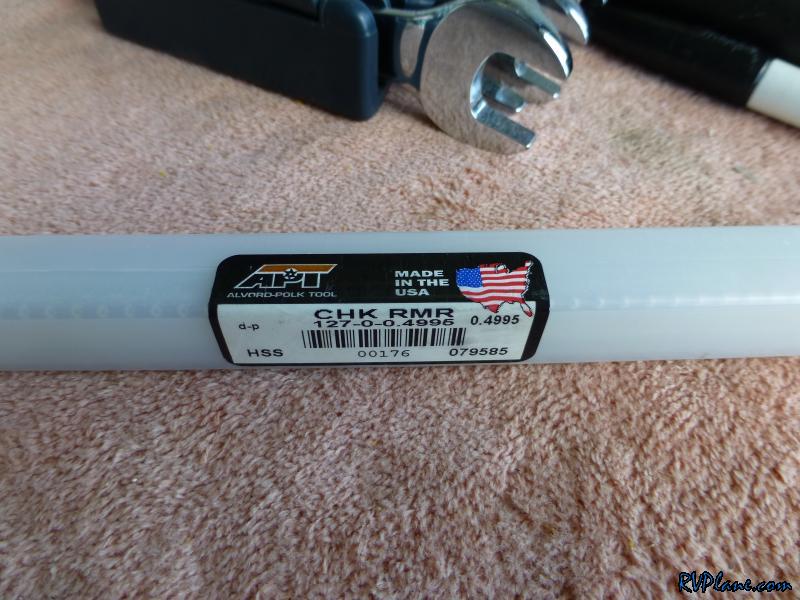 I chucked the reamer into my tap-and-die tool and added a fair amount of Aeroshell #5 wheel bearing grease. The grease not only lubricates the reamer, but it also catches any shavings the reamer removed from the guide. 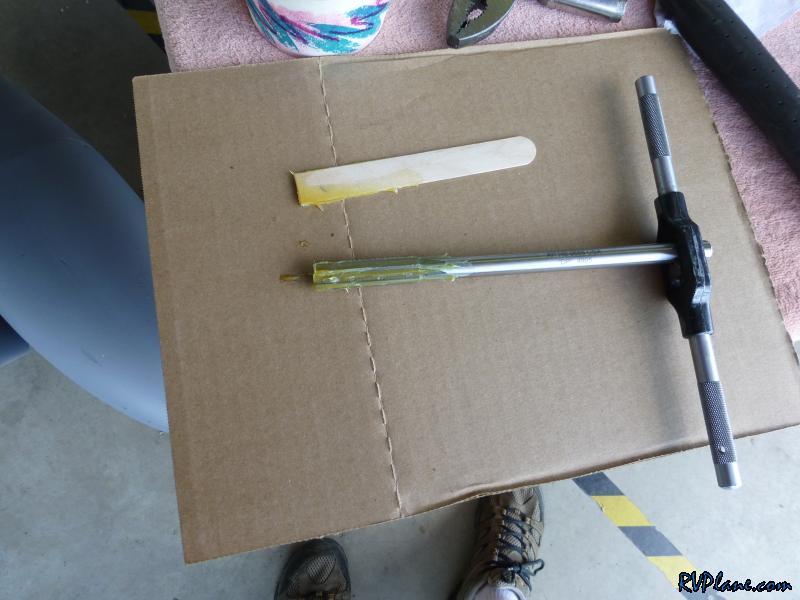 Rotating clockwise, the reamer is fully inserted into the guide.   I only went in as far as I needed to with the reamer. 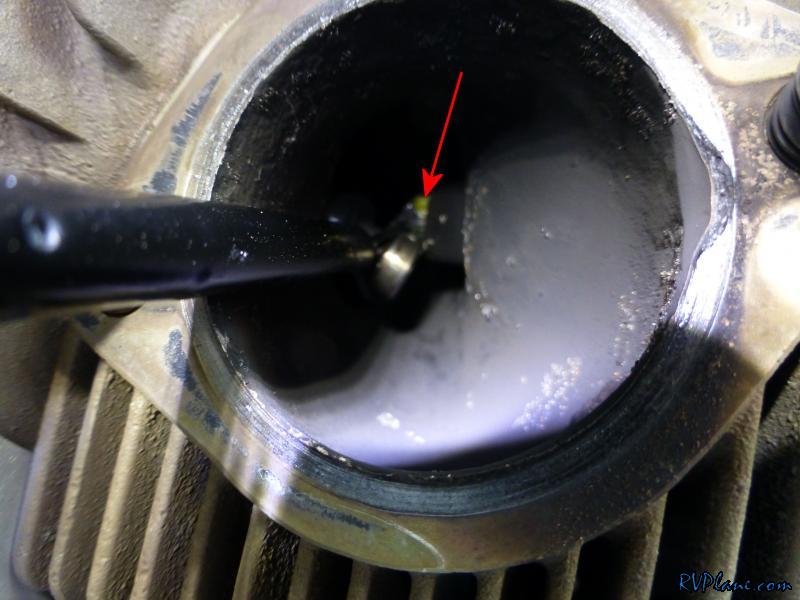 Pulling the reamer out revealed some interesting black gook it removed from the guide. 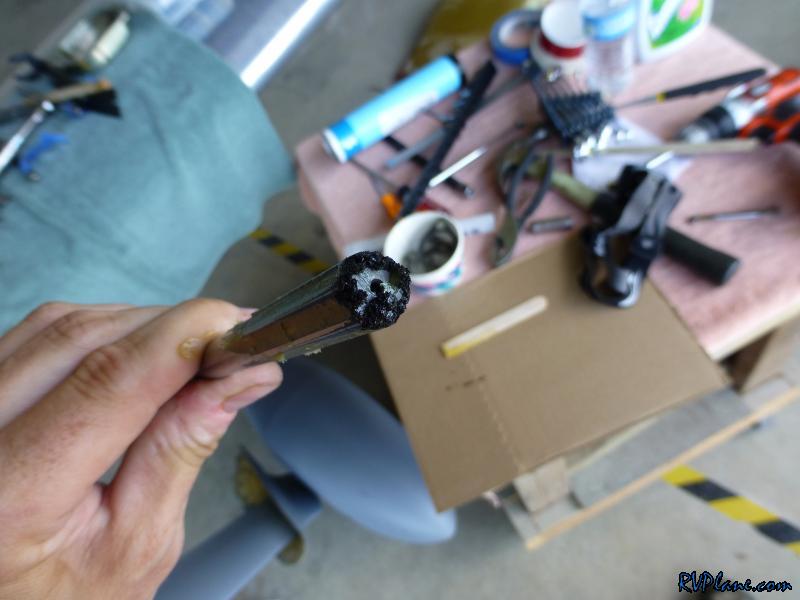 Next was cleaning any shavings out of the valve guide. I inserted a rag into the exhaust port, and then sprayed carb cleaner down the exhaust valve guide. 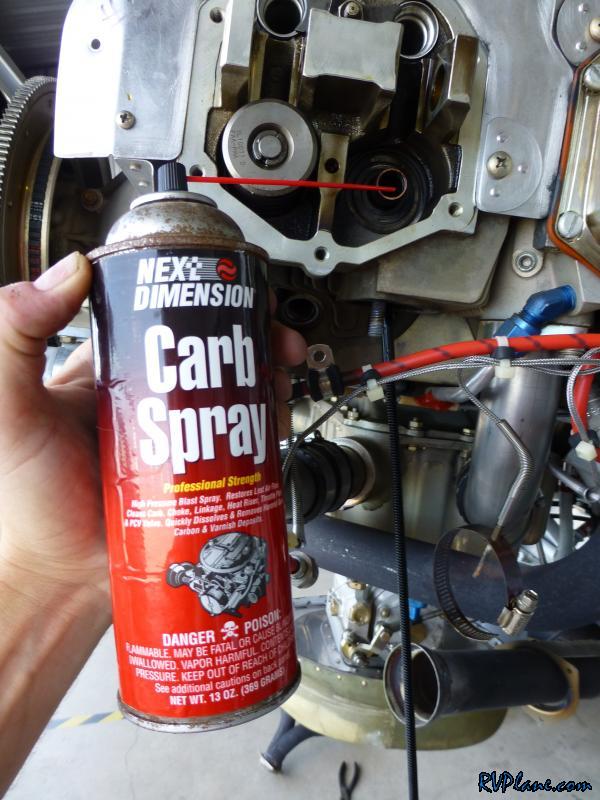 Next up was the fun task of getting the valve back into the guide. I used a telescoping magnet down the valve guide to attach to the valve stem. However, the valve needed to be lifted in the cylinder to line up properly with the guide. This modified Popsicle stick did the job. It took about 5 minutes to get the valve back in the guide. 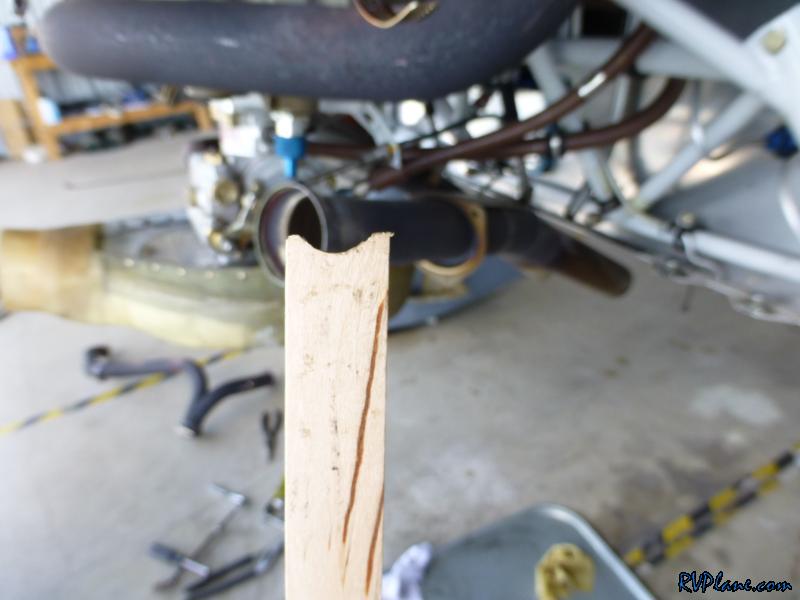 The valve now moves effortlessly in the guide. I consider this issue fixed!  Next up was getting everything back together. I re-inserted the rope into the cylinder to keep the exhaust valve closed while I installed the keys.  A few moment later, the two keys to the exhaust valve are installed.  And then the cap. 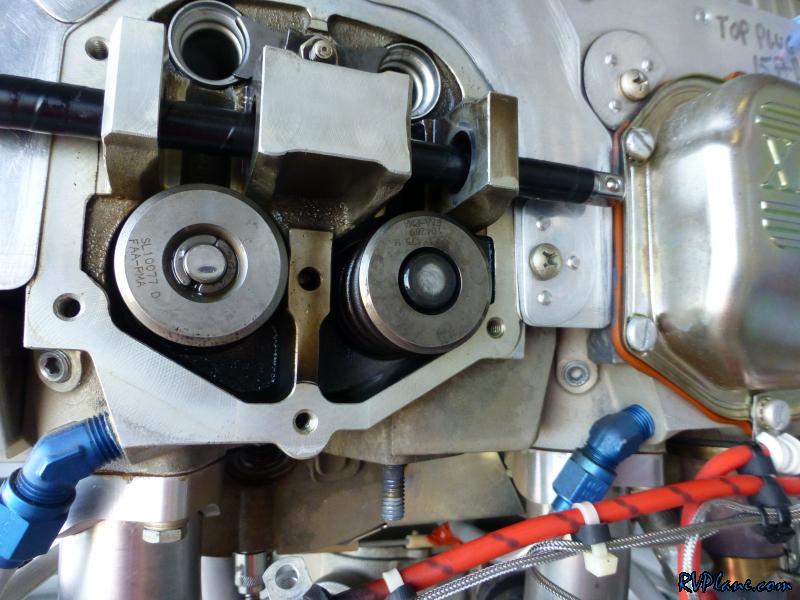 This is where I lost a little momentum. I had a hard time getting the rocker arms compressed enough for the rocker shaft to be pushed through the arms. It was almost like the pushrods grew longer by a few mills. After doing some research, it seems this is caused by the tappets/cam followers (aka hydraulic lifters) filling with oil and expanding, making the pushrods seem longer. There were three possible solutions I read on how to overcome this: 1) Remove the pushrods and shroud tubes, remove the hydraulic lifters and bleed the oil out of them with a toothpick. 2) Apply some force to the pushrods for a few minutes - this will cause oil to be bled from the lifters. 3) Use a valve spring compressor to compress the springs on the valve enough for the rocker shaft to fit into the rocker arms. For the intake valve, I was able to place an Irwin clamp to apply a slight amount of force to the pushrods. This worked great.  Success! The shaft is through the intake rocker arm.  Unfortunately the Irwin clamp trick did not work on the exhaust side. One issue was the baffle material got too tall and the clamp didn't have much to grab onto. I did not have a proper spring compressor, nor did I want to remove the shroud tubes for the exhaust pushrod. The last option was to find a way to compress the hydraulic lifter by applying a force to the pushrod. After battling with different ideas for over an hour (very long frustrating hour, I might add), I came up with the idea to allow the engine to do the work. Although the rocker shaft was too big to insert, I thought I could insert a 1/2" wood dowel, and then rotate the propeller so the camshaft would push on the exhaust pushrod, applying pressure to the exhaust valve spring, and compressing the hydraulic lifter in the process. This worked amazingly well! Within one minute, the lift was compressed enough to allow the rocker shaft to be inserted into the rocker arm! 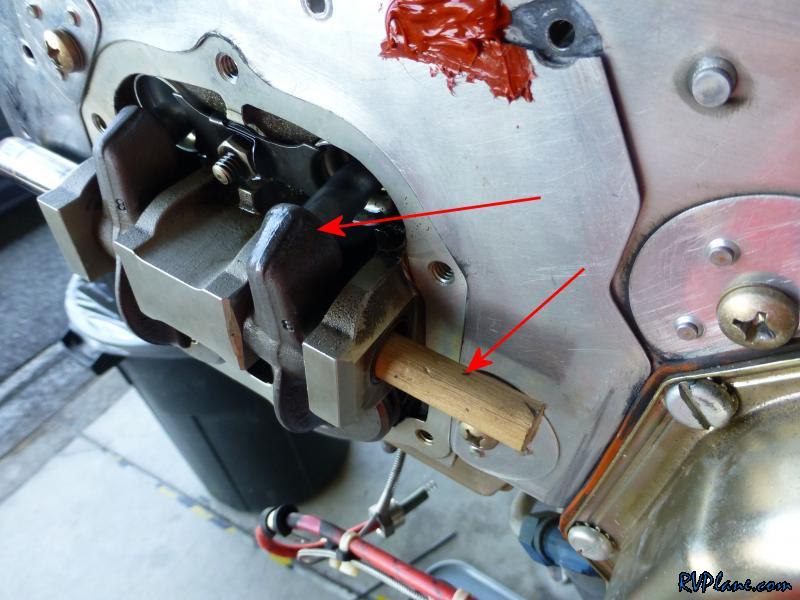 The rocket shaft is in place, and the job is done! 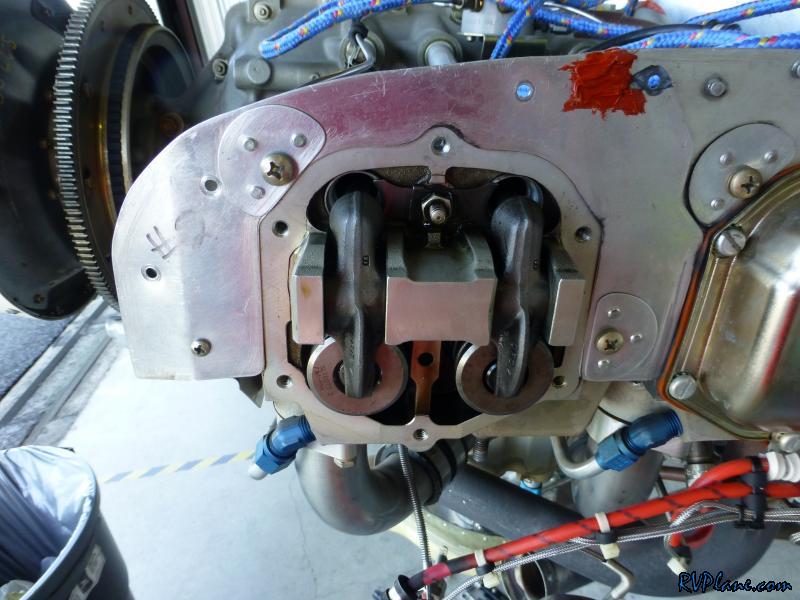 I did go around to the other 3 cylinders to make sure the exhaust valve was not sticking. Good news was no other exhaust valve seemed to have any major friction with the guide. I buttoned everything up and went for a successful 0.7 hour test fight. It's great to have the RV back in service, and I learned a TON about how the topend of this engine works. 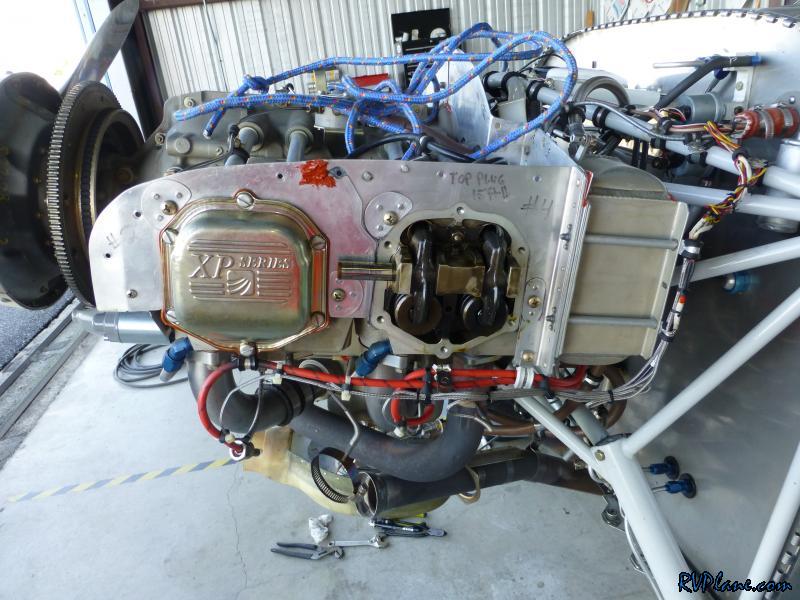
|
|||||
|
http://RVplane.com |
Last Modified: January 31, 2026 |