
|
 |
||||
Today was a light build day. Most Sundays I spend most of the day with Lulu and Cailin. This morning I was able to sand my workbench and then put another coat of polyeurathane on. When I got back home, I went out to Autozone and picked up a can of self-etching primer. A lot of people recommended Sherwin Williams 988, but Autozone was the closest store and it closed early. When I got there, the only self etching primer was made by Dupli-Color. After reading the back of the can, it seemed fine for the quick prime parts when I didn't have to get a whole paint system setup. Besides, this was just the bearing that Van's barely recommended priming. I had the time so I figured that I would learn on that. Priming the bearing was a piece of cake. First I used masking tape to protect the important parts of the bearing. I first tried 3M's blue painters tape, but that didn't stick well at all to the aluminum. I just had it laying around, so no big loss. Normal vanilla masking tape worked great. I found some transformer winding wire laying around and hung the bearing from my hand and blasted it with a few shots. The blue sharpie shows through the primer...that was nice! The primer dried really quickly. I could handle it within 5 minutes. I think the can recommends 30 minutes to fully cure. Next I wanted to get the HS-405 ribs driller. I couldn't determine what Van's really meant, so I went googlin'. Dave's RV-7A page had some good pics of his drill points. Centered on the forward flanges. Van's didn't really specify, and you know what assuming does. (In case you don't, it makes an Ass out of you and you.....I thought it was always you and me, but my buddy Rich corrected me a long time ago with the proper way assuming really works...if I assumed something and screwed it up, it didn't make an ass out of Rich. Point made!). Anyways, the bottom hole of the HS-405 ribs is centered with the other holes on the bottom bar. The top hole is not. Van's tells you that the top hole needs to be 1/4"" from the top of the flange for proper spacing. That's about all they tell you. They don't give you very good other measurements where you can figure out the rest. This is where I ran into my first uh-oh. The top and bottom holes on the HS-405 are indicated on the diagrams, but the middle two holes that hold to the front rib are not really clearly spelled out. I thought I could figure it out by taking measurements off the the drawings...WRONG. The reason that the location of the middle two holes are not really marked is because the rear flange on the HS-404 rear spar is not always centered or at a reliable location. So, you will need to clamp the 404 and 405 together, and go from there. That will give you better results. When I drilled the 405 to 404, through the front spar, my bottom hole was 3/32's from the bottom edge of the 404's flange! Luckily, the person at Van's didn't think it was a bad screwup and had a quick fix. Bearing taped off and ready for priming. 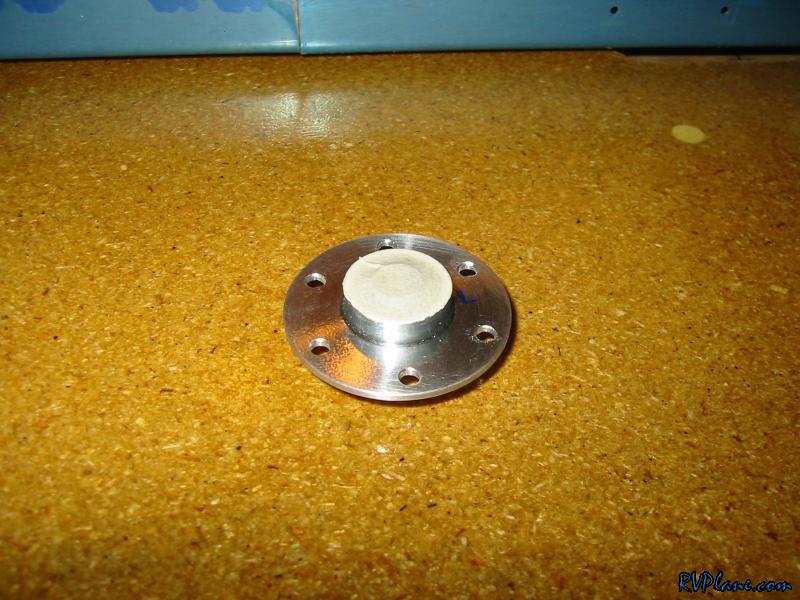 This is the primer I used. It was the only self etching primer I could find at AutoZone or Parts America. I figure that a little primer is better than none at all. 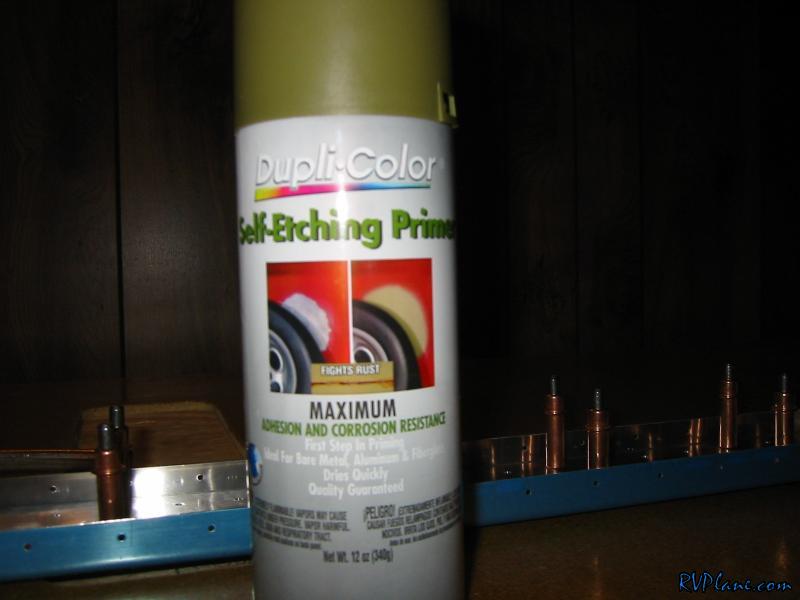 The bearing primed. Notice how the sharpie blead through. 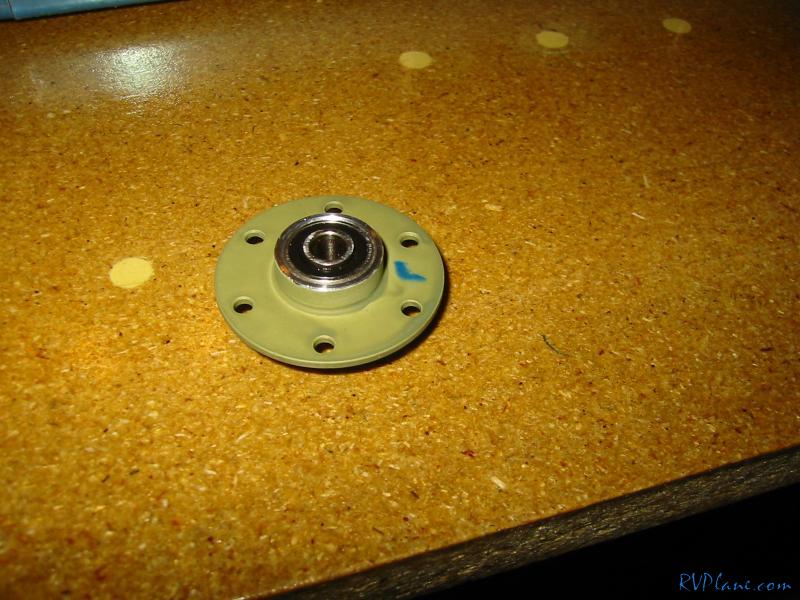 These are the main ribs marked for centerpunching and then drilling.  Finally, my table is done being finished. Check out how nice that top looks! The polyeurathane really makes the top bulletproof. I could immediately notice the difference when I was working on it today. For the $5 in paint that it costs, and about a day to fully put it on, I really suggest doing it. You will be thankful in the long run for a bench that is impervious to all! 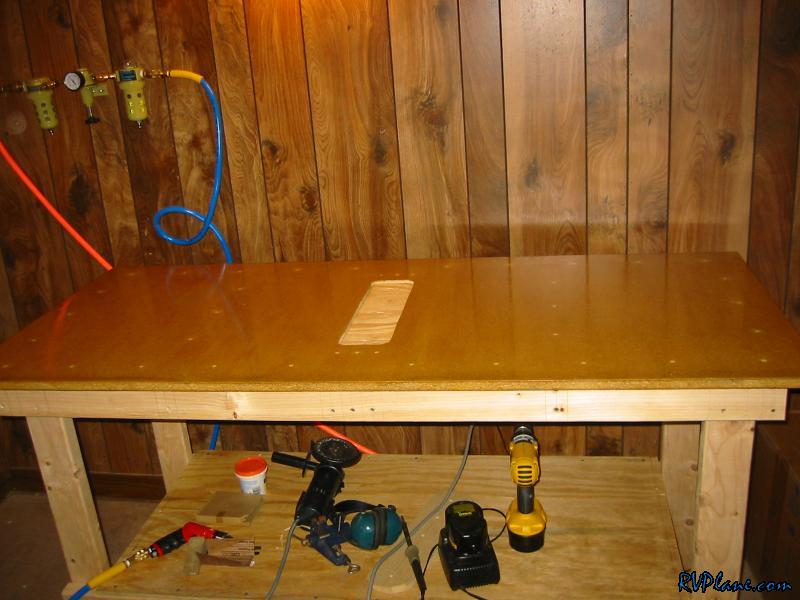
|
|||||
|
http://RVplane.com |
Last Modified: January 31, 2026 |