
|
 |
||||
Today was my first big day....Tool shopping and then 6 hours straight working on the RV. Harbor Freight had its black friday sale today. I picked up a 3/8" variable speed drill for $10. I don't like eating through my batteries on my cordless Dewalt because I know it eats away at the life of those lovely 18V batteries. I also picked up some air hose, fittings, unibits and a mallet. $40 total....gotta love HFT! I then went to Home Depot to pick up some Polyeurathane to coat my workbench with. I want a nice protective coat of something on the top to keep things from seeping into the particle board. I already spilled some Goof Off on it and that just soaked right on in. I will also fill in the tiny gaps where metal filings like to hide, so it will make cleaning the bench a snap. First I drilled out the rear spars/bar, mounted and drilled the elevator bracket. The inner pair of brackets were difficult because they only had two rivets per holding them in. I tried having one of the clecos in, but when I put the drill on, the torque from the bit caused the bracket to walk out of alignment. I played around for a while with clamps, but nothing worked right. I finally just flipped the spar over the drilled from the spar through the bar and through the bracket. That worked great. The elevator bracket in the middle was a bit difficult. Only one of the brackets is drilled with the rivet pattern for the bearing. I put the bearing in between the brackets, then clecoed it to the spar. To line up the drilled bracket and the bearing, I put #40 clecos 1/2 way into the bearing (thats all they would go before they hit the undrilled bracket), then clamped the two brackets together. From there, I drilled out the aft 4, clecoing along the way. I didn't have a can of self-etching primer yet, so I didnt prime the bearing. I also dont have yokes yet, so I couldnt rivet the bearing to the brackets. That was all I could do on the rear spar. I moved onto the front spar. A lot of frabrication needs to be done for the front spars. The angle iron needs to be taped, rounded and then bent. Then the front spars needs to be changed because they are spars for a RV-8. A lot of trimming needs to be done. I found that using a hacksaw to take off the sides, then using the avery clamps to flatten out the sides, then the angle grinder to cut the sides off worked great. I used a round file to make the stress relief notch. The manual said to use a #30, then a unibit to make it a 1/4", but the file worked really well. I then used the hand seamer from Avery to bend the spars to the 6 degree mark. Finally, I notched the front ribs to fit over the front spar reinforcement bars. This was a walk in the park with the angle grinder. After that I deburred those two ribs, put some hole filler in the screw holed on the workbench and called it a night. Elevator brackets clecoed 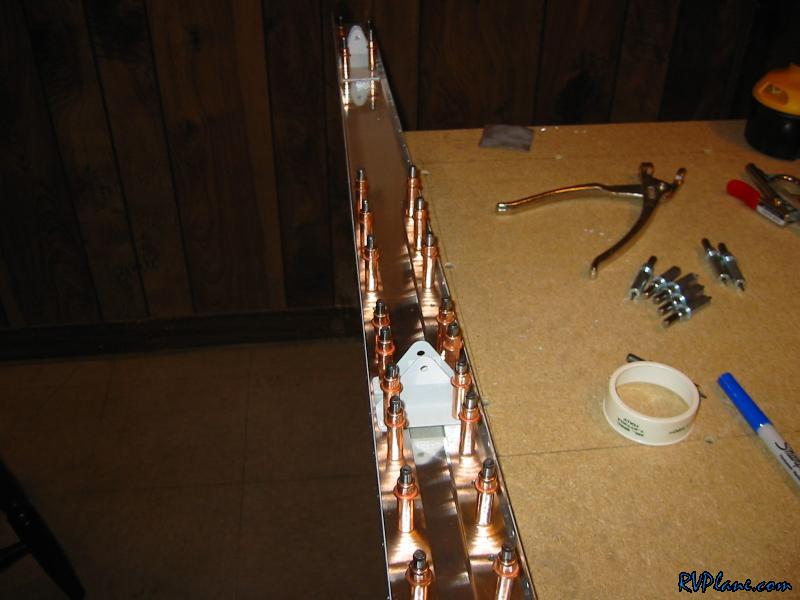 Another shot. 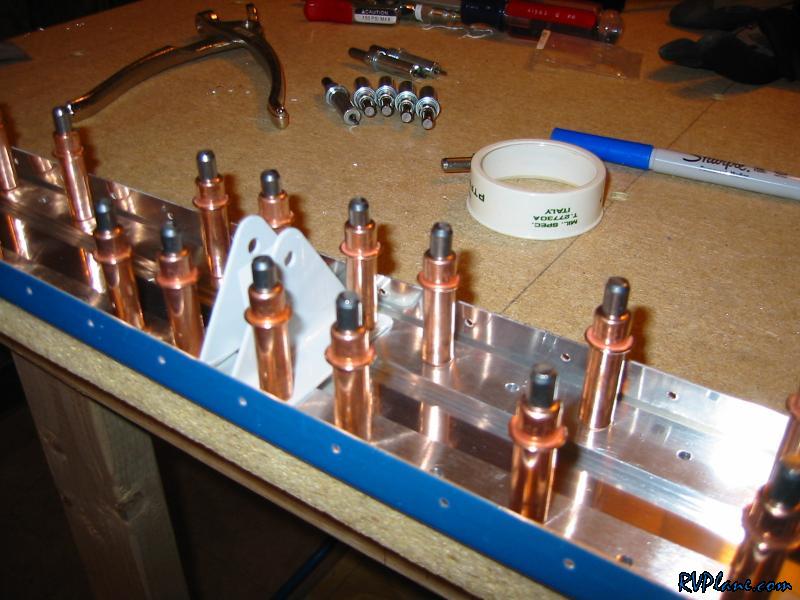 This is the elevator bearing. Kind of a pain to do, but not the end of the world. 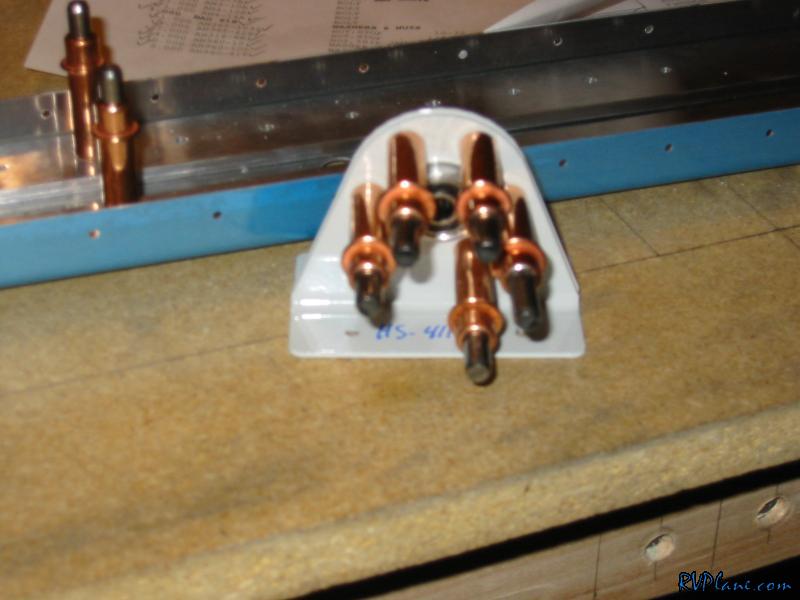 This is the front spar...the top side just got reduced to the angle specified in the drawings. The bottom is untouched. 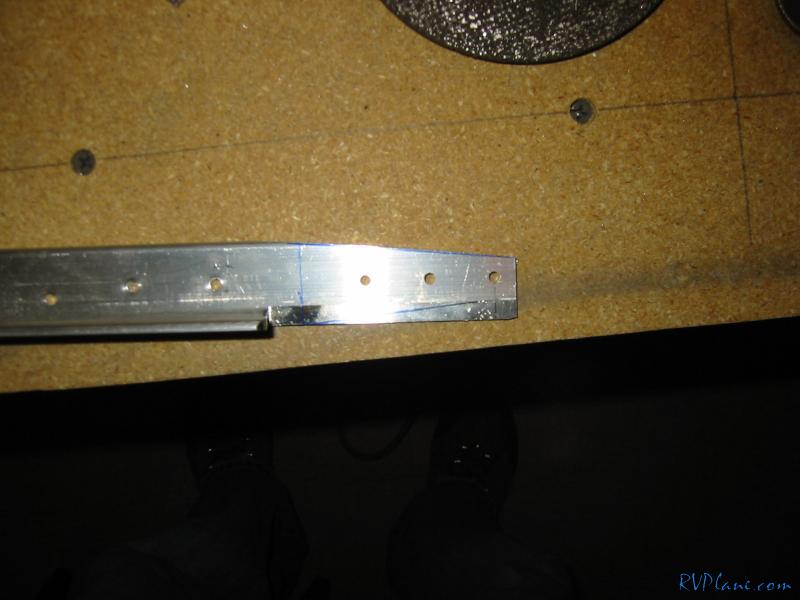 The finished product.  I used the hand seamer to do my bends. I worked well. 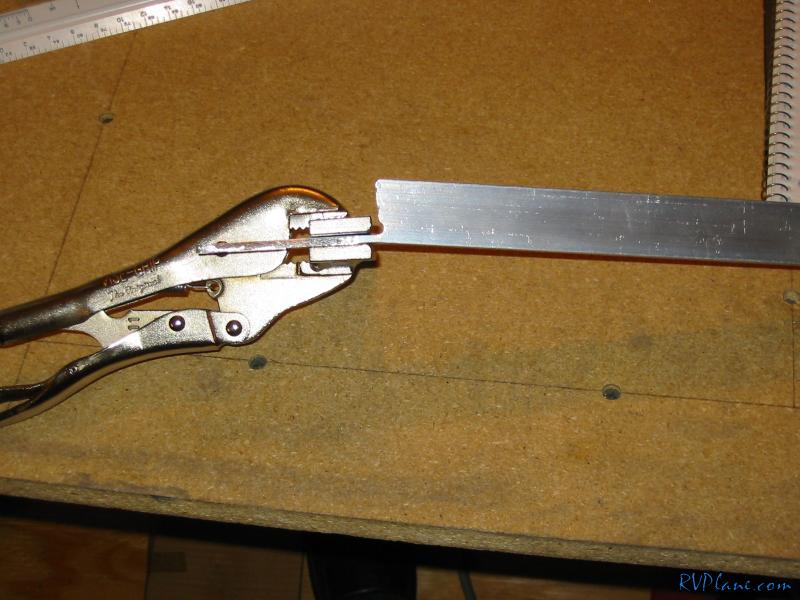 this is my paper with a 6 degree template marked in pencil. I didn't have a protractor, so I broke out my calculator and figured out the tangent for 6 degrees. 4.75"" over and .5"" up worked out to be the best numbers I could match up to make it easy. 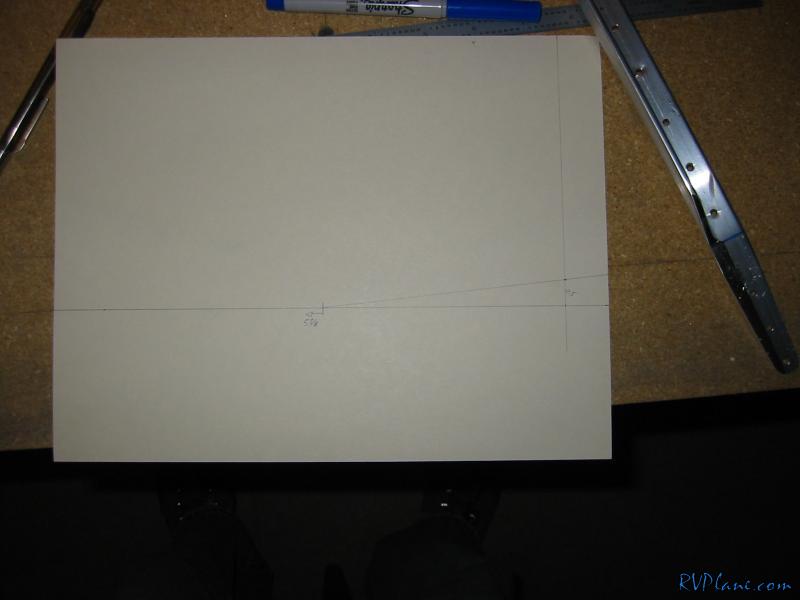 This is the aftermath of working on the front spars.  The front ribs notched. 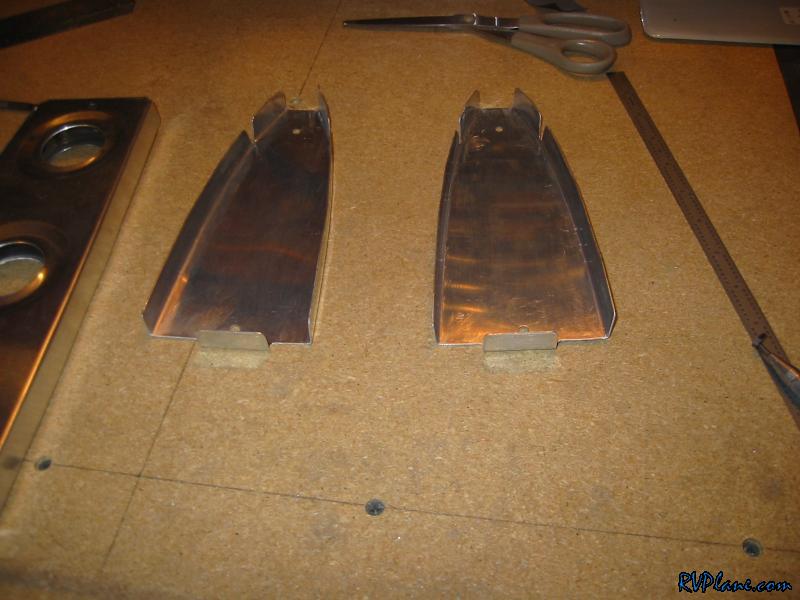 Nice bend in the front spar.  Finally, my first countersink. I can't dimple yet because of my yokes are on the way. 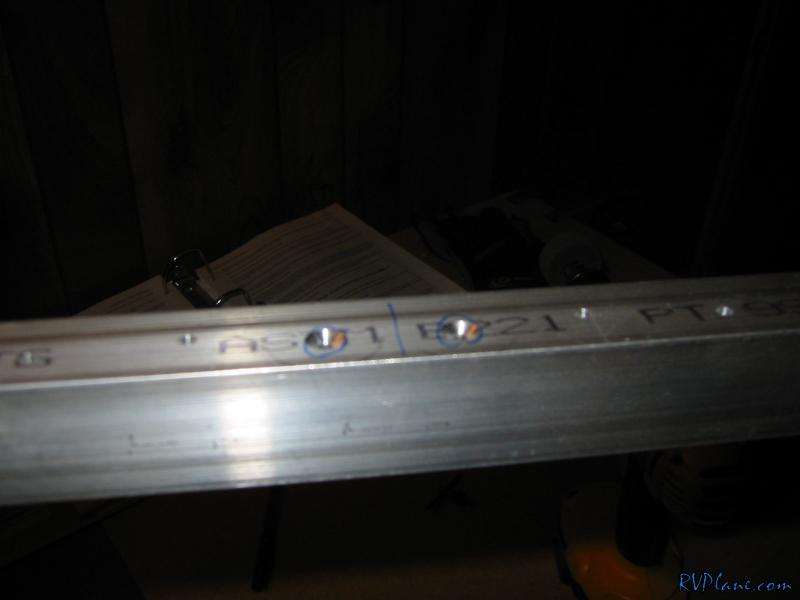
|
|||||
|
http://RVplane.com |
Last Modified: January 31, 2026 |