
|
 |
||||
I picked up tonight with the trim servo mounting bracket. I thought that it would be a good idea to match drill a sheet of aluminum to the holes in the servo to make it easier to drill. I did this but quickly realized that it wasn't a good idea. The servo motor itself adds a lot of stiffness to the Z brackets. The sheet didn't do it. Oh well, 30 mins wasted. I followed Van's recommendations of putting lined at 1 3/8" (from side) and 3/8" (from leading edge). I put also put a line in the middle of the channel in the place to mark the mid point for the servo travel. I have heard of many servo motors going in a little offset to one side or another. I took the left Z-bracket and lined it up with the lined that I made. Then I double check it with my ruler.....since these things are not pre-drilled, I used the carpenters rule of measure twice, cut, er, drill once. With everything lined up, I drilled the one hole, clecoed the Z-bracket on, then clecoed the servo and the right z-bracket on. I lined up the servo on my centerline of travel and found where the sweet spot was the the leading hole on the right Z bracket. It turned out that it was 3/8" from the leading edge of the plate as well. I clamped the bracket down to where it needed to be, then removed the servo and left bracket carefully and drilled the right leading hole. With that being done, I was able to cruise through the other holes. It was a lot of clamping and cleco/unclecoing, but it turned out perfect. Next I worked on fitting the servo system into the left elevator. I needed to knock off the overhang of 4 nutplates to get a good fit. The two leading nutplates were all that was needed to get it to squeeze in, but I wanted it to be a little easier than that. I used the rotor zip to knock the nutplates down, followed by filing. I will sand and scotchbrite it later on. Next I took apart the left elevator skeleton. There is a lot of countersinking that needs to be done. First I countersunk the inside edge of the front spar under the horn. I had the countersink setup from the right side, so this was easy. Next I drilled the top of the trailing trim spar. The top needs to be countersunk to accept the dimples from the top of the skin and provide a smooth surface for the trim piano hings to attach below it. I tripple checked that I was doing the right side of the spar. I have seen that when I countersink this somewhat thin sheet, that the hole tends to get enlarged as the countersink bit has nothing to guide it. What I did was put a 1/2" or 3/4" plywood strip on the inside the the spar. Then I match drilled every hole into the wood. Then countersunk. I used my dimple countersink checked to get the proper depth. It turned out really nice. The final countersink is between the trim spar (E-606PP) and the E-705 left root rib. The manual it says to use AN426AD3-3.5 rivets here, and says the orientation is up to you. For some reason, I was under the impression that the flush rivet head needed to be on the aft side of the trim spar. Countersinking that would be a pain because of the countersinking cage won't fit. Dimpling it would be the way to go. That means that I would need to countersink the root rib flanges. I did that and wasn't really happy with the outcome. It will work just fine, but it could of been done better. I called Van's about this, and Ken said that what I did was just fine. They used the flush rivets here because they didn't want to include any additional rivets that would be used here and there. When I expressed my concern, Ken said "You know, you're just building an airplane here....". Sometimes I forget that. The next RV I build (haha) I would probably dimple the flange of the root rib and countersink the forward side of the trim spar. OR, dimple the spar and the rib flange. I don't see any reason for not doing that, and Van's tends to agree. The final countersink is your choice - on the trim spar or the inside rib. Neither one if pretty. With the spar you can't get the cage in there, and the rib flange isn't that big. This is the sheet I used to match drill with the trim servo. It doesn't work, so don't do this. 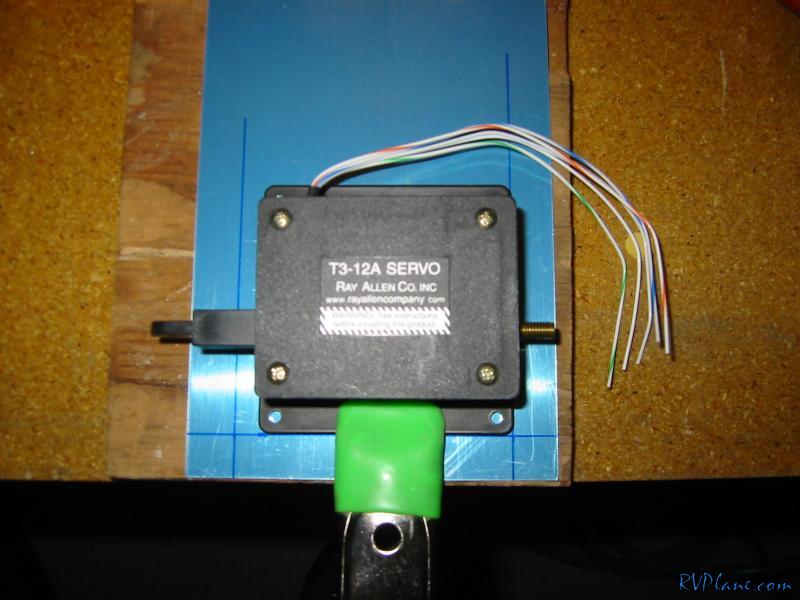 The finished waste of time product ;-) 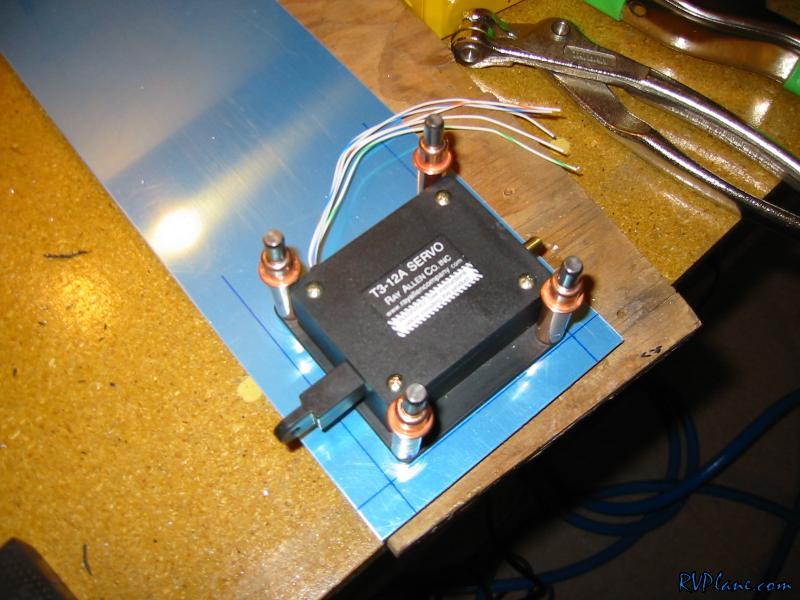 OK, Here is the first step to mounting the servo bracket. I lined up the Z bracket with the two dimensions that Van's gives you and drilled the first hole (Left, foward hole, I believe). 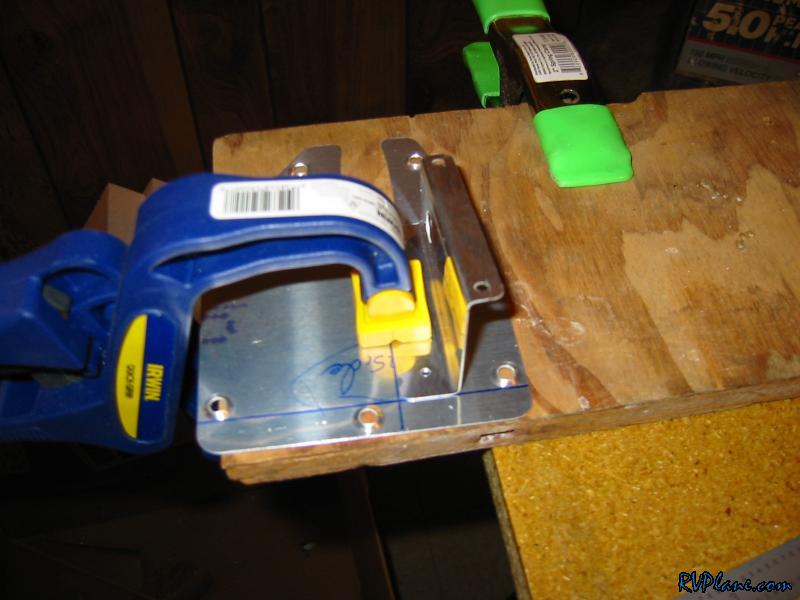 Cleco everything back on, check allignment. Turns out that the right Z bracket should be 3/8" from the edge of the access panel also. I clamped the right bracket and removed everything carefully. 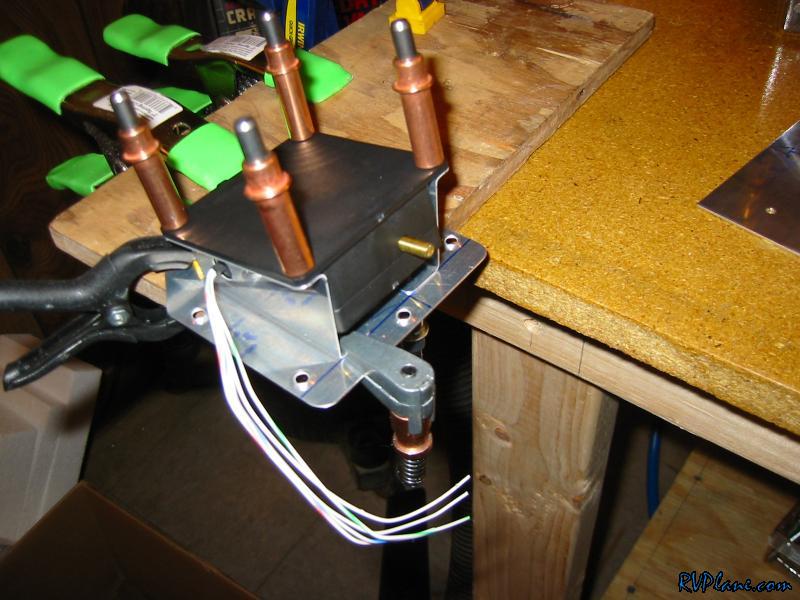 Hmmm...I think that the flash is covering up the second hole drilled. 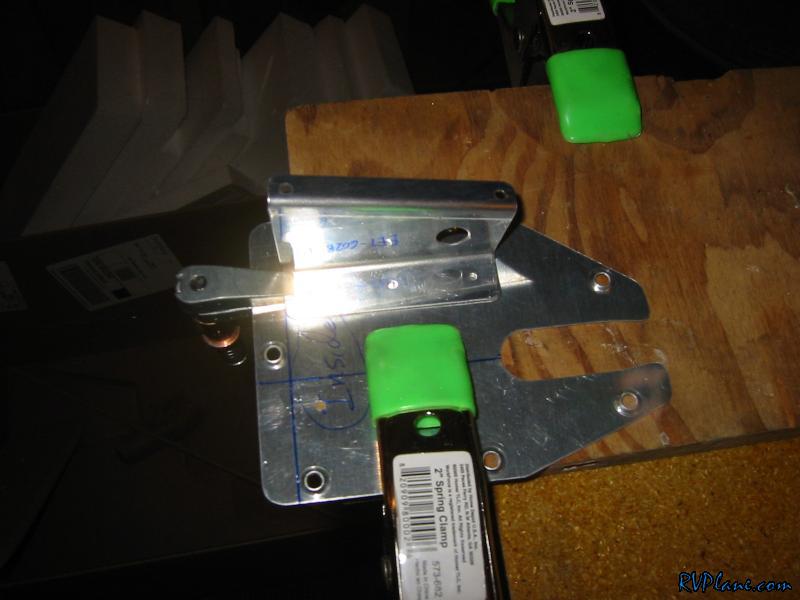 Hole the third. Recleco, check allignment, clamp, uncleco, drill. 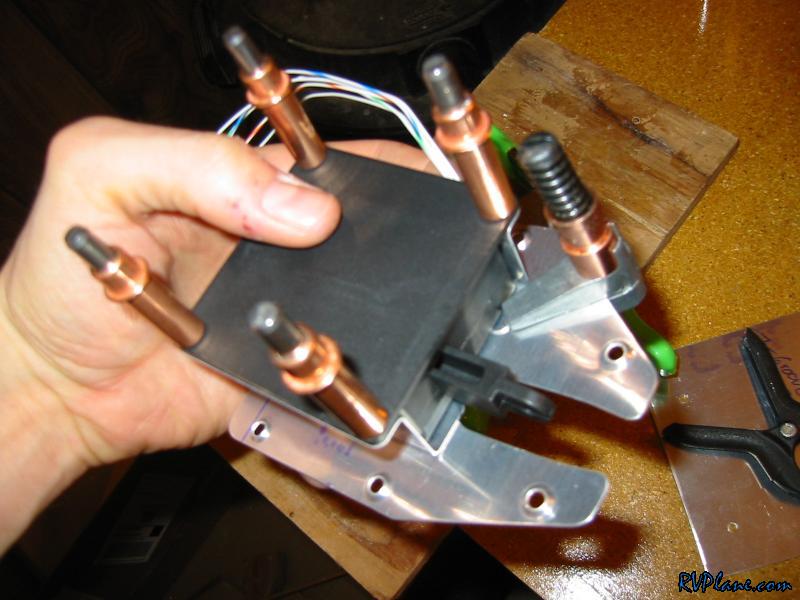 The final hole. 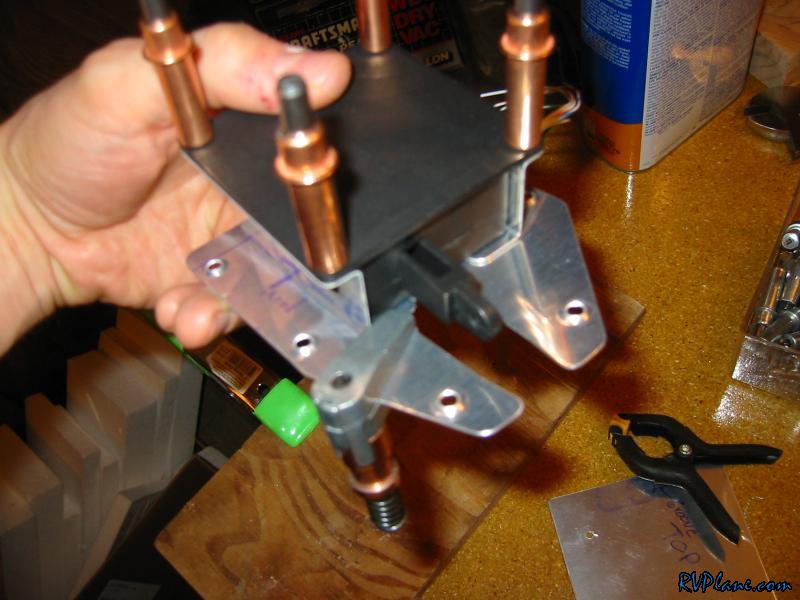 The finished product. It is right on where is needs to be! I was reading through one of the groups and one person messed this up and just fabricated another one from some of the trim stock that Van's gives you. I kept that in the back of my mind as a backup in case I boned up this one. Probably one of the few places in the kit thus far that you can screw up and make another one for free without waiting or paying a handling fee. 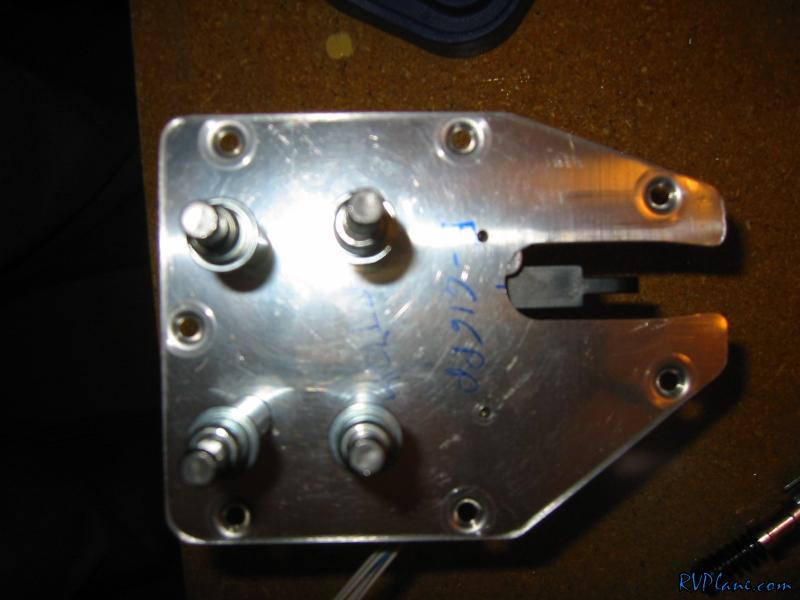 One one of the Z brackets you have to trim it down to clear the groove in the access panel. Scotch brite wheel worked nice for this. 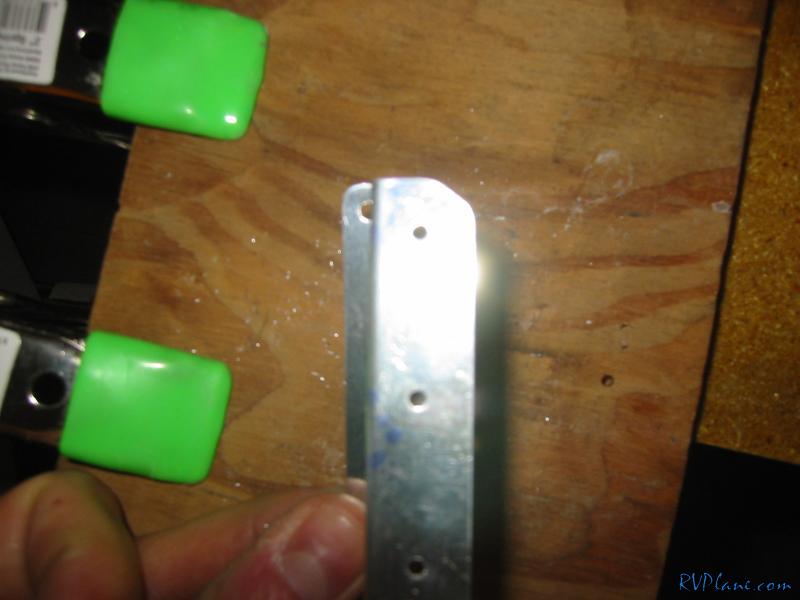 I did some test fitting of the servo unit. I needed to remove the overhang of the two left and right leading nutplates. I ended up removing the others too to make it easier to get in and out. 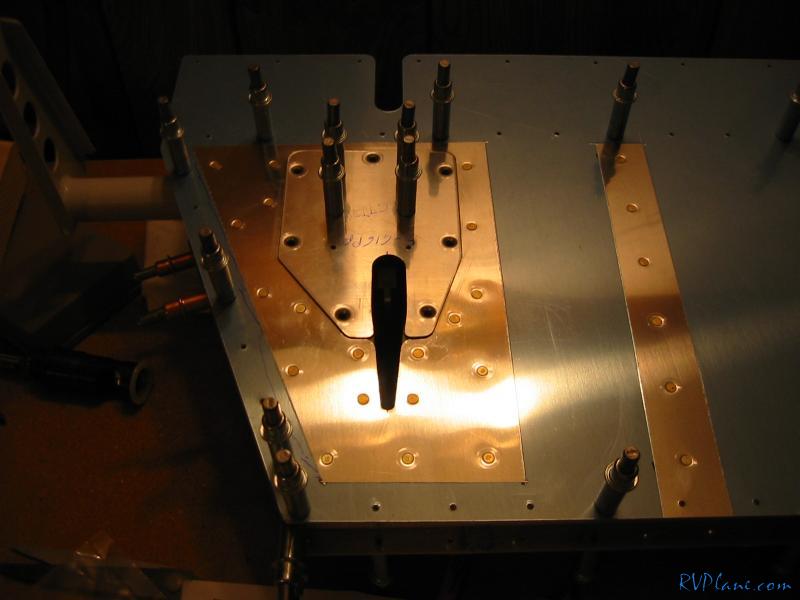 Another shot. The allignment looks great. 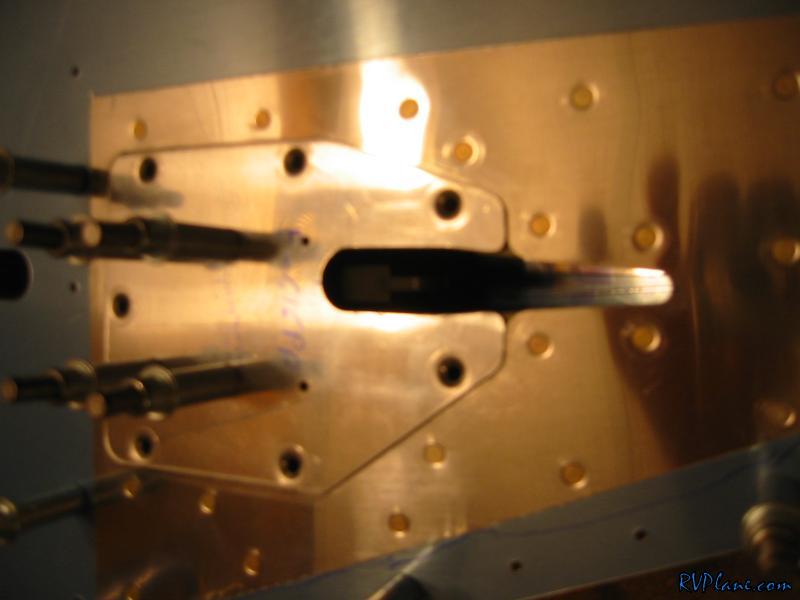 This is a shot of the two nutplates trimmed. I trimmed the other two below it also. 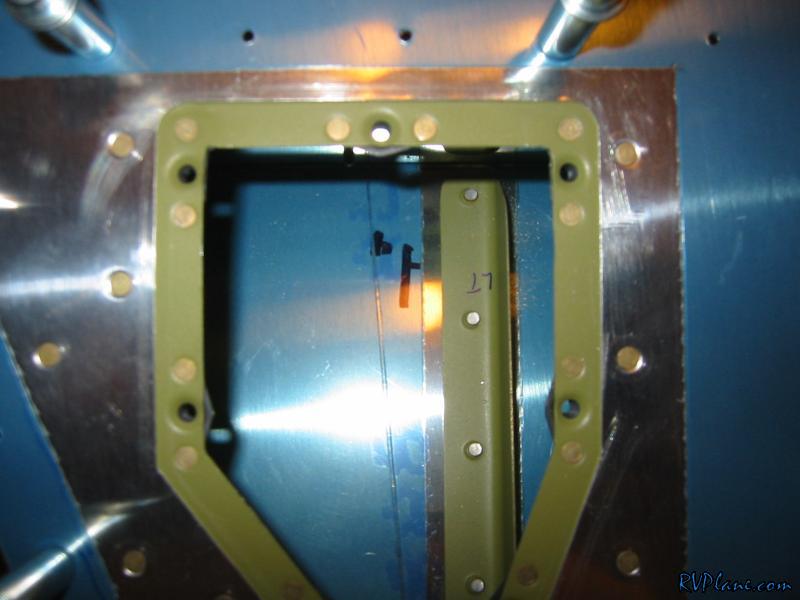 Countersinking the left spar..... 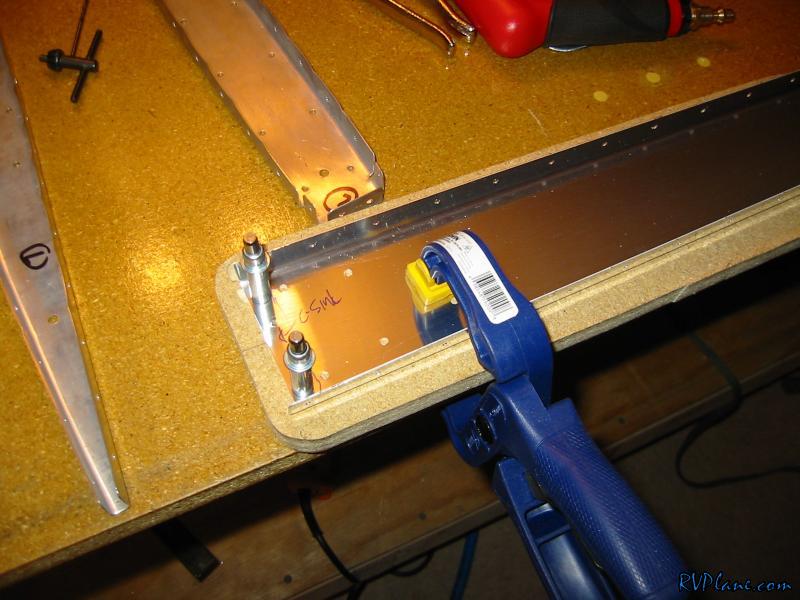 The trim spar fit nicely on this 3/4" pine. I match drilled it here. 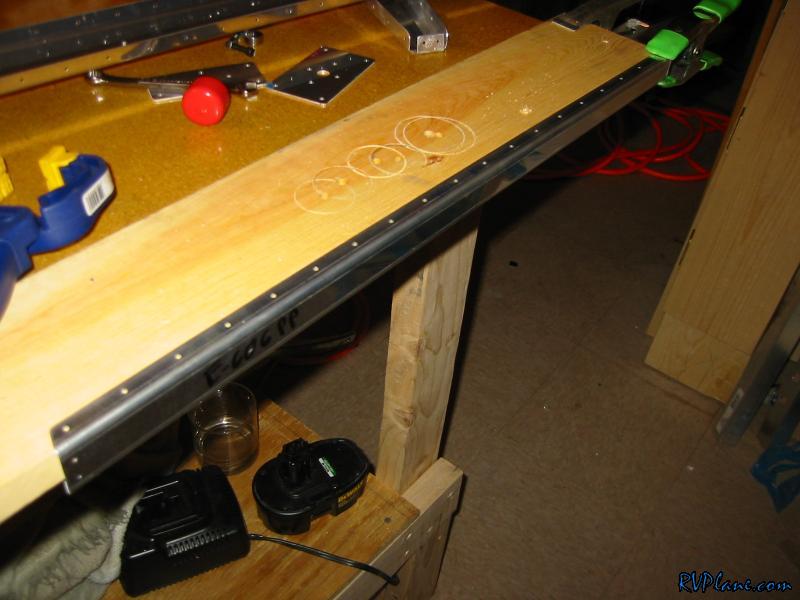 Then clecoed it down. 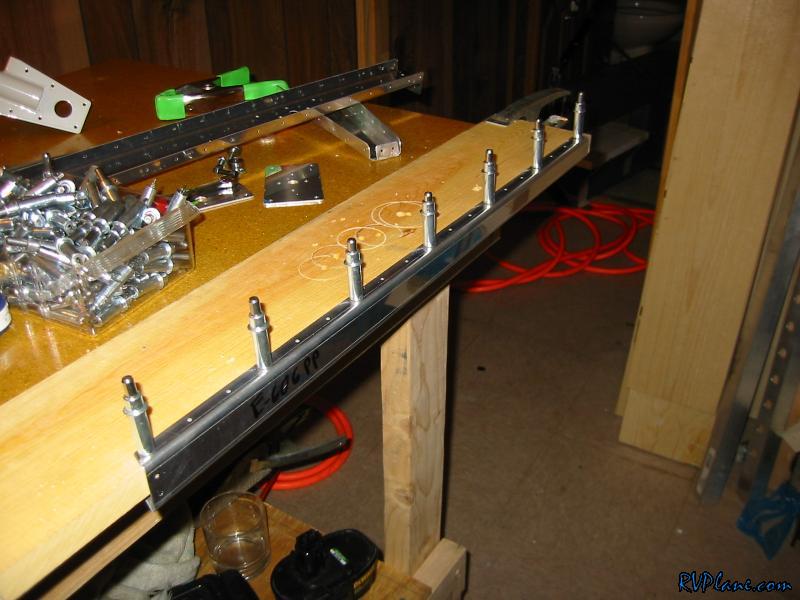 Then countersunk it. It looks great! 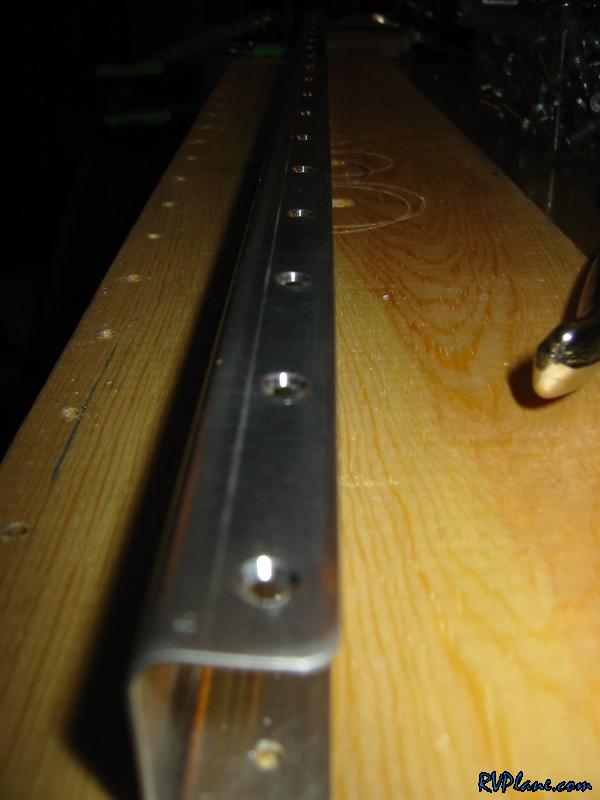 This is how I tried to countersink the flange on the left root rib where it meets the trim spar. It worked OK, but if you read above, you already know not to do this. 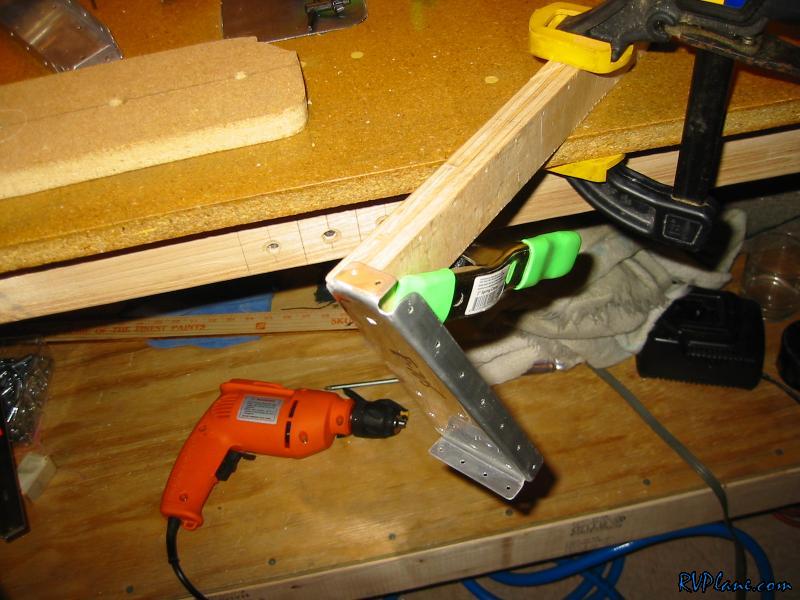 Lastly I marked the right elevator counterweight (E-714) cut lines. Since the right elevator doesn't have the additional weight of the trim tab system, it needs less counterbalancing. I am a little hesitant to make any cuts now before I mount this puppy. Something is concerning me with A) knocking off too much of this now or B) making it awkward to trim it later when it is attached. I think I am going to go with B to be on the conservative side. I would rather want to worry about how I am going to clamp the elevator down than worry about how I can remove the countersink and replace it with something heavier. 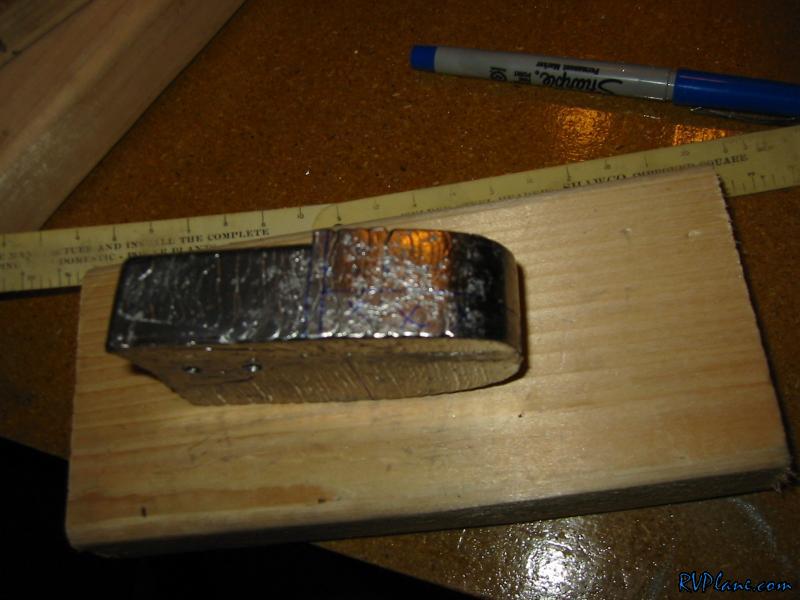
|
|||||
|
http://RVplane.com |
Last Modified: January 31, 2026 |