
|
 |
||||
Did some work on the left elevator tonight. Pretty much a repeat of the right elevator except for the extra spar for the trim tab. Nothing really too exciting. Next I broke out the electic trim tab servo to see how that thing get setup. The Van's diagram for it is definitely cluttered. I highlighted the important measurements for the trim system and made a drawing of my own of how everything fits together. Horn attached to the left elevator. 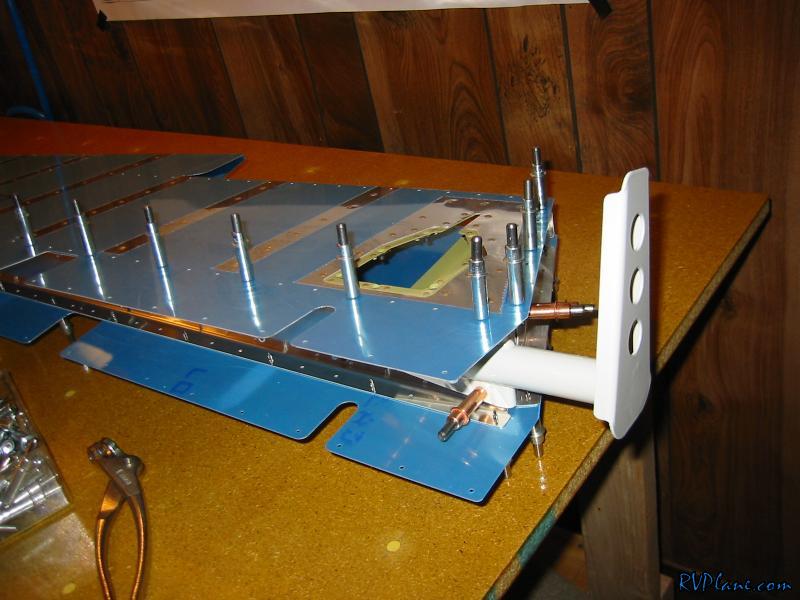 trailing spar clecoed in place. This thing gets countersunk on the top side in order for the trim hinge to attach behind it. It makes sense, but you really have to read ahead a few pages to see how everything gets put together. 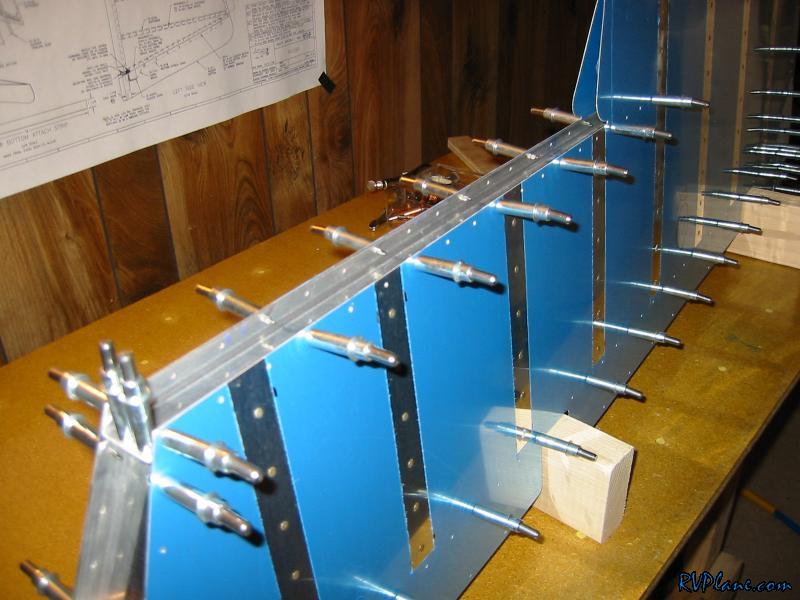 The electric trim system and all of its goodies. There are 7 nutplates in the trim bag - the same ones that were for the trim reinforcement plate. Its nice to know I have some backup parts now, but it worried me why there were extras. That's not like Van's! 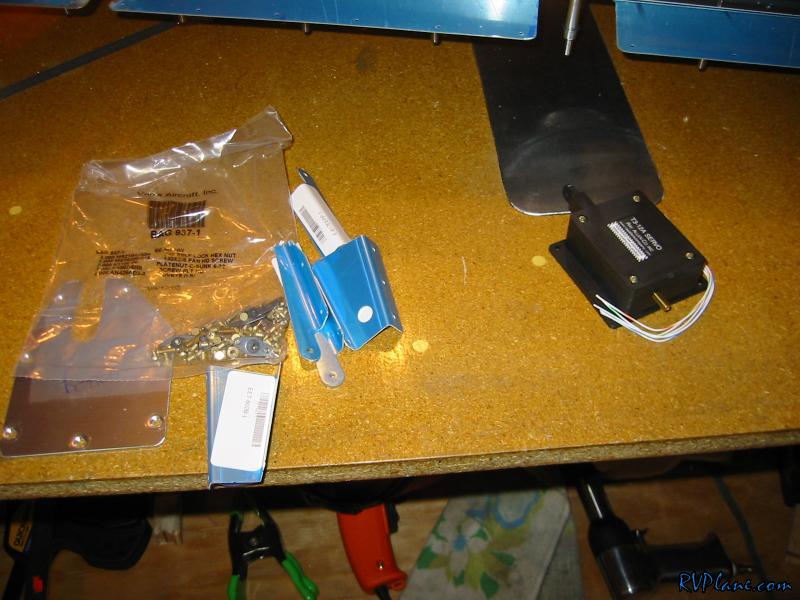 I made an outline of the trim access panel and marked on it the dimensions for where the one Z-bracket attached. 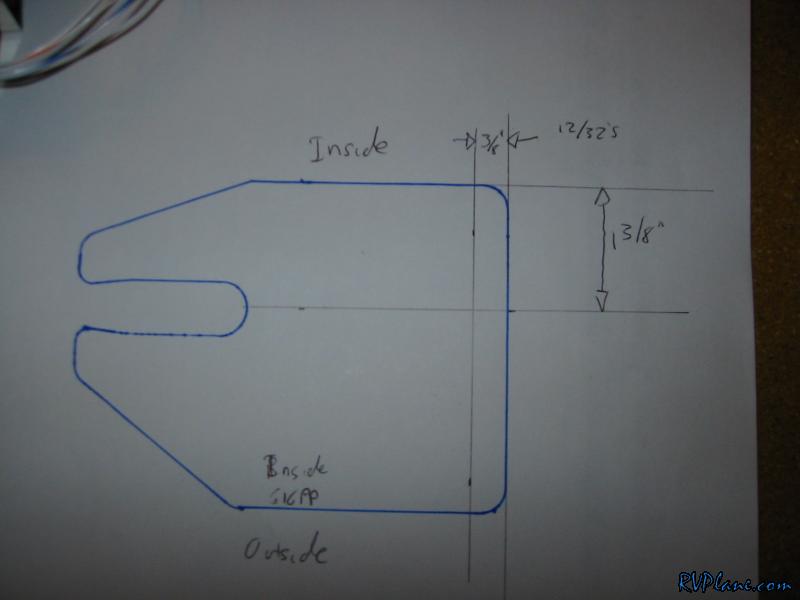 The trim system in place. You cannot drill the Z-Brackets to the cover plate with the trim servo attached to the Z-brackets because the holes are directly below the servo. I am thinking I will match drill a thick sheet of aluminum to the drill patter of the servo, then drill some access holes in it for a drill bit to go through in order to match drill the holes in the trim access plate. We will see... 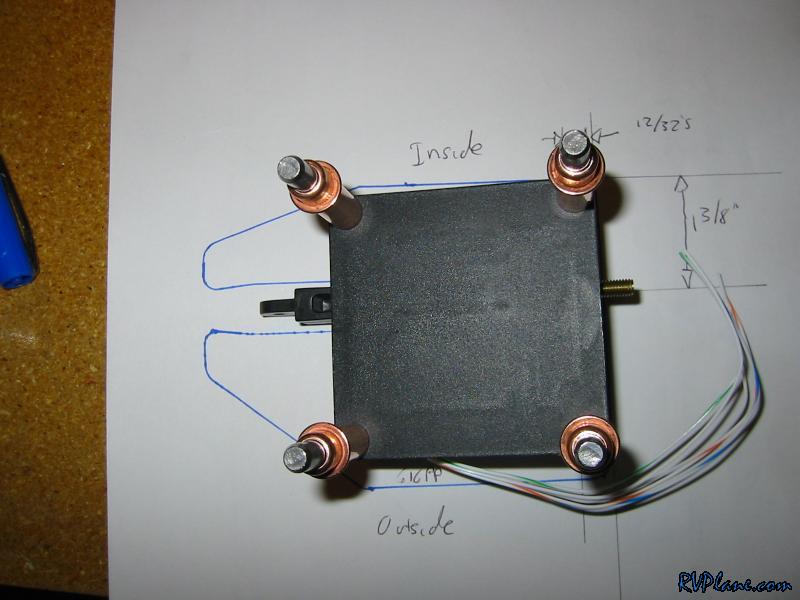
|
|||||
|
http://RVplane.com |
Last Modified: January 31, 2026 |