
|
 |
||||
Today was a great day on the RV project! Even before I started working on it, I had received confirmation on getting transition training soon locally. I got to the airport around 8pm, and went right to work. On the itinerary for tonight was working on the trailing edge of the wingtips. As show previously, they were too long by about 1/4", not to mention not shaped very well on the trailing edge. I started by using a clamp I made back when I mated the wings to hold the aileron to the flap.  I then double checked the ailerons were aligned in a neutral trailing position to align the wingtips with.  Next I clamped a piece of angle to the aileron to act as a guide for how long the wingtips need to be. 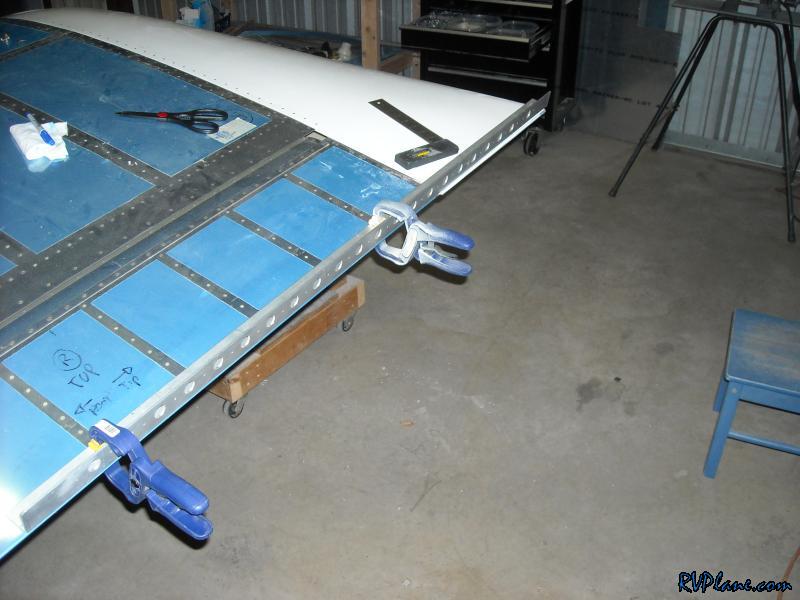 I marked my cut line. 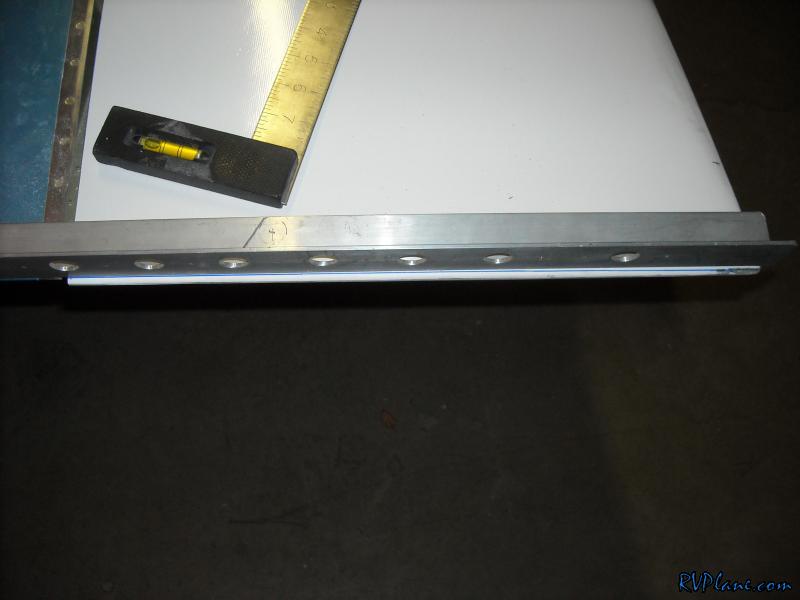 With a cutoff wheel in my die grinder I sliced off the end of the wingtip, along with slicing her open. 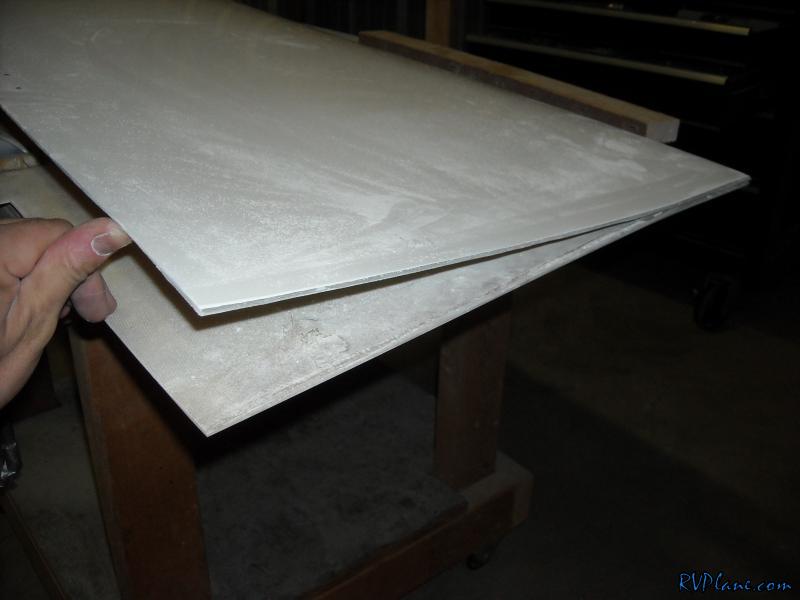 I heavily modified the wingtip rib. (original on top, mine on bottom). The one supplied should work fine if you go the stock screw method for attaching the wingtips, but the hinge method required some engineering. 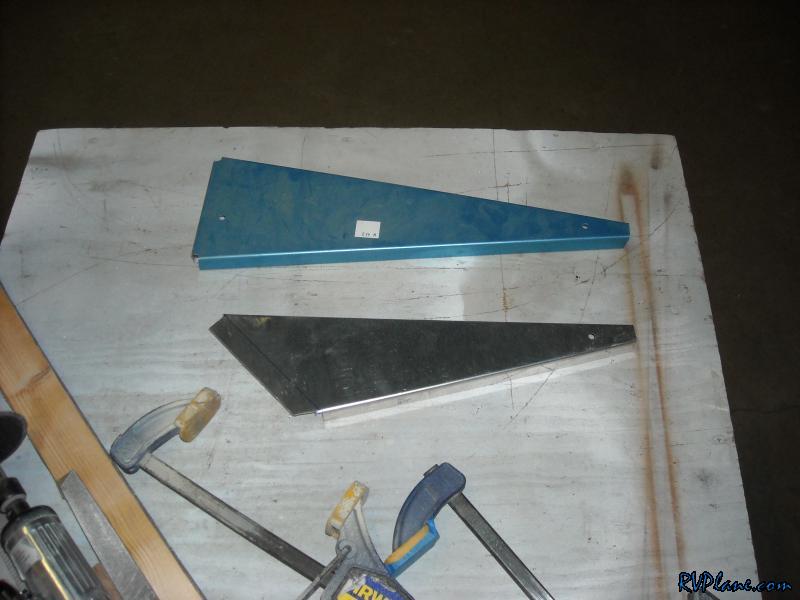 I bent a stiffening tab on the inside of the new wingtip rib. 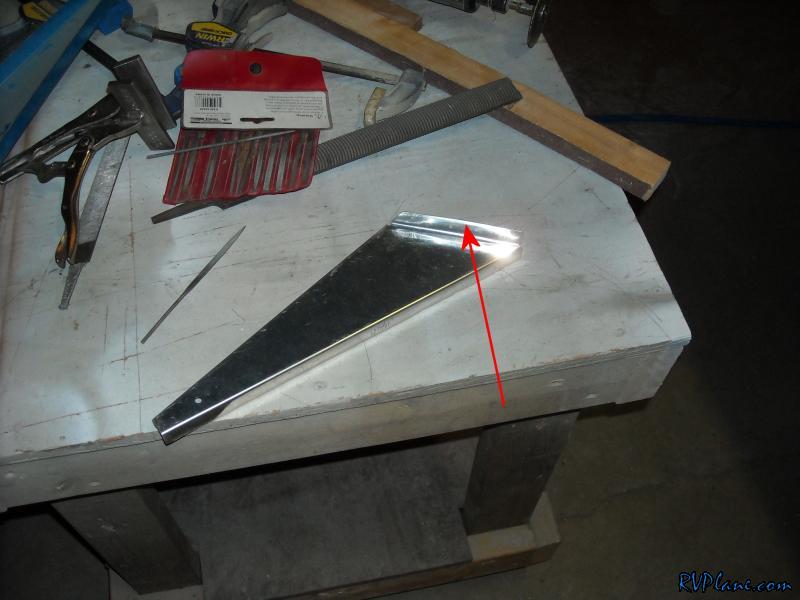 Here is the idea of how it will be aligned within the wing. 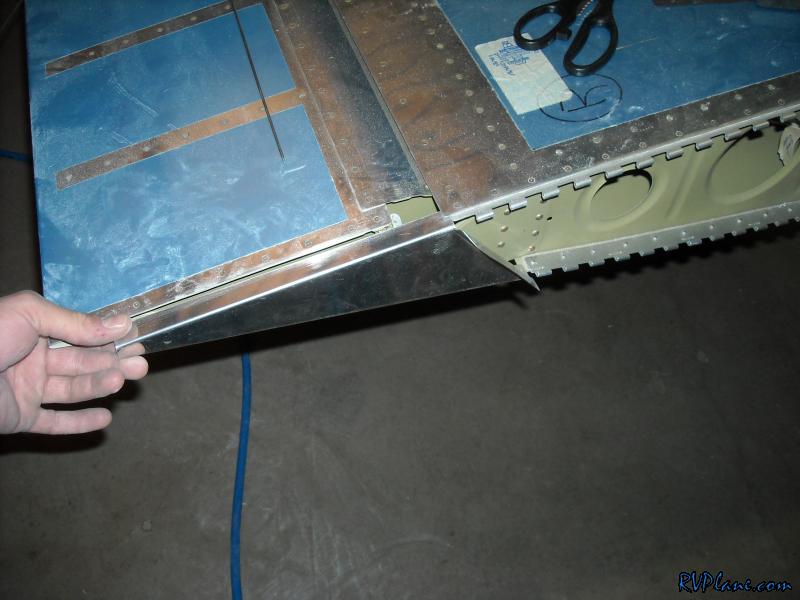 Something I wanted to keep was the alignment of rivets I had attaching the ribs. I was lucky enough to be able to. 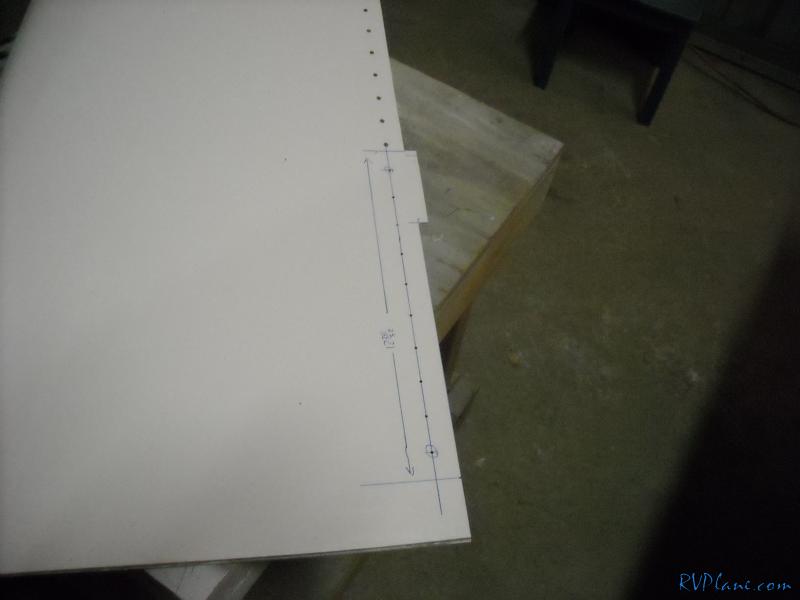 After I aligned the rib in the wingtip, I backdrilled the rib using the predrilled holes. I clamped the wingtip to the aileron to keep the alignment straight. 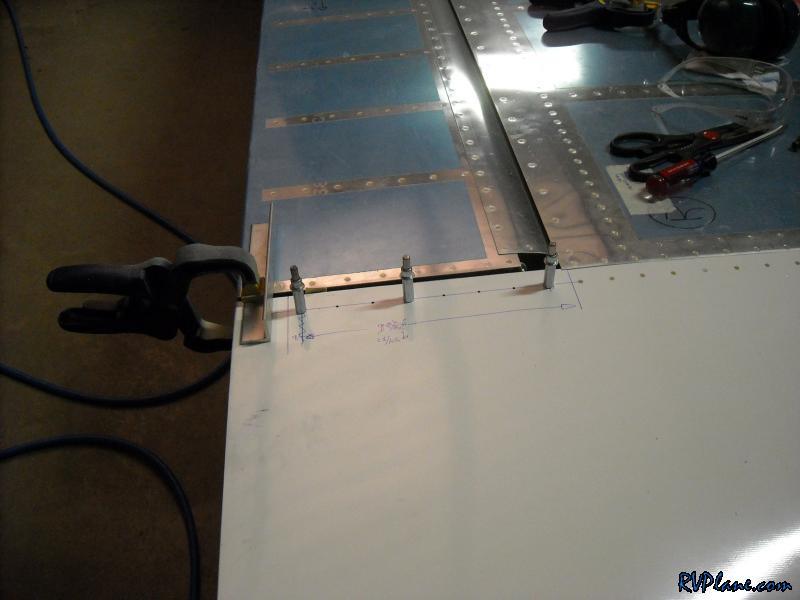 Once the rib was in I needed to epoxy shut the aft of the wingtip. I tossed a 2" wide strip of glass in there, along with packing it full of flox. I will probably add some more later from the inside out, with the wingtip rib removed. 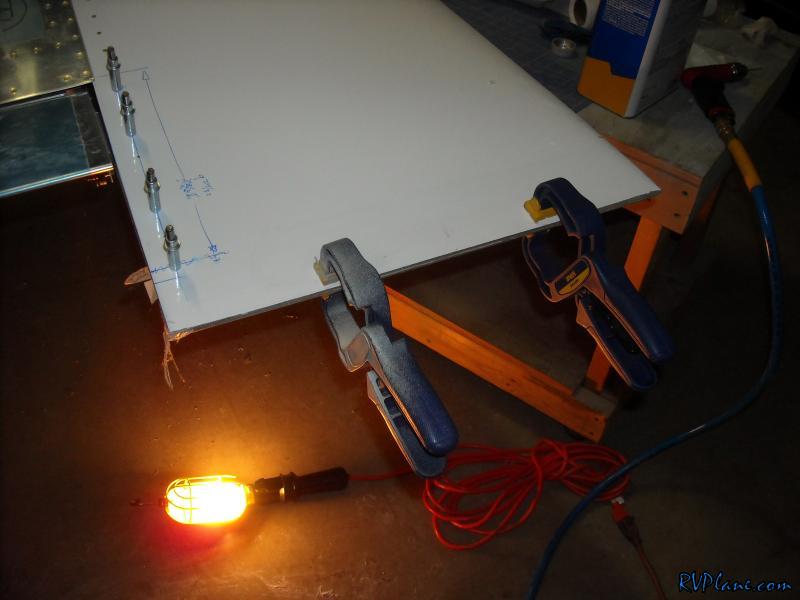 This one pic represents doing all the above (along with initial fitting) of the left wingtip. I stayed way late at the hangar (1:30am), but am glad I was able to get this one caught up. The wingtips are nearing completion! 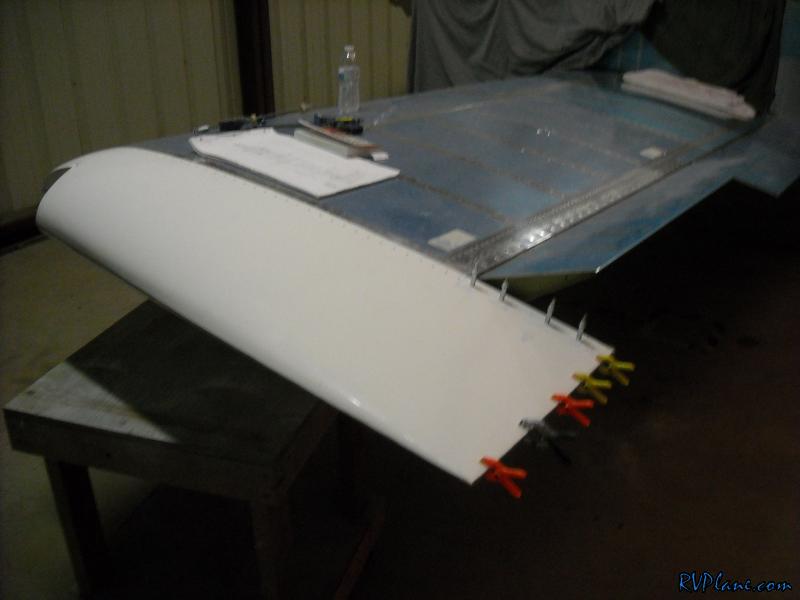
|
|||||
|
http://RVplane.com |
Last Modified: January 31, 2026 |