
|
 |
||||
Today I woke up early with a TON of energy to work on the project. However, my body wasn't cooperating 100%. Somehow over the night I came down with a slight cold. It didn't slow me down that much, it was just an annoyance. However, it did worsen throughout the day. I feel terrible now. Anyways, I started by positioning the empennage fairing to be drilled. The manual called for a lot of screws, but I think I can get away with 3 per side. I used a ratchet strap to hold down the front of the fairing tight to the fuselage. 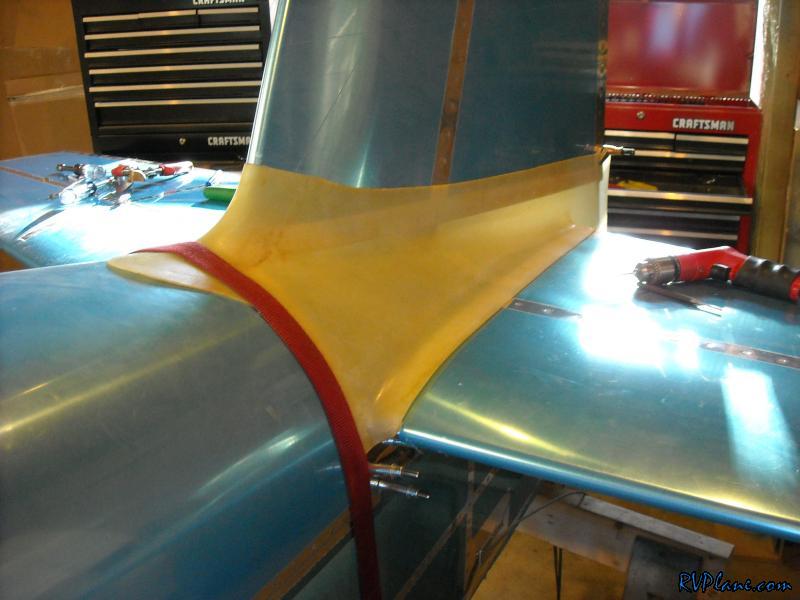 The fit to the vertical stabilizer is perfect. It couldn't be any better! 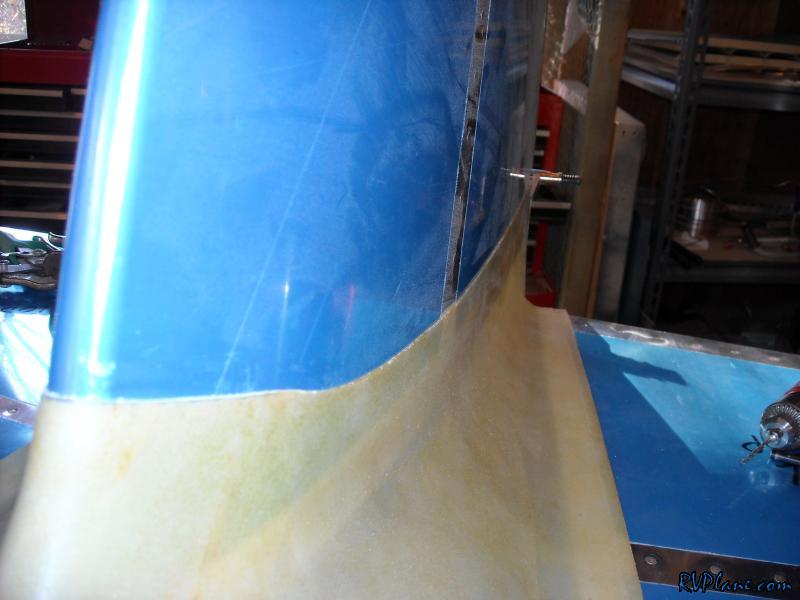 The front is a little bowed. I was able to fix this easily by heating it up with a heat gun and "bending it". Its amazing how flexible fiberglass is when it gets hot. 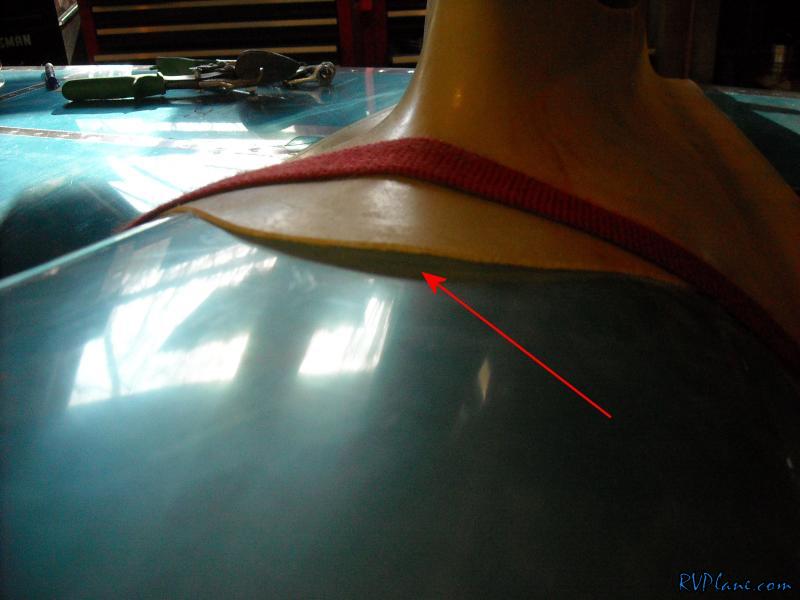 Now here's the suck part of the fairing. The fit to the horizontal stabilizer was terrible. There is no way this is acceptable. Plus the front of the fairing where it comes over the leading edge of the horizontal stabilizer doesn't even have enough fiberglass to merge into the lower part. All of this will have to be redone. 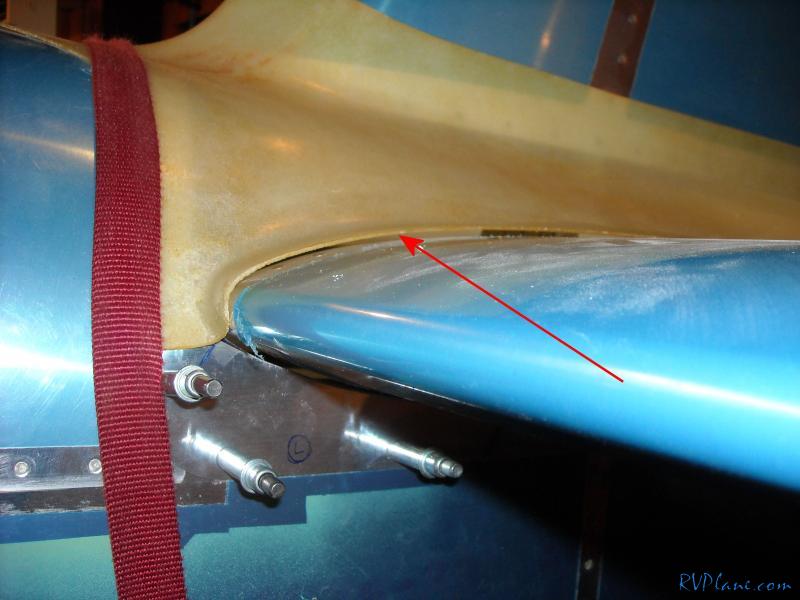 I held the back to the VS with some clamps I tried to get both sides even while maintaining as little gap as possible. 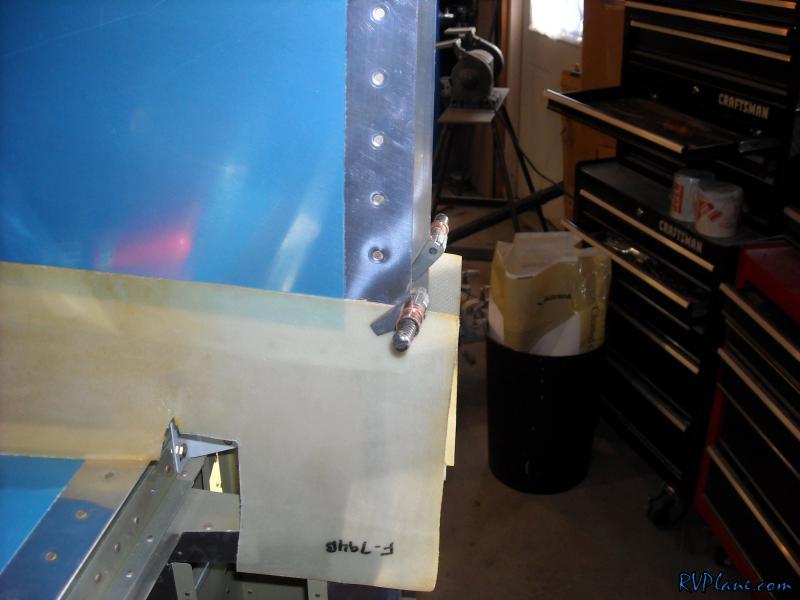 More gap. Ugh. 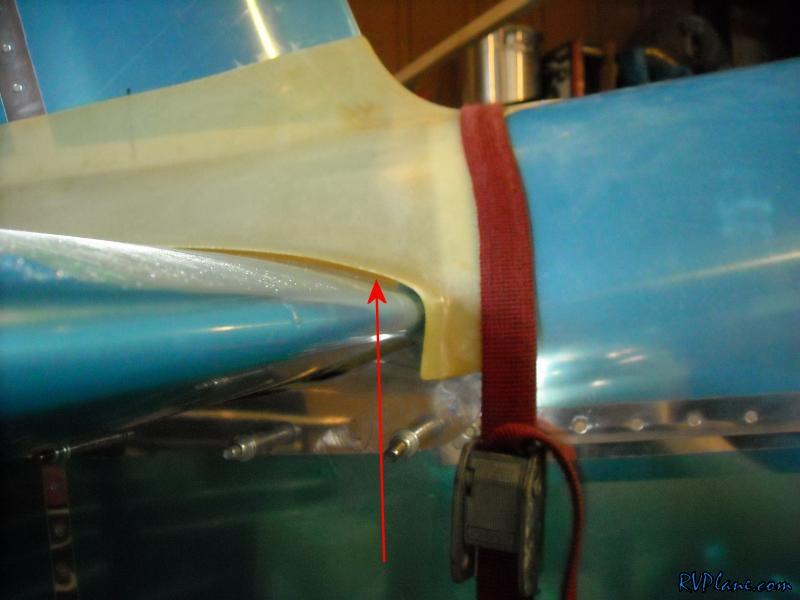 So I needed to drill the fairing to the fuselage, but I couldn't see the drilled out rivet holes through the fairing. I decided to use the shop light to shed some light on this problem. 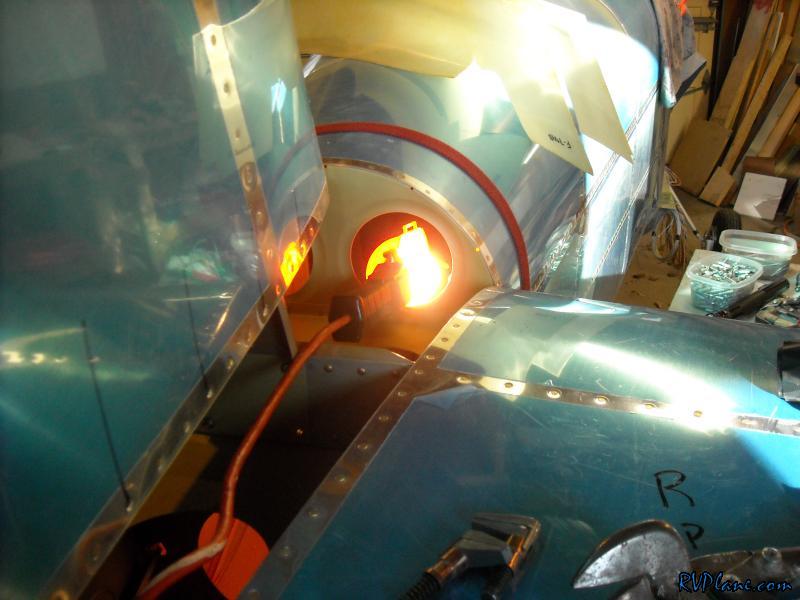 Sure enough I could see exactly where to drill. 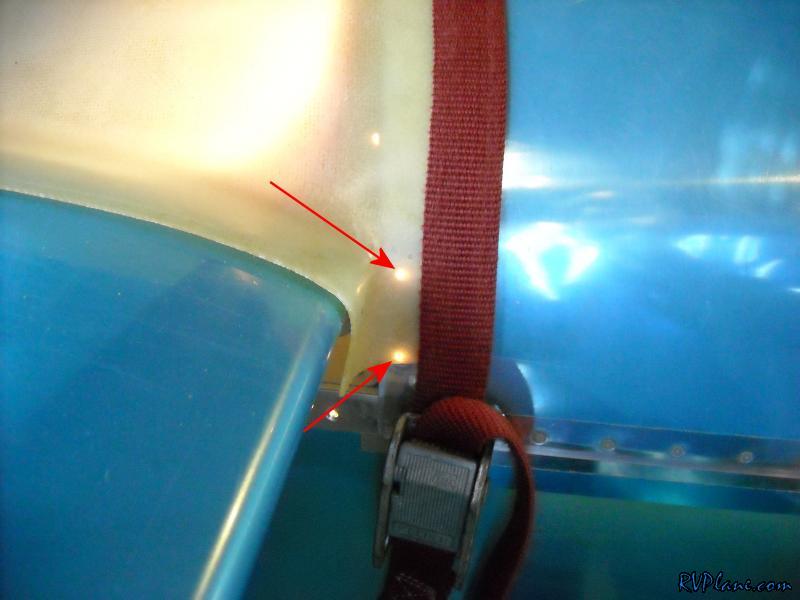 I only drilled two holes per side for the moment. to hold it in place. 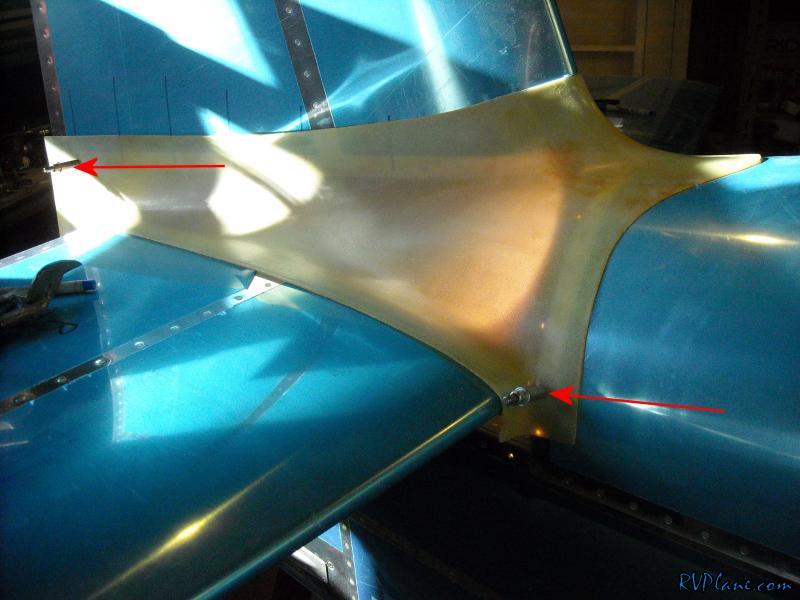 In this pic you can see I covered the HS with some packing tape and newspaper. The packing tape is so I can lay up fiberglass and not have it stick to anything important.  You can see here that I just sliced off the part of the fairing that goes over the HS. I also waxed the packing tape so the glass wouldn't bond to it. 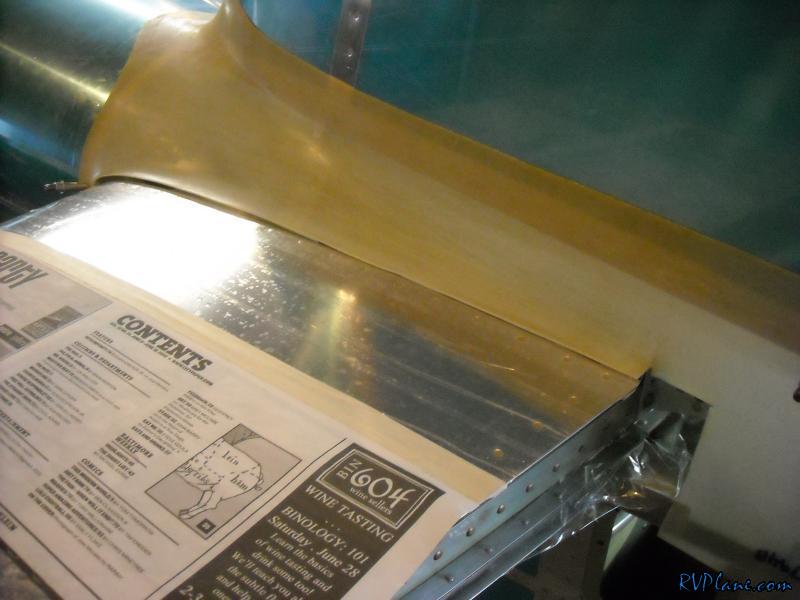 After getting reacquainted with fiberglass, I layed up 2 layers of 2" thick tape and 2 layers of 3" tape. The shape sucks now, but I am just going for structure. Once this dries I will evaluate if its strong enough and if not, add more glass. If its fine, I will fill it in with Micro. 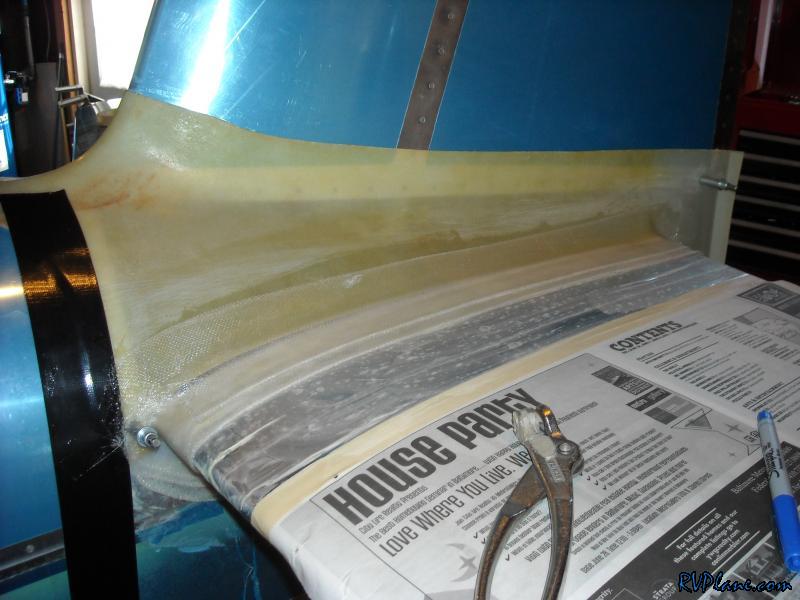 The lower part was interesting. Lots of sanding and filling in my future. But at least it will look great. 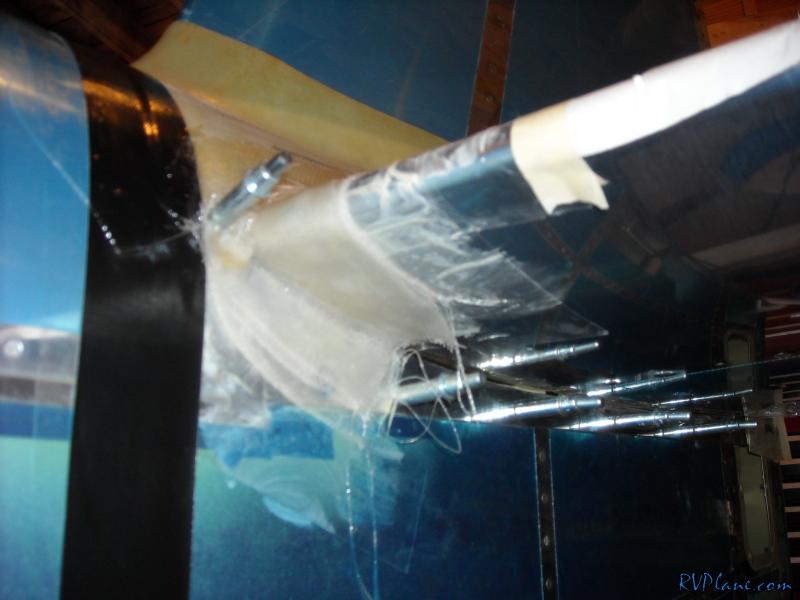 I have been blowing through my "To Do" list. This was a simple one to apply the 3" vinyl N-numbers. I used Aircraft Engravers (http://www.engravers.net/) to print these and my data plate. They weren't that much $$$ at all. 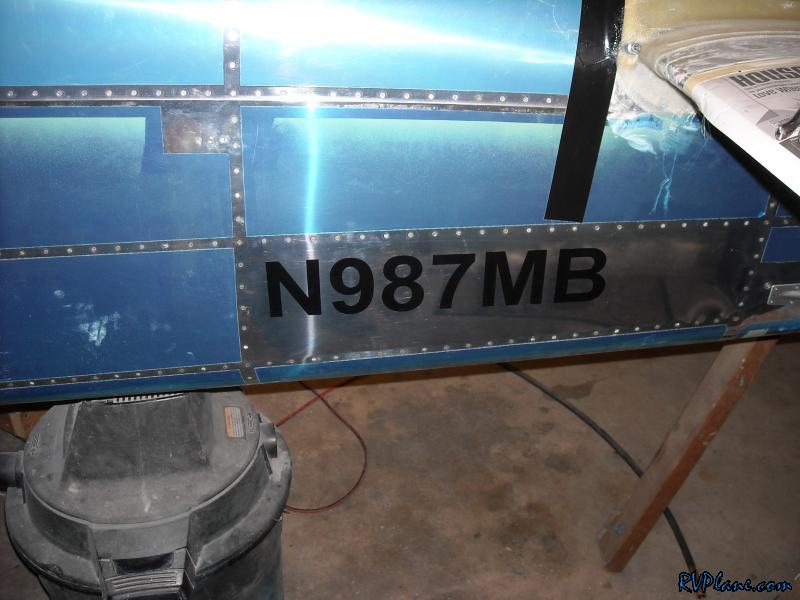 Next I drilled the dataplate under the left side of the Horizontal stabilizer and primed underneath. 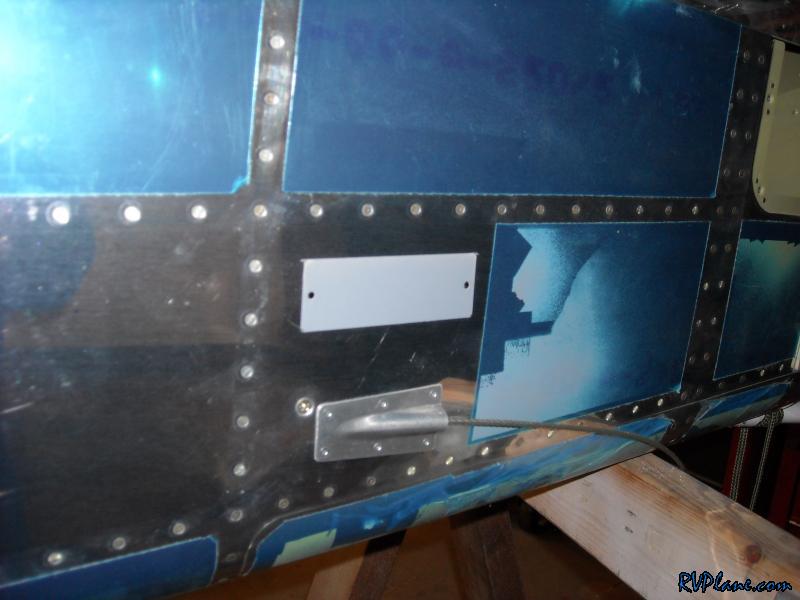 I also primed the back of the dataplate. I know I am soooooo anal with priming. I have come too far to change my ways now. 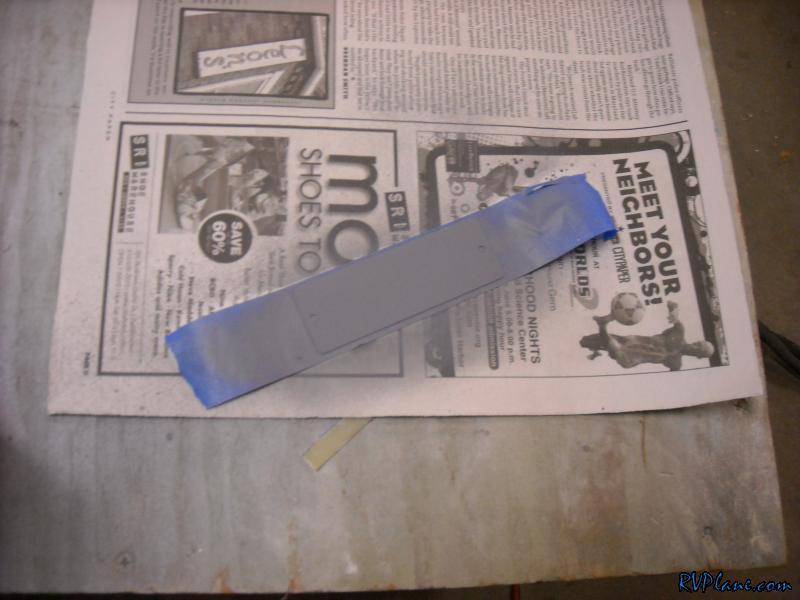 And my dataplate. Yup, just 3 lines, the Builder, Model and Serial #. Its the bare minimum needed. I have NO idea why anyone would want to put anymore than this. I personally think the "Vans Air Force" dataplate is gaudy. 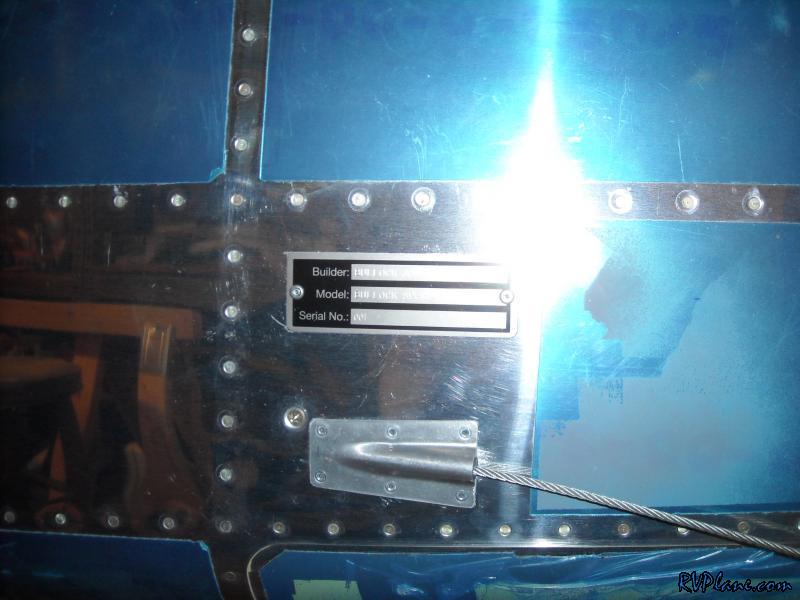 Its been a while since I've taken a pic of myself with the project. When I snapped this pic I caught myself in the middle of blinking. I look high or drunk in this pic. If I was in that condition, I don't think I would of put on a respirator to protect my lungs. Maybe I shouldn't show the FAA this one to prove I built it..... 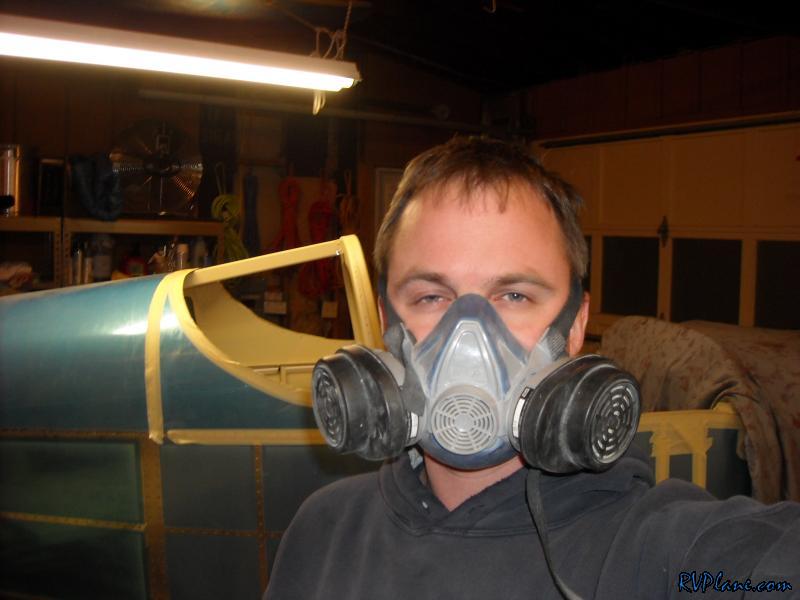 I masked off the fuselage to touch up some of the interior. 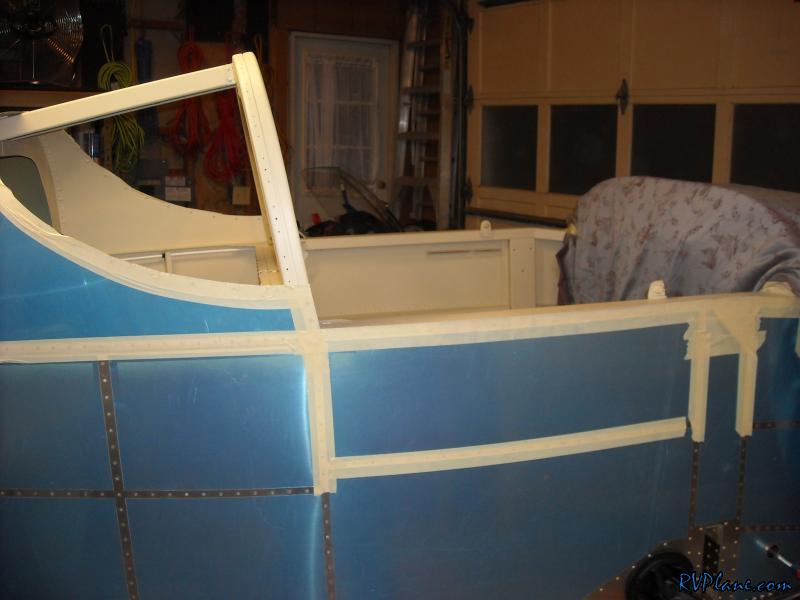 The canopy latching mechanism needed to be primed and painted.   The rollbar needed some recently installed rivets painted. Might as well now. 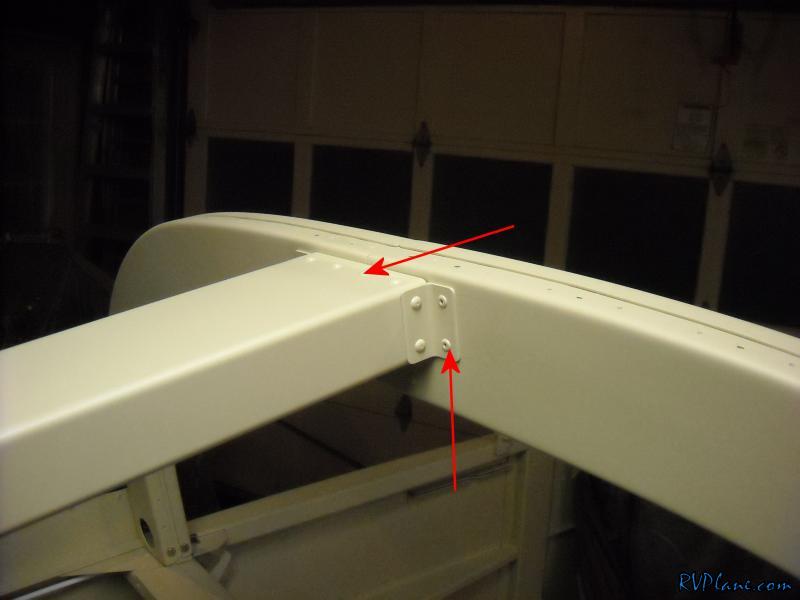 And here too. 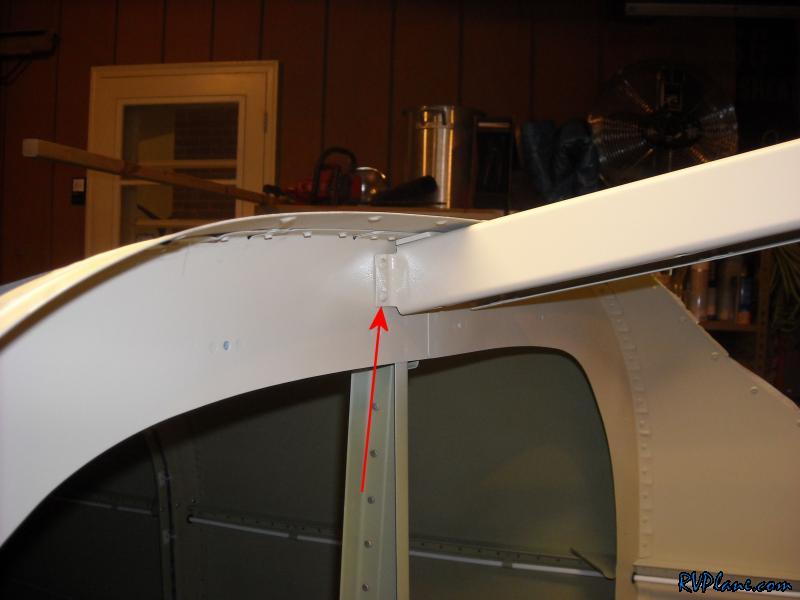
|
|||||
|
http://RVplane.com |
Last Modified: January 31, 2026 |