
|
 |
||||
This morning the garage was about 65 degrees. To expedite bringing the aft canopy up to temp, I covered the front with some old towels. 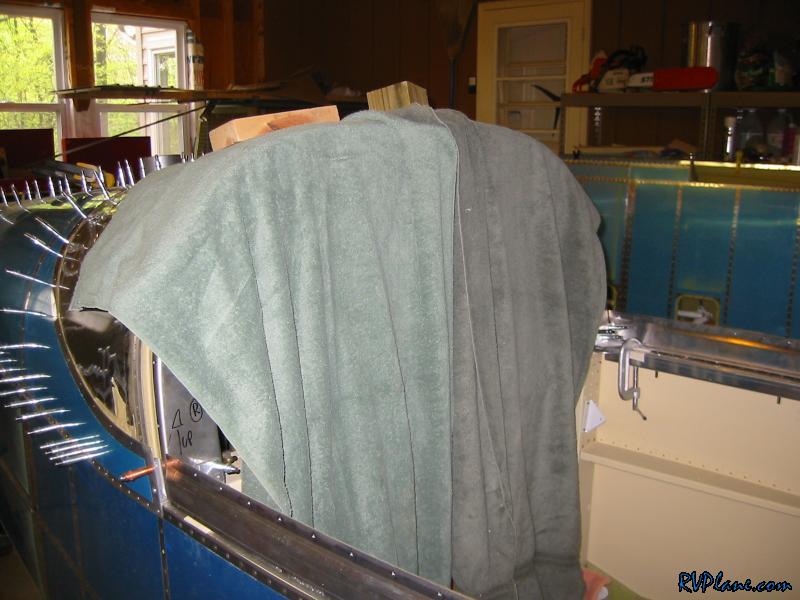 And then I put a space heater inside of the fuselage. This pic is from the F-710 bulkhead. The space heater in here did an unbelievable job. Everything was HOT in about 20 minutes. Time to drill! 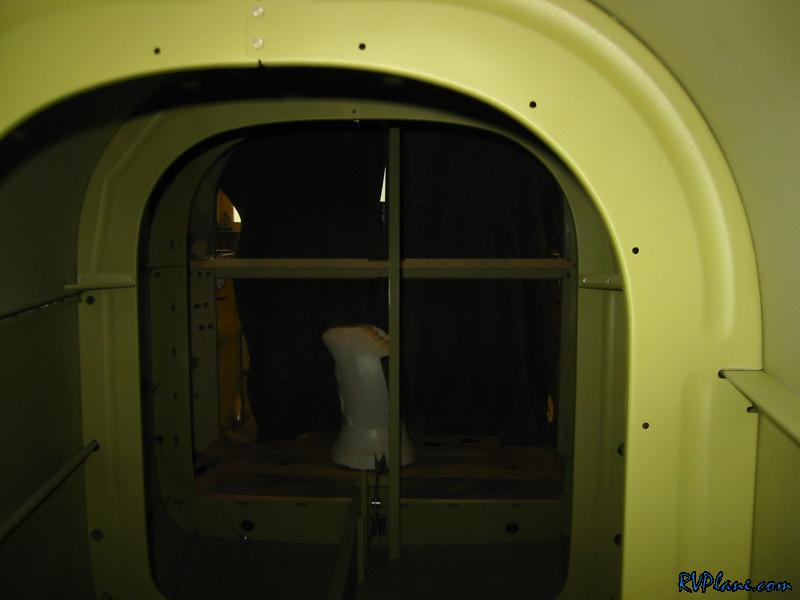 I clamped the hell out of the rear window to the rollbar. While clamping, I pushed the window up against the aft top skin to keep alignment as good as possible. 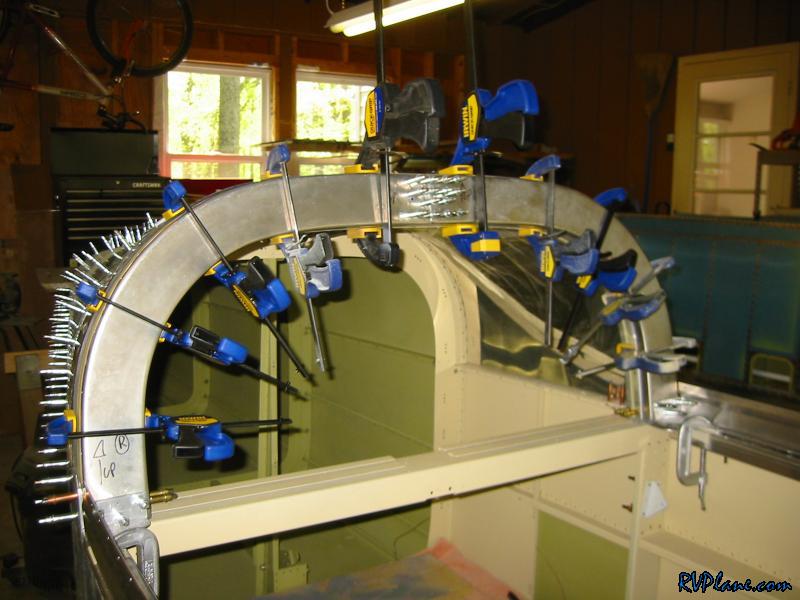 Nothing else to do but drill. Since the rollbar gets tapped, you can't just drill it to #30 because it needs to get drilled to a #36 for a 6-32 tap. So, what you do on the front is use a #30 drill, but be real careful not to go through the rollbar (hence the #40 clecos). I turned off all radios and cell phones while I did this. The last thing I needed was a distraction. Anyways, the back/sides are done by just backdrilling the canopy using the #50 pilot hole I drilled the other day. I started at the top and worked myself down, drilling one hole on the front, the other on the aft and zig-zagging myself down. 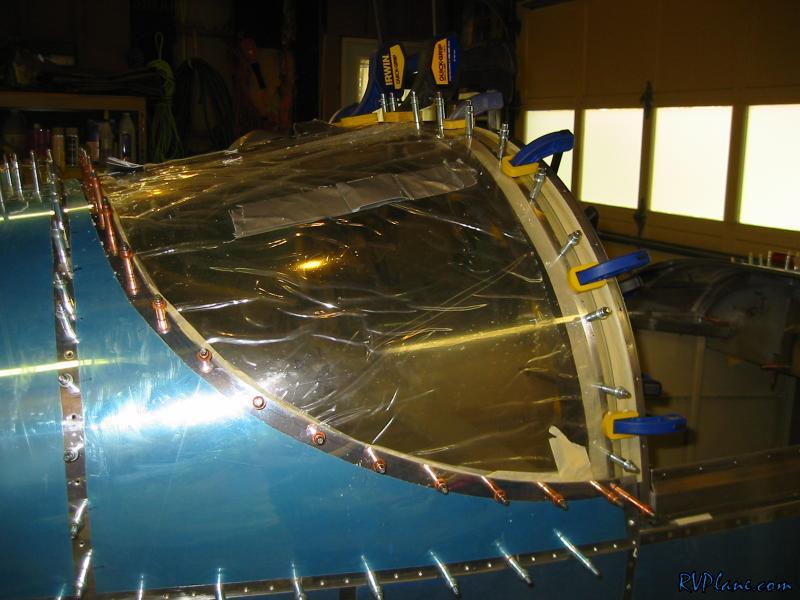 With the right side down, I put the heater back in the fuse again for 10 minutes and then drilled the left side. It is relieving having this done. 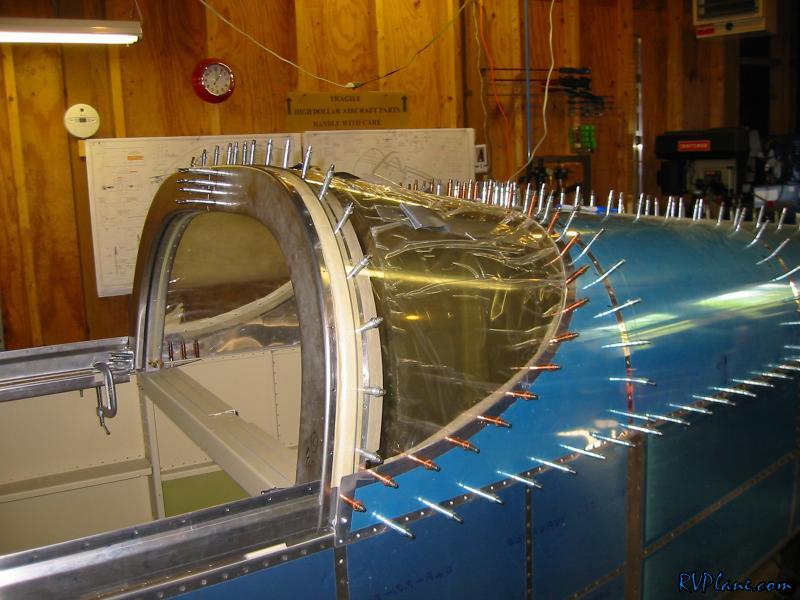 Next I marked the front of the aft window for where it needs to be trimmed to meet up with the forward canopy. I taped off a trim line and started sanding away. I have heard that a belt sander works wonders, but I don't have one. So I grabbed this orbital sander and let her rip. It was better than doing it by hand!  After hours of slight trimming, the aft canopy fit again. VERY snugly though. 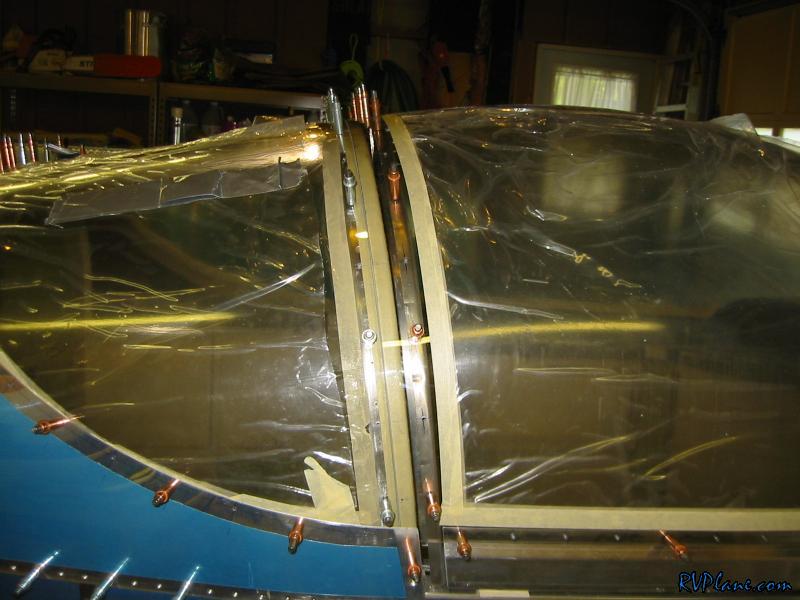 After another couple hours of trimming and procratinating, I had a VERY tight 1/64" - 3/128" gap between the rear windows and the front canopy. Van's calls out for a 1/32" gap, and I intend to get it there eventually, but before I do, I want to install the gas struts. They have a tendency to push the canopy forward, which could ruin my perfect 1/32" gap if I made it now. 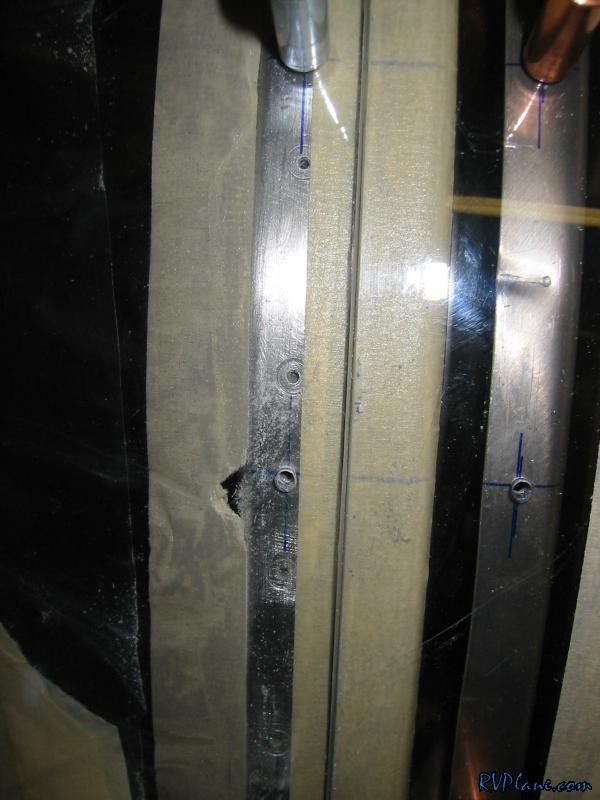 Next the aft end of the rear window needed to be trimmed. In a round about way, the plans mention it is supposed to be 5/8" from the corner of the skin. There isn't a easy way to figure out where 5/8" from the skin is on the window, so here is what I did. I knew that masking tape was 3/4" wide. So, I made a 1/8" spacer out of plastic and used it to mark the indicated line, spaced 1/8" in front of the aft top skin. 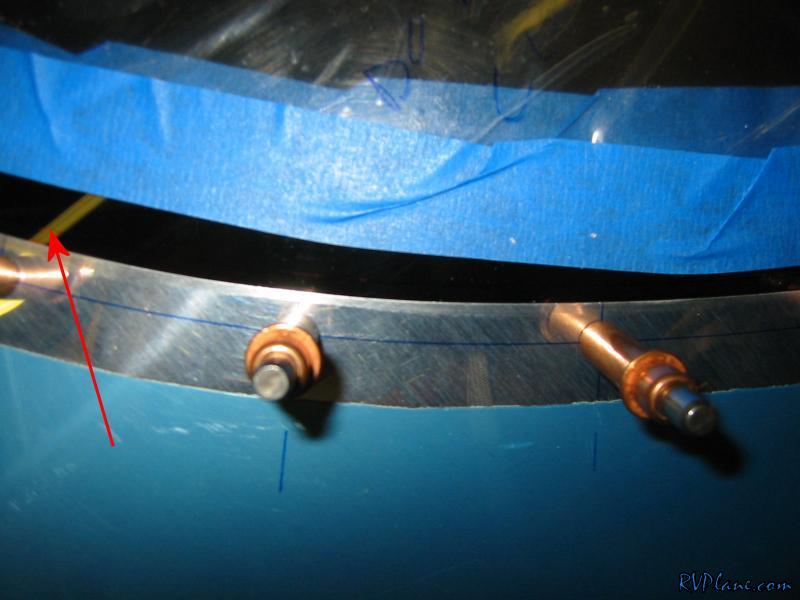 Next I taped carefully using the previously marked line as a guide. The outside end of the tape was the cut line. Easy Peasy! 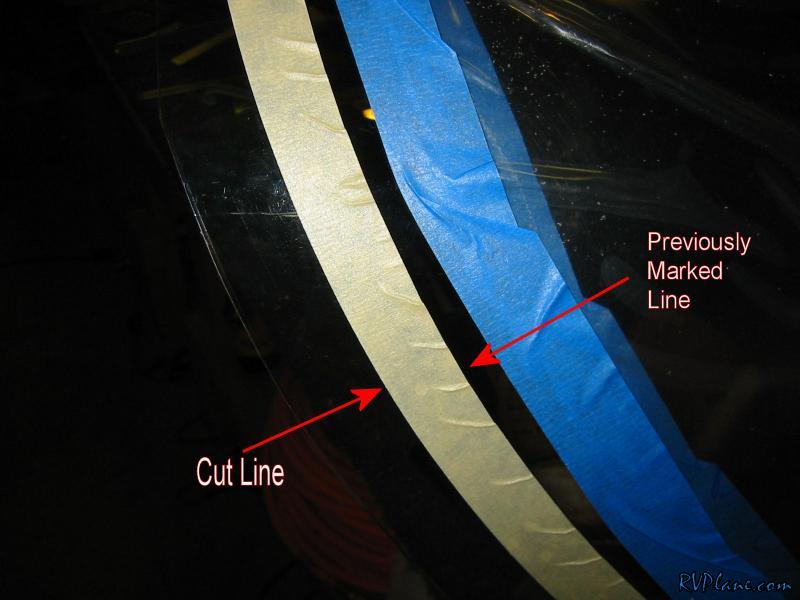 All that work notching the front for nothing! Arg! 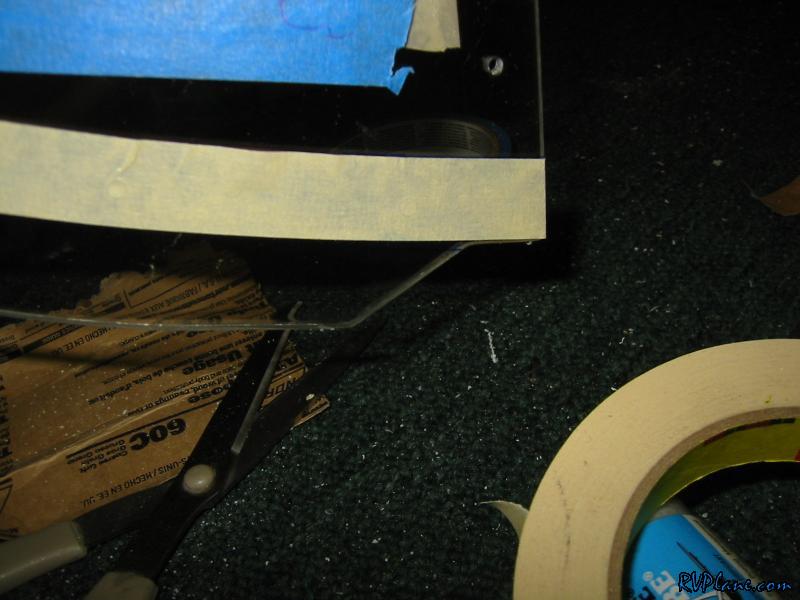 That was the WORST cut of the plexiglass. VERY long and very wierd shape. I was covered in plexi dust. However, it was also the LAST CUT I NEED TO MAKE WITH THE PLEXI CUTOFF WHEEL! It is officially retired. I still have some drilling/countersinking and sanding to do, but that ain't bad.  The finished product. 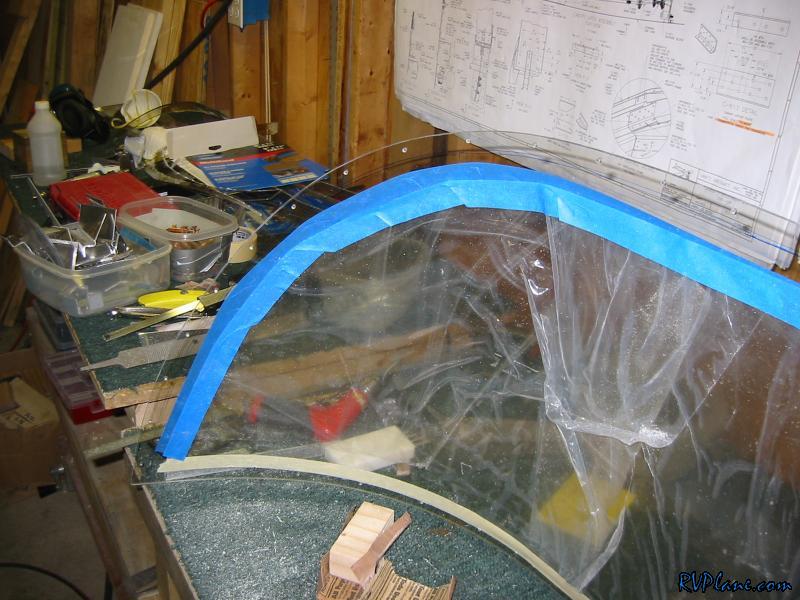 Next I drilled out the #40 holes on the rollbar to #36 and tapped them all with a 6-32 tap. 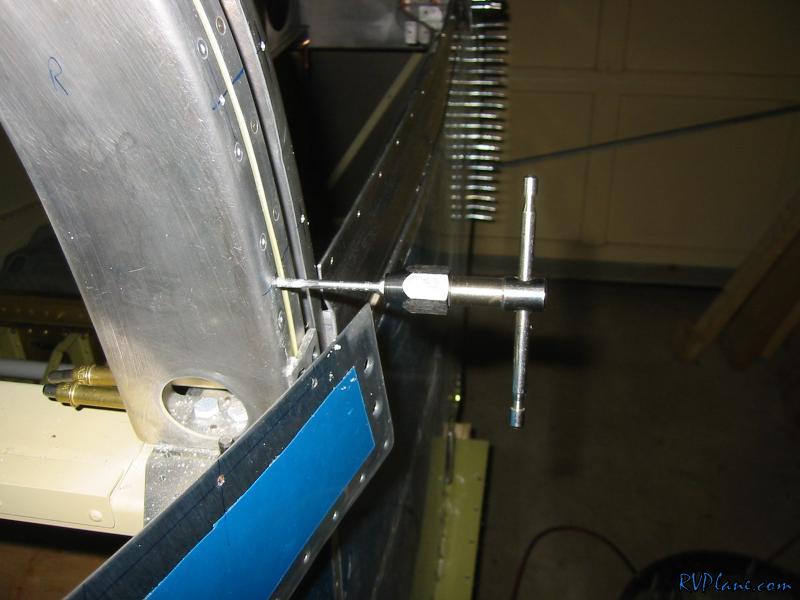 Next on the agenda is the canopy reinforcement kit. This is installed under the canopy frame and adds a lot of reinforcement to it. It used to be an optional kit in the -6's and early -7's, but now it comes standard.  The 9 holes int he above parts need to be bent to add strength to them. Sort of how some of the lightening holes come from Van's. Chad Jensen turned me on to modify the Avery edge rolling tool. His only complaint was his modified tool bent a lot, so I decided to make the handle out of some 0125 angle and attached the rollers to the angle. 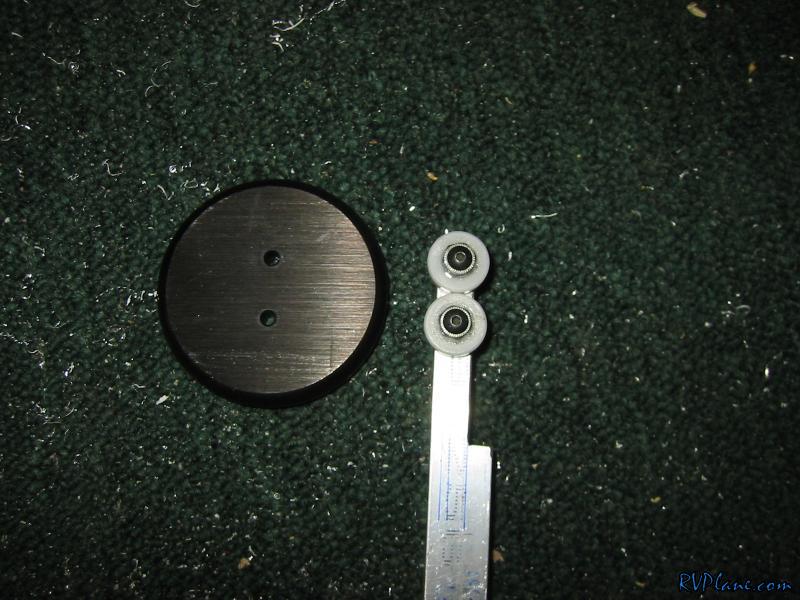 I tapped the angle to accept the screws from the avery rollers. I am beat from working on the project today, maybe tomorrow I will get around to working on this some more. All in all a great day working on the RV. First weekend I have put in for a while. 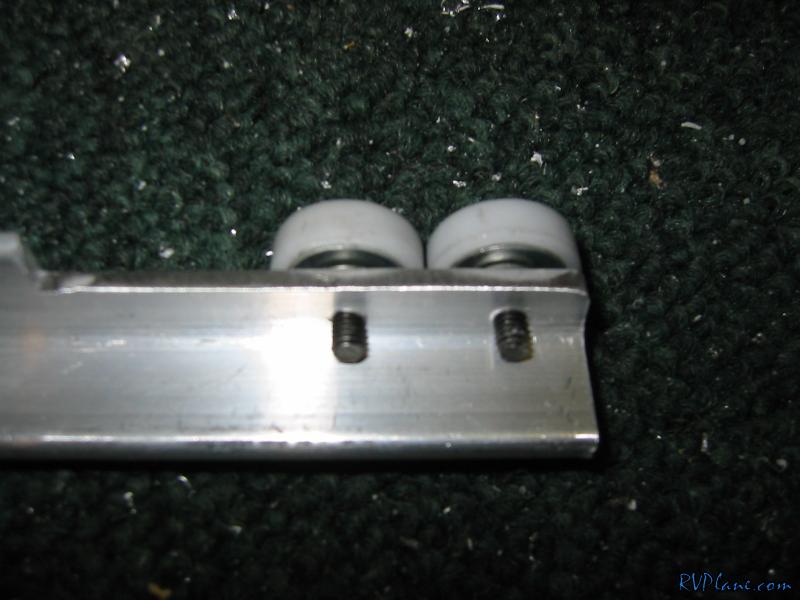
|
|||||
|
http://RVplane.com |
Last Modified: January 31, 2026 |