
|
 |
||||
Tonight I started by finishing the cutouts in the side fuselage. To aid me making straight lines, I taped everything off. This made it real easy to file and get everything just right. 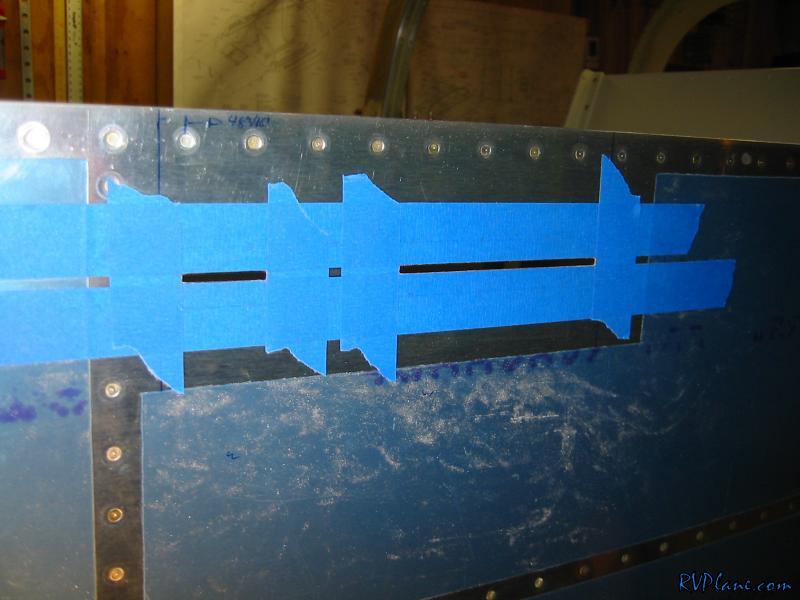 Next I made the bottom angle that goes inside the fuse that the latching mechanism bolts to. 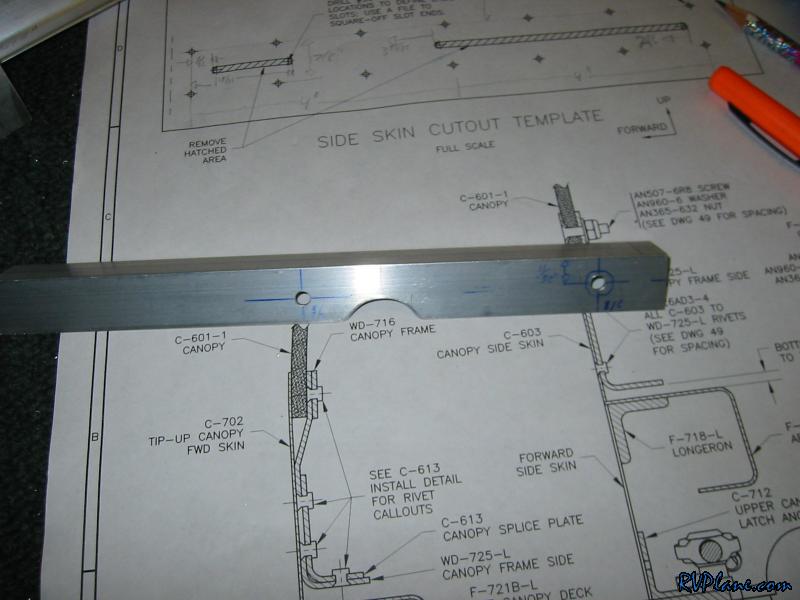 This is how it all interconnects. This is when the latch is locked.  and unlocked.  With the bottom made, I copied it to a top angle by backdrilling the holes and copying the radius cutout. 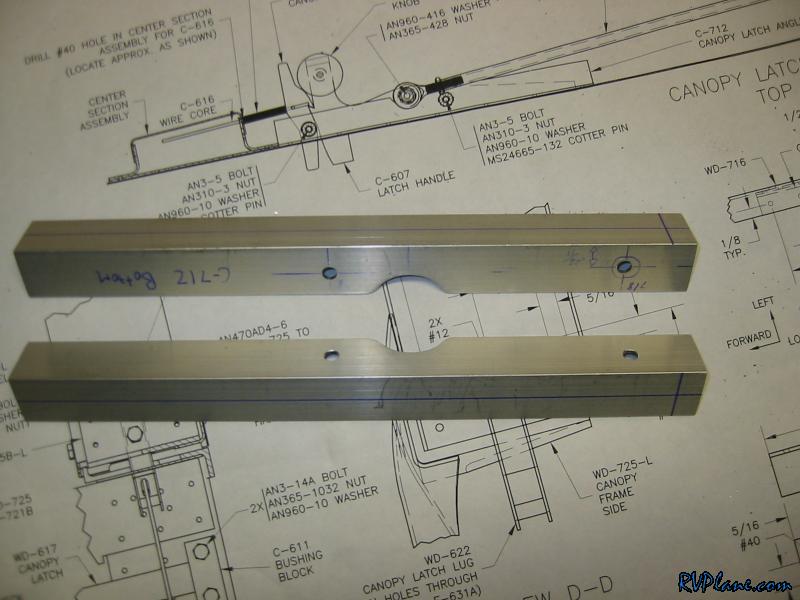 Next I needed to mount the angles to the latches and backdrill it from the fuselage. However, Van's recommended putting some UHMW tape on this to prevent any binding up. To allow room for the UHMW tape, they recommend putting some 016 scrap on the top and bottom of the latch. I didn't have diddle for 016 scrap, so I used my caliper to determine that 4 layers of tape equal about 016. 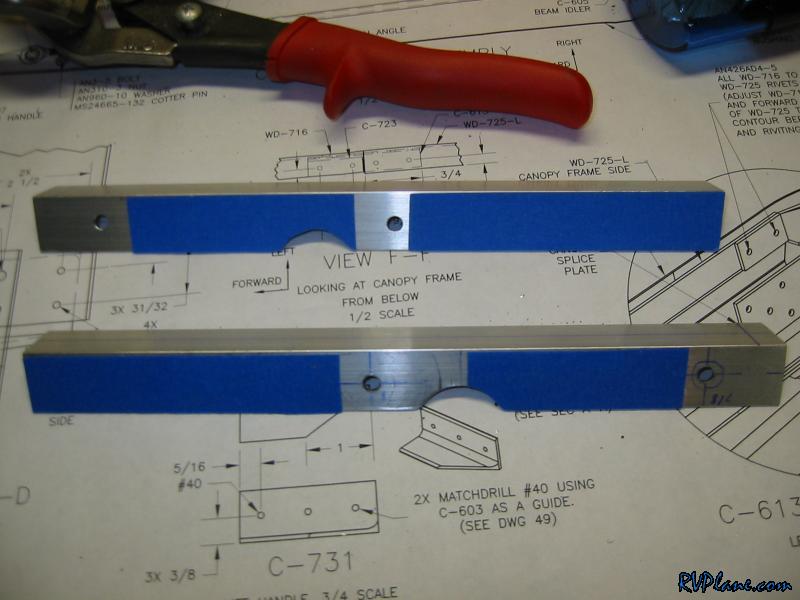 With everything together, I backdrilled the angles. 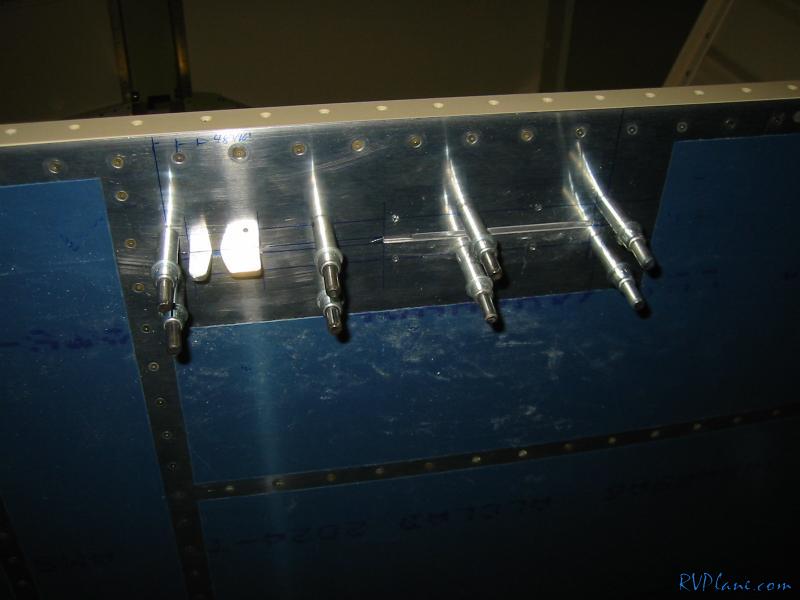 Once that was in place, I needed to put a hole in the F-704 for the spring mechanism to go into. The plans called for a #40 hole, but I used a #44 to make the fit a little better. 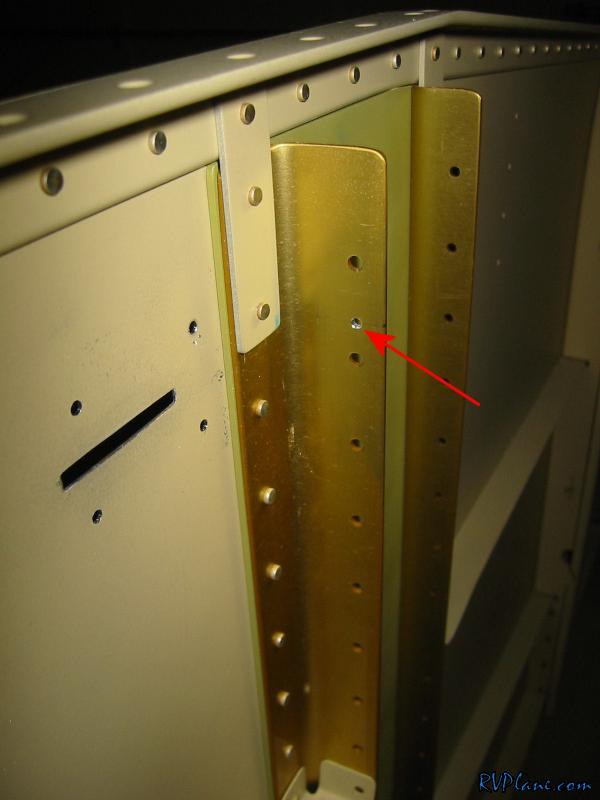 And here is the finished product. The spring keeps the forward latch pressured against the aft section. 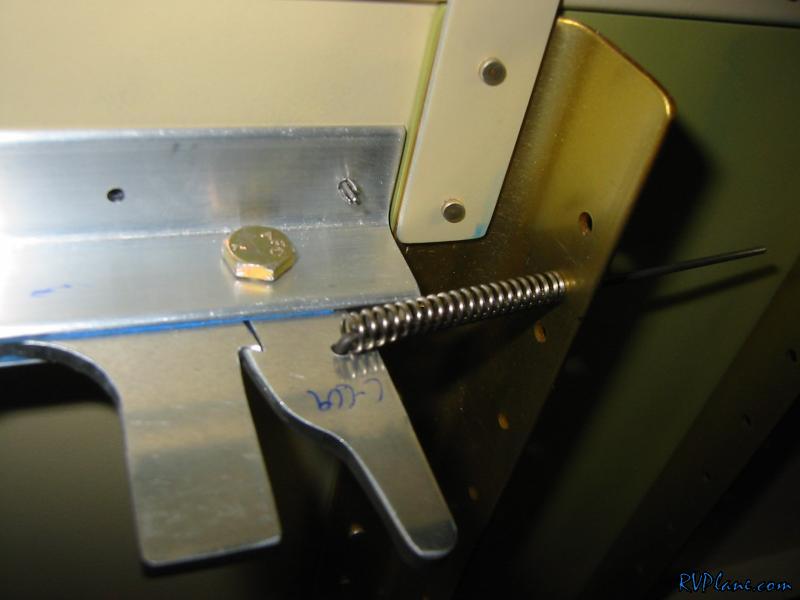 After I dimpled the skin and countersunk the angle for the dimples, I put the yellow knob on the lever. Besides paint and riveting, this puppy is done! 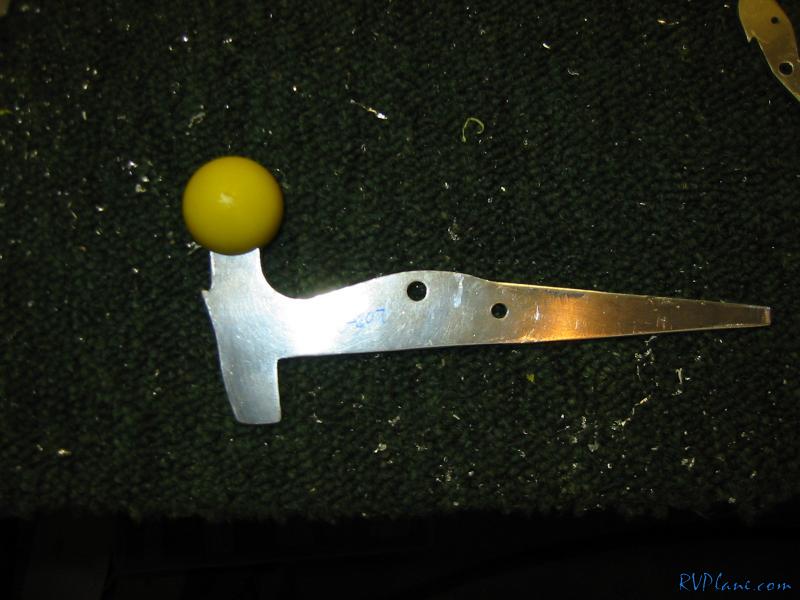
|
|||||
|
http://RVplane.com |
Last Modified: January 31, 2026 |