
|
 |
||||
Got a lot done tonight in a little time, which is real rewarding after spending so much time on the seat back bulkhead. Makes you appreciate parts when Van's does most of the work for you. I started out backdrilling the F-728 and F-729 angles, along with the 1/4" hole for the elevator bellcrank.  Next was drilling the F-729C angle to the F-729B angle. I needed to move the hole about 1/32" after to maintain proper edge distance on the F-729B angle. I clamped everything down to make sure that the rib and bottom bulkhead were perpendicular. 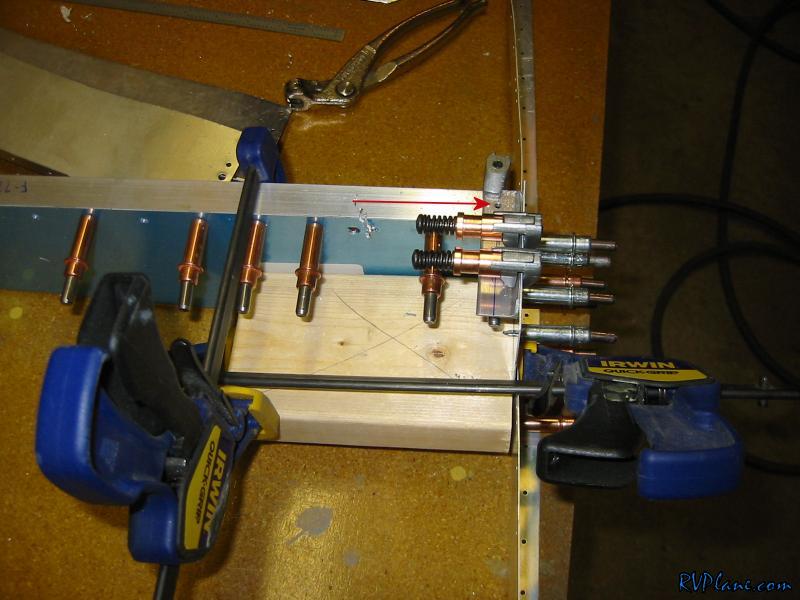 The F-706 assembled. This looks way cool.  I scratched my head at this - where the vertical bar connecting to the top of the bulkhead. The holes just didn't look right. 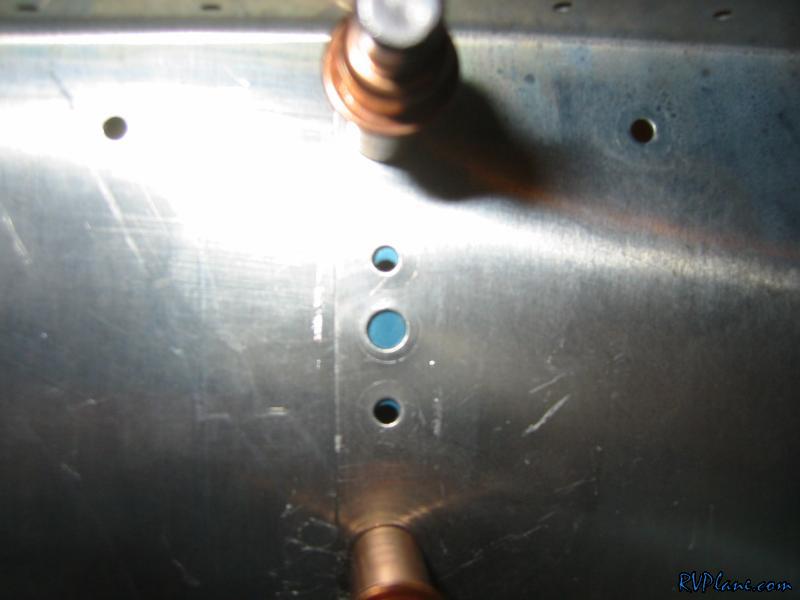 After 30 seconds, I realized the vertical rib needed to be in the holes to the right of the fuselage. Phew, I saved myself an embarrassing call to Van's tech support. 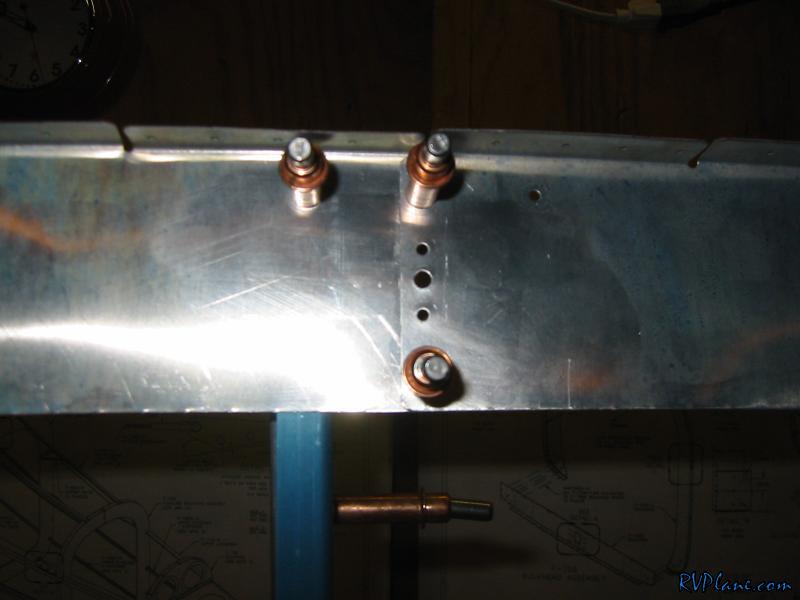 Van's has a recommended place for the wiring conduit/manual trim hole. There are two issues here - one is you bust edge distance here with all 4 of the 1/8" rivets. Also, you have to trim two ribs to make room for the hole. Why do that when there is a ton of empty real estate on either side of the center for wiring conduit? I am going to wait until way later on in the build process to determine where the conduit hole will be, just not here. 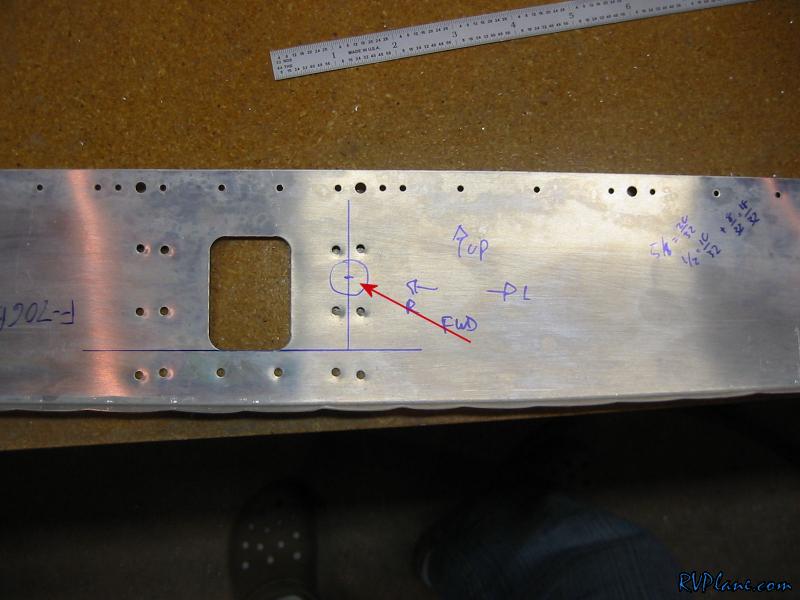 Made a hole for the static line. 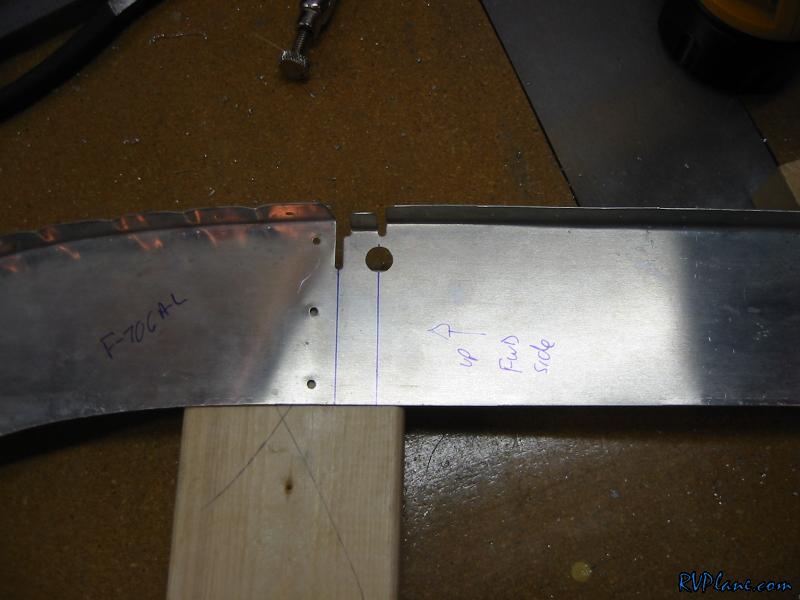 Since all of the rivets on the lower of the F-705 bulkhead are flush towards the front, I countersunk the F-729C angle for the dimpled holes. The F-706 prep is done. 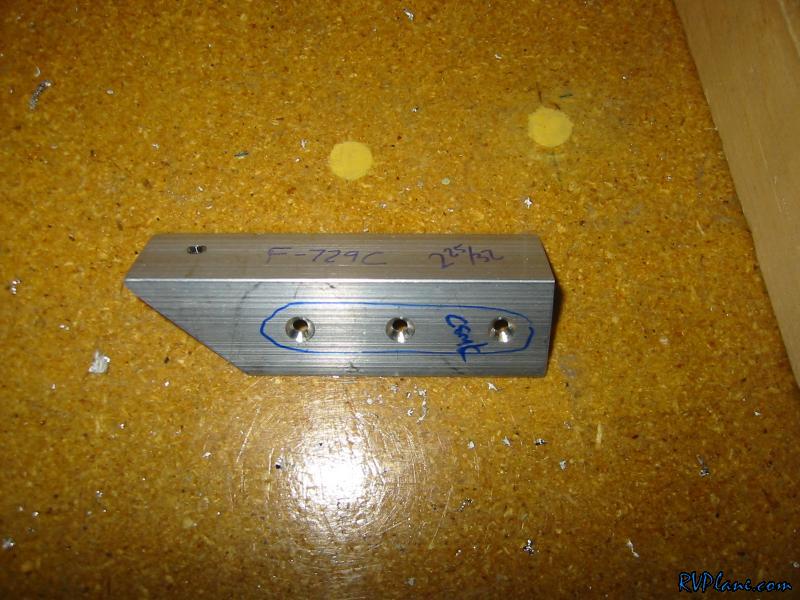 I blew through the F-707 bulkhead and moved onto the F-708 bulkhead. I made 8 #30 holes per plans for the static line routing. 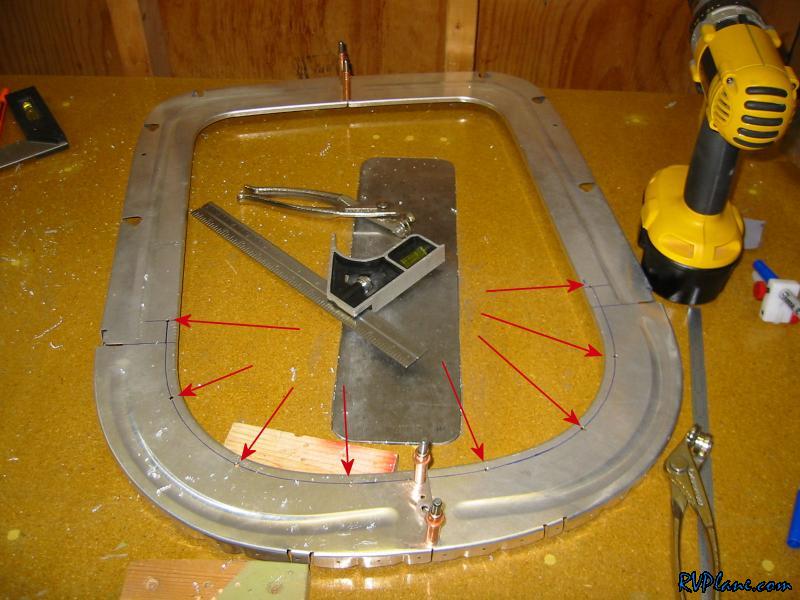 I think I only have another day or two fabricating all of the bulkheads. Then the fun comes of prepping and priming everything. There is a ton of parts here, but its worth it to me to get it all done at once to minimize the priming sessions.
|
|||||
|
http://RVplane.com |
Last Modified: January 31, 2026 |