
|
 |
||||
Before starting on the fuselage, I wanted to take care of a few last organizational things on the fuse and a couple 'upgrades' to the shop. First I punched holes in the plans and hung them. As easy as this sounds, it took a while. To make sure that the hole punched doesn't rip off, I used 2" wide clear packing tape to make a doubler of sorts - 3 for each chart, about 30 sets of plans. It took a while, but its worth it to me since I hang them. Next I took some 1x3 and made a new holder for the plans. 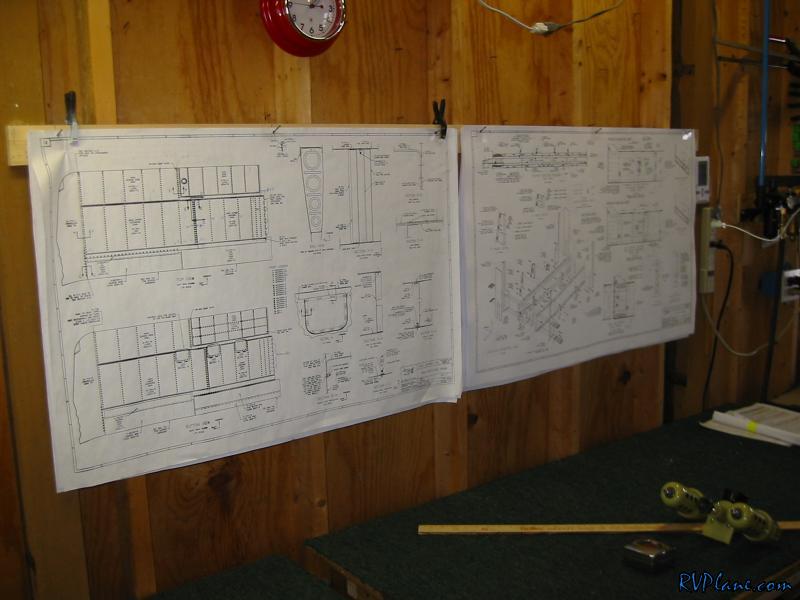 With the plans moved over to the right a few feet, I had the room now to put in my second regulator/oiler. I have probably had this for 9 months now, so there was no more excuses left. Once I dive into the fuse, there won't be any time to diddle with this stuff. This regulator will be nice because it is next to the garage door - I don't have to get a 50' hose out to prime any more. 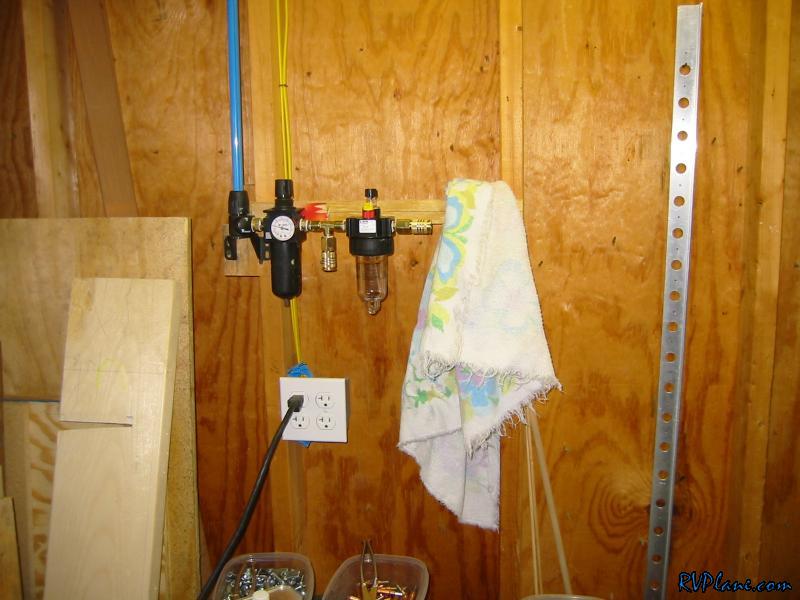 Way to go Van's! I ordered the missing fuse parts plus some goodies (hardware, crotch strap kit) on Thursday and it got here in 2 days, USPS. For $10 you can't beat it. However, Van's did cheat me by giving me some #6 screws instead of the #8 ones I needed. I almost mixed them in with the rest of the batch, but luckily I compared them beforehand. 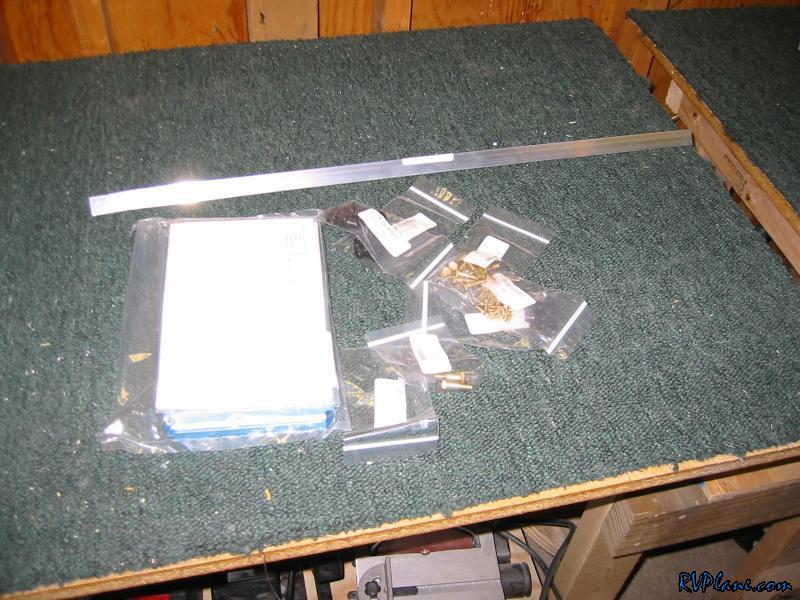 The first step in the fuselage construction is to flute all the bulkheads and ribs. While I don't know if I got "all" of them, I got the big ones. This looks like one of the more forward bulkheads - very badly warped at the top.  And everything all fluted and sitting nicely. Bam, step one of the fuse done. So far, the fuse is nothing like the wings -- i.e. "install all 1,000 nutplates on the spar". Onto the firewall. 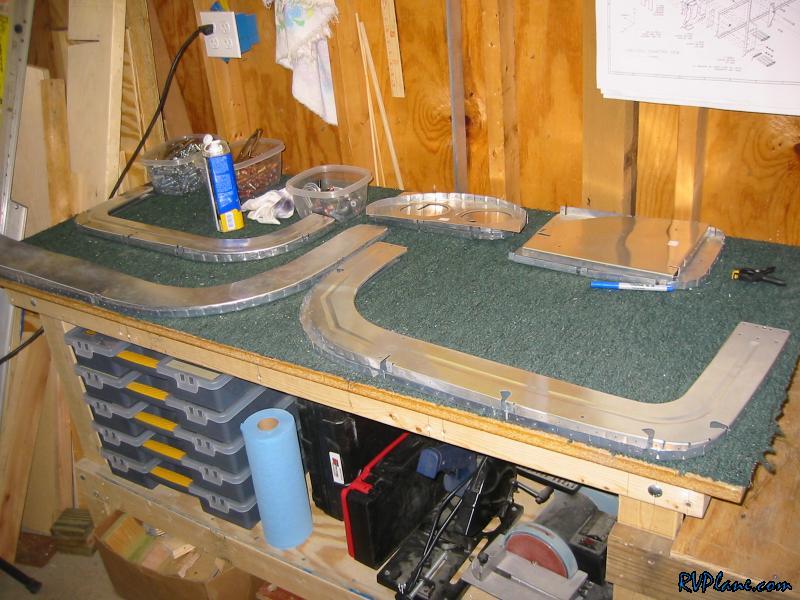
|
|||||
|
http://RVplane.com |
Last Modified: January 31, 2026 |