
|
 |
||||
Tonight I started working on the pushrods. The pushrods are made from a long stock tube. They need to be trimmed to 65 25/32". Kind of s wierd number to shoot for, since you gotta use a tape measure here, and most tape measures are only accurate to the 16th's. So I strung out the tape measure and marked 65" and also put a mark between 65-12/16 and 13/16. I double checked my mark by using a metal rule to measure 25/32" from my 65" mark -- basically to double check if my math conversion to 16's worked. I then double checked everything with another tape measure. I didn't want to mess this up because it would be expensive to get another long tube shipped across the country. Anyways, I used my portable chop saw to make two uneventful cuts. 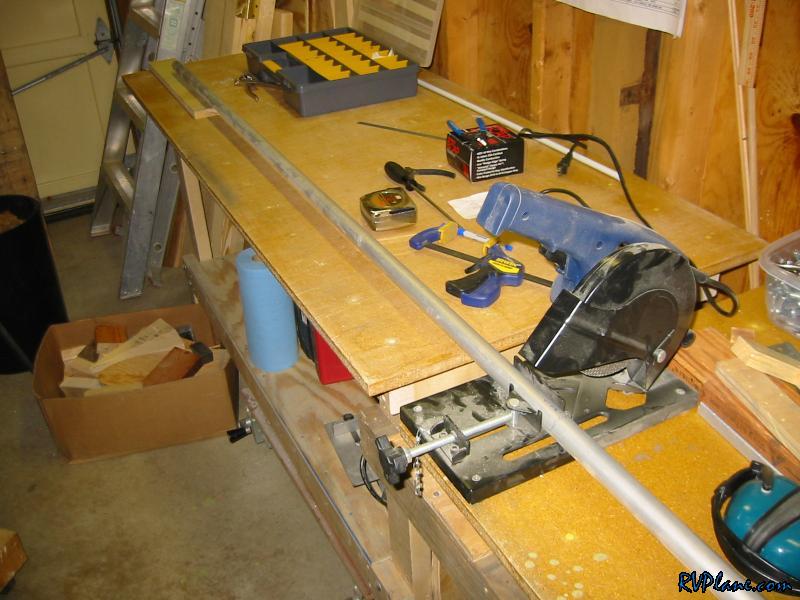 Two tube perfectly at 65-25/32". What a relief. The shorty tube on the left is what is left over. Now before you go and think Van's is all generous, the reason that there is this much left over is because the RV-8 needs its pushtubes 69" or so long. 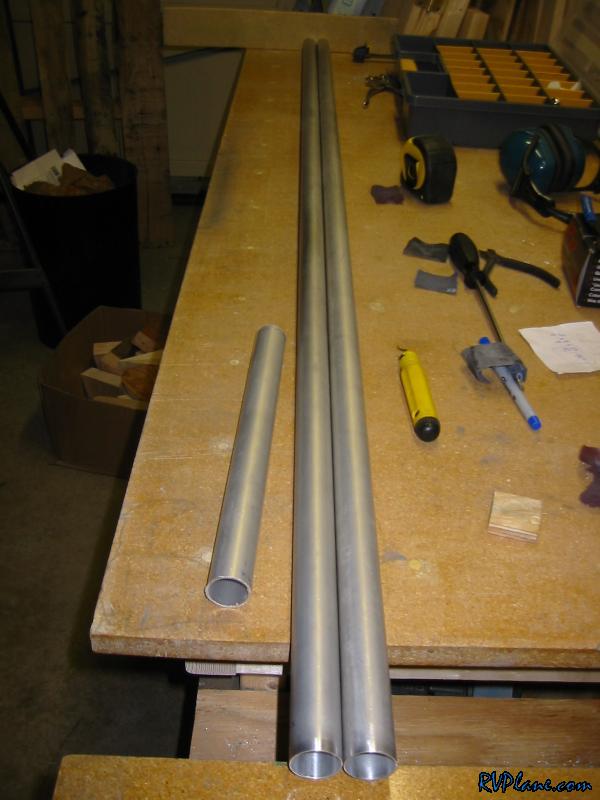 Next was onto the steel pushtubes that go from the bellcrank to the ailerons. I had a 24" metal rule that helped here to be accurate. Same deal with cutting these things in the chopsaw.  OK, Van's proves it isn't generous here. The small piece on the bottom is all that is leftover once you shorten the tubes - 7/32" if I remember correctly. I test fit the end pieces on these tube. On the freshly cut ends, the rod ends fit right in snugly. The other end was a different story. I used a small sanding bit on my dremel to smooth out the inside. It looked like some powder coat was interfering. 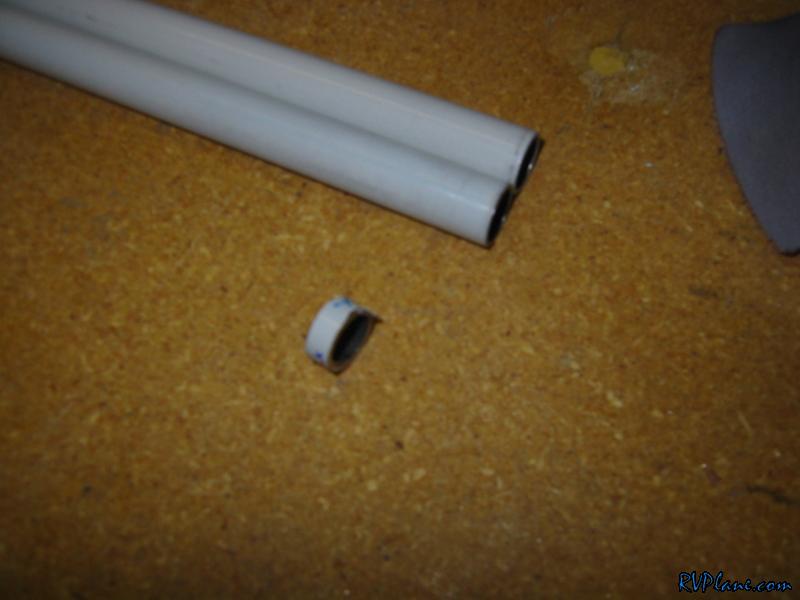 Next I wanted to prime the insides of the tubes. I taped off one end so I could pour paint in and keep it under control.  Voila. These push tubes were pretty easy - pour a bunch of paint in, letting it go to the far end, then twirl the tube while raising the blocked end and let it drain. I repeated this twist to make sure I got good coverage. After waiting a few minutes, I took off the tape on the end and blew air through it to get any excess out. Coverage looks great...maybe excessive, but thats fine. The power coated pushrods were a different story. Apparantly AKZO doesn't stick to steal. It just poured in and out. Kinda bummed out by this, I simply blasted some spray can primer inside these puppies. 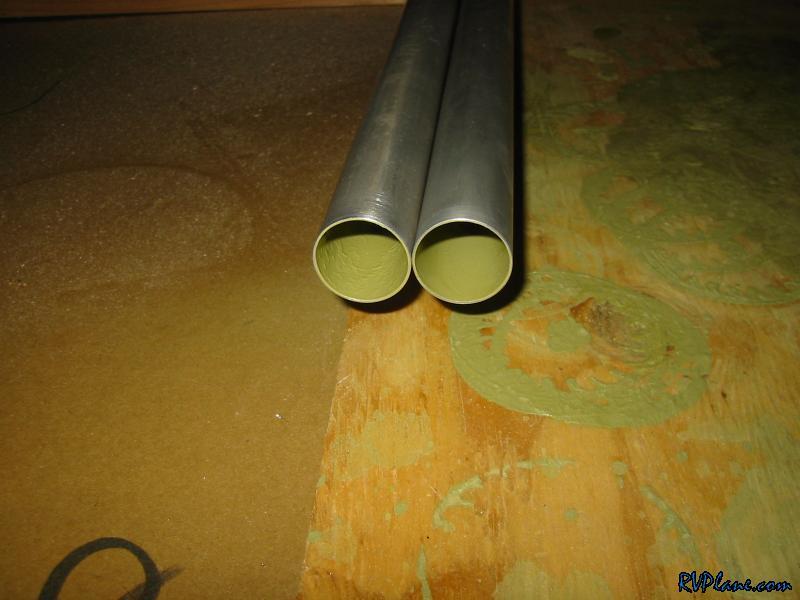 While the pushrods were curing, I worked on some outstanding issues on the bottom wing skin. I countersunk the rivet holes for 3/32" small head rivets for the nutplates. I am going to prime the exteriour facing side of the inspection plate interface on the skins, and I wanted this to be done beforehand. 
|
|||||
|
http://RVplane.com |
Last Modified: January 31, 2026 |