
|
 |
||||
Lots of work today, and a lot to show for it. I started out by making some V-blocks to jig the flaps on. I started out with some 2x8x1 from the Wing crate. I screwed it together and cut it in my miter box saw. 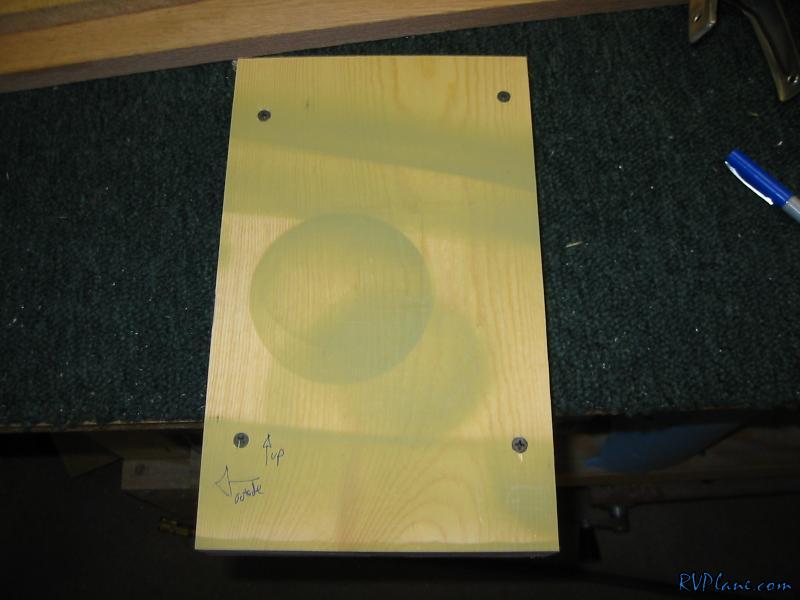 Next I traced out a rib as a template. 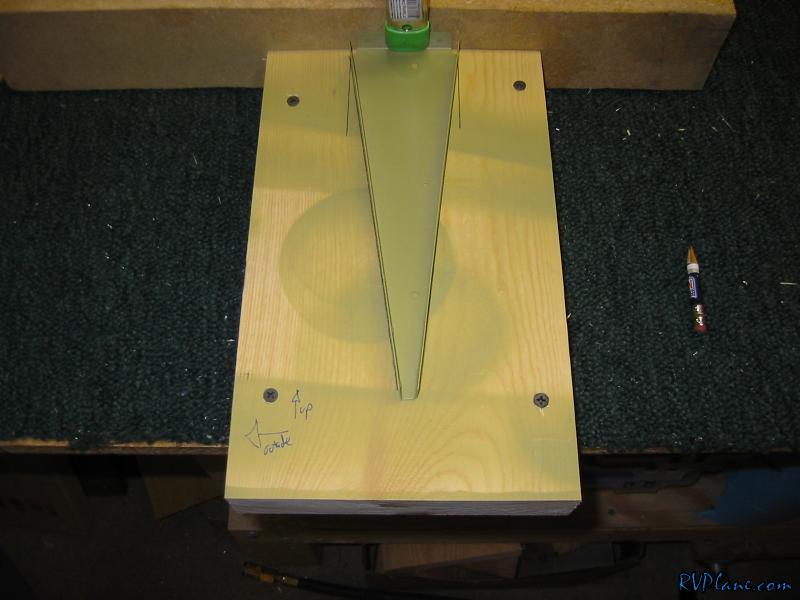 I cut the jigs at the same time with a saber saw so they match perfectly. 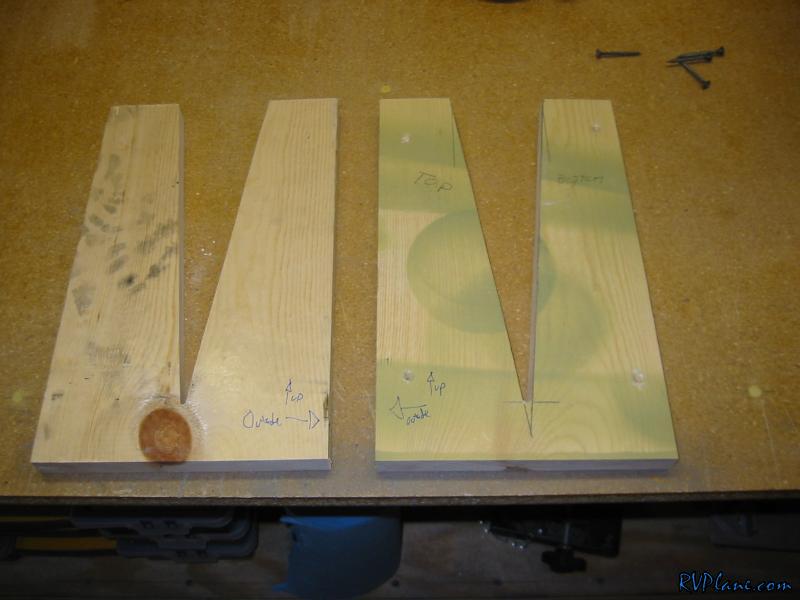 Next I riveted on the doubler and nutplates to the inboard rib. 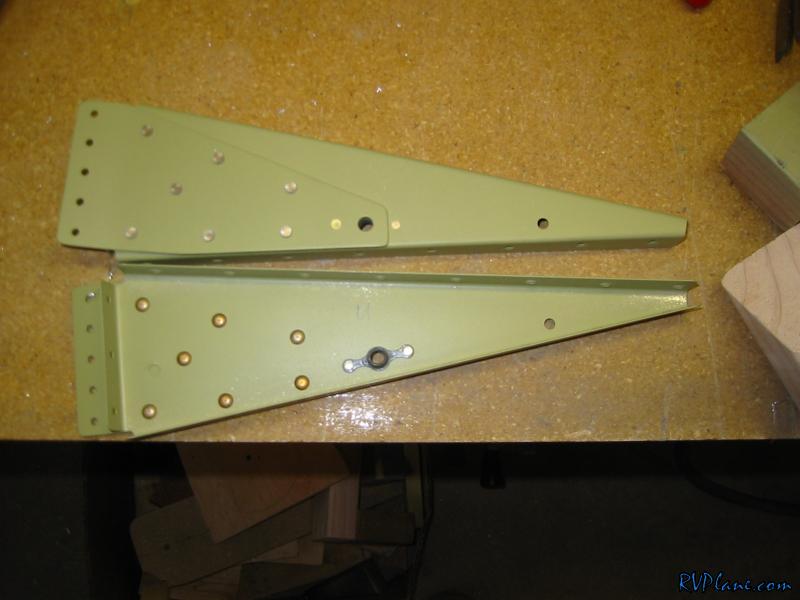 One issue I ran into was the V cutout wasn't 100% dead on. I used a cloth to make everything tight and to make sure the top of the skin was aligned. 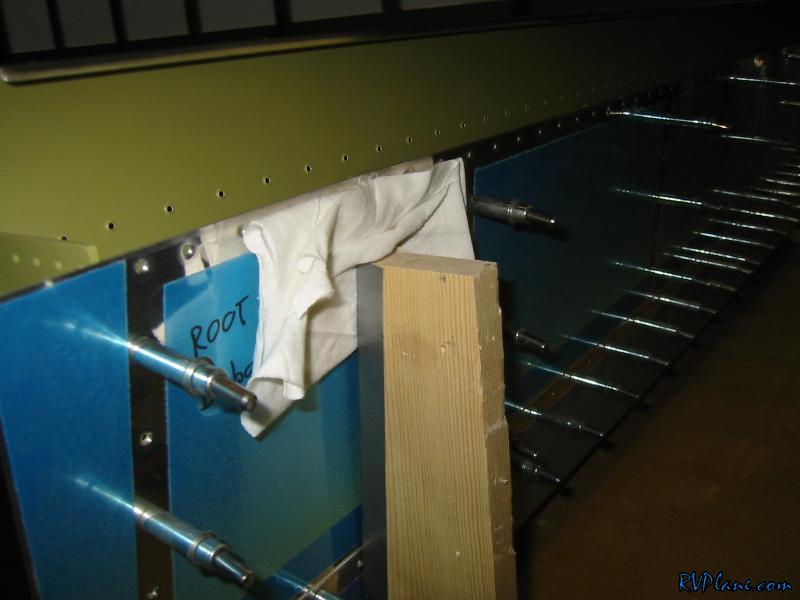 Next was the obnoxious task of riveting the rear spar. I don't know where Van's gets off telling people that the flaps are easier than the ailerons. The ailerons were very simple and straight forward. Anyways, the 3" yoke worked perfectly as a bucking bar. 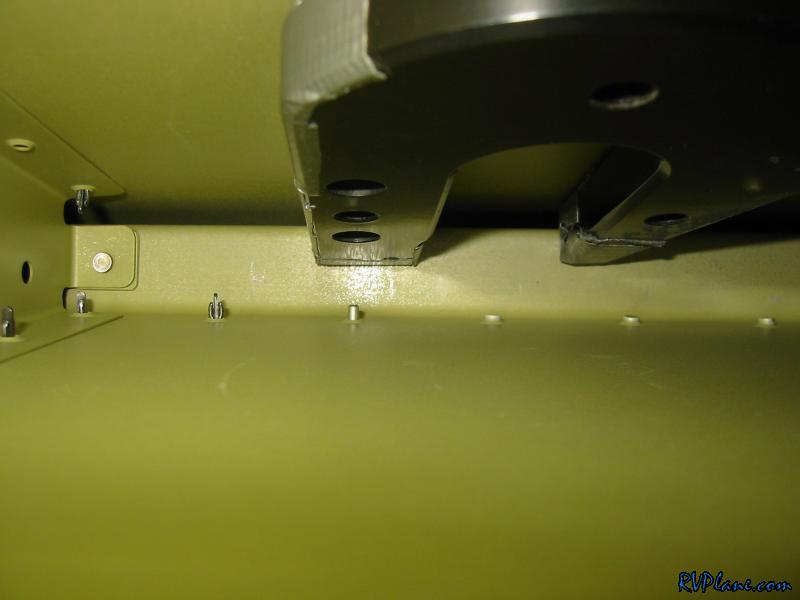 I tried and failed to buck this rivet on the bottom skin under the nutplate. A MK319-BS flush blind rivet solved this problem. Some people try to rivet the nutplate on afterwards, but access to buck those rivets is poor, and trying to shoot the aft most rivet for the nutplate is bad too because of the doubler. 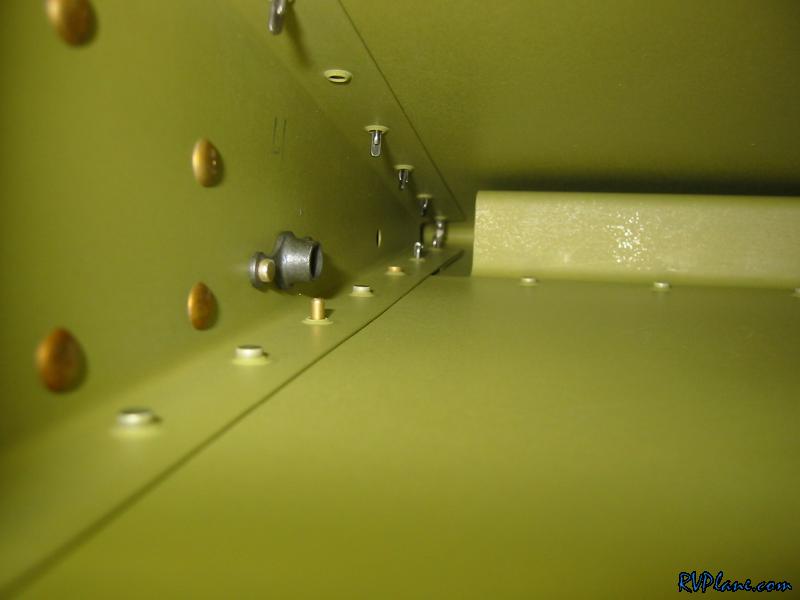 Next I riveted on the doubler to the spars. 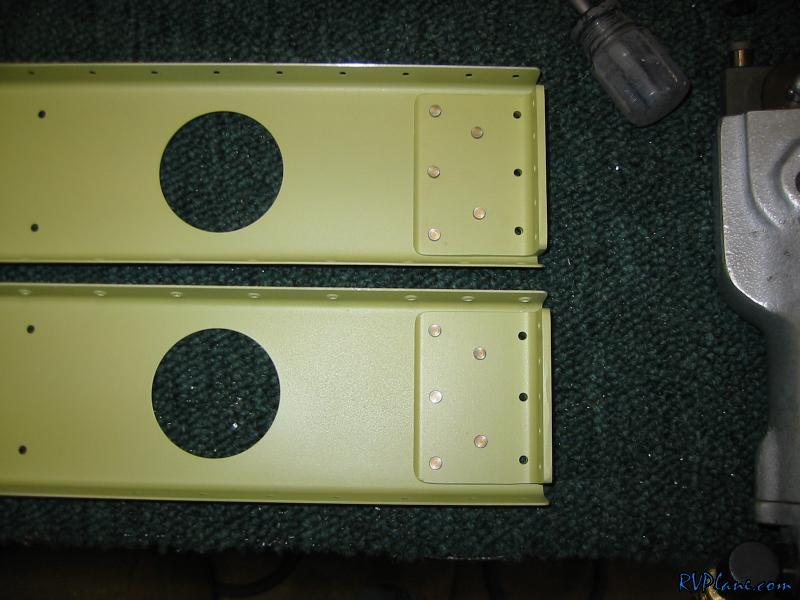 Before I riveted on the hinge, I wanted to remove the center eyelet as prescribed later on in the manual. You could always remove it later, but access is easy now. I lined up the outboard end of the hinge with the outboard end of the hinge.  OK, here is why I did that. The way you secure the hinge pins is to safety them to the flap brace. I didn't want to remove an eyelet that was centered on a lightening hole. So, I found the center of the hinge and took the more outboard eyelet off (one on the left of the centerline. 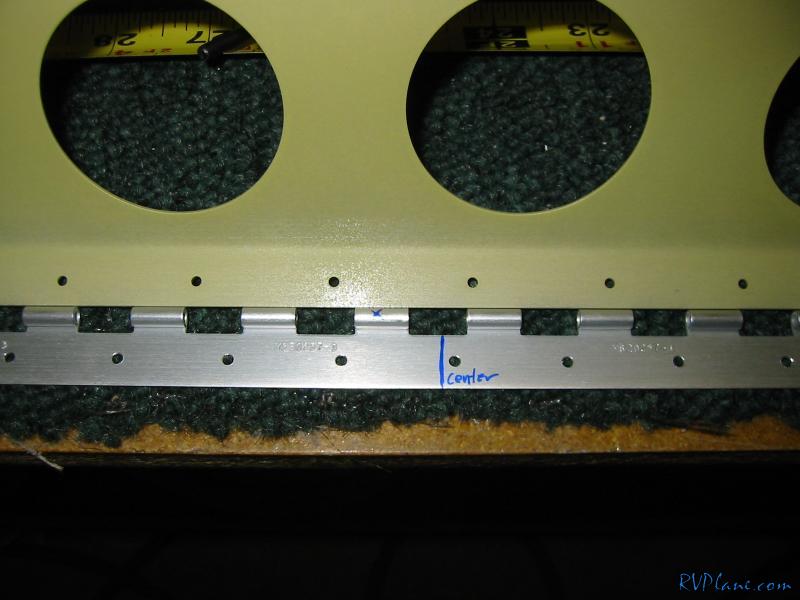 I then pop riveted the spar to the ribs. You gotta bend the top skin up aggressively to get enough access to the topmost rivet. 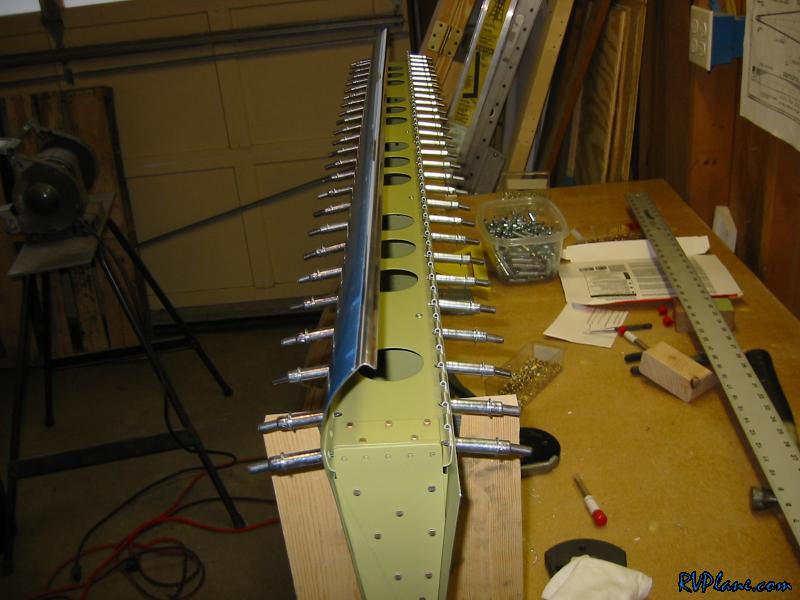 Most of my time in the workshop was spent trying to figure out determine if there was a twist in the flaps. Since the v-blocks had some wiggle room, I wanted a way to verify everything was in line. The best way I could figure this out was: 1) Took a rule from the trailing edge up the the middle of the spar (center hole where the rib and spar meet). Took a measurement on either side. 2) Once that was set, I clecoed the top and bottom skins to the spar. I them took the flap off the jig and layed it flat on my workbench on its top. I checked the inboard and outboard trailing edge's distance off the workbench - 1/16" or so. Then I checked for a twist in my workbench - 0.1 degree or so, which gave me an estimated twist of 1/32" over 60". I can only make things worse by trying to make it better. 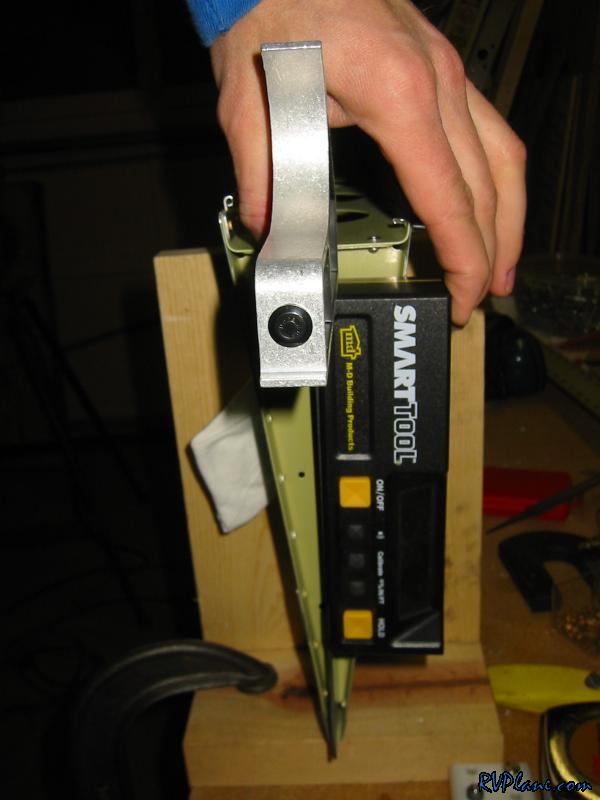 Once I was fairly sure I didn't have any twist, I squeezed the bottom skin to the spar and hinge. I would of finished up the flap tonight, but it was too late to blast the rivet gun.  Since it was quiet time, I made a wood shelf to keep the rivet gun from denting the skins when I rivet solo (hopefully) tomorrow. Its the same contraption I used on the ailerons.  Finally, I decided to decorate my basement...not. My wingtips have been on the top shelf of my storage rack in the garage since the wings got cracked open. I have moved them up and down numerous times to get skins out from under them. Now I need that room for the fuselage skins, so it was time to find them a new home. Some bicycle hooks in the basement worked great. 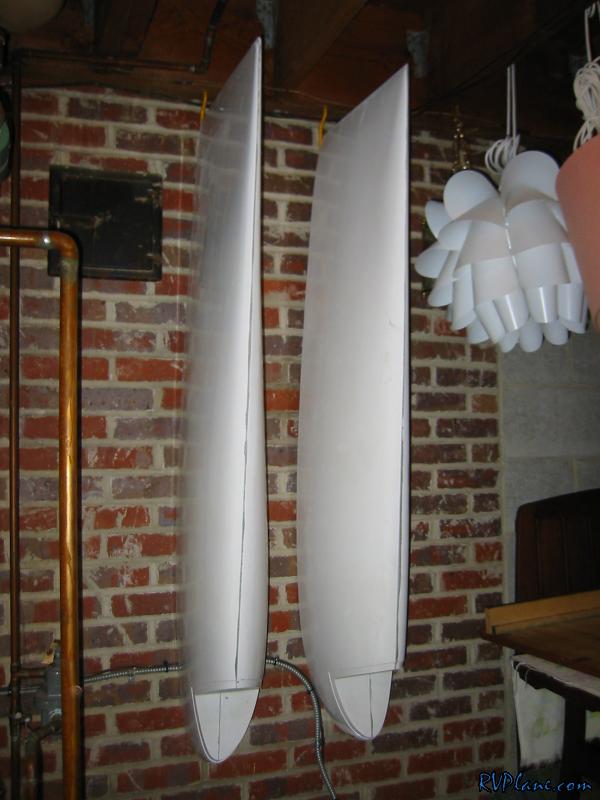
|
|||||
|
http://RVplane.com |
Last Modified: January 31, 2026 |