
|
 |
||||
After working on the tanks for what seems like forever, the right one is finally done (minus the leak test). It is amazing how much work is involved in making these tanks. I can see builders getting real discouraged with them. This is Van's version of a weed-out class in college. First thing first, I installed the inboard capacitive sender in the left tank. I stumbled across this cool z-screwdriver in my toolbox that worked out perfectly in this tight area.  Next was off to mix up some proseal to do the access plate on the right tank and the capacitive sender sealing. I am officially tapped out of sealant. Van's has some more on its way to me, along with the 2007 RV-Ator an some NAS1097AD3- rivets. 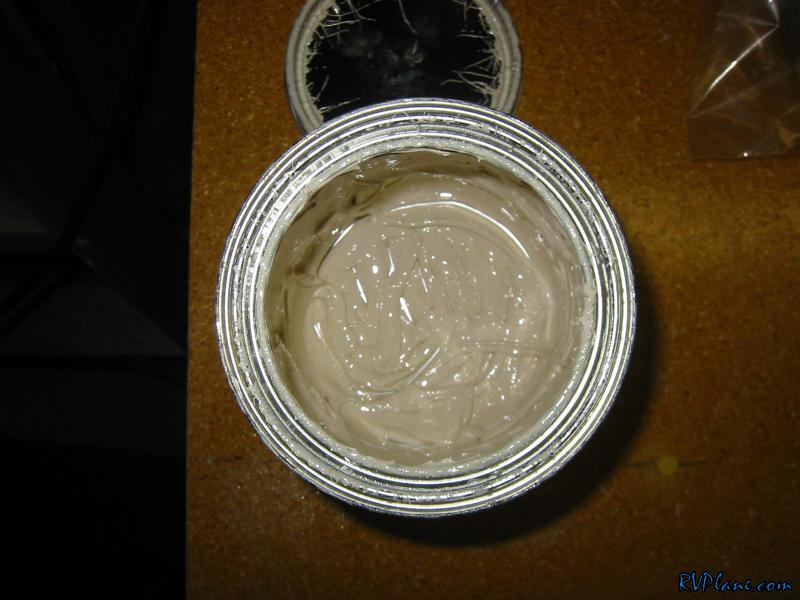 Next I buttered up the inboard rib. I made a special precaution to fill in the tooling hole that is towards the aft. 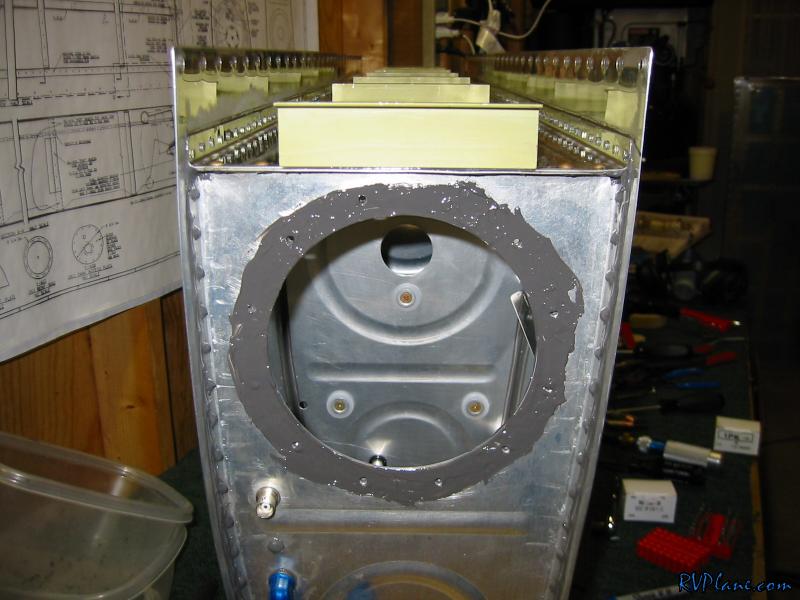 I clecoed the access panel on with two #30 clecos to keep it in place while I smeared each screw with proseal. One by one each one went in. I then tightened them down in opposites, moving 90 degrees on each pair to evenly set this. Then I torqued it down with my handy torque screwdriver. I opted to use hex head screws here instead of the phillip head screws that vans gives you. Reason being if you ever need to take the access panel off, it would be WAY easier with an allen key when on the plane. Lots of builders do this.  Finally, I buttered up the left tank sender. The only thing left on this tank is to do a final inspection and close her up. I am going to wait until I do a leak test on the right tank to see if I need to beef up the sealant anywhere on this one. 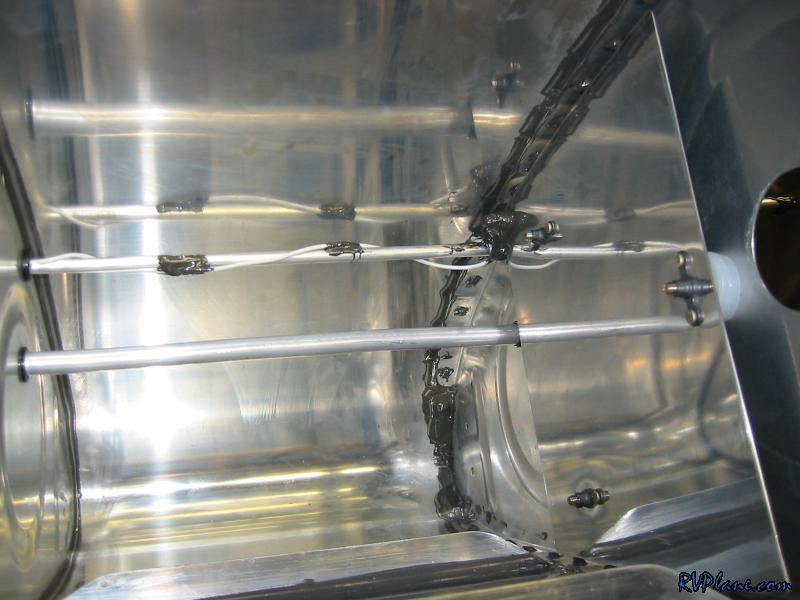
|
|||||
|
http://RVplane.com |
Last Modified: January 31, 2026 |