
|
 |
||||
With the leading edge parts, I decided to also prime the z-brackets for the tank. While the leading edge parts were drying, I decided to work on the tank again. The first thing I did was clean all of the skins and ribs with MEK. This took a while of going through rag after rag until they came out clean. I decided that it was a good time to started putting in the ribs. The first rib recommended by Van's is the next to outboard rib, which I call #6. This rib is one of the easier ones because you can take off the outboard rib and have easy access to bucking the rivets. I cleaned the rib and skin once again with MEK to make sure they were absolutely clean. Once they were clean, I mixed up the proseal and buttered up the rib (1.1 oz of proseal - I think this is the least amount you need to do a rib - that being said, I wish I had 1/10th of an ounce more by the end). I was amazed at how easy the rib slid into place. The proseal acts as a great lubricant to help things along. Once the rib was in and clecoed, I started from the front and worked myself back, one rivet at a time, each set wet. It didn't take all that much time, and I am very happy with the results! This proseal stuff ain't that bad at all. 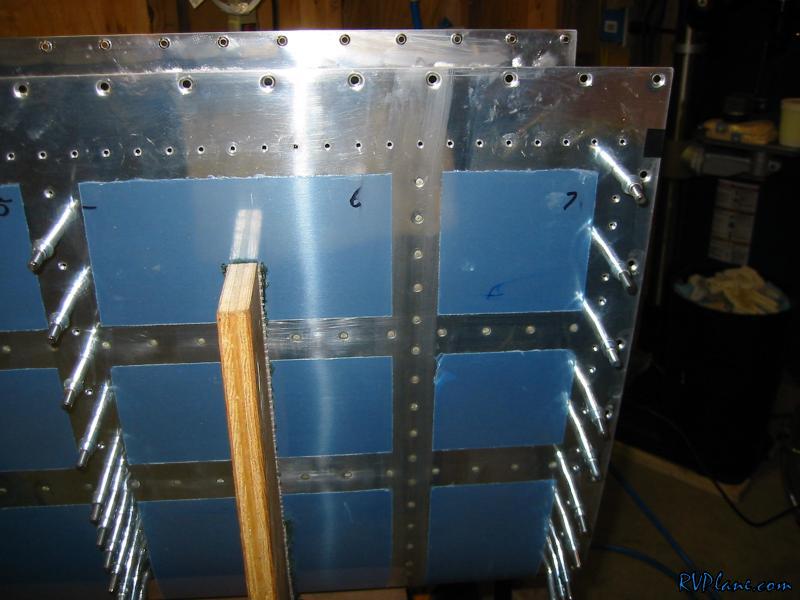 Next I made a fillet on either side of the rib. This was easy with a popscicle stick split in the middle.  
|
|||||
|
http://RVplane.com |
Last Modified: January 31, 2026 |