
|
 |
||||
When I got into the shop it was really nice outside. This is the end of November too! We have had nice warm weather most of this month.  I got a needed shipment of clecos. I also picked up a extra set of cleco pliers (for when help is over), some drill bits and a cheap ($20) pair of safety wire pliers (9"). MillBar makes a $80 pair that is supposedly nice, but I don't know if I need nice. This one works good.  OK, onto the Z Brackets. These guys hold the tank to the spar. They get pop-riveted to the tank baffles and held onto the spar with AN3 bolts. The inboard Z-bracket is bolted into the spar -- the head of the bolt is on the bracket. All other ones are bolted from inside the spar to nutplates on the Z-brackets. This pic shows a center line drawn and how if you drill on this line, you won't be able to get a socket on the bolt head. Van's instructions suck for this part, and they don't guarantee a perfect fit. So I did what everyone else does - The Dan Checkoway method for Z-Brackets. 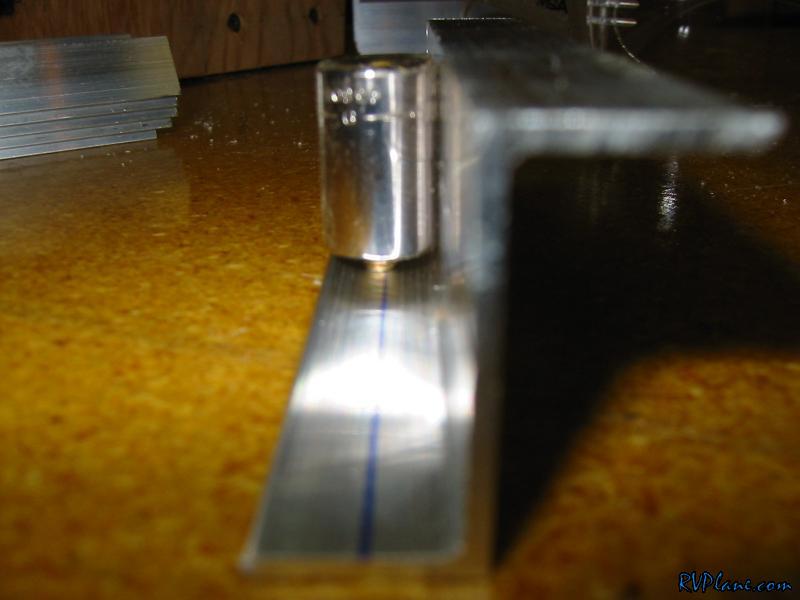 I drew a 11/32" line across the Z-Bracket to see how close the nutplates were to the web. This looked good. You want to get the nutplates as close to the web as possible to make room for the pop rivet gun on the other side. The closer the nutplates are, the further the pop rivet gun is. 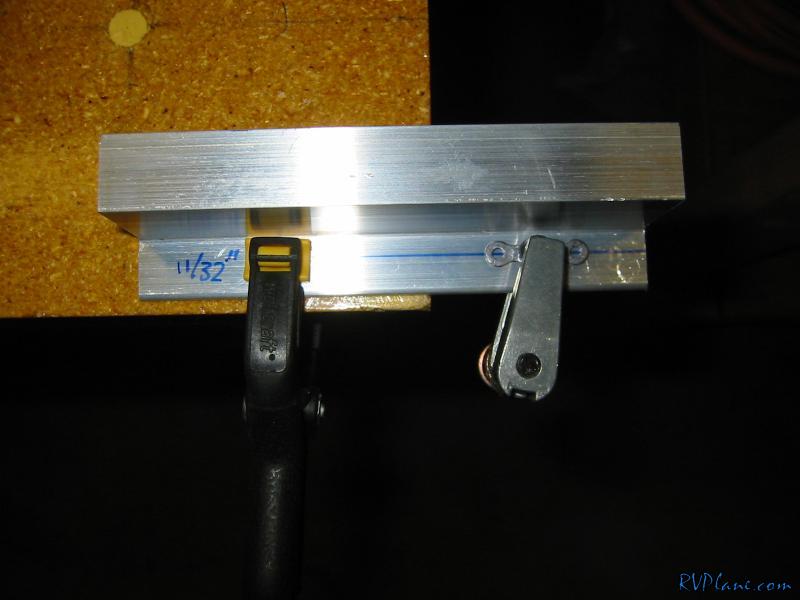 Then I went one farther with 3/8". Too close. 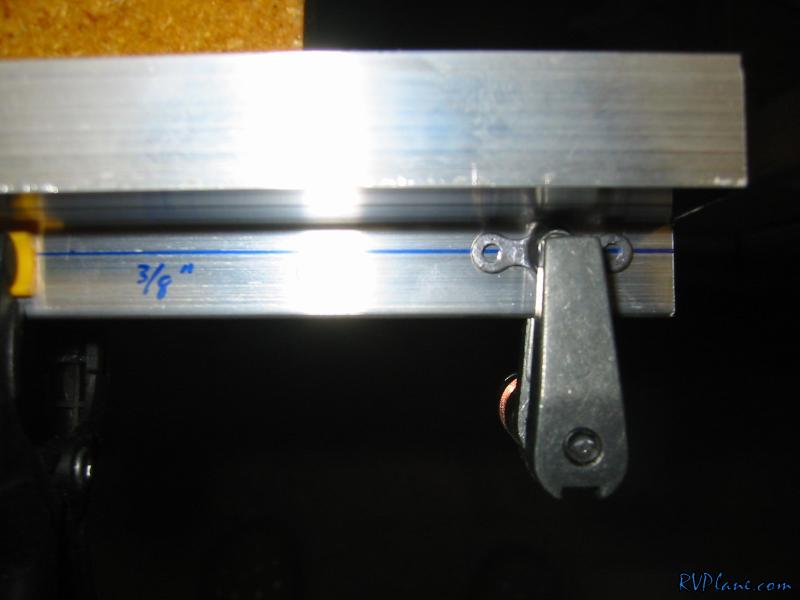 Then I setup my drill press for slamming these out. 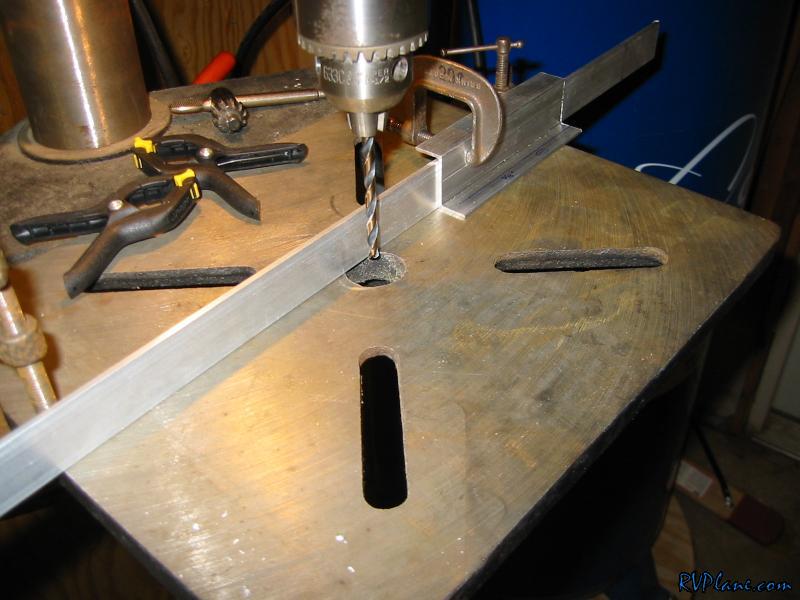 Bing bam boom, 6 identical brackets made. You only need one hole in the center, because the other 2 are match drilled with the spar. 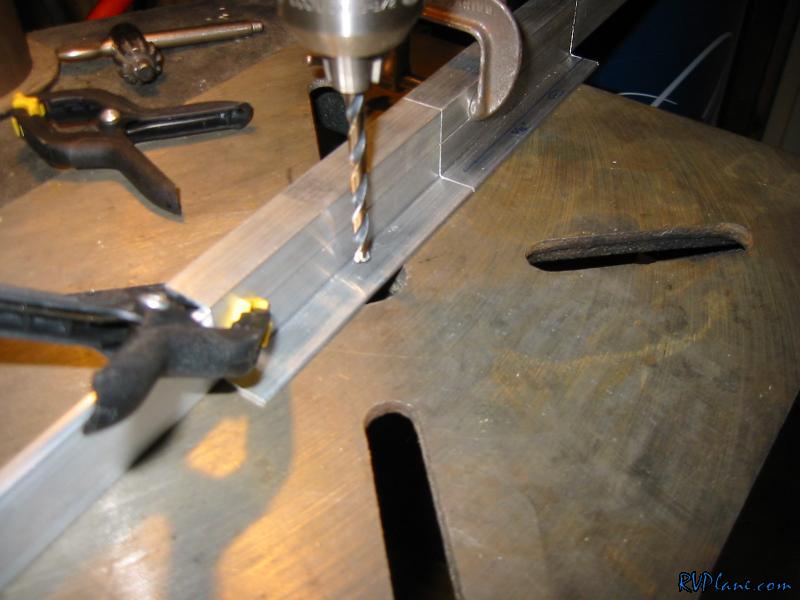 This inboard z-bracket was done with a 1/4" offset from the flange. A socket fits nicely here. 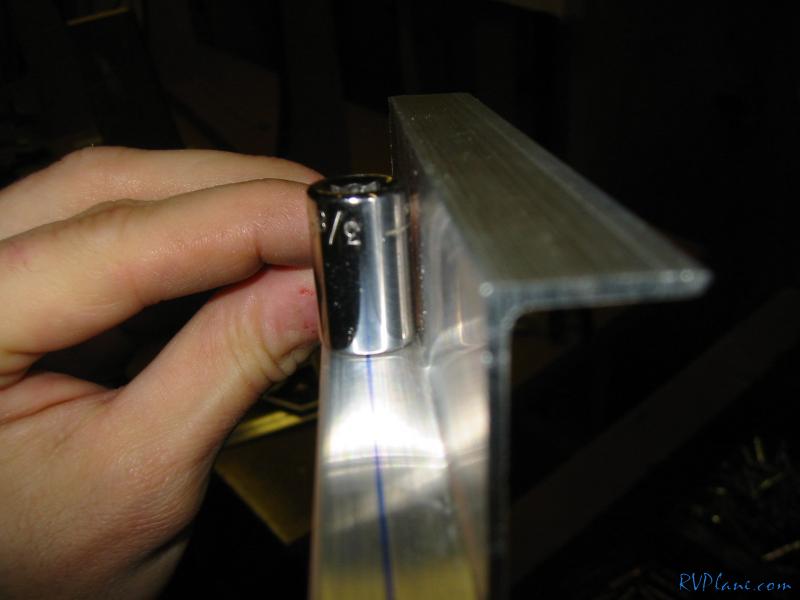 All done. 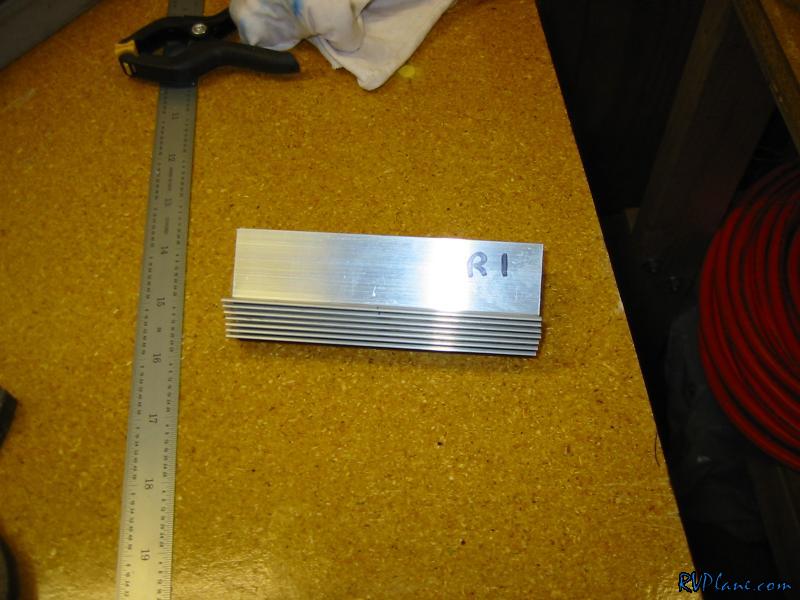
|
|||||
|
http://RVplane.com |
Last Modified: January 31, 2026 |