
|
 |
||||
I received my new horn brace from Van's today. I was eager to get this thing cut right. I read another website where a builder went through 2 of these before getting it right. The first thing I noticed is this one was a little different than the first one. The first one had notches on either end of the cut line and a hole in the middle. This one had the notches on the end, and 2 holes in the middle. First I sharpied a line on the very top of the holes. In fact, I wanted the cut to not even penetrate the holes. It's easier to cut back metal than wish it was there. I rigged up a contraption to hold the brace still while I took the cut off wheel to it. I have learned that it is not only the right tools that make the job easy, but also how you set up your part to use the tool on. The new cut turned out as I wanted it to. Neither of the holes were penetrated! I put it back into the rudder and noticed that a little needed to be trimmed off the trailing end of the brace, but other than that it looked great. I clamped it to the other one to double check hold clearance and I was in the clear by a lot. New brace from Van's. 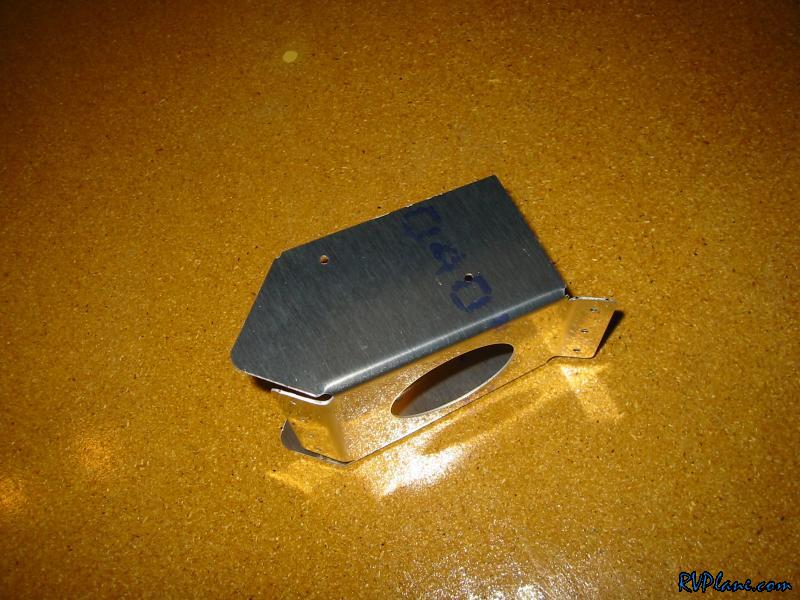 My new cut line. Very very conservative. 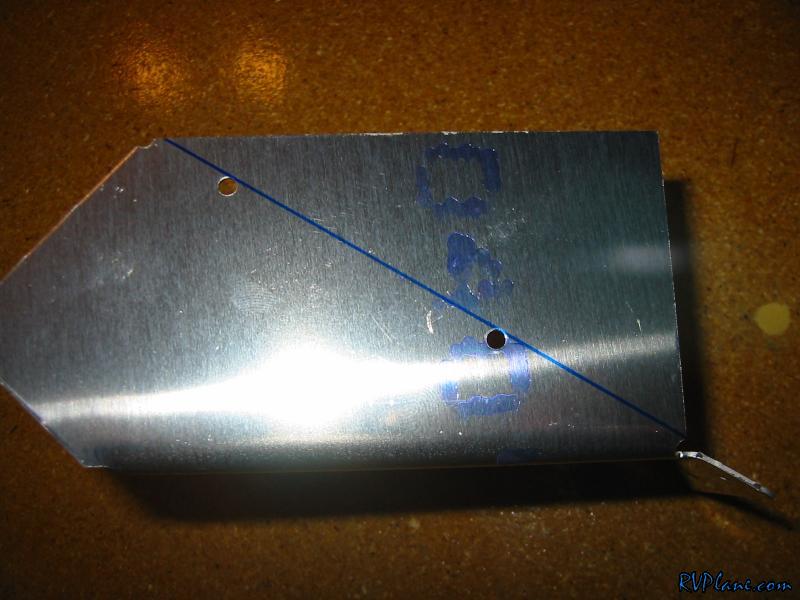 Just for comparison, this is the brace from the first attempt below. Notice where I put the cut line at first. Also, notice how the one that came with the kit only has one hole in the middle. 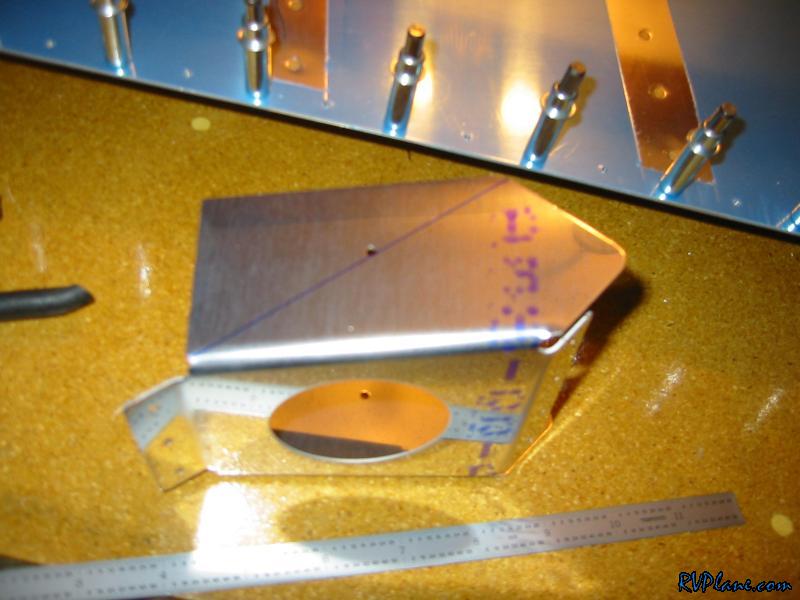 This is how I clamped my brace down - this allows my right hand to rest on the table and hold the cut off wheel steady. My cuts are straight as an arrow and I have total control. 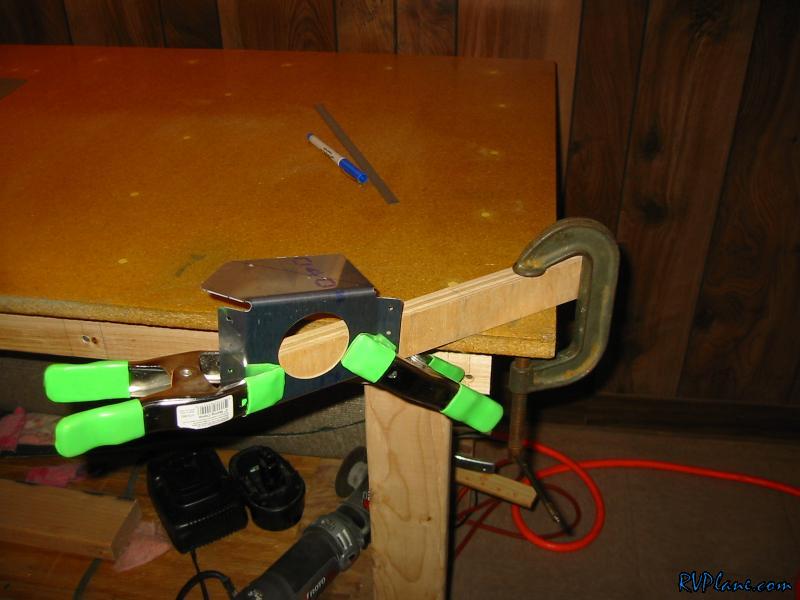 My cut. 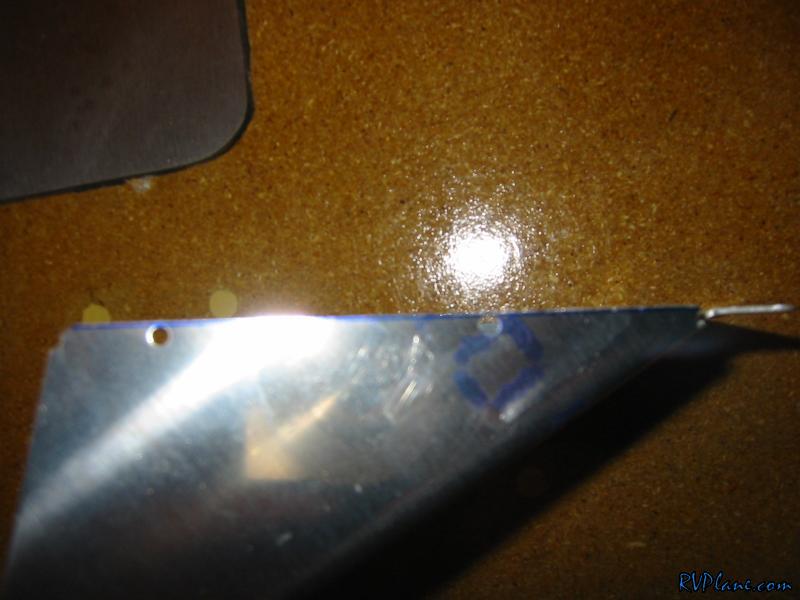 Notice how when you turn it down, the flange on the trailing side (RIGHT) is flush with the cut. 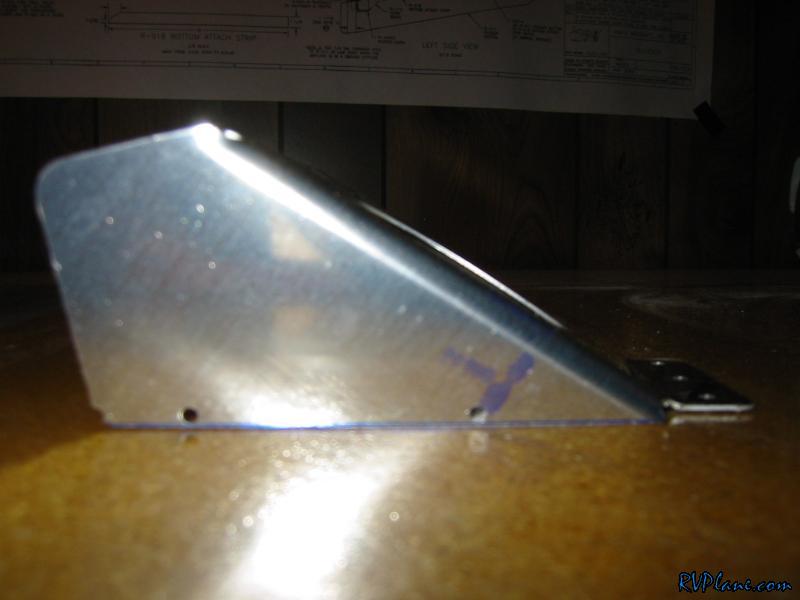 The old and new. In case you couldn't tell, the new one is in the back. Notice the difference in clearance. 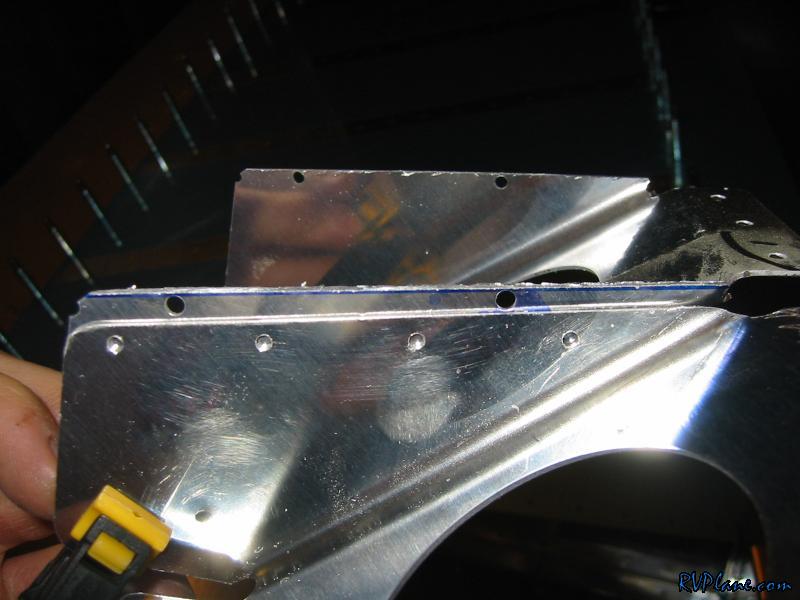
|
|||||
|
http://RVplane.com |
Last Modified: January 31, 2026 |