
|
 |
||||
Tonight I finished shooting/bucking the VS, as well as squeezing all of the other rivets. One thing that I did do was put a circle of masking tape on the rivet gun set. It really did a nice job on not scratching the alclad as much as the raw head. I looked at rivets set both ways and I could not tell any difference. One bit of advice when squeezing the lower part of the VS. You have to skip putting in about 5-6 rivets. The instructions do not tell you, but it is in the diagram. I would of definitely missed this if I did this any later. Inside shot of the VS before it gets sealed. My EAA chapter president, Mike Rollison, told me it was a good idea to take these pics. 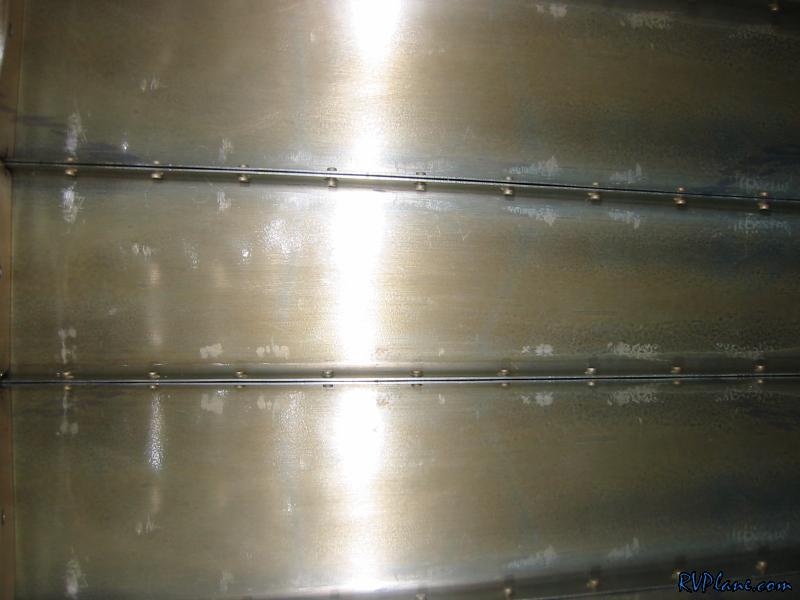 Another shot of the top portion of the VS 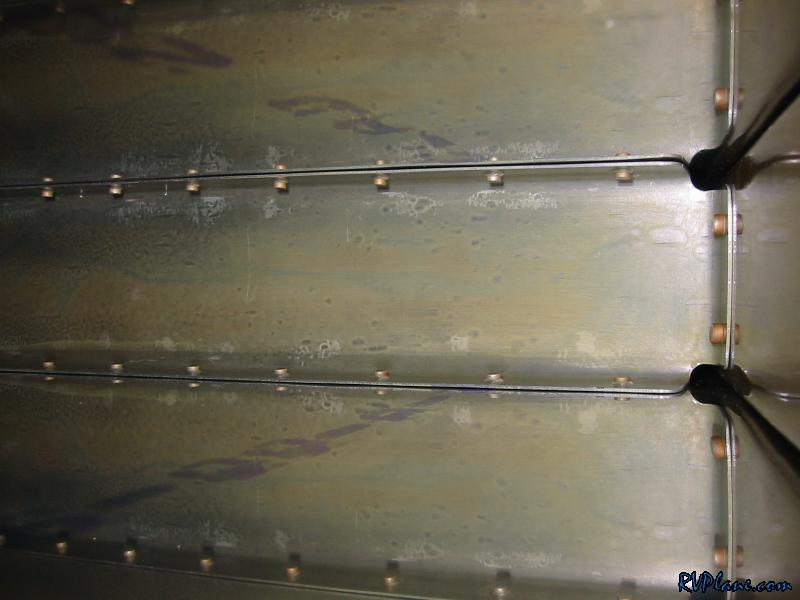 The bottom portion of the VS, looking towards the middle rib. It turned out really cool with the rib being reflected off of both skins! 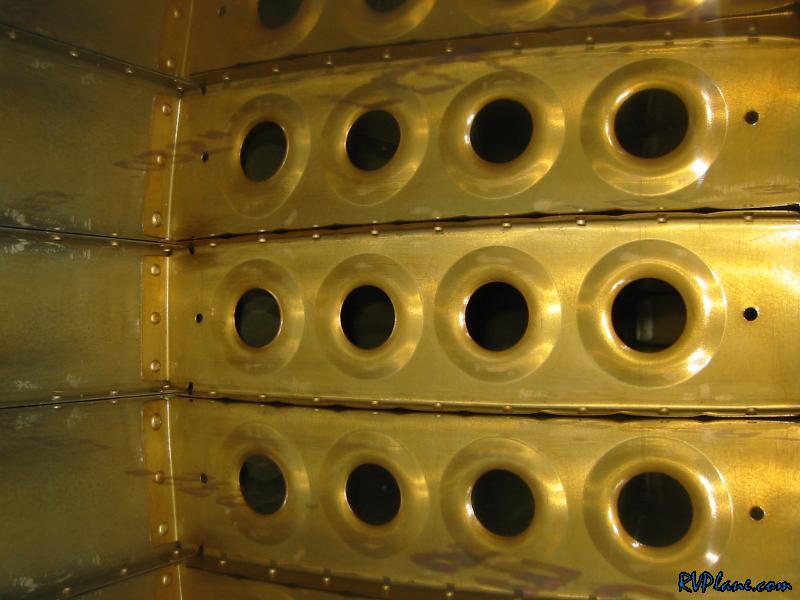 More rivets. 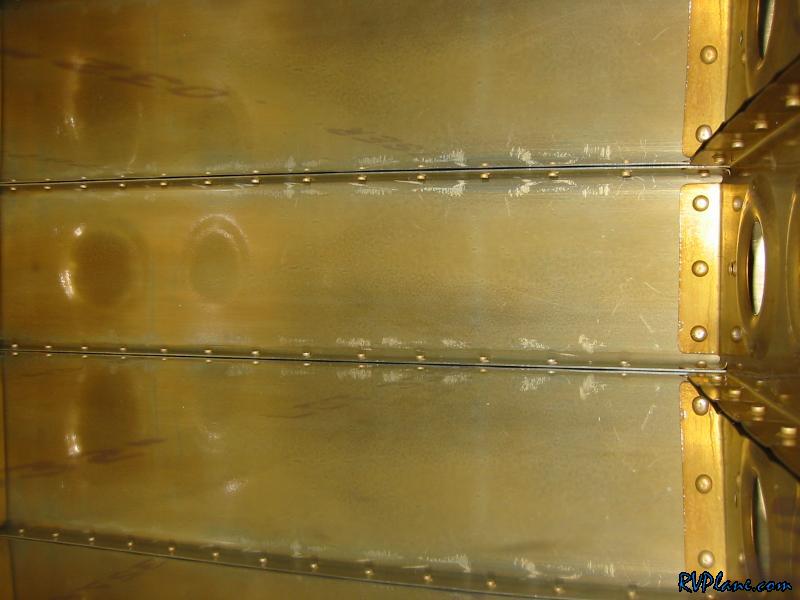 And the last bit 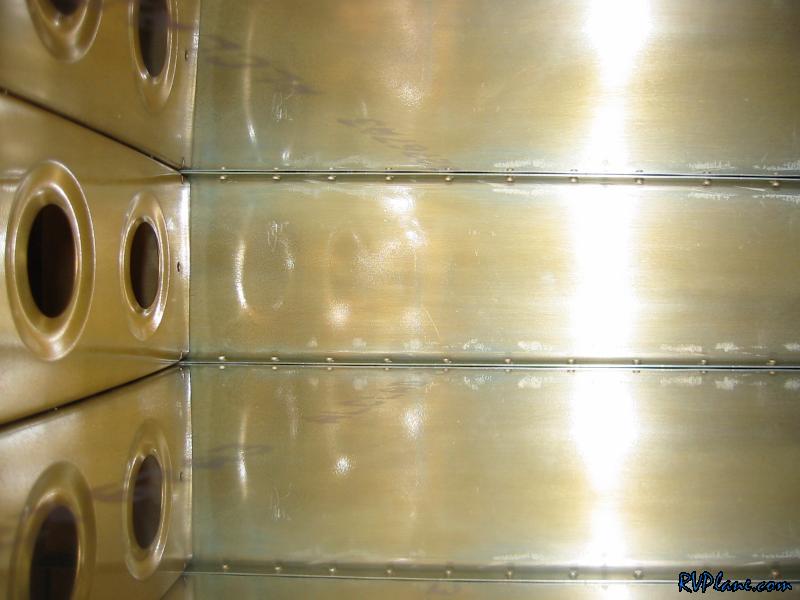 The skin with all of the "hard" rivets done.  This is the pattern that you have to skip per the drawings. I used black electrical tape because a) it is readily available, b) it comes off easy and c) it was easy to punch the clecos through. 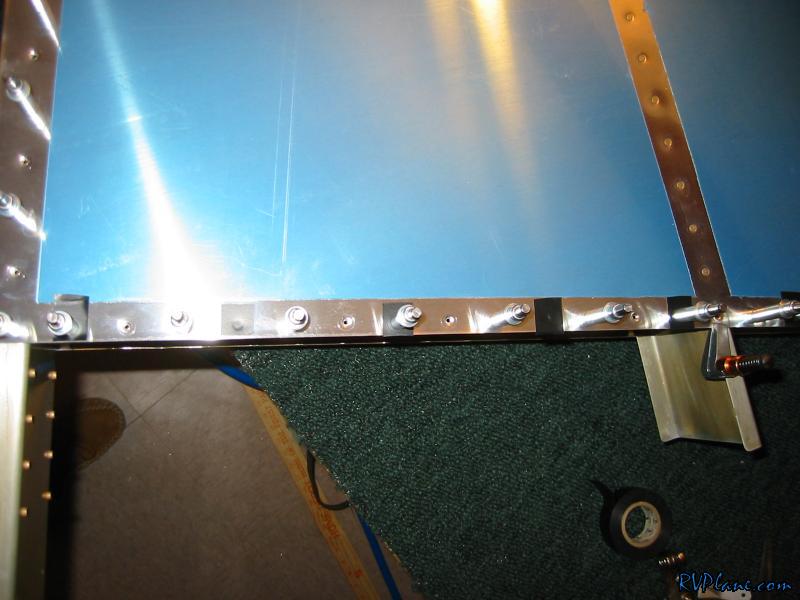 Another shot. 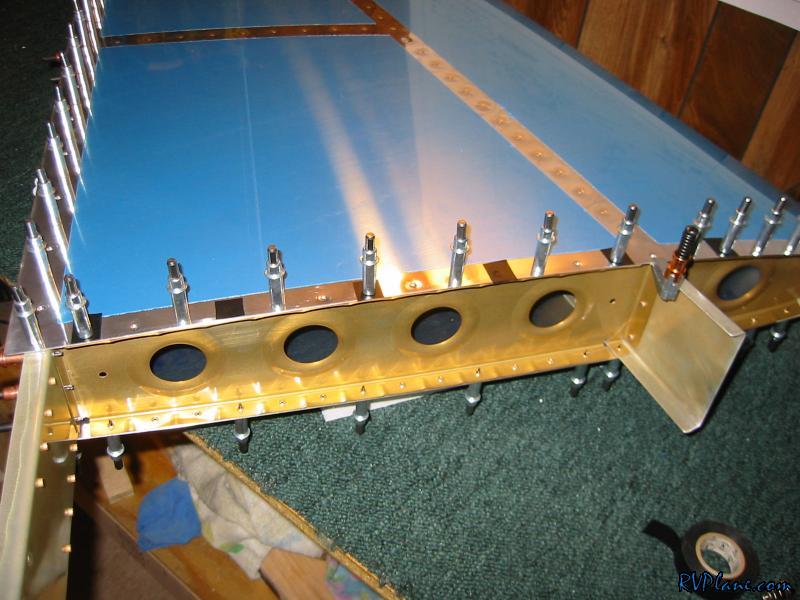 The skin is riveted on, now time to put in the AN470's in the back and the pop-rivets (er, I mean BLIND rivets). 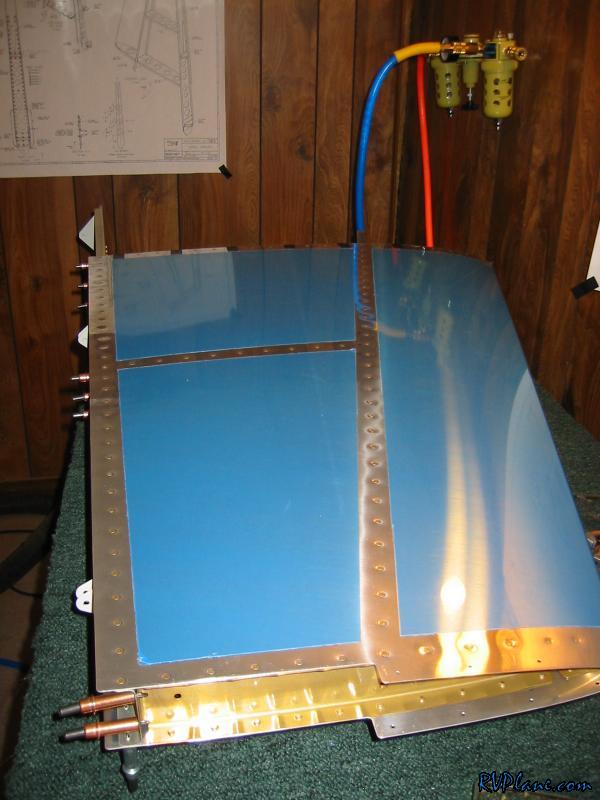 The finished product! 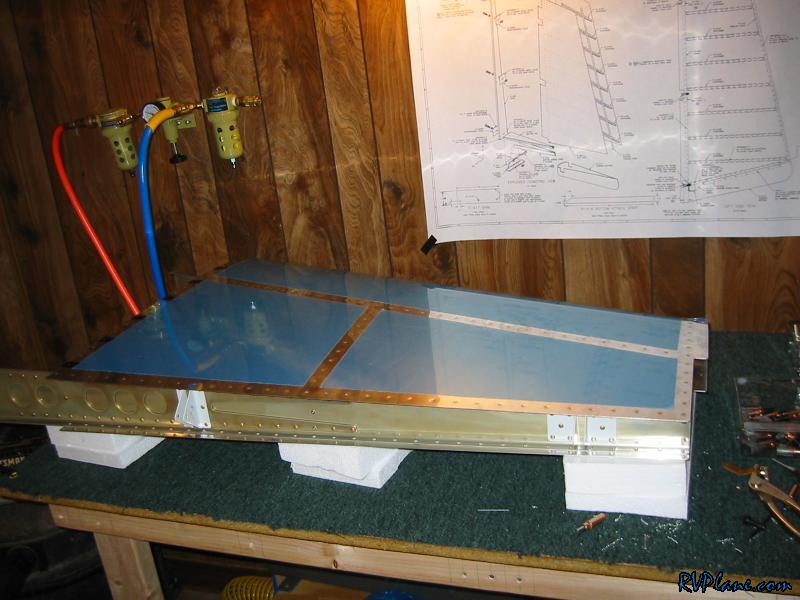 The VS in short term storage with the HS and the famous 4 tap kegerator (it is resting now, beerless. How sad!) I really need to move to get more room for the RV construction and also a room suitable for a bar with the kegerator hookup. 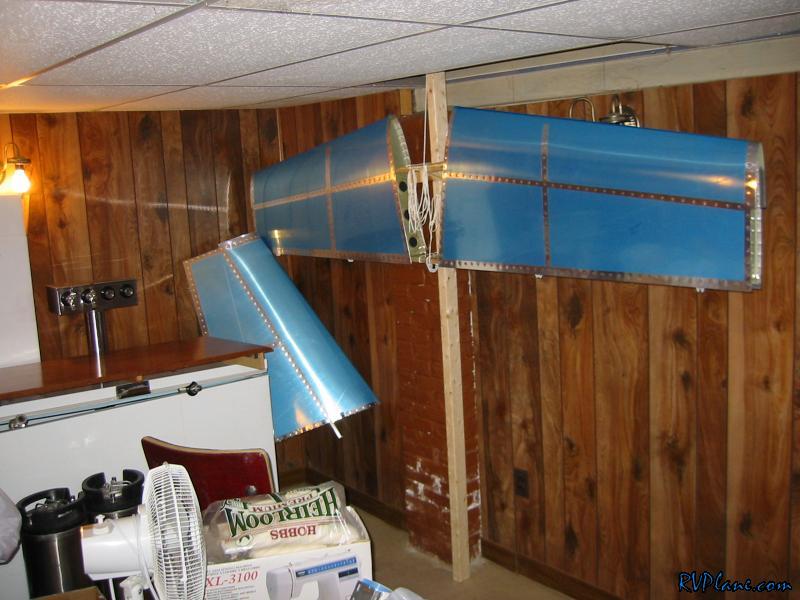
|
|||||
|
http://RVplane.com |
Last Modified: January 31, 2026 |