
|
 |
||||
Tonight I riveted together the rear spar/double/hinge brackets as well as the front spar and the ribs together. The rear spar/doubler needed AN426 flush style rivets because of where the VS attaches to the fuselage. I tried squeezing a few of these rivets and they didn't come out as clean and easy as I liked. So I took the advice from Bill Cloughley and back riveted these guys in. They went really smoothly except for the rivets that are nearest to the flange of the brackets. I took the back riveting set and grinded down one side of it so it would fit closer to the bracket. That did the trick! I also made the mistake of the back rivet not being on the back riveting place and on the workbench.....that was one of the few rivets that needed to be drilled out. For the rest of the rivets, I put the shop head on the rear of the plane and the squeezed end on the inside of the skin. I did this because I heard of people running into interference when they squeeze on the skin to the rear spar. The front spar/ribs went on pretty easily, except for the bottom ribs. This is where two ribs and the front spar attach together. It took a lot of time to figure out the right combination of yokes/sets/bends to get everything just right. I took some pics to let other people in on the secret. Finally, with the front spar riveted, I clecoed it to the skin. Cailin learned how to cleco today. She does a pretty damn good job! 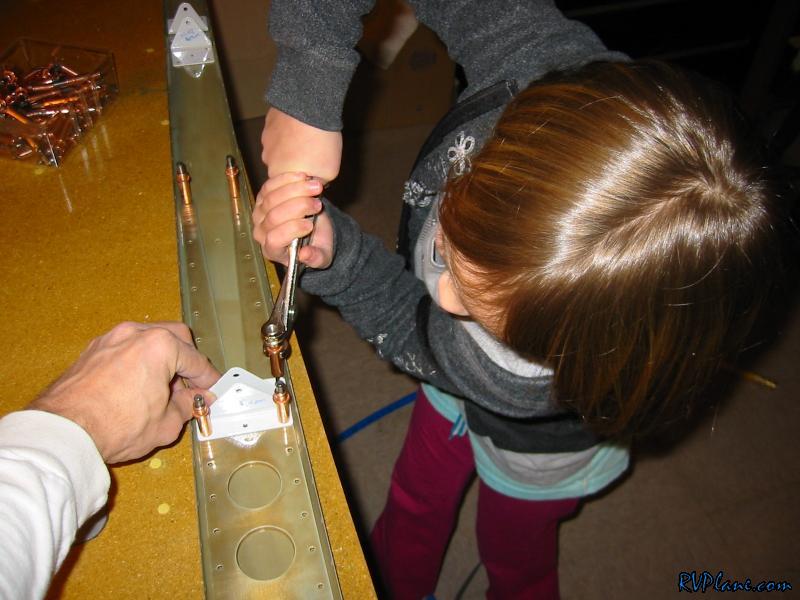 My g/f Laura also helped me out. Here is a odd hand shot that Cailin took.  This is everything clecoed the marked off where the ribs attached. Too bad all of this had to come out so I could back rivet. 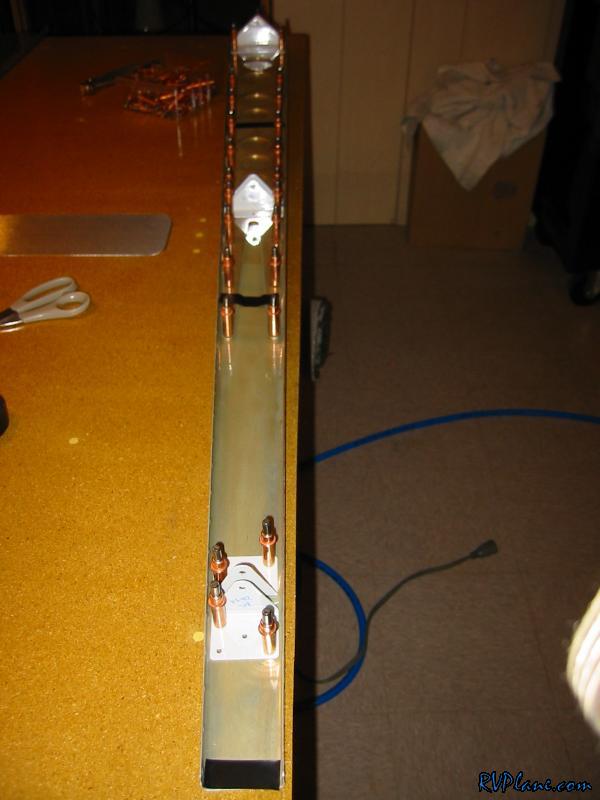 I used the bench grinder to grind the back riveting set down on one side. This made it work much better in the tight spots on the hinge brackets. You can see there are some rivet drill-out shavings and rivet heads on the bench. This is why I went with the back-riveting method. Squeezing the AN426AD3-? rivets was tricky for me...a lot of the rivets bent over a little. When I back-riveted, all of them went in perfect the first time. 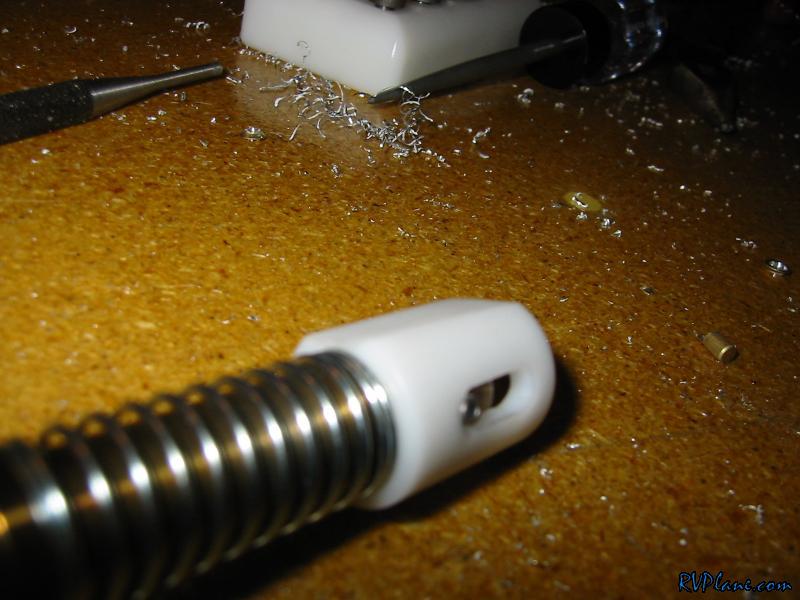 All of the AN426 flush rivets put in via back riveting. 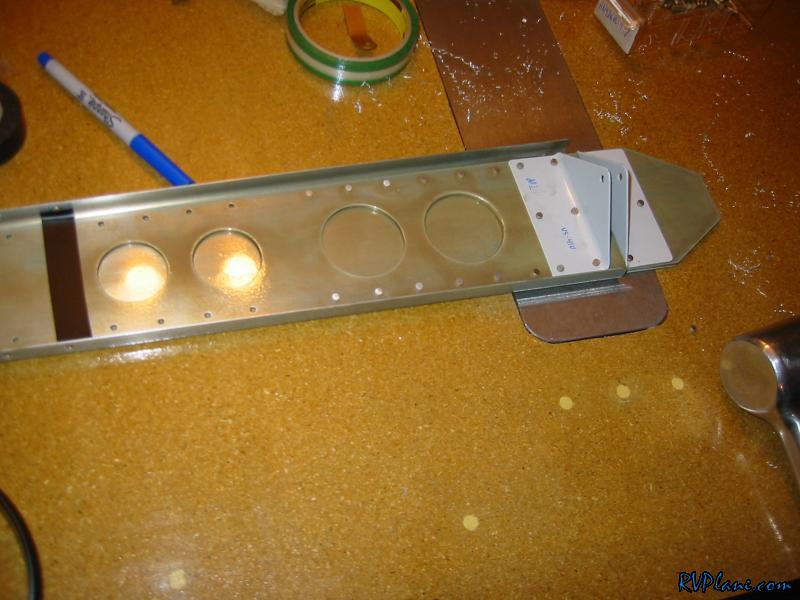 All of the AN470 rivets put in. 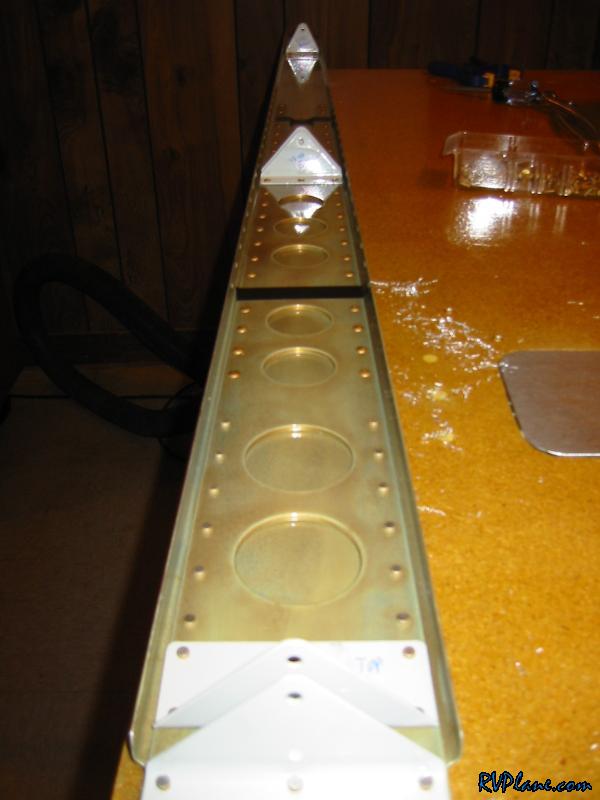 This is how much I needed to bend the front rib on the VS to get a yoke in!  I put the shop heads towards the front. Also, notice how nice and gold the ribs turned out after being dipped in alodine. I put a super thin coat of primer on. It may look like nothing is on it, but it's all the primer I think is necessary.  And here is the sets I used on the squeezers. 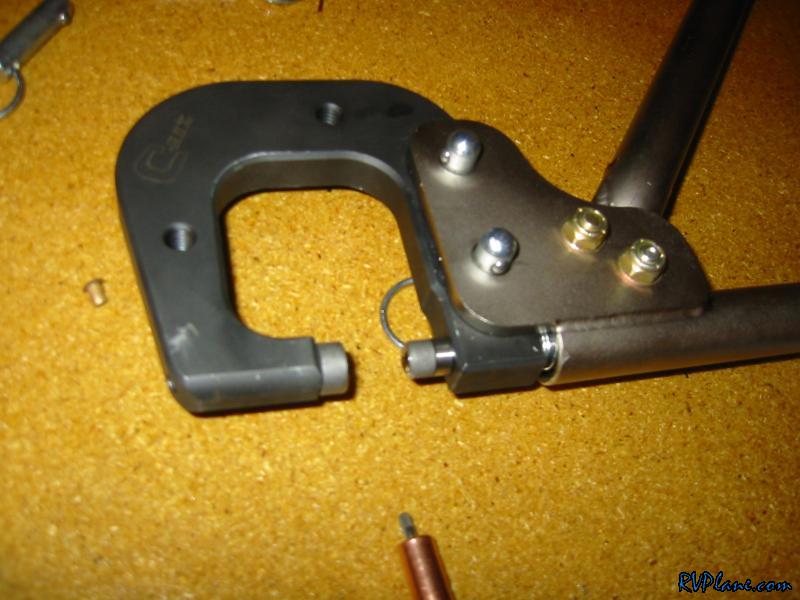 The front spar and ribs riveted  Here is a shot of the inside of the rear spar. 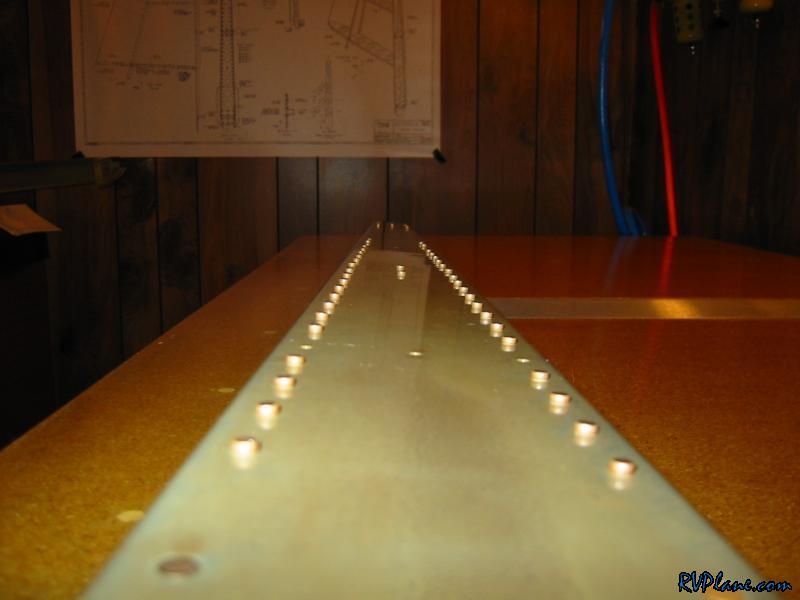 I also primed the inside of the skin where I scratched the skin when I mated the ribs for the first drilling. You can see the paint on the left side.  The skin clecoed on. 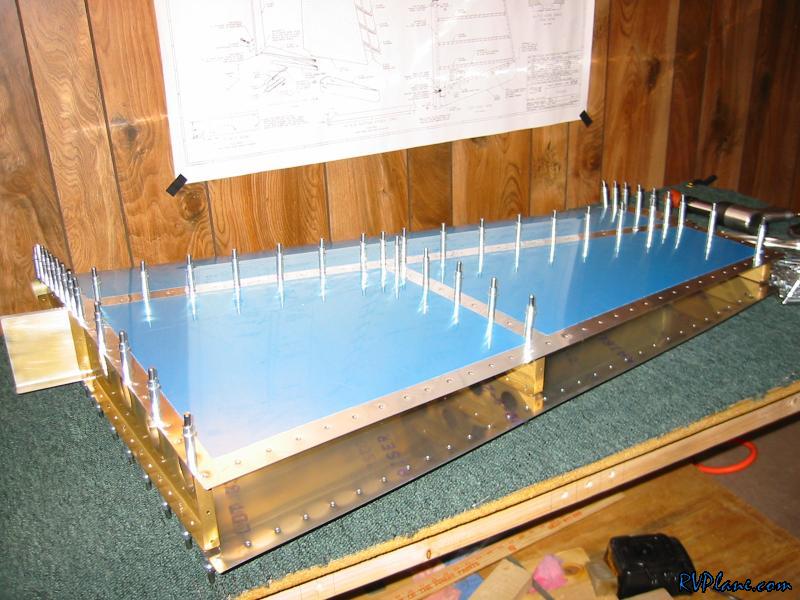
|
|||||
|
http://RVplane.com |
Last Modified: January 31, 2026 |