
|
 |
||||
Tonight I started doing some REAL riveting. Well, flush riveting, that is. Actually, first I finished deburring the right skin, devinyled the inside, MEK's the spots to be primed, then spraycan primed them. The first thing you need to rivet on is the middle nose rib. First I clecoed it on. I only clecod it on one side, but I didn't think it mattered. It made getting to it a lot easier. No one was home, and it was the bottom of the HS, so I decided to give it a wack on my own. How bad could I mess up? It took me a little to get the technique down, but I got through all of the rivets with only one needing to be drilled out because it was smashed too much. Dum Dum me has the ANxxx3-? rivet reader out. DUH. I think I was just used to seeing that lovely copper color that I decided that it was the thing to use on all of them. Needless to say, the silver clecos should of rung a bell in the old noggen. So I got done the bottom ones. The leading rivet I couldnt get the flange straight to the skin. It was close, but not perfect. I figured that I bent it when I was priming/moving parts and it got knocked off true right angle. CHECK YOUR FLANGES AFTER PRIMING! Before I only clecoed one side of this rib, I had both sides clecoed and tried to rivet, having the clecoes from the top skin rest on the table. Now I am sure all of you RV builders out there are laughing at me now, but I assumed that it would be OK. Well, the inertia from the rivet gun against the cleco put a nice round scratch on the top skin. I will just blame it on the dimple die... I then clecoed the top back on again and thought....man, would it be nice to have someone else help out. Just as I said that, I hear a knock on the door...went upstairs and it was my old man! He was the only person I knew that knew how to rivet! This was looking good. We breezed through the top rivets. I think we needed to drill one out, but it wasn't a big deal. Next thing was putting the front spar in and clecoing it. That took some time checking the flanges for a good fit on the skin. I put the blind rivets in that hold the HS-404, 405 and 702 together. I decided to call it a night. Its too later to rivet now. I need to spend some time to come up with a jig so I don't rivet clecos into my skin tommorow. Inside skins primed! 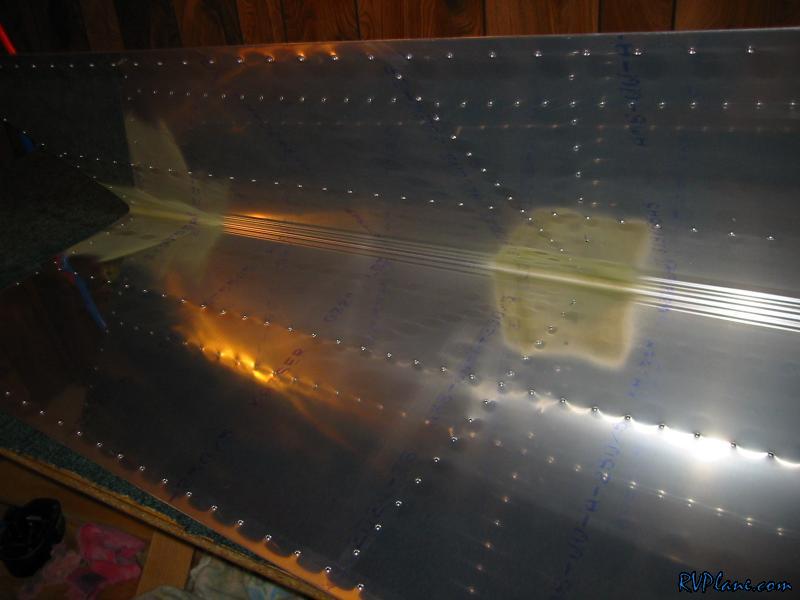 The first flush riveted rivet. What a milestone. What other first rivets can I take pic of....blind and backriveted are all I can think of.... 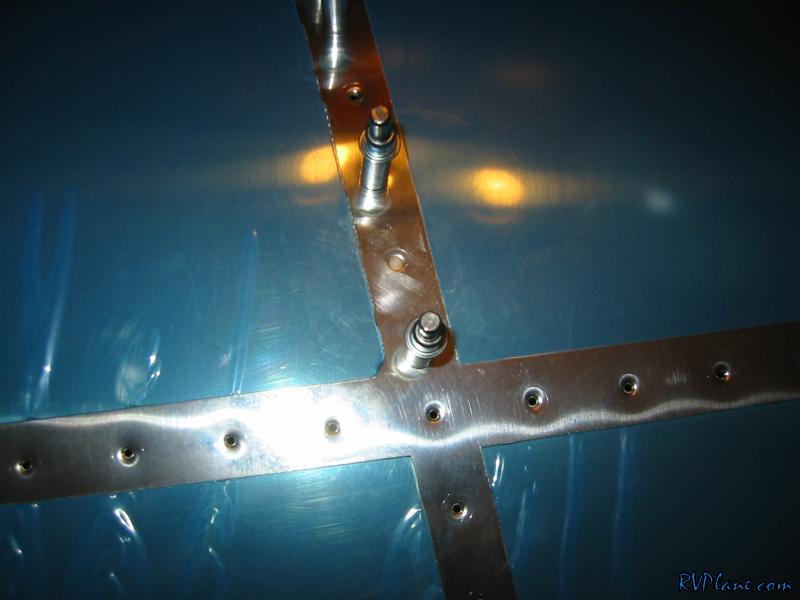 This is a block I used to hold the aft-most rivet tight with the skin. Worked really well with taping the aft skin edges together with masking tape. 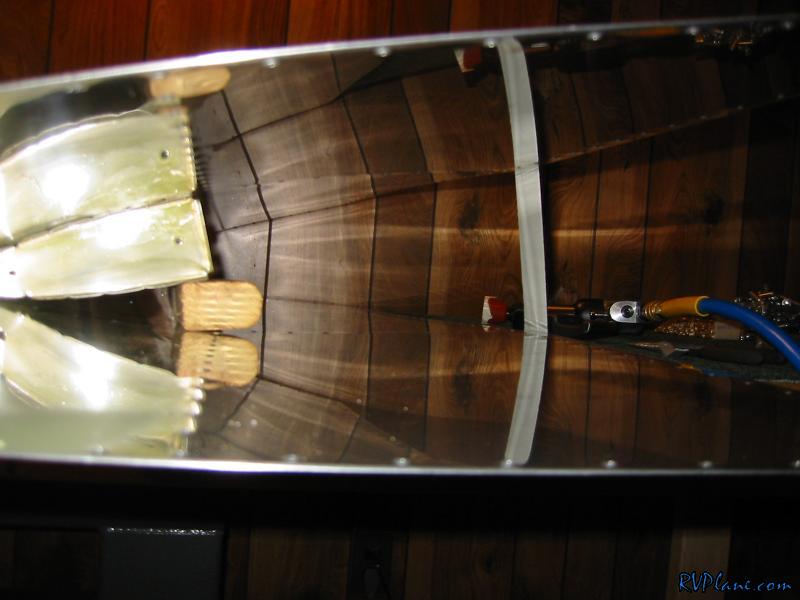 First line of rivets. Lookin' good! 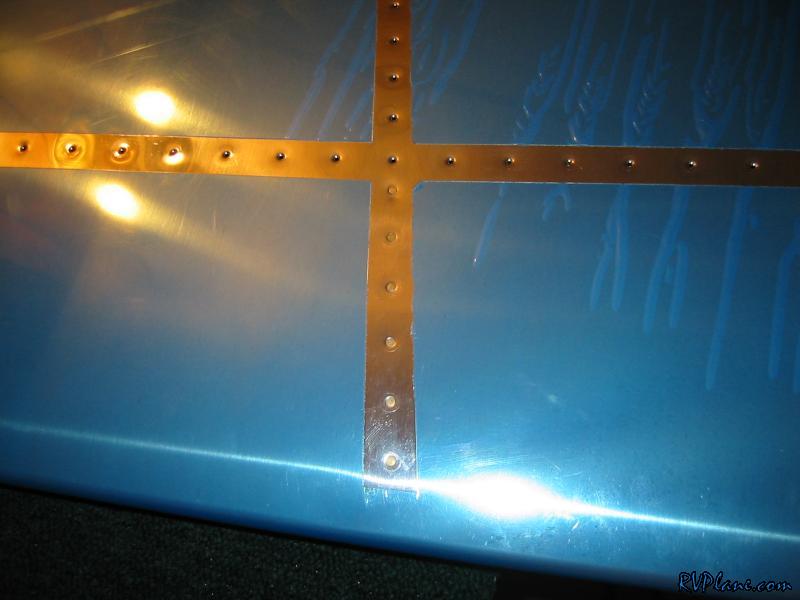 I don't know why all builder's pics look bad. Not to offend any builders out there, but we all look a little dorkey. I attribute my dorkeyness in this particular picture to the 9.5 year old "Class of 1996" high school t-shirt. 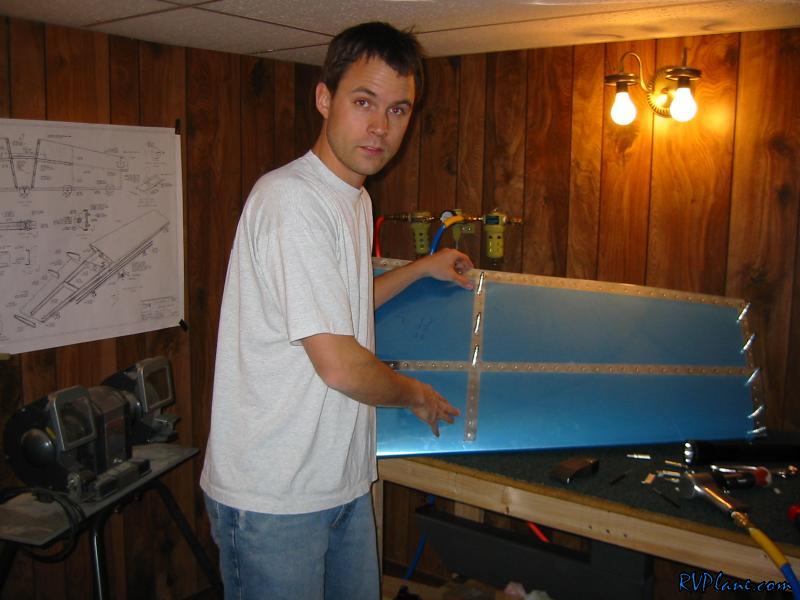 My dad in his rivet shooting attire. He is supposed to come over tomorrow to help me finish up the HS! Hopefully he will be better dressed for the occasion. 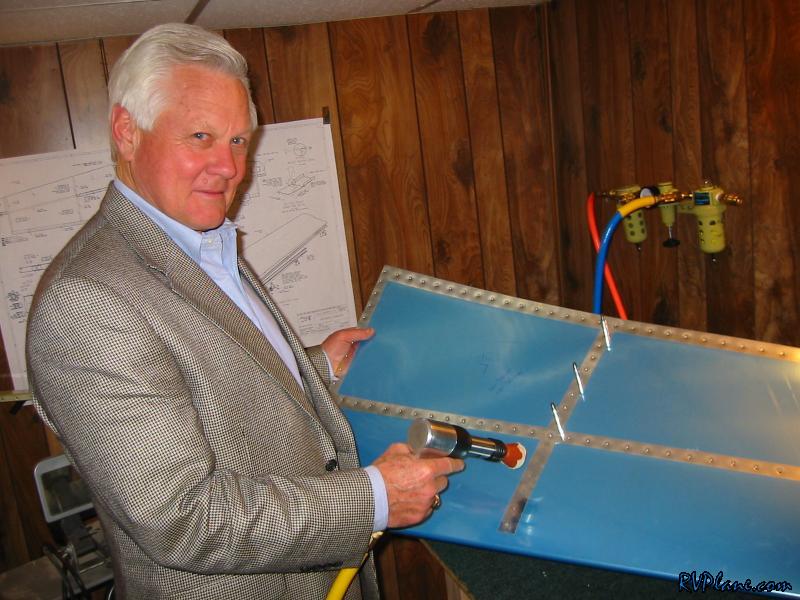 This is the nose rib flanges that didn't quite make it parallel. 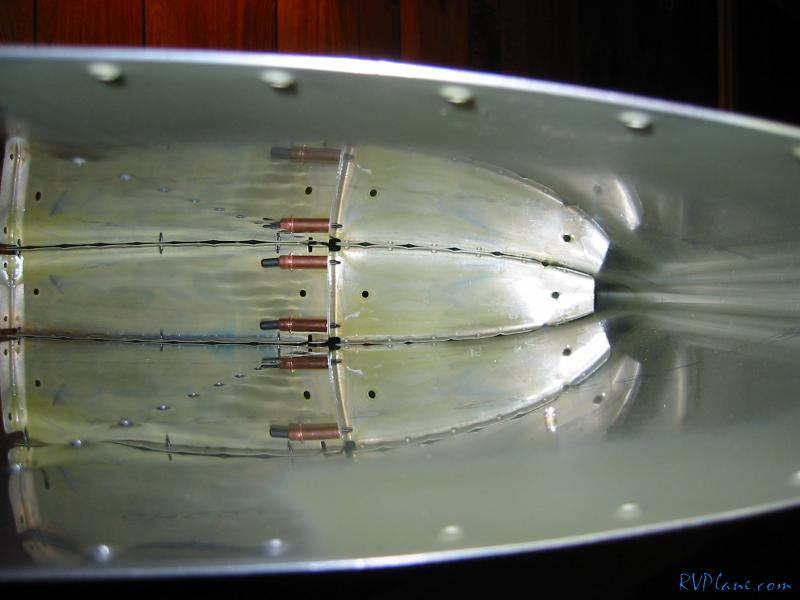 Here is the damn scuff mark that the cleco on the bottom of side I was riveting tore through my nice lovely TOP skin. 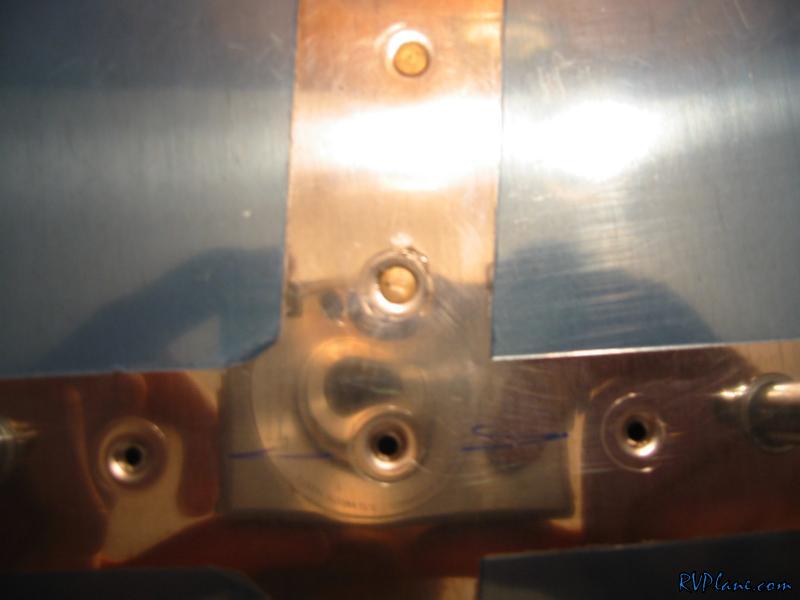 My first blind rivets.....only first rivets left are backriveted now! 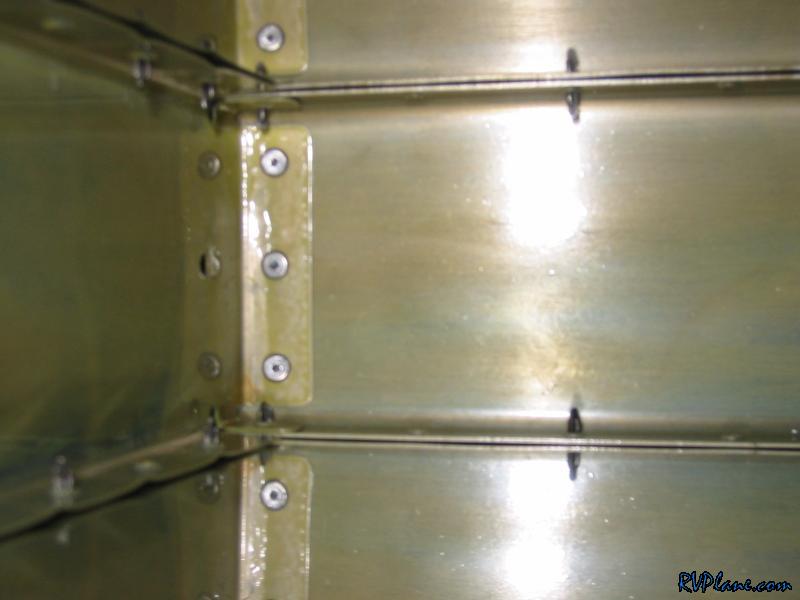
|
|||||
|
http://RVplane.com |
Last Modified: January 31, 2026 |