
|
 |
||||
I wanted to bang out the match drilling and fabrication stuff for the trim tab so that I could prime all of this junk with the rest of the elevator stuff. Started out by clecoing the trim spar and the the trim tab horns. The horns are lined up using a clevis pin. One of the horns is 3/4's match drilled in the skin, the other isn't drilled at all. It's pretty easy - align the two horns on the table with the clevis pin in, clamp, cleco one side to the trim tab, drill. Next I match drilled the bottom holes in the spar. After that I started working on the trim hinge. I wasn't careful enough in reading the diagrams close enough and I didn't like the allignment of how the hinges lined up with the inside edge. A new hinge is only $3.00 and it doesn't need to be primed (it's plated). So the only thing I can't do is countersink the top holes in the trim spar. Oh well...I will prime this sucker now, wait for thr hinge, countersink then use some spray can primer for the countersink holes. No one will ever know (well, that doesn't read this website that is). Next I began the tedious task of deburring the edges and holes of the parts to be primed. I got through all of the edges tonight and a few holes. Trim spar clecoed to bottom of skin. 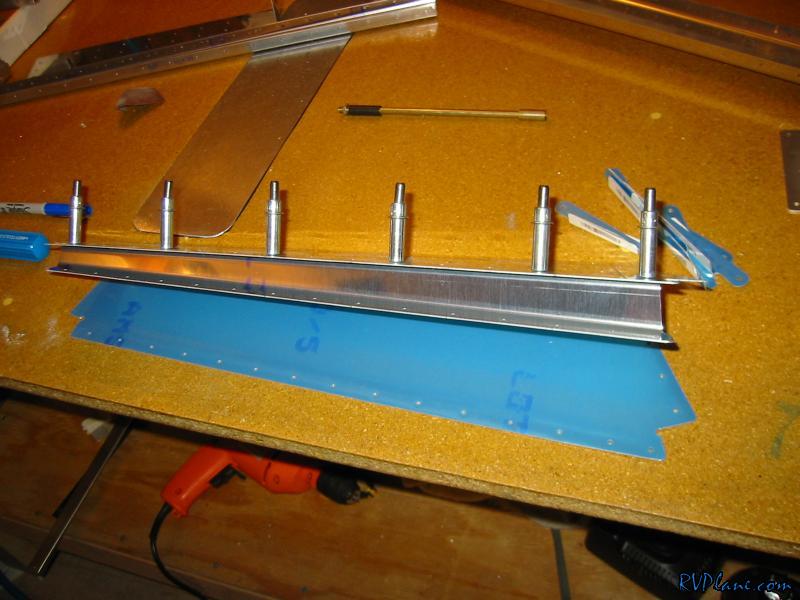 The trim horns alligned with the clevis pin and clamped. There are two possible holes that the clevis pin can go into. The top hole (in this orientation) is for the manual trim. The bottom hole is for the electric trim. I put the clevis pin in the hole I was using for my setup. 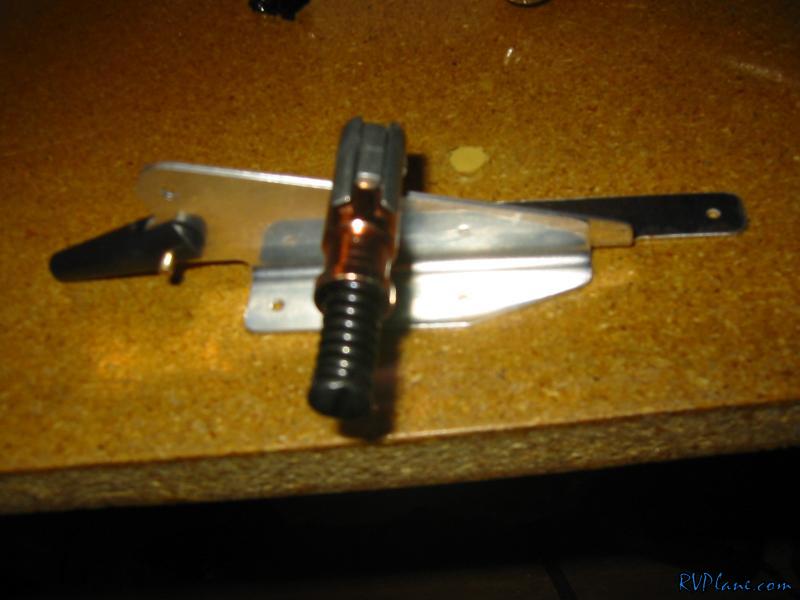 Horns drilled into the skin and spar. 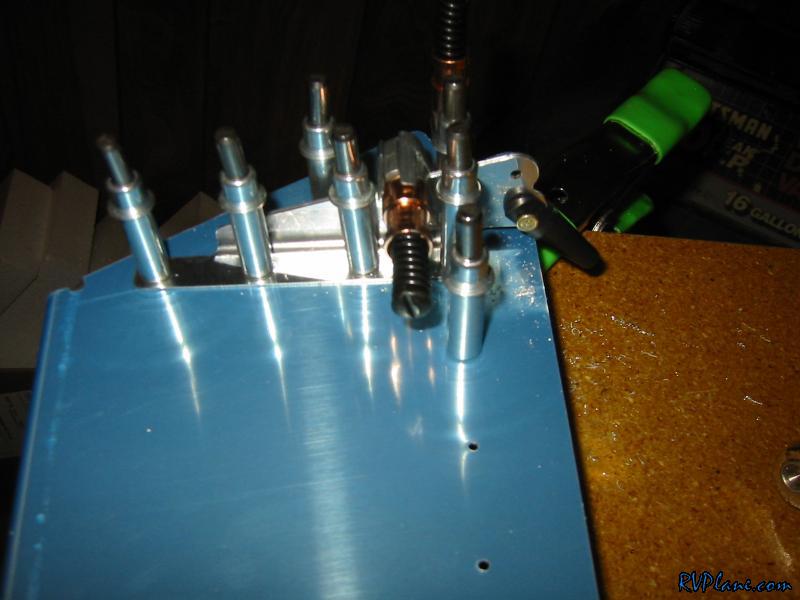 This is where my hinge work went bad. You need to allign the last hole with edge by 3/8" or so. I assumed that it was from any given edge.... 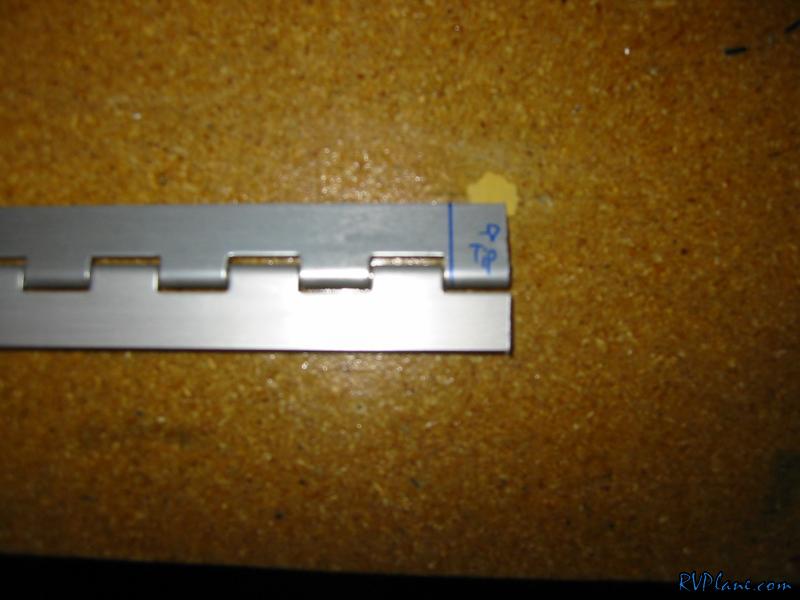 1/4" line drawn from the top of the hinge. 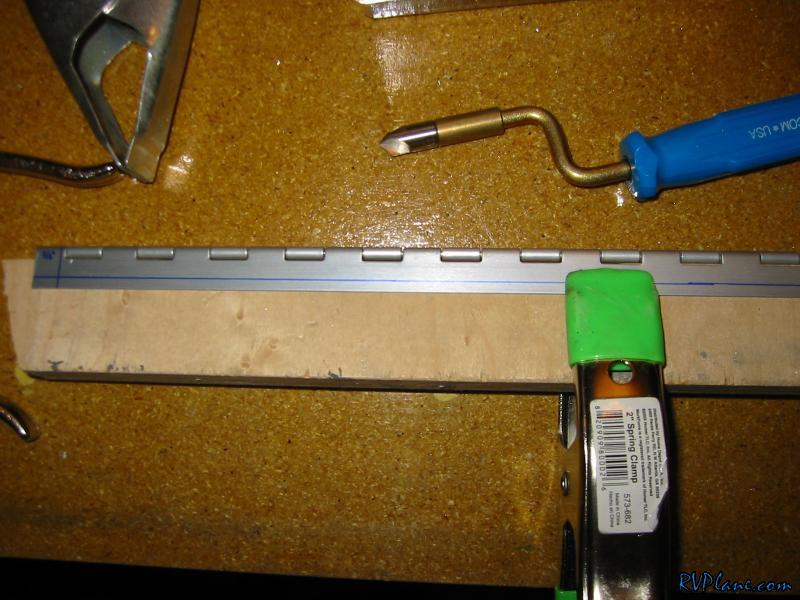 Hinge being drilled to the spar. 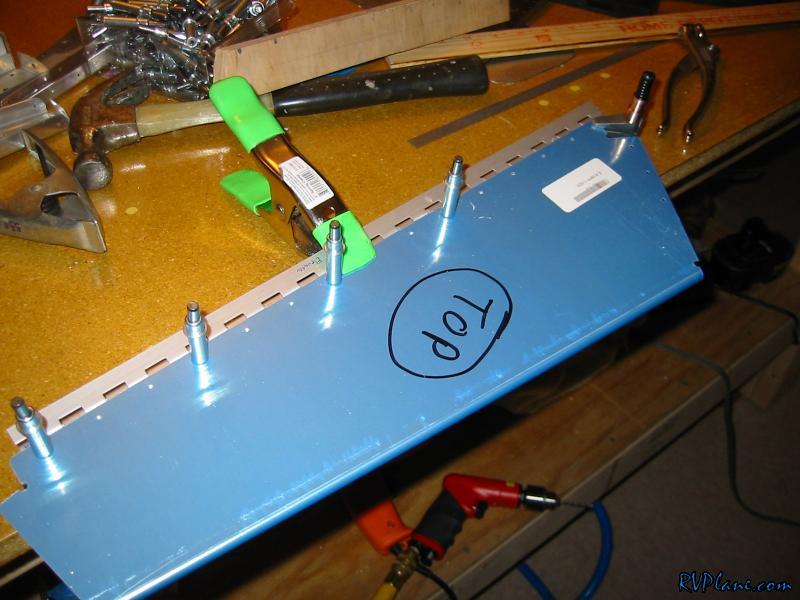 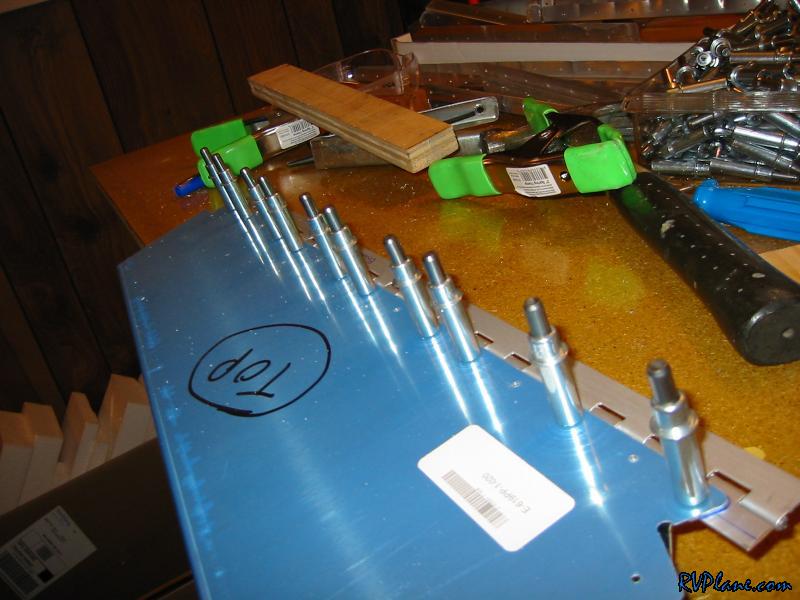 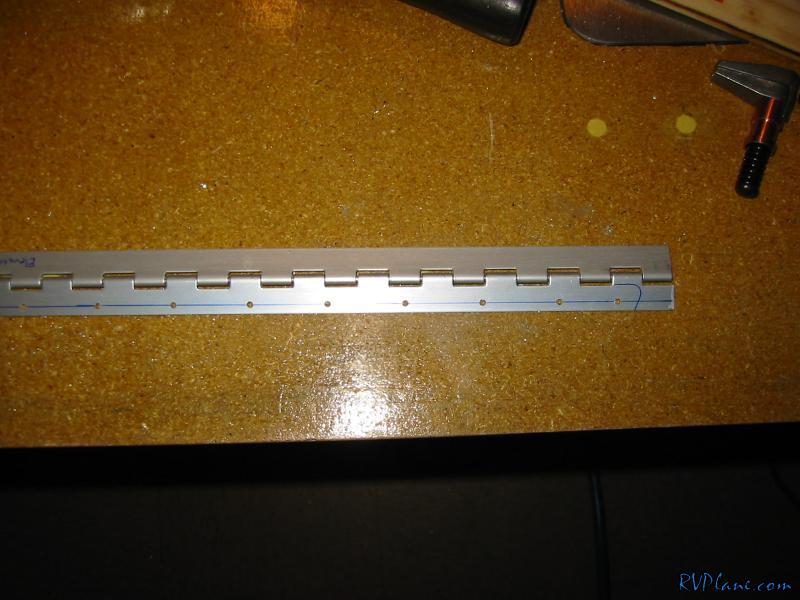 This is where my problem is. The alignment on the inside edge just isn't good. Its hard to explain, but if you compare where the cut line is here to where it would be on the drawing, you will know. 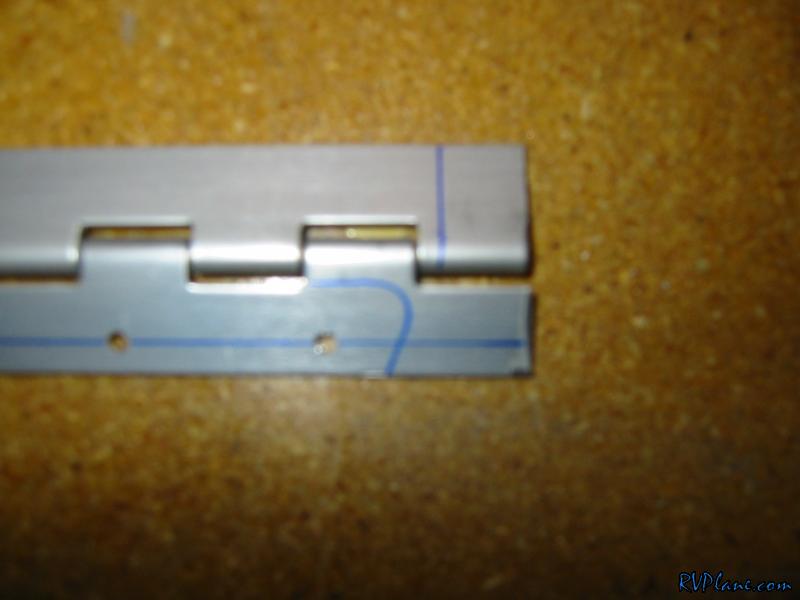 Cut down the trim horns for the electric trim. The top hole gets cut off. 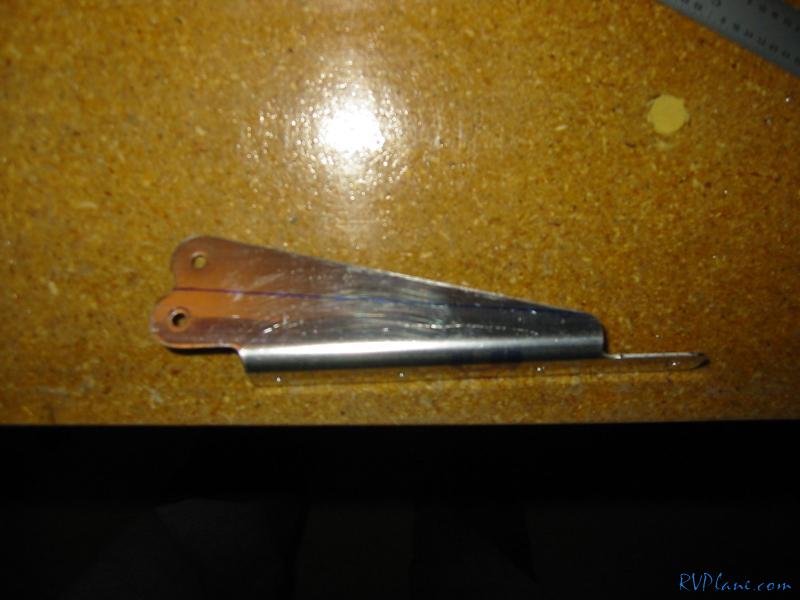 Match trimming the other side. 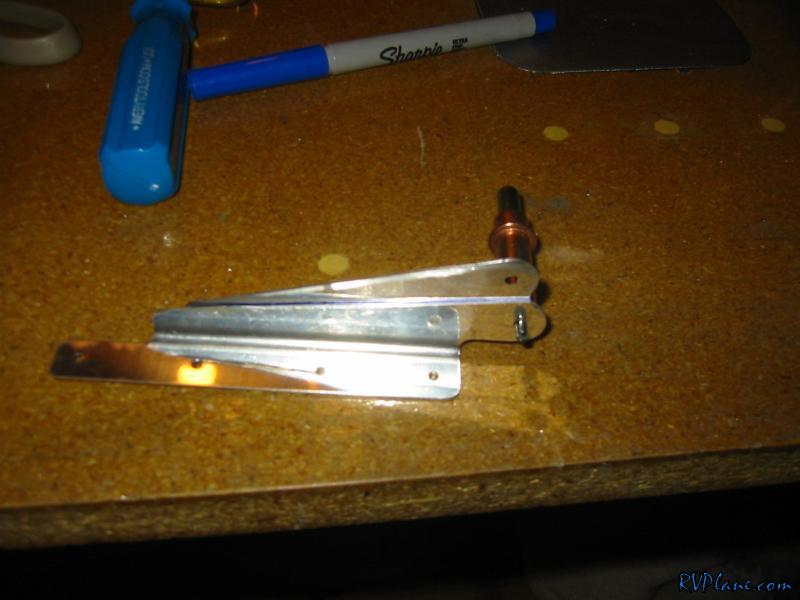 Once I made my initial cuts I clamped the two horns together and ran the scotchbrite wheel over them. 
|
|||||
|
http://RVplane.com |
Last Modified: January 31, 2026 |