
|
 |
||||
Day #2 of the conditional inspection started out spectacular. Perfect weather to spend a day at the hangar. I removed the Slick mag and inspected it throughout. The bearing was good, no oil was inside the mag, everything seemed to check out. PMAG inspection went about the same. Both got reinstalled and timed appropriately.  With the plugs out, since I have a borescope it just makes sense to take a look inside the jugs.  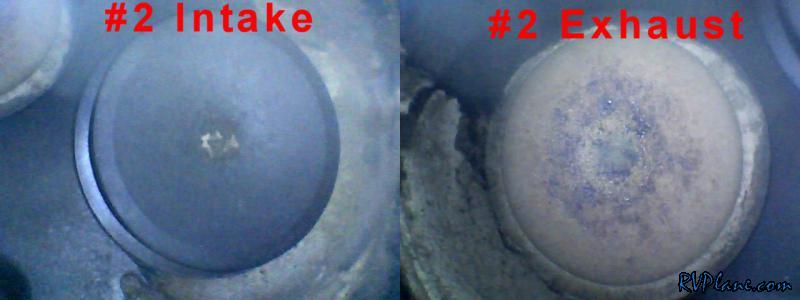 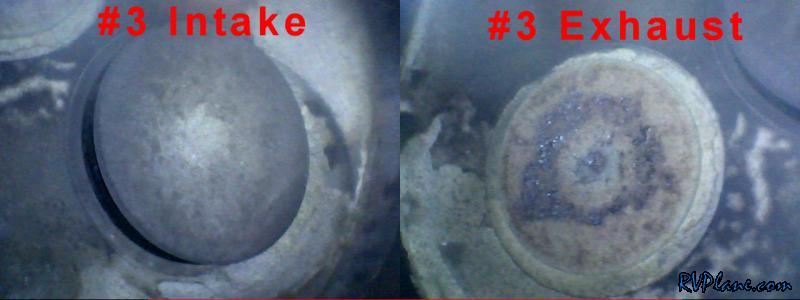 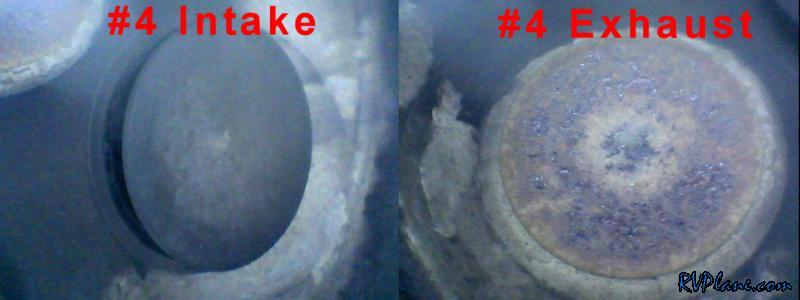 The cylinder walls also looked great. Nice cross-hatching without any scoring.  While warming up the engine yesterday letting it run < 1000 RPM, I noticed the #1 EGT was rather low (700 degrees instead of 900 like the other 3), and the CHT was around 150 degrees instead of the other three being over 200. When I increased the engine speed to over 1000 RPM, the #1 temps came up. Sounded to me like another sticky valve. I have had other issues with #1 over the past year. Since the last annual, I had a couple of issues of "Morning Sickness" where the #1 cylinder briefly drops out at low RPM while the engine is warming up before takeoff. Part of my annual inspection is to do a quick test of the "stickiness" of all 8 valves. This test is accomplished by removing the valve covers and depressing the springs (while the rockers are in place), to see how easy it is to move the intake and exhaust valve in each cylinder. As expected, #1's exhaust valve wasn't moving freely int he guide.  Off comes the springs. This sucker definitely needs some attention, as it takes a good amount of force to move it. 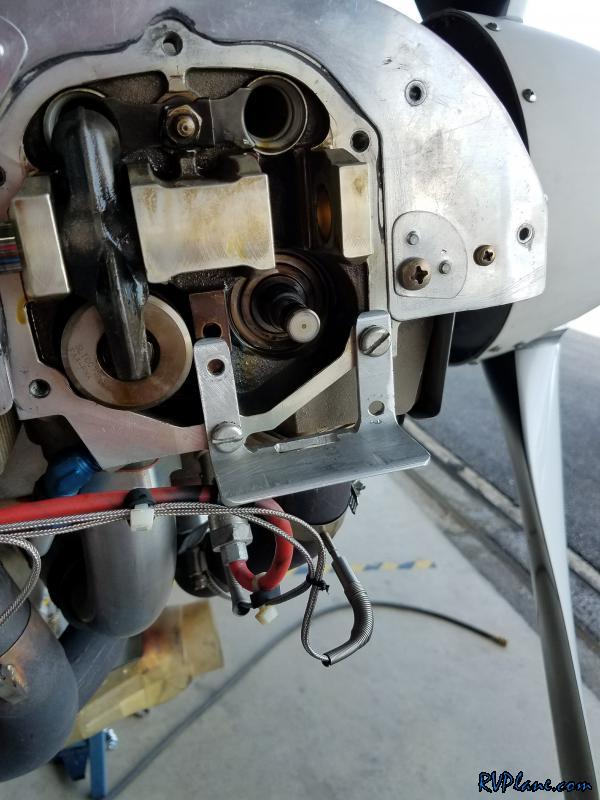 And the fun part! Dropping the valve into the cylinder. A trained eye would see the exhaust has been removed and a pickup-tool is being used to hold the valve stem so it doesn't fall into the cylinder. 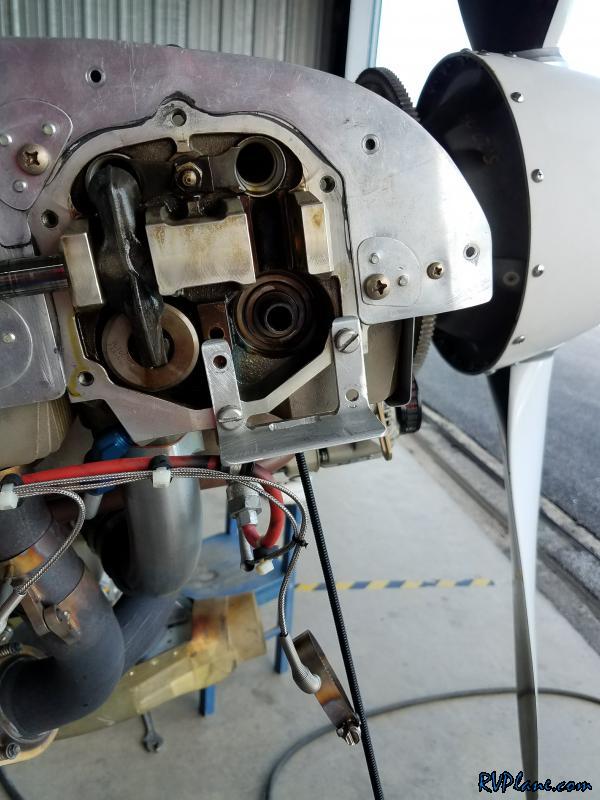 Since I had the borescope at the hangar today, I decided to take a pic of what the inside of the exhaust valve guide looked like. This pic shows the valve halfway reamed to show the contrast....and me forgetting to use the borescope before the reaming began! A nice layer of lead coats the guide.  And the pic after the guide has been reamed out. Looks like new! 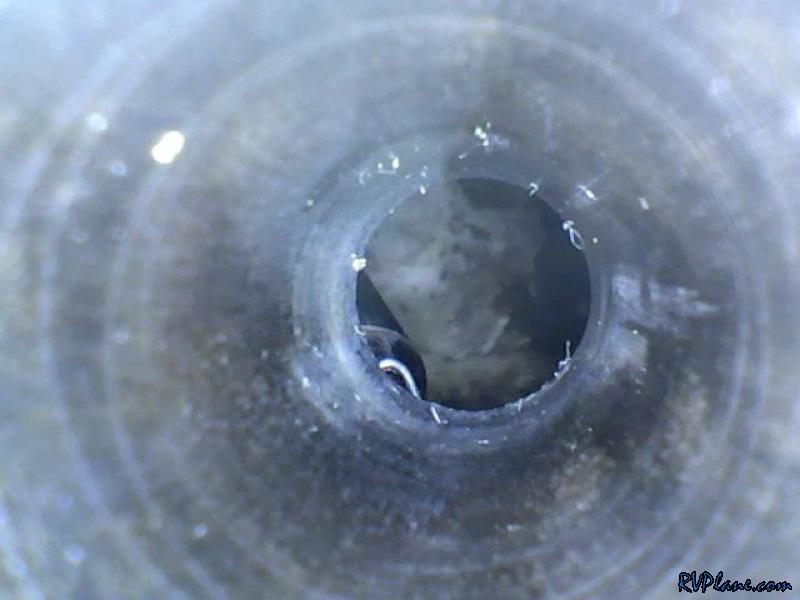 In my original write-up of how to fix a sticky valve, I used the "rope trick" to apply some pressure from inside the cylinder against the exhaust valve so the spring and keys could be installed. Someone pointed out that one downside to the "rope trick", is the possibility exists of the rope forming a knot inside the cylinder, and it not being possible to remove it! So I tried the "compressed air trick" - I rotated the prop until the #1 piston was at the bottom of it's stoke and the intake valve was closed. 60 PSI is the minimum pressure I found held the valve tight enough where I couldn't break the seal while installing the spring. 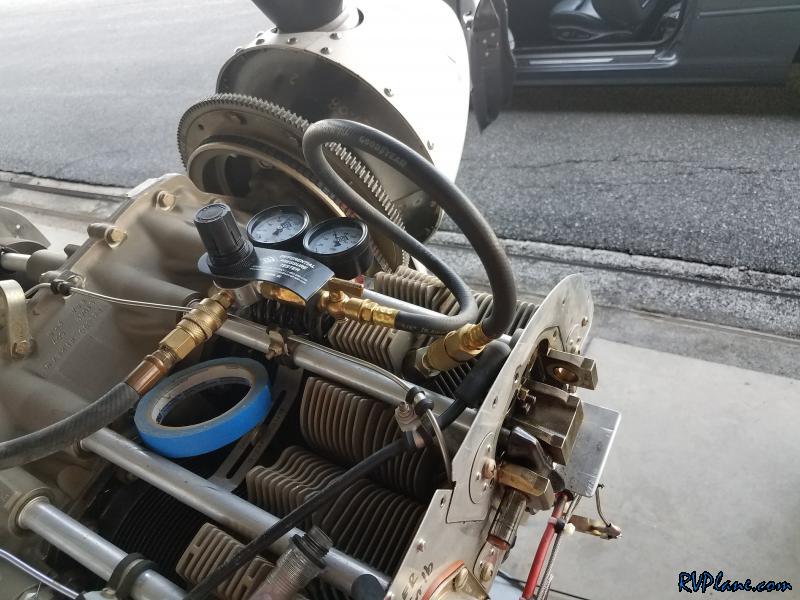 Voila! with a little work the spring, keys and rocker arm are reinstalled. Later on I reinstalled the exhaust. She should be good to go! 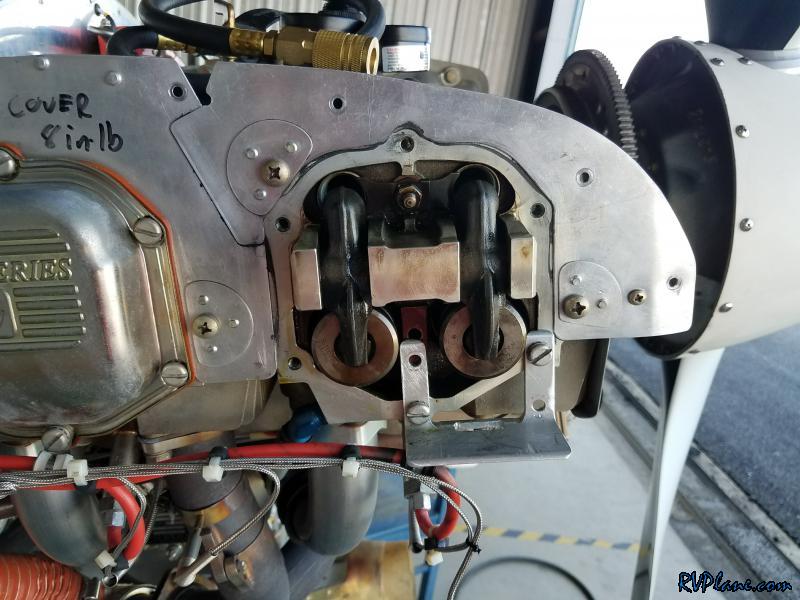
|
|||||
|
http://RVplane.com |
Last Modified: January 31, 2026 |