
|
 |
||||
I have been working on getting new landing lights on my RV for some time now. Earlier this year I purchased some Cree T6 XM-L LED lights from DealXtreme.com. I ran into issues with keeping them cool as they tended to overheat and burn up. I then was deterred because they discontinued selling this light. I was a bit bummed out about this since I thought I could get these to work. A few months ago I ran across a company called Baja Designs. They make LED lights for dune buggy's and motorcycles. I was quite impressed with the light these LED pumped out. Many forums raved about how bright they were. They also seemed to be just about the right size to fit into the wingtip of the RV. The version I bought was the Baja Designed Squadron in the Spotlight format. The specs on these are quite impressive. Here is the list from their website:
On a moonless night, I set up an experiment at the end of my street comparing the three lights I had - my Duckworks 50W HID, DX Cree XM-L T6 and the Baja Designs Squadron. All of these pictures were taken from a digital SLR camera on a tripod and the manual focus settings were the same. I wanted to get an accurate representation on the differences between the lights. As you can see, the Baja Designs light blows the others away! 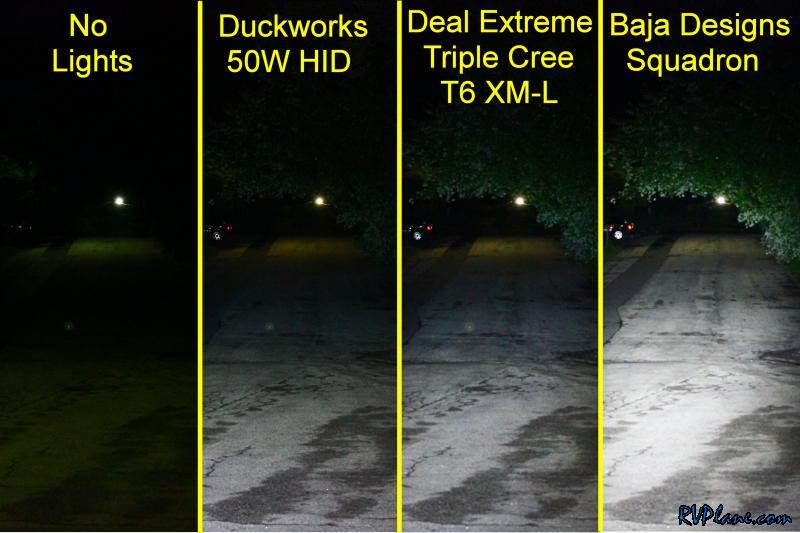 Here is an Isolux Plot I found on the Baja design website. I was torn as to which version of the light to get. Since there wasn't much of a difference between the driving and spot light, I went for the spotlight. It would be really nice to do a side-by-side comparison of all four varieties of the Squadron (Combo, Spot, Wide-Cornering, and Flood/Work). 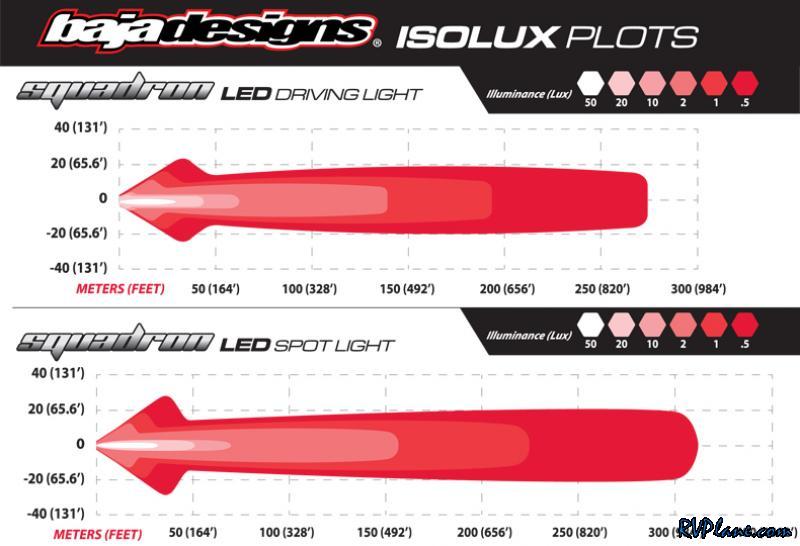 Here are a few pictures of the Squadron. From the front this thing looks mean!!! 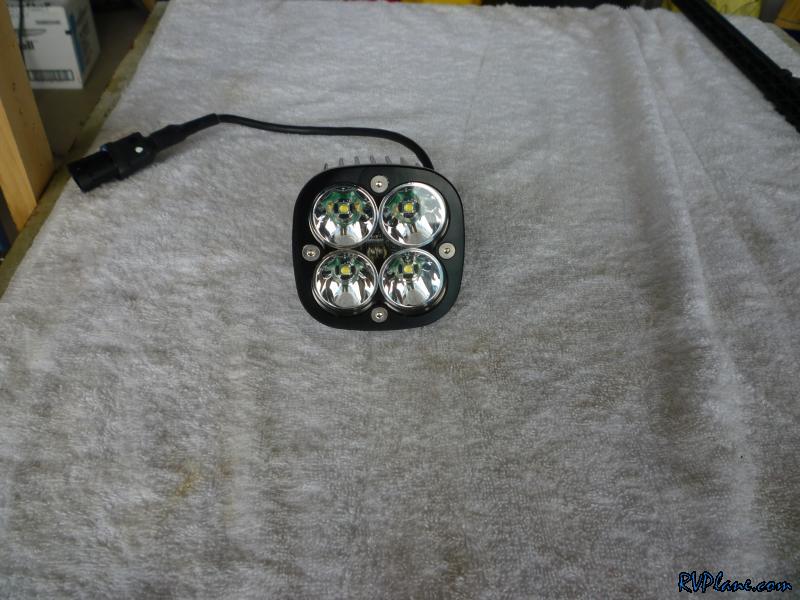 It is much smaller than I thought it would be. 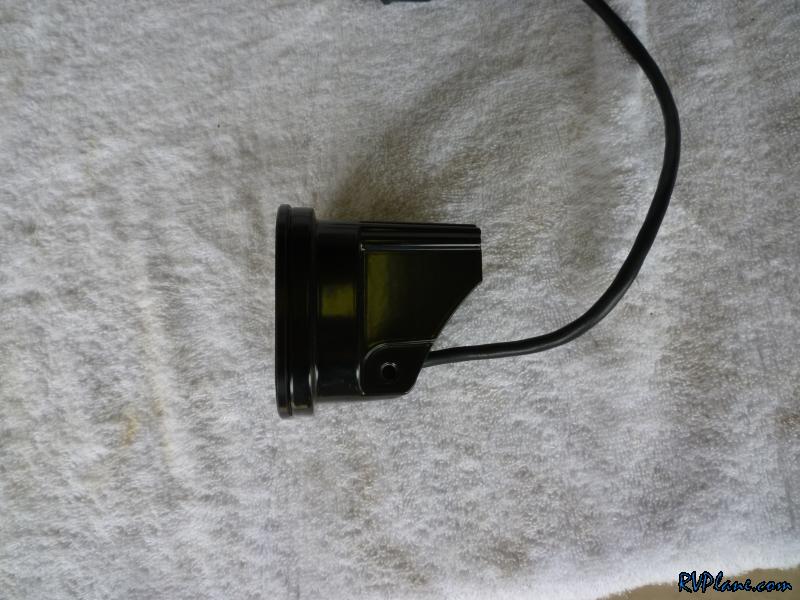 The cooling fins are quite beefy. I believe the housing for the lights is made out of aluminum. They are also lighter than I thought they would be.  I decided to compare the weight of the Baja Design Squadron to the Duckworks HID. The Duckworks HID come in at 0.76 lbs. 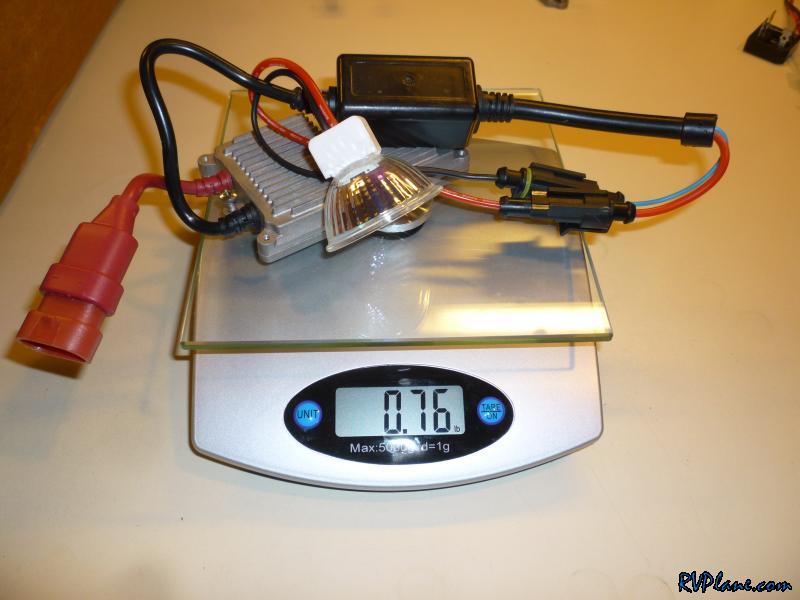 And the Baja Design Squadron is slightly lighter at 0.72 lbs. 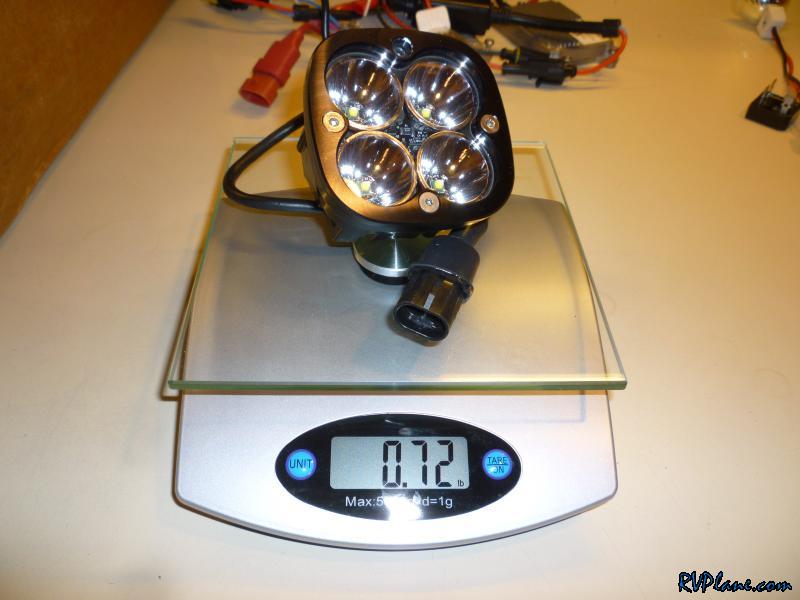 The next project was trying to figure out how to mount these guys to my wingtips. 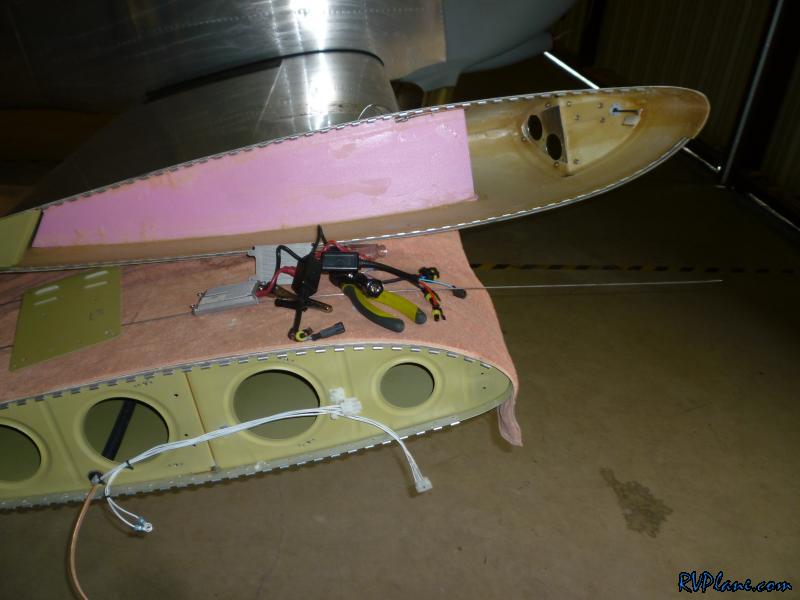 I took off the previous wingtip light mounts. 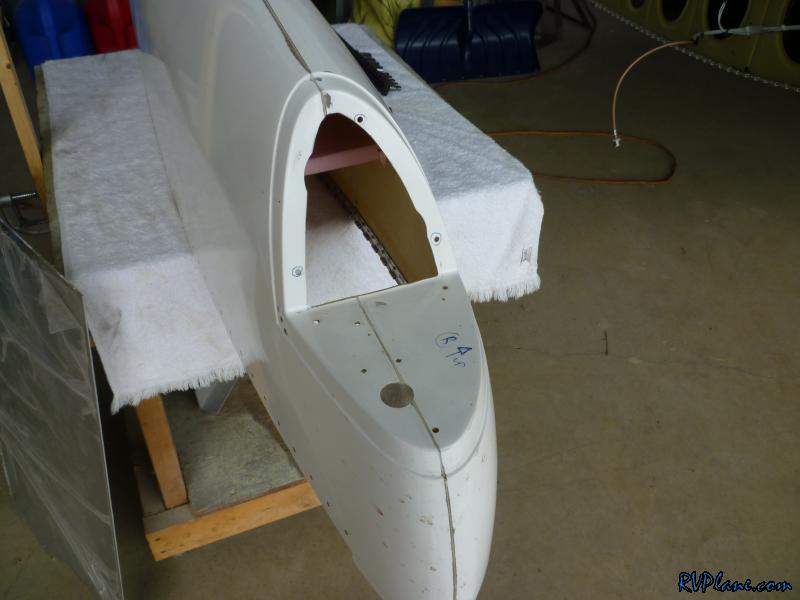 Next I fabricated a new mounting plate out of 0.063" sheet. The old mounting plate was made out of 0.032" and it was a little on the flimsy side. 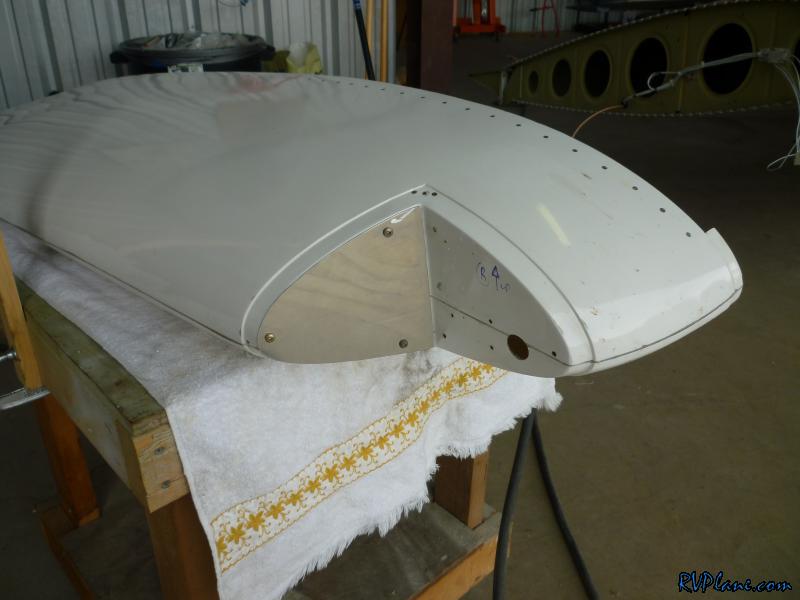 I did keep the side portion of the old mounting plate where the Nav light is mounted. I figured why do more work than I have to re-fabricating everything.  I wanted to mount the new LED lights as far outboard as possible so they could get as much light closest towards the center line of the RV. It would be awesome if these lights could be used for both taxiing and landing. 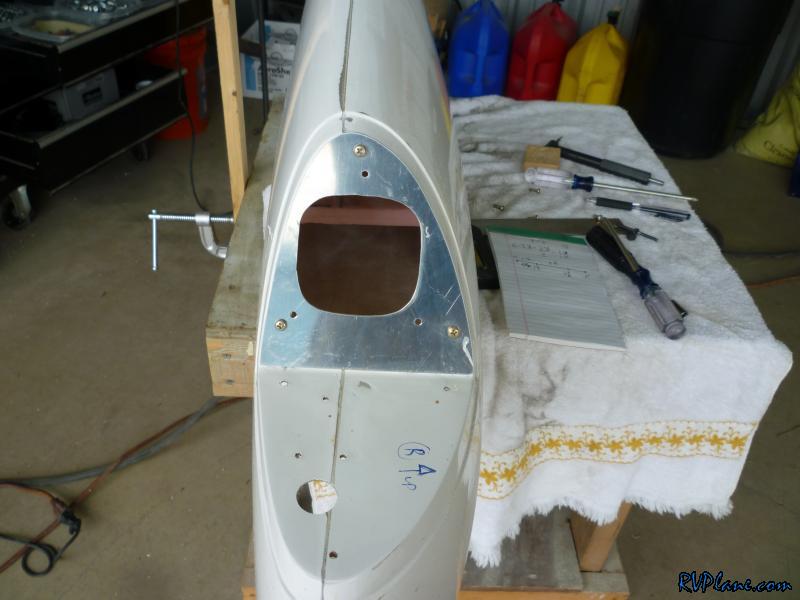 I also needed a mounting plate for the light to mount to. The light comes with a mount designed to be mounted to handlebars with a single bolt at the bottom. That mount wouldn't of worked for me. I planned to use the 4 screw holes used to hold the front trim on. I made an appropriate mounting plate (pictured on the lower left). 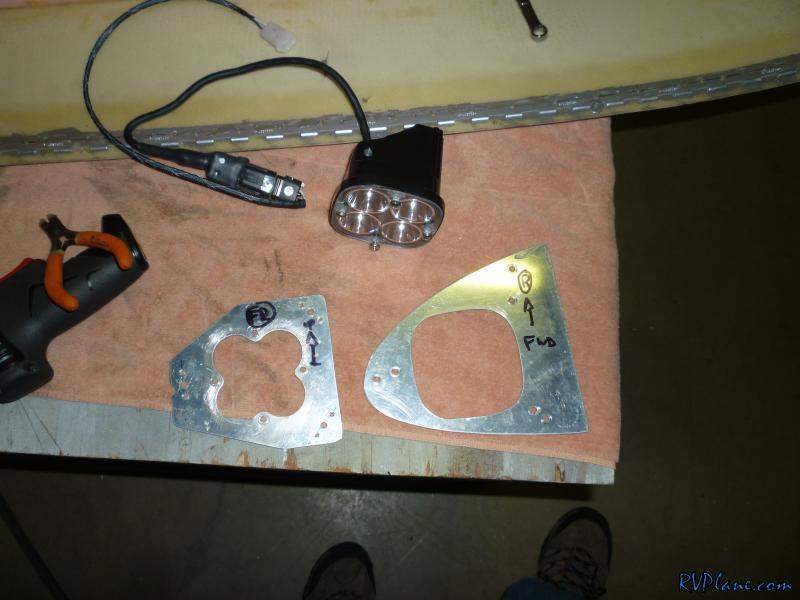 I didn't think the front trim was necessary. I would replace it with my mounting plate made out of 0.063". 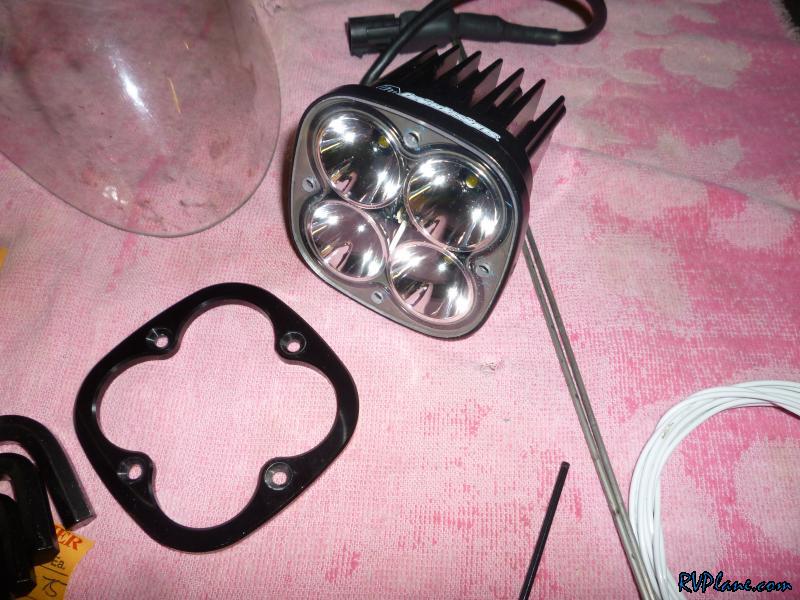 Here is a picture of how the LED light mounting plate is attached to the wingtip plate. This setup is extremely adjustable and very very study. I cannot more the plate at all. 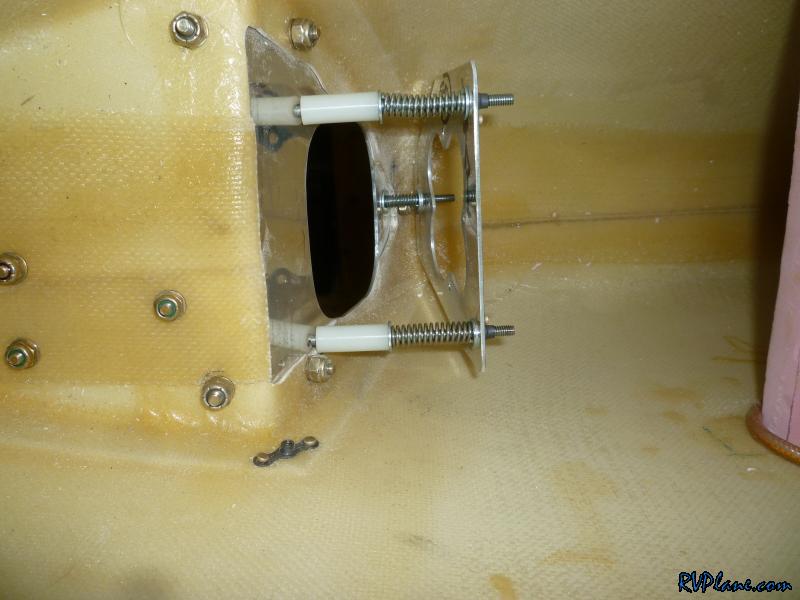 These are the springs I used for the inboard adjustment points. I purchased them from Ace Hardware. 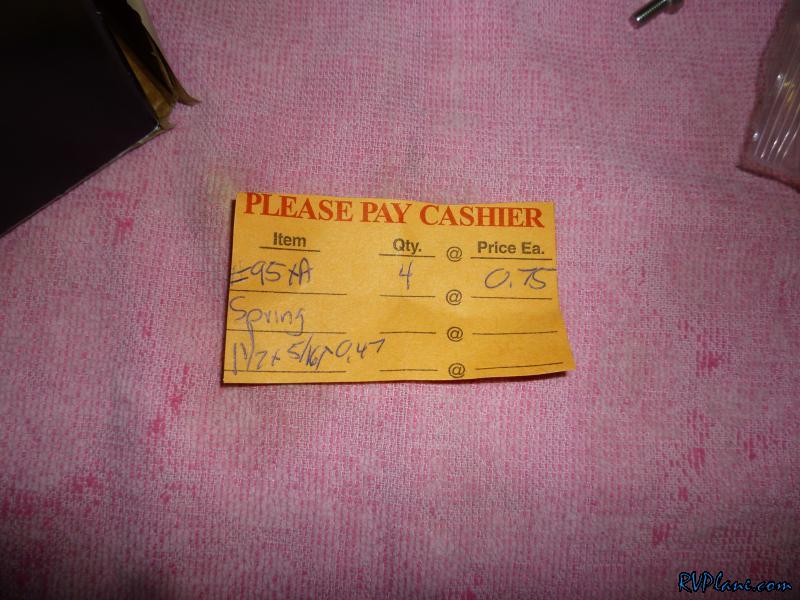 And finally the light mounted. 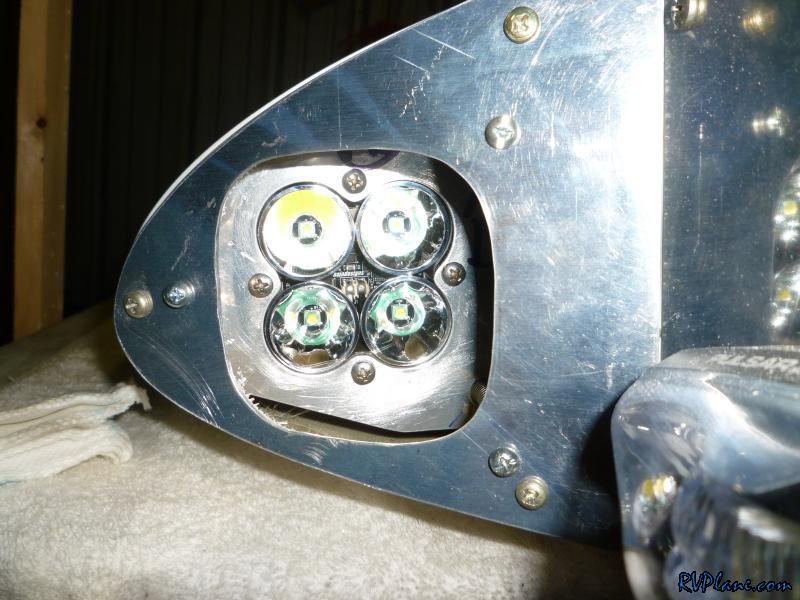 The light uses metric screws. I bought M4x10's which ended up working great. 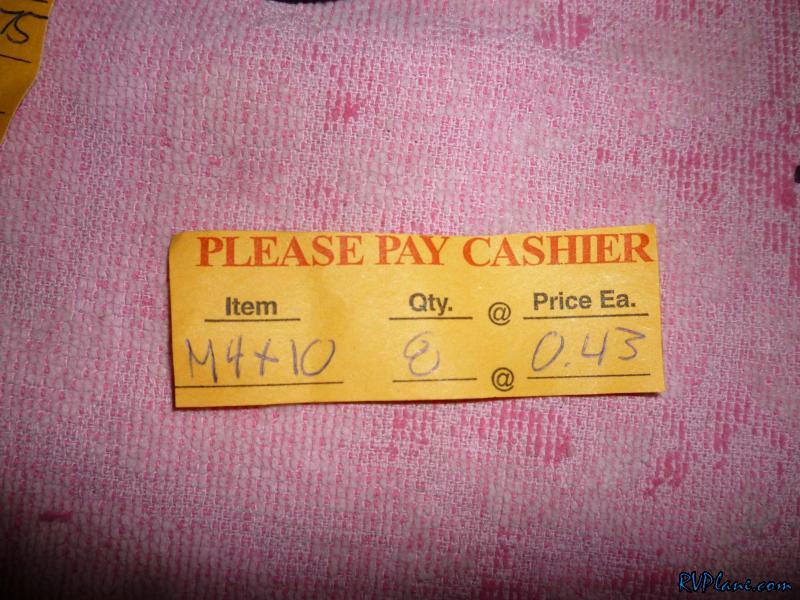 And the final product. I used only a single light for a few weeks to test it out. I figured why should I spend twice as much as I needed to for a pair of them if they may not work out. I flew for about 10 hours with this, and it was on all of the time. There was ZERO radio interference, Zero GPS performance interference and ZERO NAV antenna interference. These lights seem to be very well engineered. 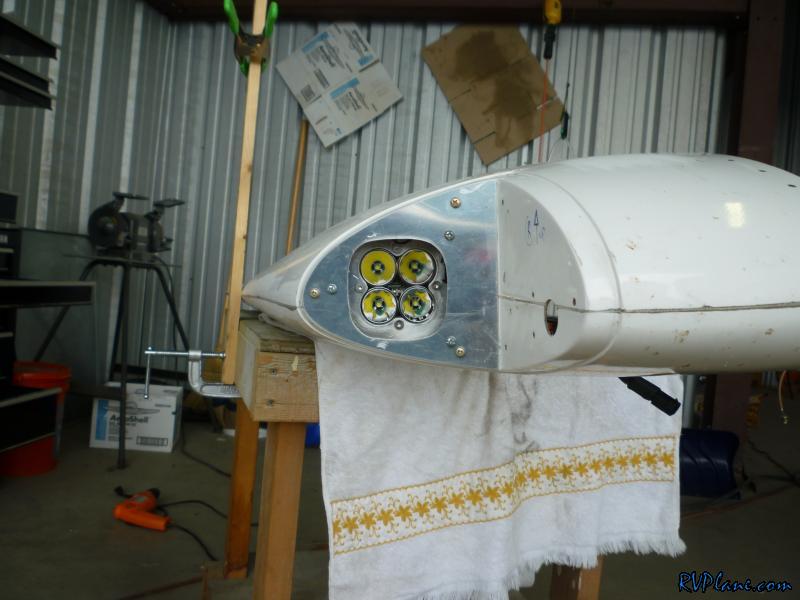 After my test of the right wing went so well, I purchased another set and installed it into the left wing. I have to say this side went MUCH faster. It's always easier to build something the second time. 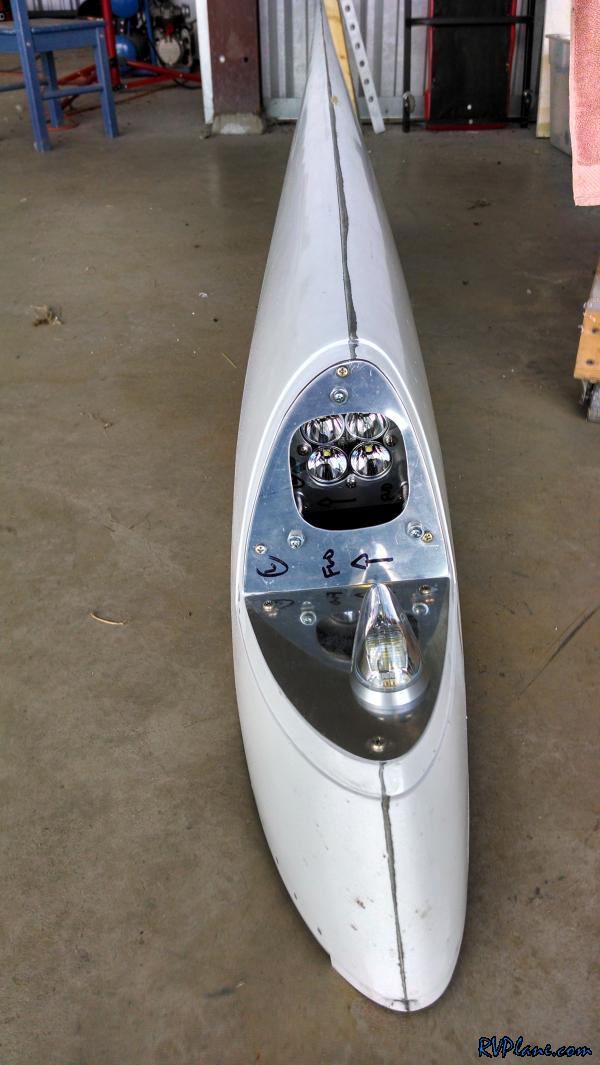 Doh! When I took apart the right side, I notices some hazing in the plexiglass lens. This is from where I applied loctite like an idiot. I completely forgot that Loctite causes hazing on plexiglass. Luckly, all of this is hidden from view when the mounting bracket is attached. Last thing left to do is some night flying! It's the perfect time of year to get this project wrapped up with the days getting shorter. 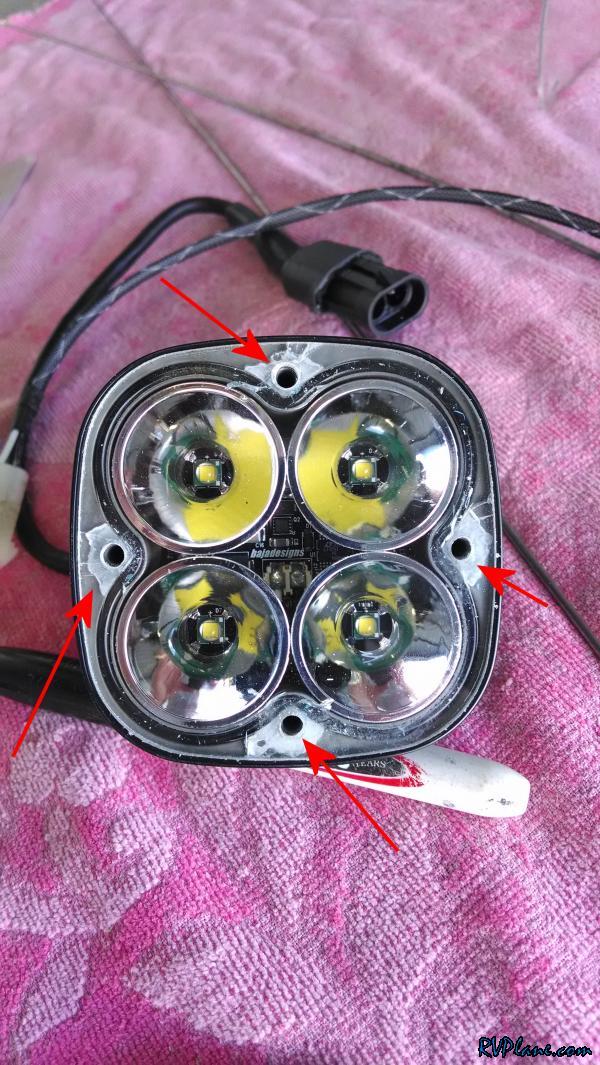
|
|||||
|
http://RVplane.com |
Last Modified: October 5, 2024 |