
|
 |
||||
Tonight's mission was to finish installing the gear leg fairings. While most of the fabrication and fitting is complete, the last item left is to align the fairings properly. I have read they are supposed to be aligned within 1/4" of the airstream or else some pretty bad yawing tendencies will be encountered. First things first though, I needed to level out the fuselage. 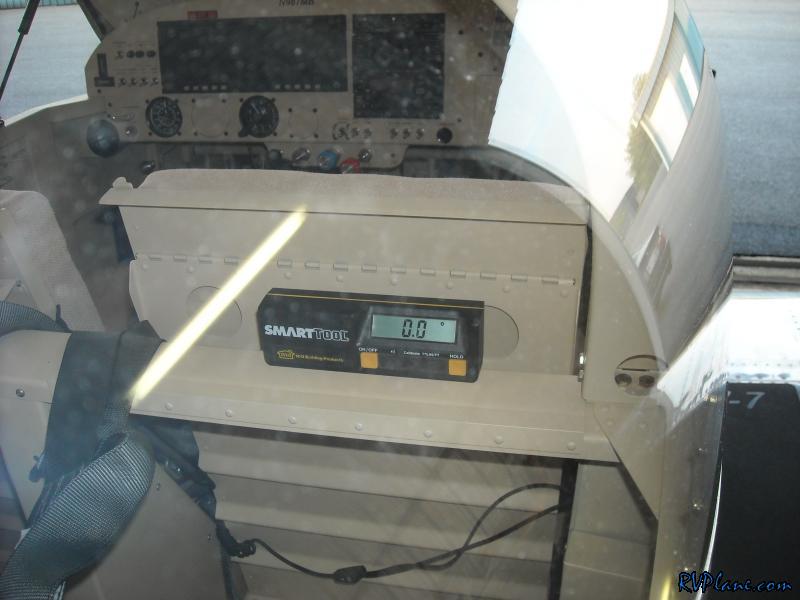 Once the fuselage was level from left-to-right, I installed some hose clamps on the jacks to keep them from slipping. The Harbor Freight jacks do tend to leak over time.  I raised the tail in order to level out the fuselage. 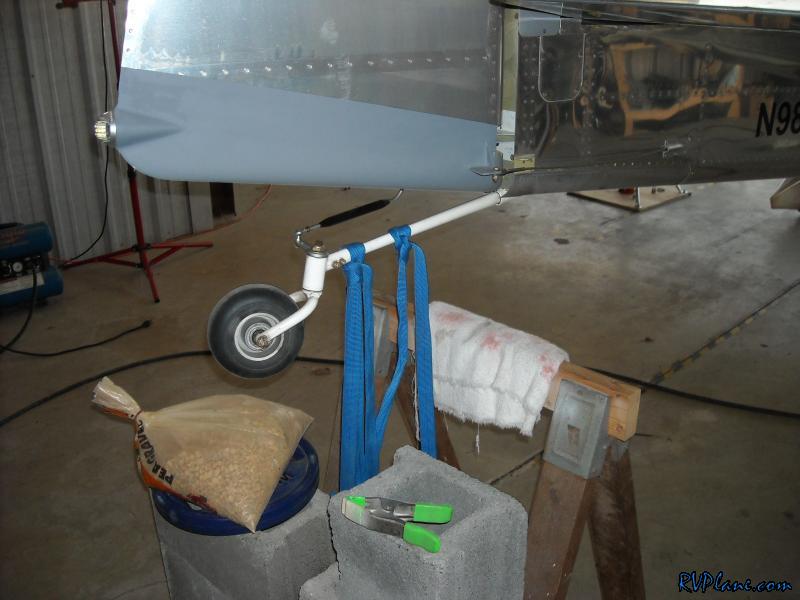 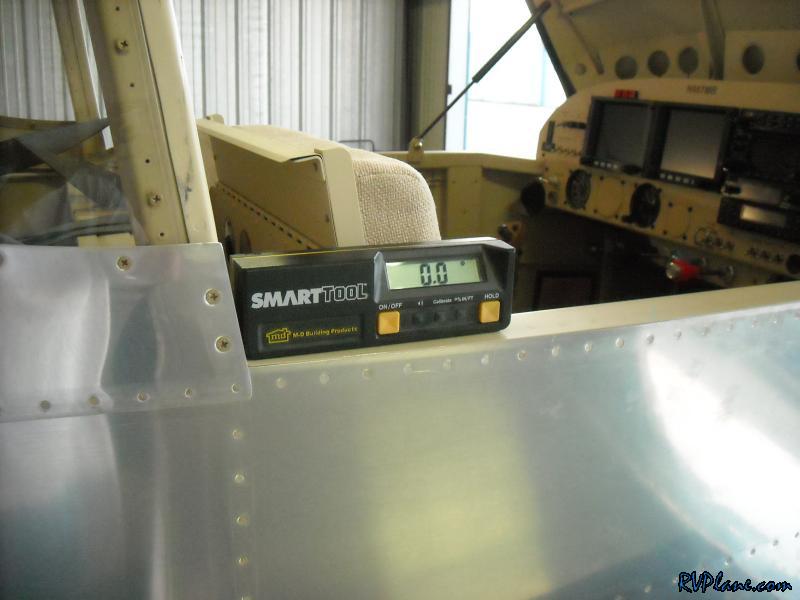 Next was snapping a centerline along the length of the fuselage. 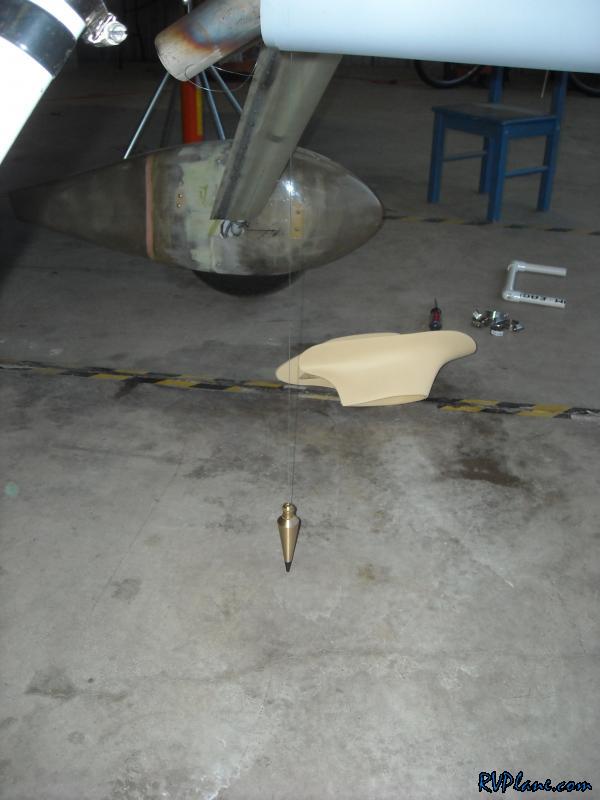 This was the easiest way I found to attach a plumb bob to the forward fuselage. The cleco worked great, and there is a rivet at the centerline to boot! 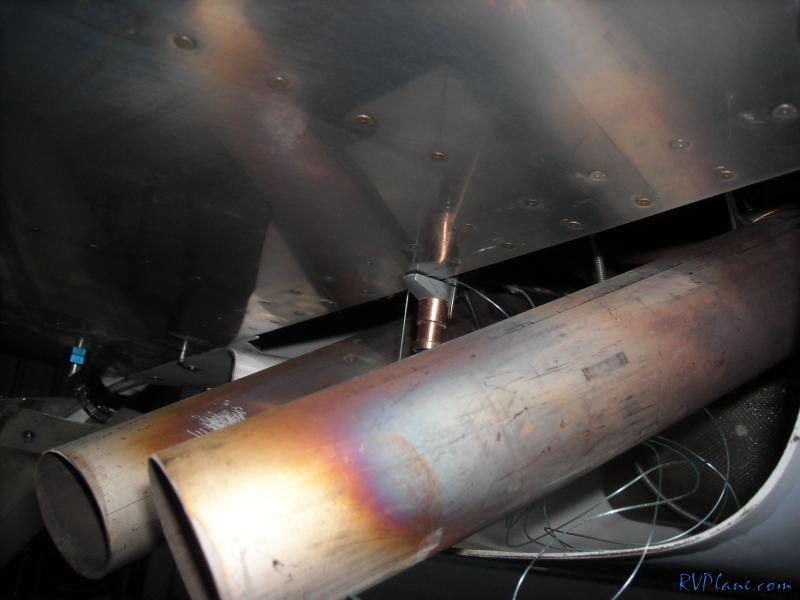 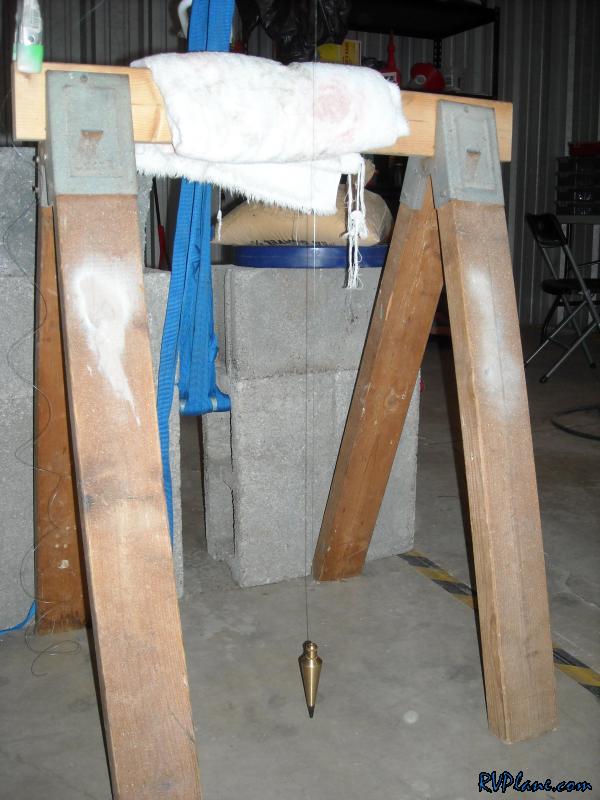 I attached the plumb bob line to where the tailwheel comes out of the aft fuselage. 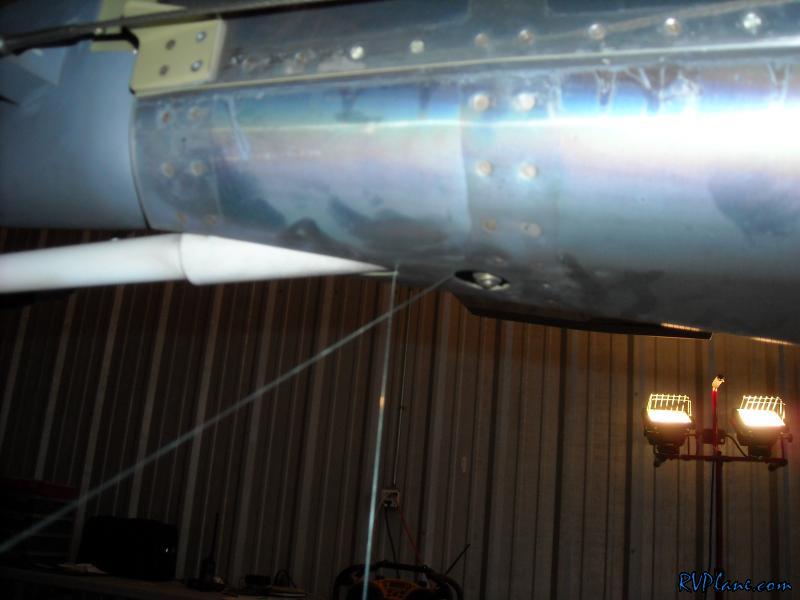 My friend Bob McMeekin (RV-8 builder) stopped by to take a look at my empennage and ask some questions about the trim tab, and how the pin gets attached. Bob was nice enough to provide me with a 30 pack of beer as appreciation for how helpful my website has been to him. Thanks Bob! I felt the beer could be used as some extra weight to keep the tail down.  Snapped the centerline with a chalk line. 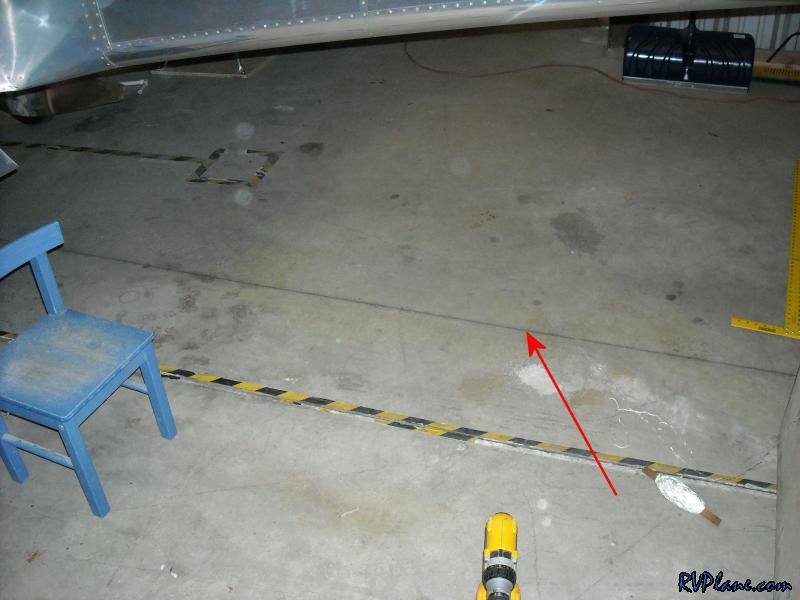 I used this leftover MDF to act as an alignment board for running a string down the length of the airplane. I drilled a #30 hole 24" from the base of the board. I also aligned the base of the board 23" from the centerline. 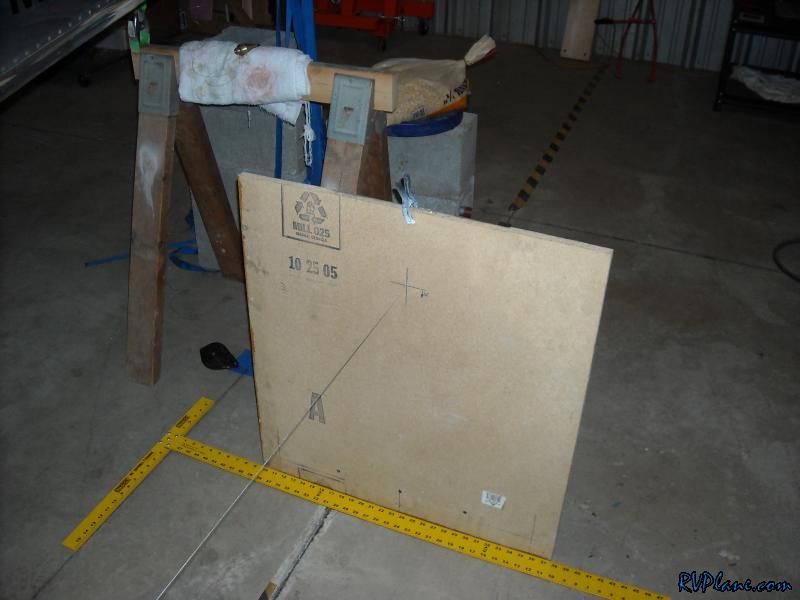 I ran the string up to the fairings and wrapped it around. I use some lightweight tubing left over from the pitot/static kit to allow myself to pinch the string closer together to get a more accurate alignment.  The same measurement is up front as was in the aft - 23" over from the centerline and 24" up. 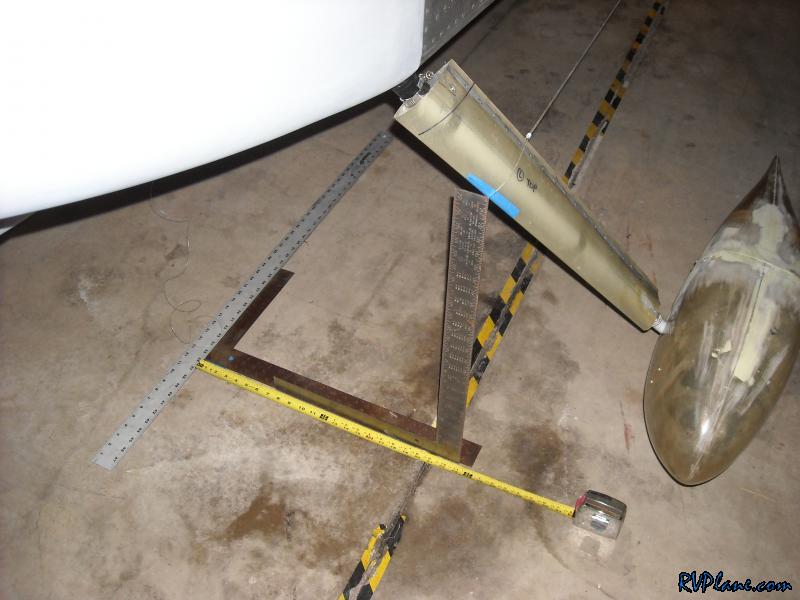 The small tubing around the string made aligning the fairings very easy. 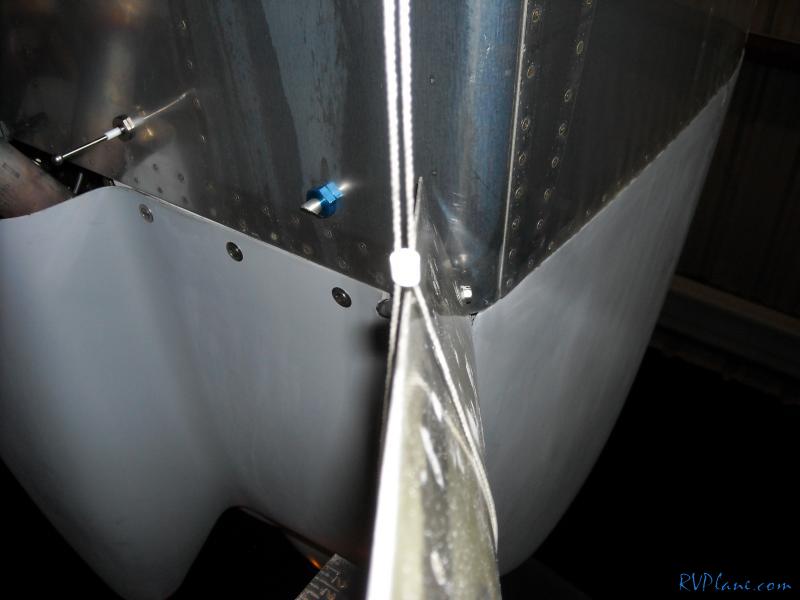 The 30 pack of bud came in handy to weigh down the MDF! 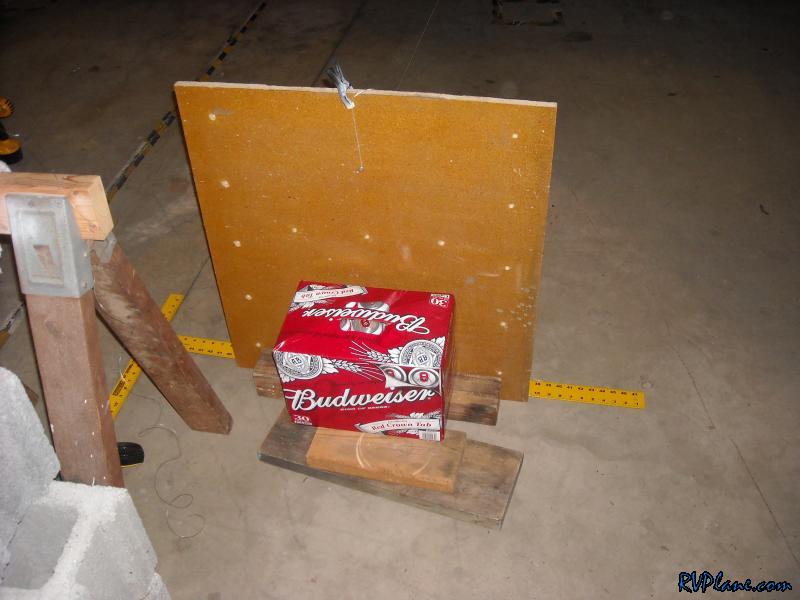 With the fairings aligned and the clamps tightened down, the only thing left was to safety in the hinge pin. I drilled a #50 hole through the hinge and safety wired the pin to it. 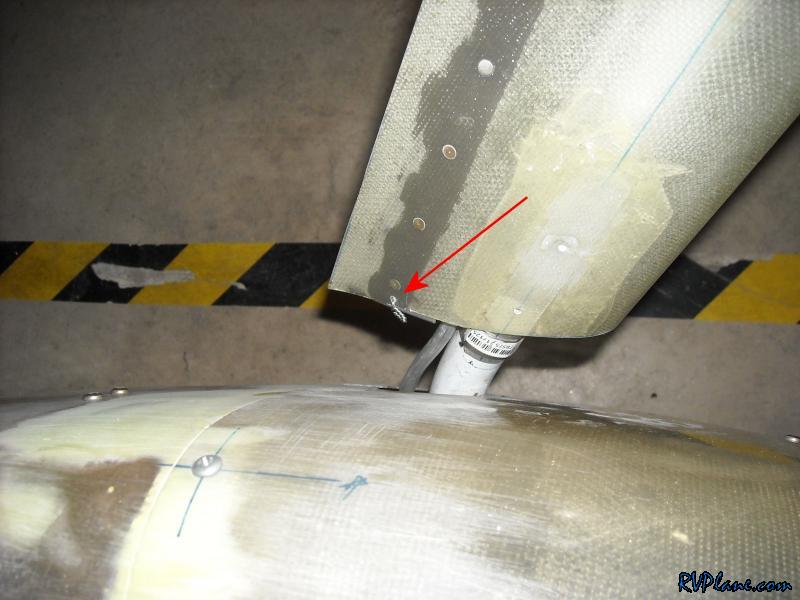 She's ready for a test flight later on this week! 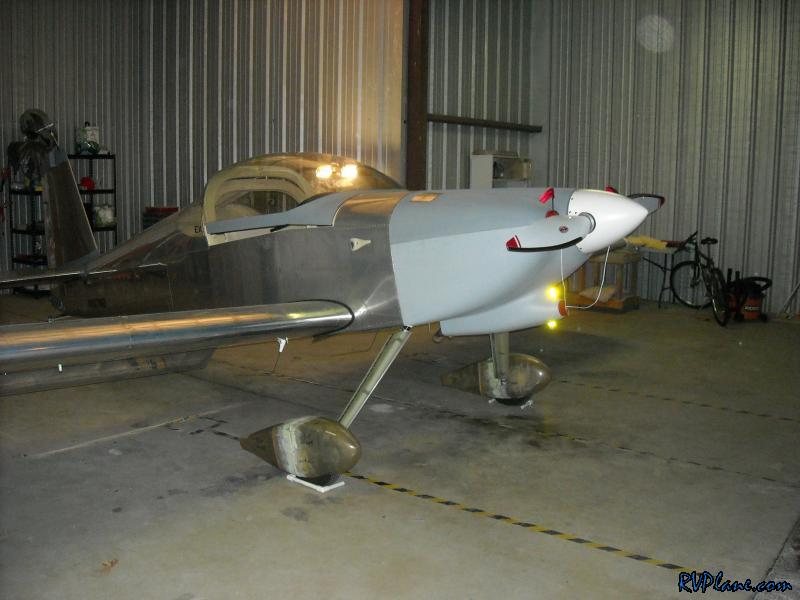
|
|||||
|
http://RVplane.com |
Last Modified: January 31, 2026 |