
|
 |
||||
Back to the panel. I was out of town for the past week or so celebrating New Years with all of my friends. I think 2009 is going to be a good year for the project. I have a good idea what I want to accomplish this year, but I don't want to let the cat out of the bag yet. So anyways, I needed to get back to the avionics stack. Specifically drilling the side support angles to the back of the panel. First I supported the panel so it was completely perpendicular with the workbench. Got clamps? 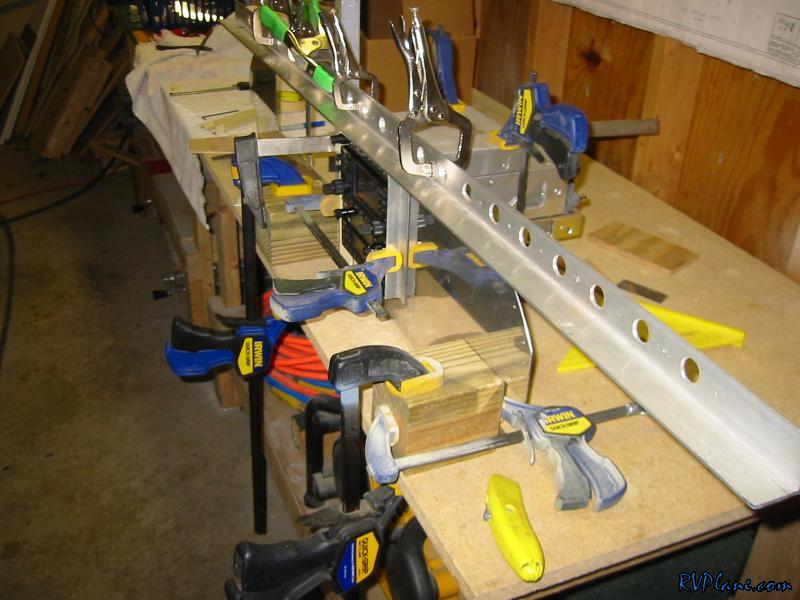 The ICOM A210 radio is the widest device in the stack, so I clamped some angles to either side of it to check the alignment of everything. I needed to trim a little bit of the hole to get it perfect. 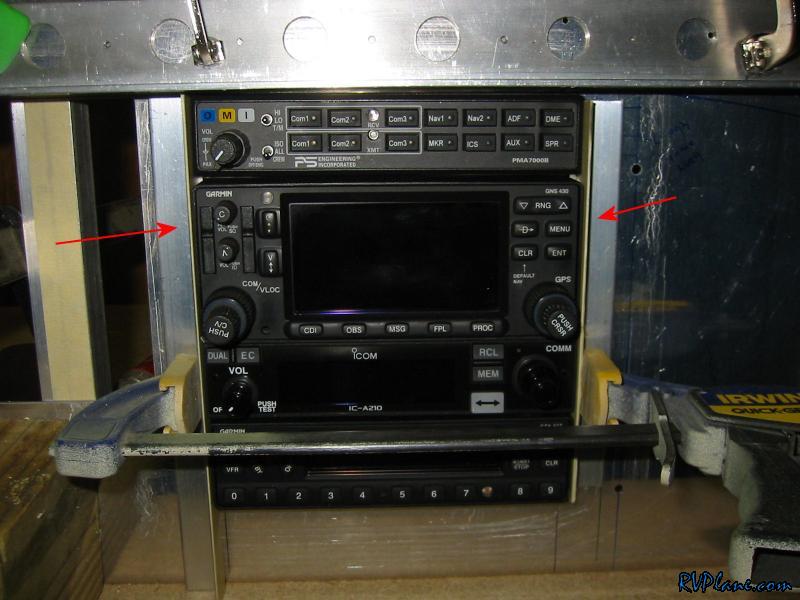 I propped up the back of the transponder with some shims. I also needed a 032 shim between the top of the transponder and the ICOM radio to keep everything even. 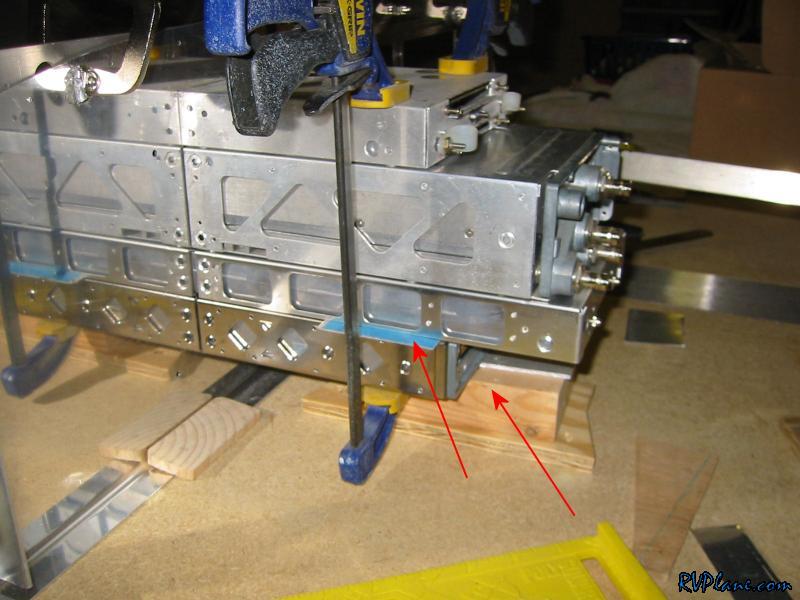 This angle is clamped to the 4x4 on the front side of the panel to add some stability to the panel. I don't want any sag in the panel to cause alignment issues. 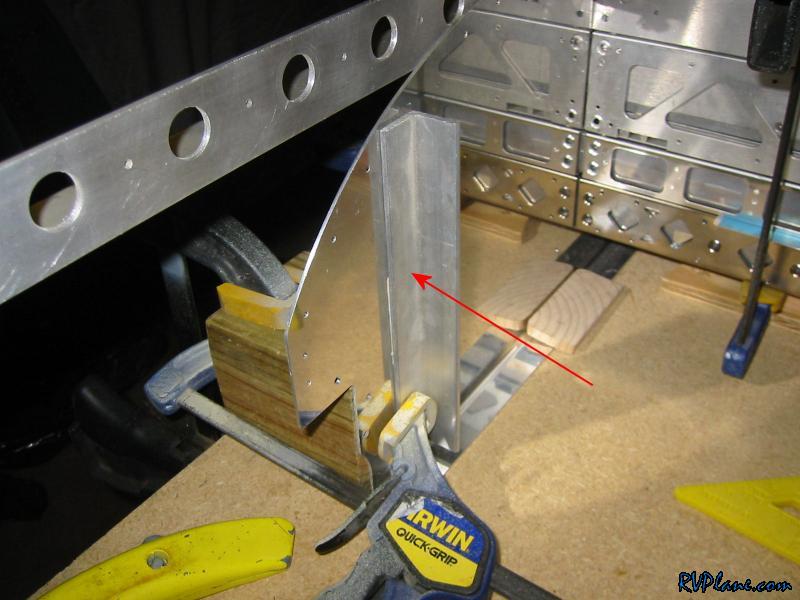 I clamped some angle to the top of the intercom to act as an alignment marker for the top of the stack. This also served to align the top of the avionics side support angles.  While at it, I wanted to make sure the stack was level with the panel. The panel was 0.2 degrees off level. 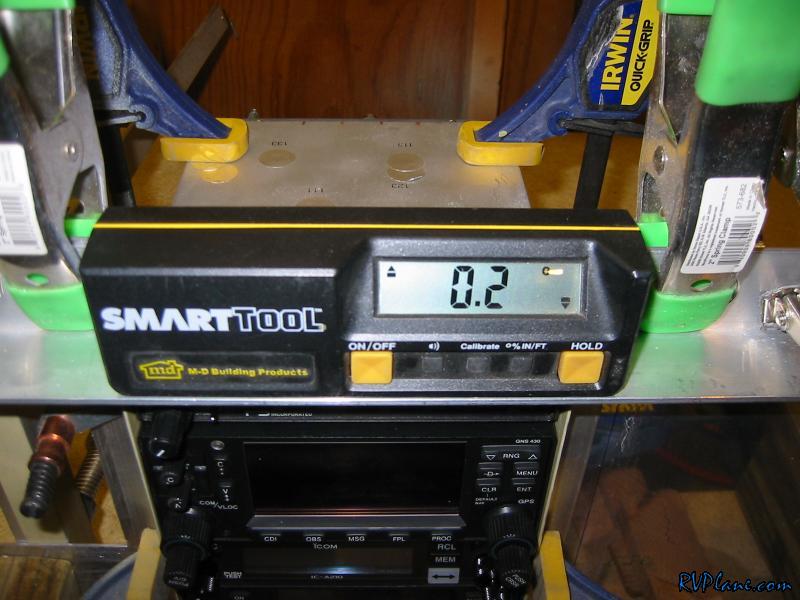 And so is the top of the avionics stack. That works for me. 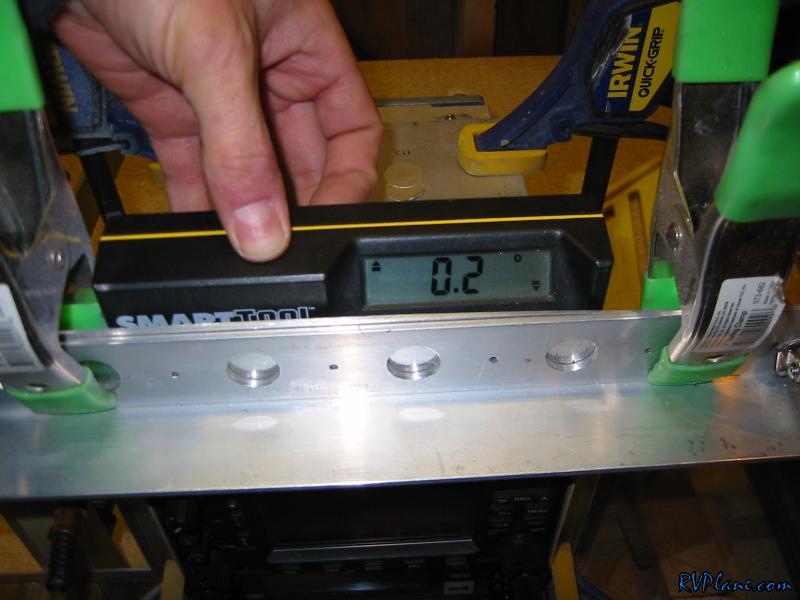 Well, it wasn't automatic. I needed to shim the bottom right of the transponder to get it right. It was pretty close, but why not make it perfect? 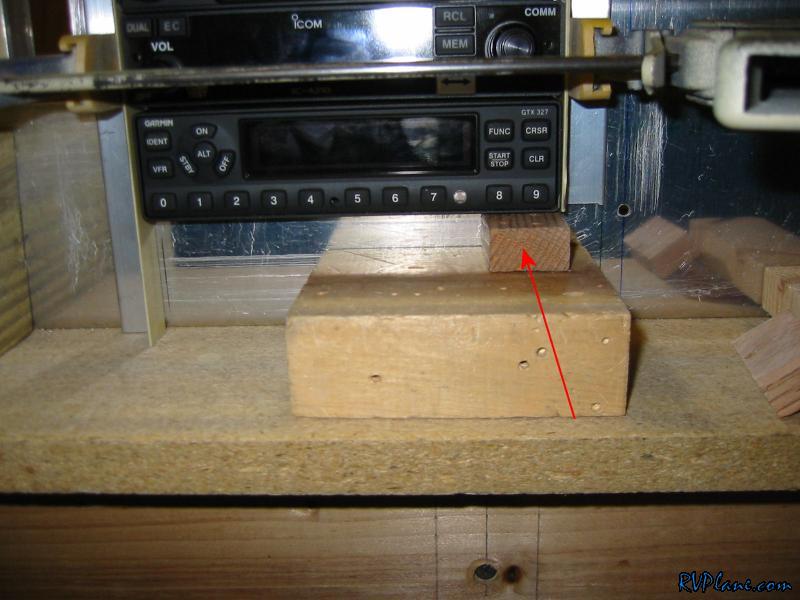 Next was the fun of backdrilling the panel using the side avionics stack angle. There is white underneath of the angle because I put a piece of paper there to deflect any metal chips could enter into the avionics when I drilled. 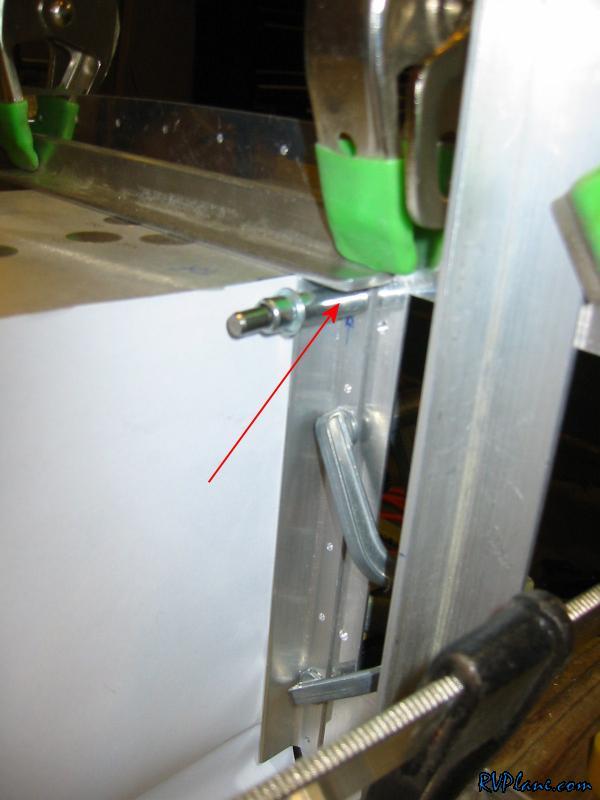 Using a 12" #40 bit I drilled the top and bottom holes. I went VERY VERY slow to cause the least amount of metal to be flung. Worked well. 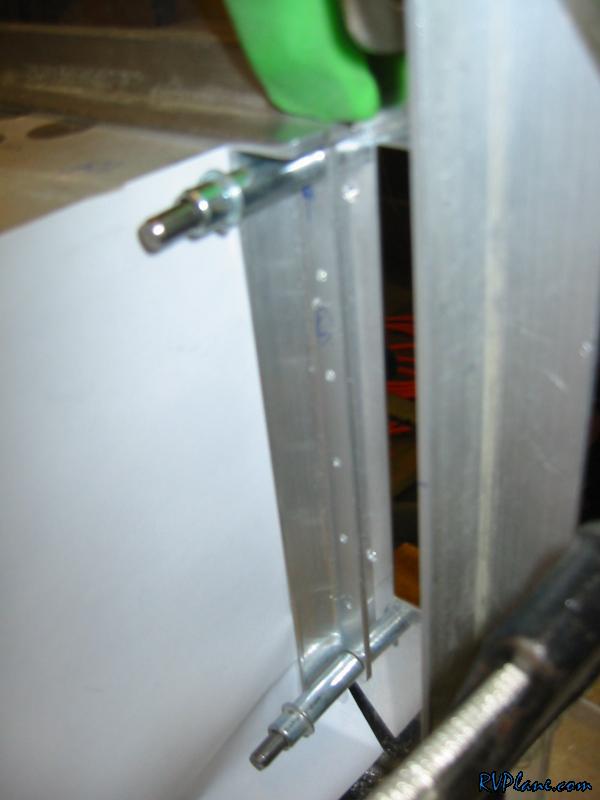 The right side angle was a little more difficult to clamp. I didn't have any clamps that would go around the panel and reach. So I needed to clamp to the other side of the avionics stack. These Irwin quick clamps are OK, but not 100%. The angle ended up drifting down about 1/64 - 1/32" during the drilling. Kind of sucks when I was trying to be so precise, but nothing I can do about it now. It's not like I am going to recut the panel because of that! 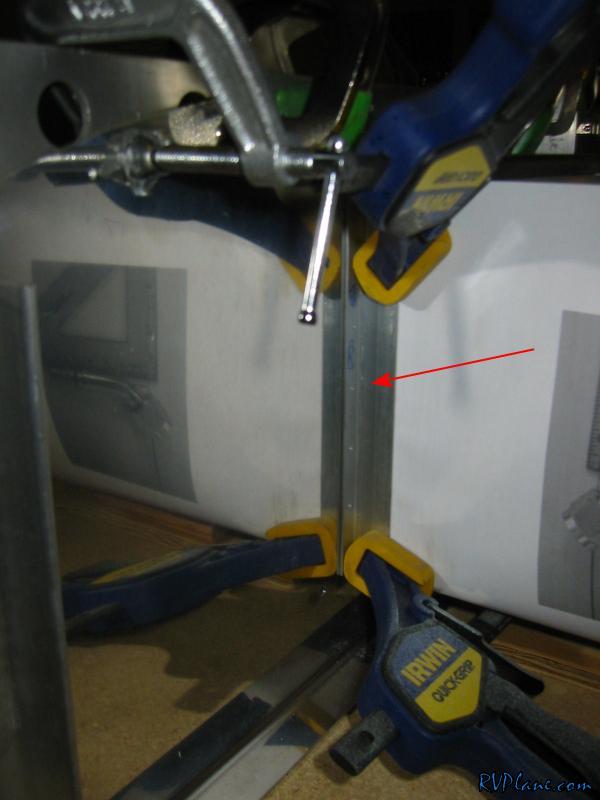 I removed all of the avionics and trays and backdrilled the rest of the holes with a normal bit. 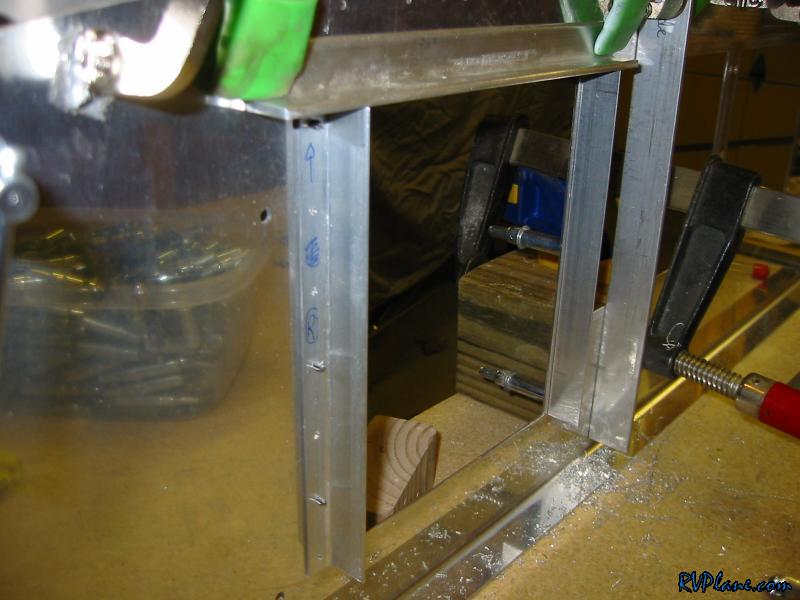 Next I deburred all of the holes and vaccuumed up all of the metal. I then reinstalled the trays. I really like the way this shot looks. It looks like I am getting to the end of this hole! 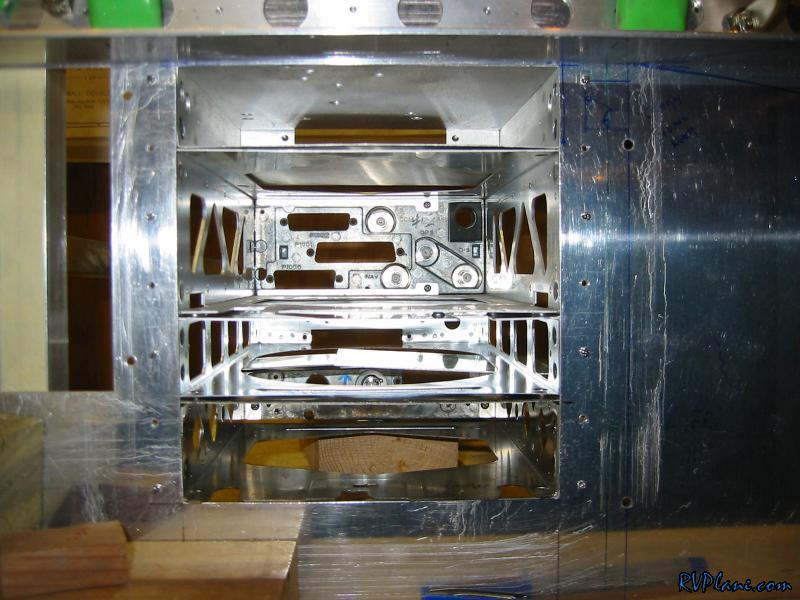 Another shot. 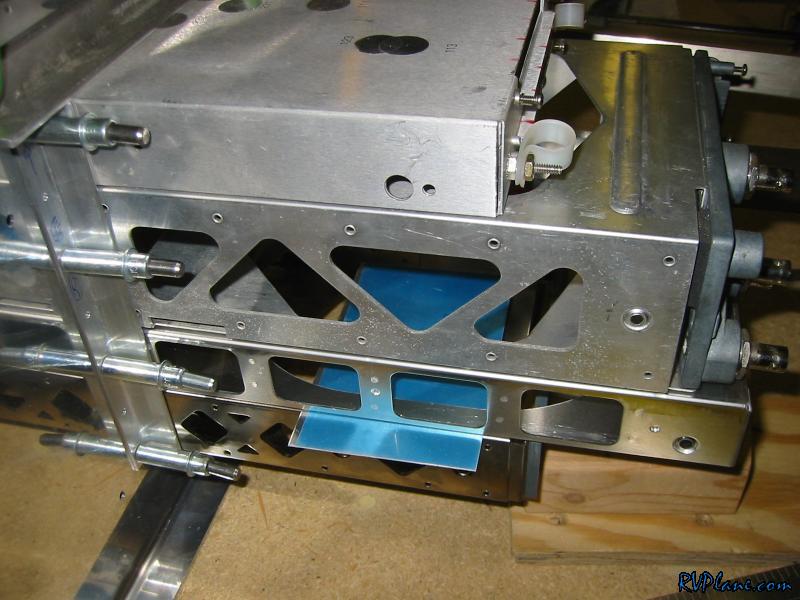 I used to carry my avionics inside one by one, too scared to carry all of them at once because of dropping it would be catastrophic. So, I took the box from my 430 and put all my avionics in them. It not only serves as a great way to transport my avionics in and out of the garage, but the avionics can also "hide" in the box while I am drilling and making other havoc causing metal shavings. 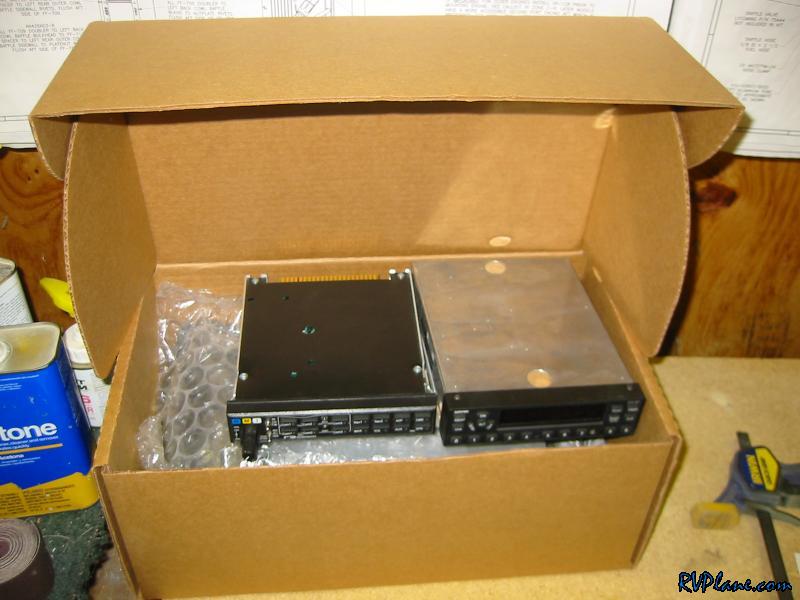
|
|||||
|
http://RVplane.com |
Last Modified: August 13, 2023 |