
|
 |
||||
Another great night in the shop. I felt like total crap today at work with my cold, but when I got home I felt a lot better. In no time the garage heater was warming up and my mind was 100% RV. One of tonights goals was to get working on the elevator servo which controls the trim tab. I needed to extend the short wires that come with it. I remember Dan Checkoway putting DB crimp male and female connectors on the servo and extension wires and then shink wrapping them all. Genius! That is exactly what I did. 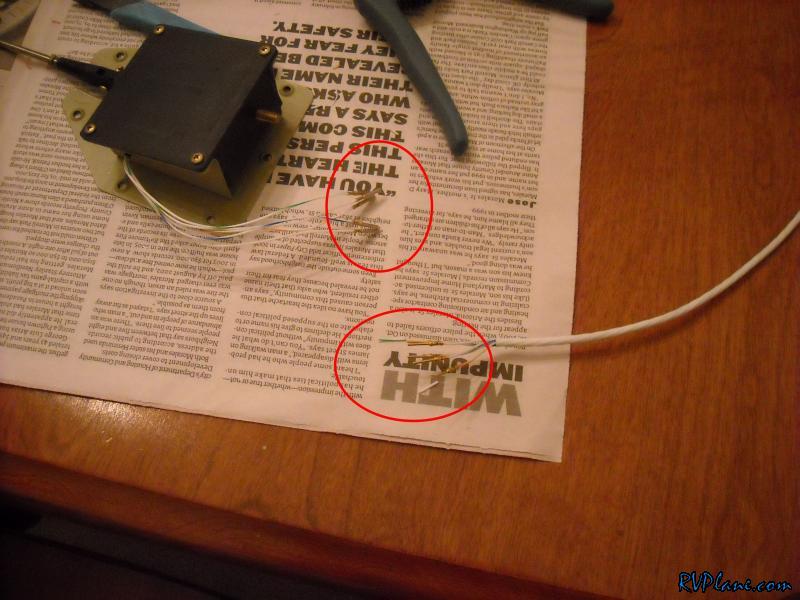 Here is the end product. All of the individual wires are shrink wrapped, then a piece over the entire bundle. Super Secure. 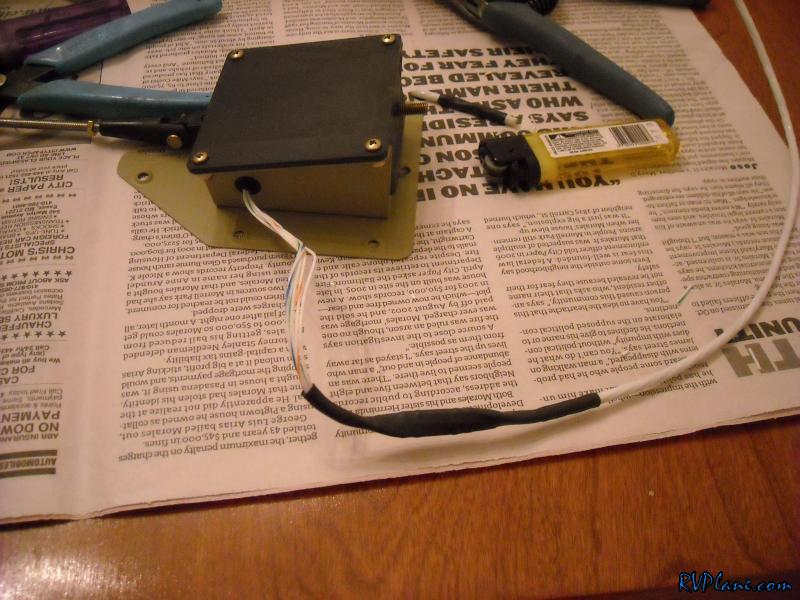 I cracked off the empennage fairing tonight. It wasn't stuck all that bad to the empannage, but enough so it made a nice CRACK sound when it came off. I am going to call that precision. The sides were a little flimsy, and thats because of how I bonded the old and new together. To fix this I installed some flox on the gap between the new fiberglass and the old fairing. Once this dries it should be ROCK solid. 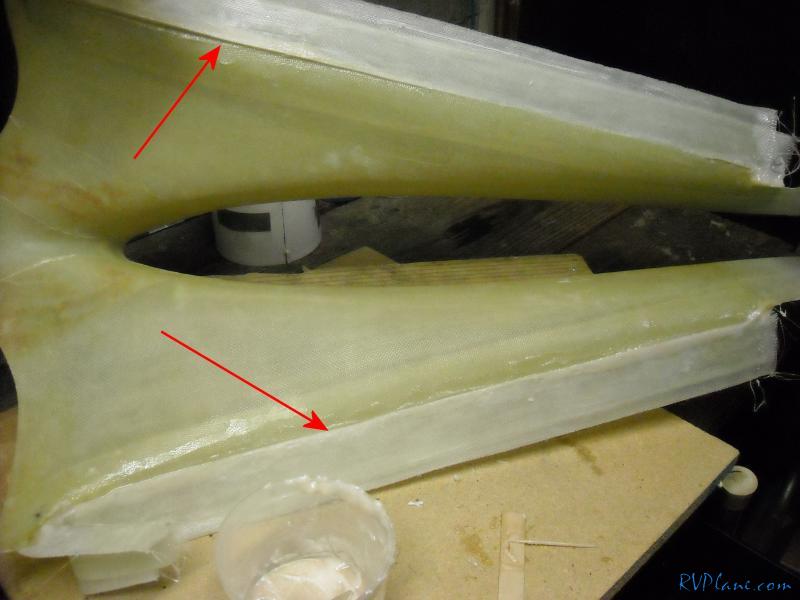 With my work inside completed (I did the fiberglass stuff in the basement -- no need to get cold) the garage was warm enough to work in. I installed the canopy latch system. Went in pretty easy and the cotter pins weren't that bad to install. All I need to do to finish this is paint the yellow handle that comes from Van's gloss black. I guess I *should& of done that tonight but I forgot.  I turned my attention back to the elevator trim. I installed the left elevator and the trim tab, and inserted the servo. I needed to trim down the connecting rod to make everything fit. This is the neutral position. 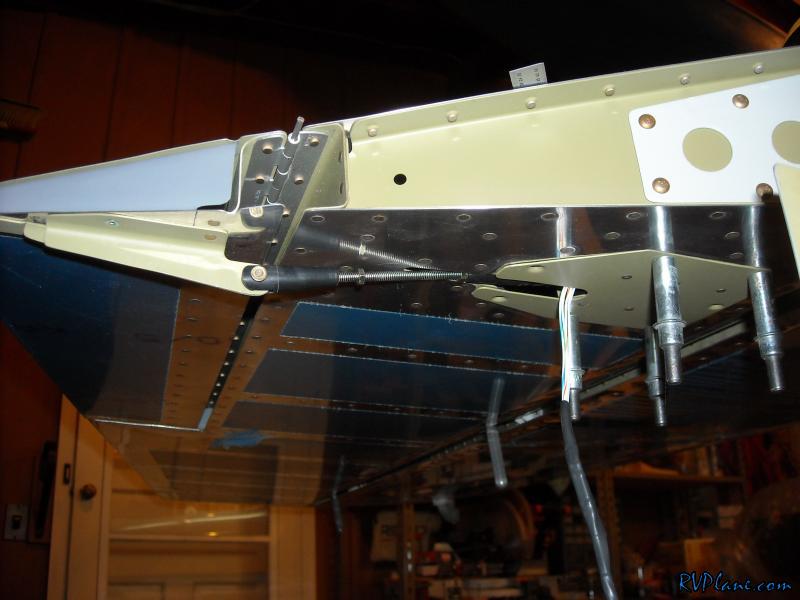 Full up (trim DOWN). 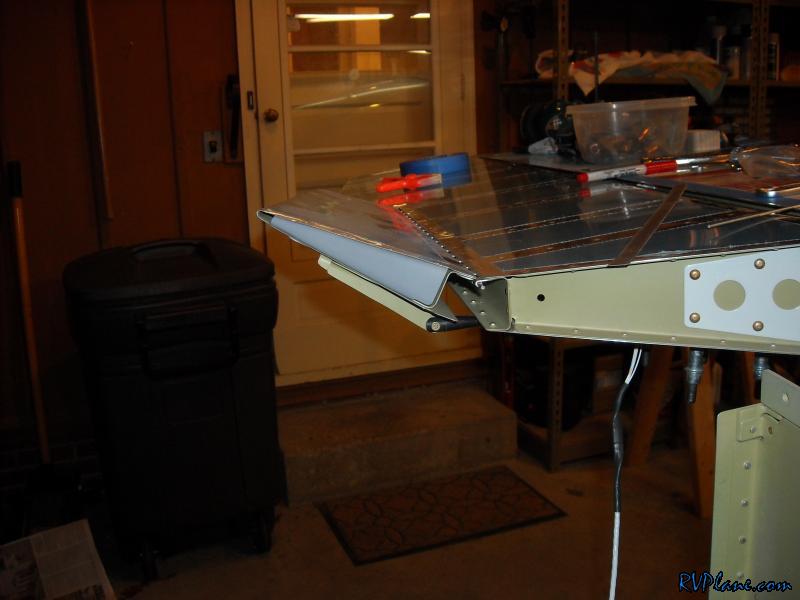 and full down (TRIM UP). 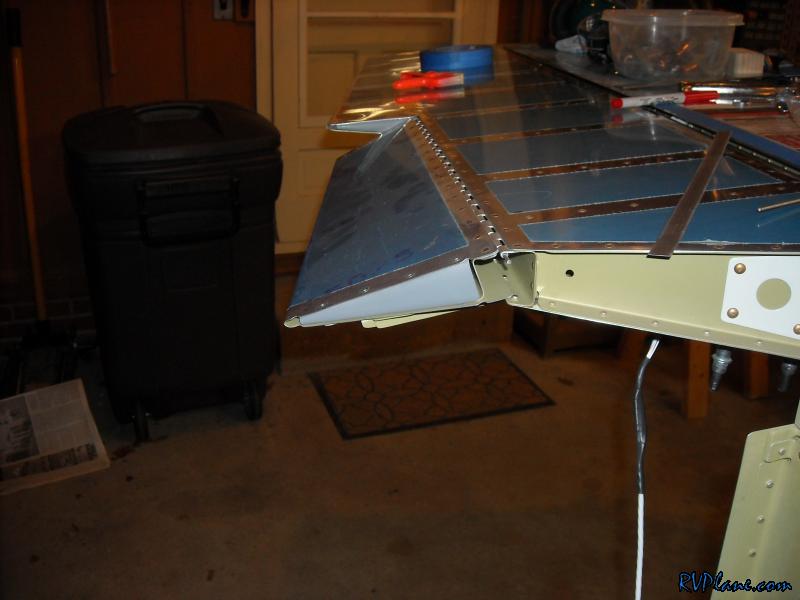 Next was to finish wiring the trim servo. Only problem is the wire for this is on the bottom of the fuse. I used two adel clamps to secure it to this bulkhead (I forget the nulkhead #). I like adel clamps instead of the nylon sticky clamps for places that go around surface control rods because they are mechanically attached. If I used sticky pads instead, that could come undone and rub the elevator pushrod. Perhaps it could be bad. All of these were particularly difficuly to do because of the limited space in here. I routed the ELT Coax line up here too because I am planning on putting the ELT antenna under the empannage fairing. 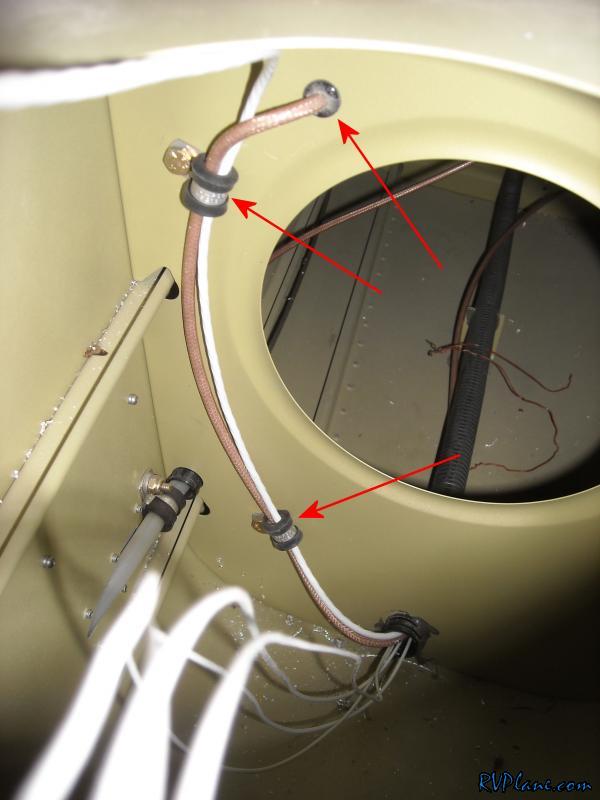 The ELT antenna wire was secured and ran forward here. 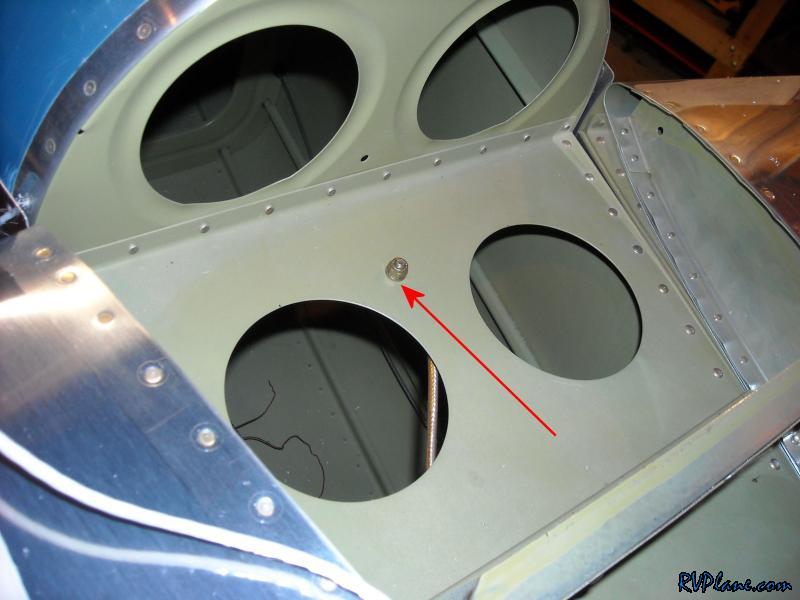 A worthless shot of the bottom of the above pic. 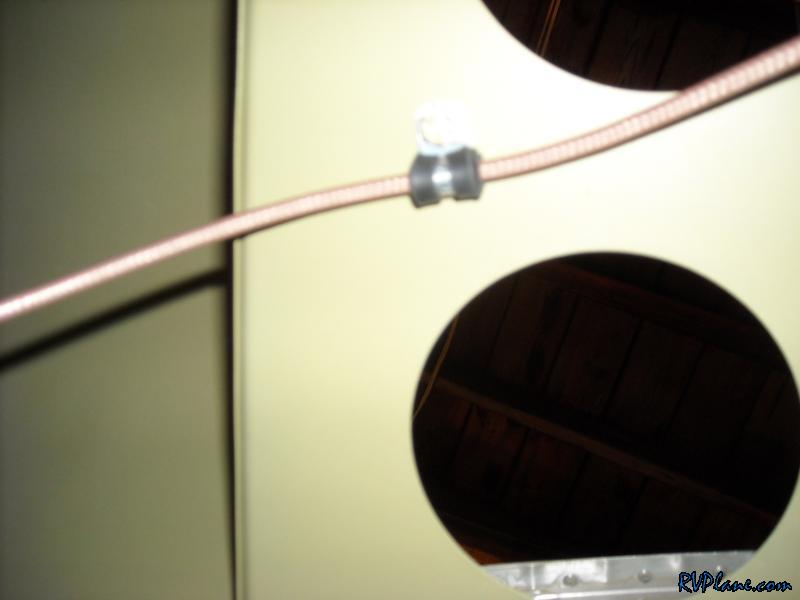 Finally I installed a sticky pad on the underneath of the read deck for the trim wire. I don't mind using these pads here, because if this fails it won't interfere with any controls. GREAT NIGHT!!! 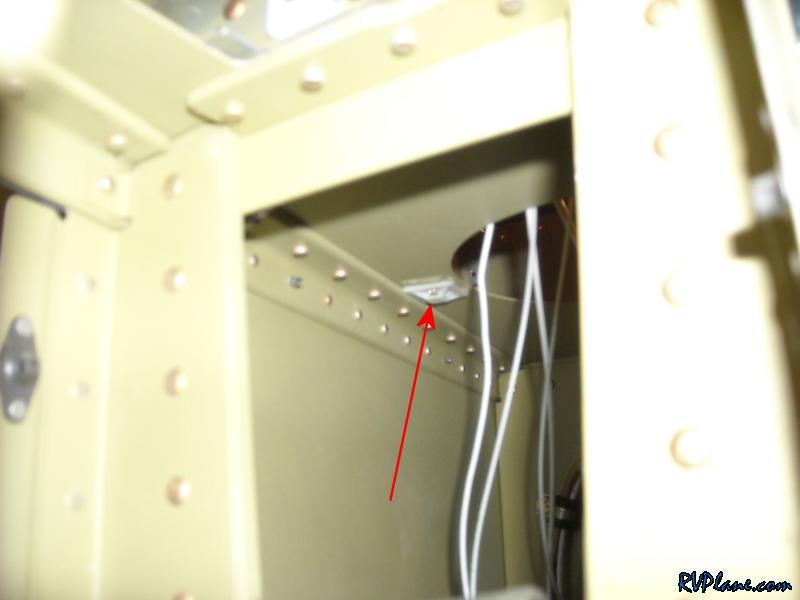
|
|||||
|
http://RVplane.com |
Last Modified: August 13, 2023 |