
|
 |
||||
Before I worked on the project today, I did something I hadn't done in a while -- fly an actual plane. While I could of gone out and rented a good old 172, I am not that man anymore...I am a taildragger man! I haven't flown since 8/20/2006 - the day I got my tailwheel enforcement. So my flight school wasn't about to let me take the old bird out without someone in the backseat. When I got into the plane, it all came back to me. My first landing was awesome. After the second landing, my flight instructor said I didn't need him anymore, so I let him out and did some more pattern work solo. It felt good to get back into the air, and it felt even better performing well after taking a while off. 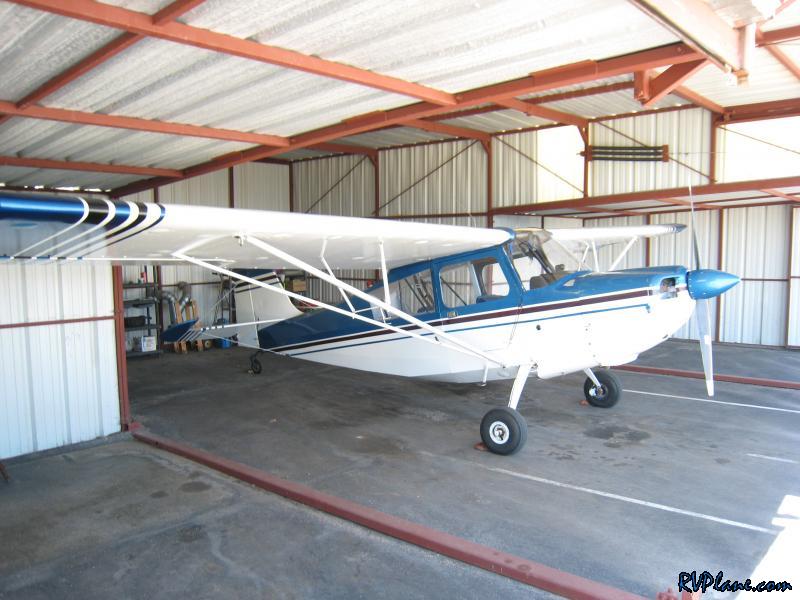 I fabricated the seatback spacer and another alclad part that needed to be bent 4 degrees. I needed to head out to the store, I so took this with me to work and used the bending brake at work to bend it perfectly.  Next I drilled everything to the top of the bulkhead. Man, you are really treated well in the empennage and wing instructions. On the fuse you don't even get some stinking measurements. I think it Van's doesn't tell you specifically the measurements, they expect you to center it. 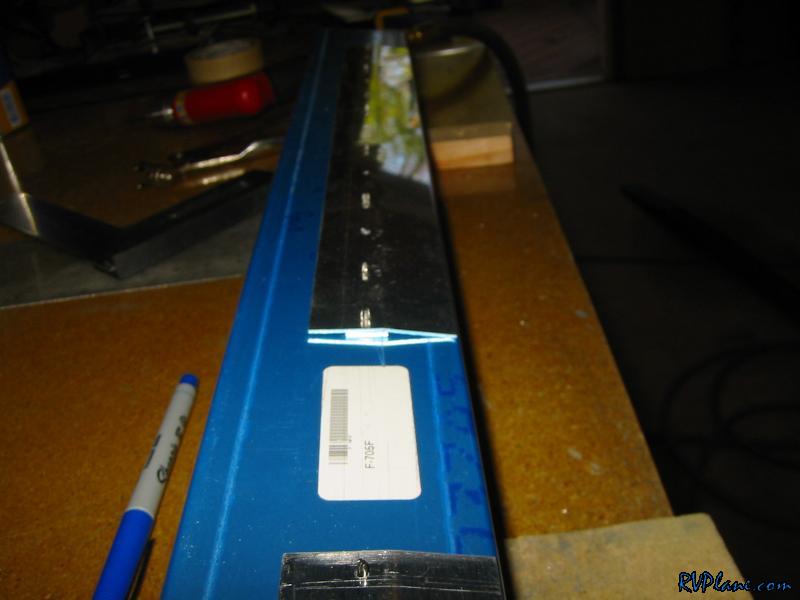 There is an angle you need to fab and drill that goes on the back of the top bulkhead. I drilled the first and last hole and used my rivet spacer to drill the other 7 holes. This is the first time I have really used this, and it makes layout a breeze. 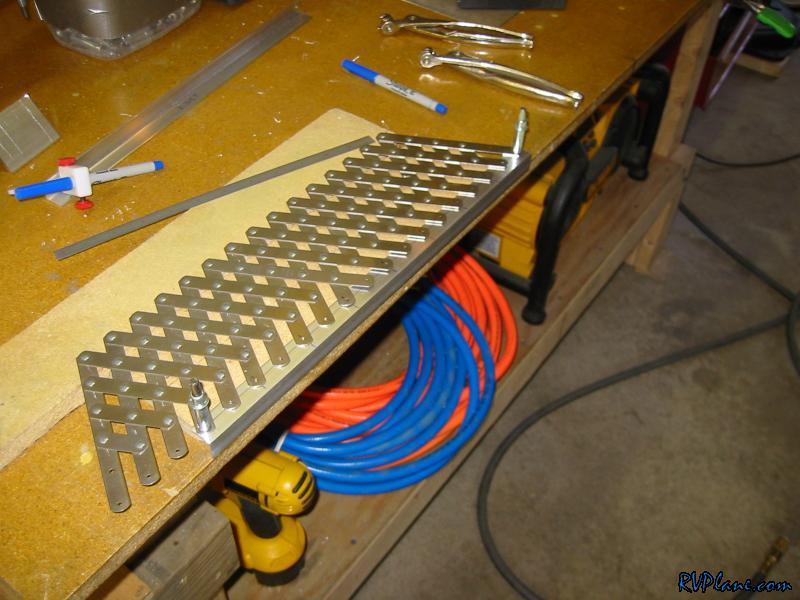 All 9 holes drilled. Took no time! 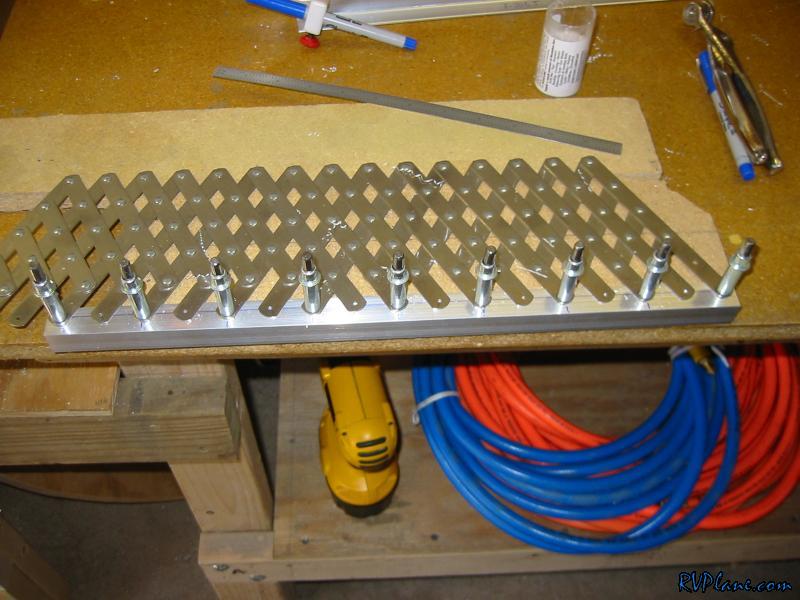 You need to space the angle 1/8" off the top of the upper bulkhead. I found some scrap 125 thick scrap that acted as the perfect spacer. I clamped it to the upper bulkhead.... 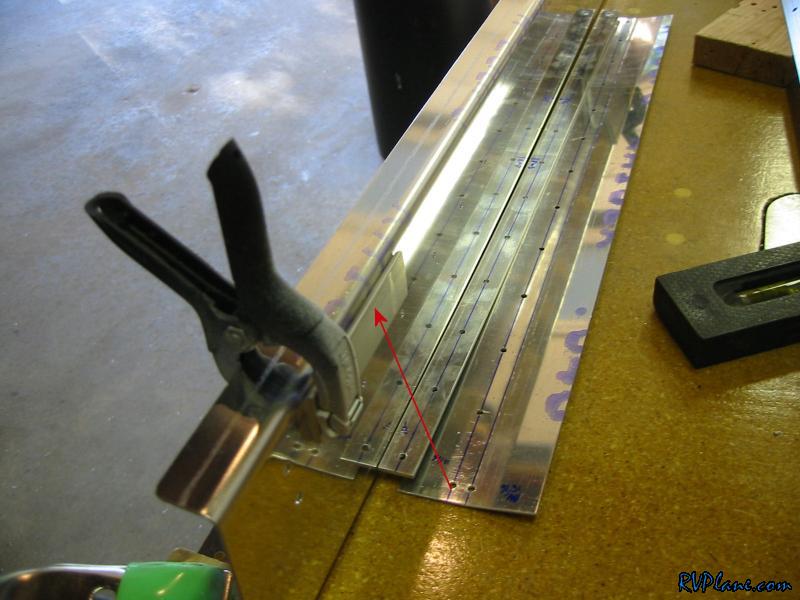 ...then drilled the angle. Easy easy easy! I can't believe that it took so much time to get all of this seatback work done. 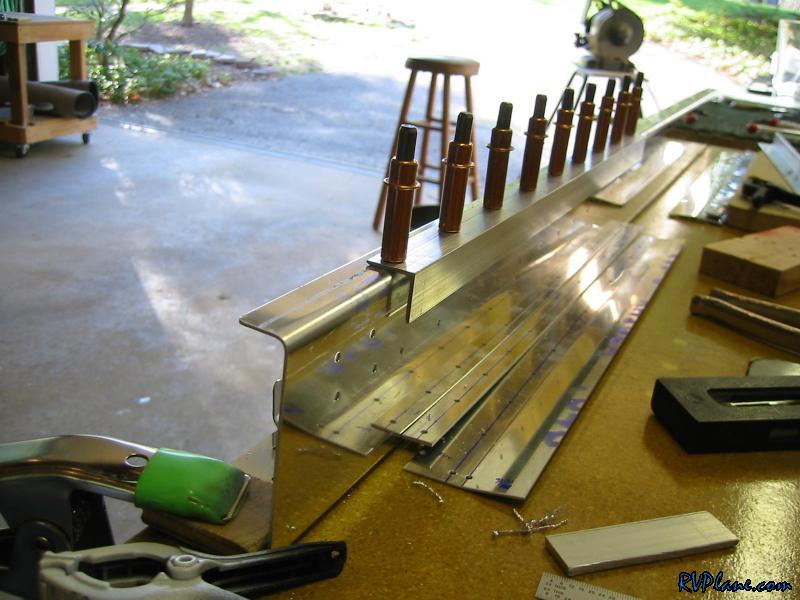
|
|||||
|
http://RVplane.com |
Last Modified: August 13, 2023 |