
|
 |
||||
Tonight I had my first exposure to the dreaded pro-seal. Before the fun began, I drilled out my rv project kits trailing edge to experiment on. I figure I could master the pro-seal as well as re-learn the riveting technique on this before the real thing. First things first, I got everything together. ProSeal, Cauk Gun, paper (I used the paper that everything in the empennage kit was wrapped in), clecos, MEK, rags, respirator, gloves, more gloves, ventilation, applicator. For the applicator I had a popsicle stick that I cut one of the ends off. I also heard of someone using a short brush with a lot of success. I found a brush and cut all but 1" of the bristles off. Next, after I went through everything in my head, I mixed the pro-seal up. Pretty easy. Dispense the black stuff evenly into the white stuff, and mix for 50 pumps while rotating. You want to rotate is clockwise, because counterclockwise will unscrew it and cause all kinds of problems. It wasn't that hard. My temperature was around 60 degrees in my shop at the time of the mixing. Once mixed, I placed the cartrige into a cauk gun and made a small pile in a paper cup I cut down to about 1-1.5" tall. Stuff wasn't all that bad. Thicker and gooier than cauk, but same effect if you don't manage it right - it goes all over the place. I started with dabbing the brush into the sealer and brushing it onto the edge piece of the practice kit. The brush worked OK, but not great. Then I tried the popsicle stick. That worked fantastically. I put a line of pro-seal down the edge of the edge, then spread and smoothed it out with the popsicle stick. Very nice. Next was onto the main event. Enough practice! I first put a liberal dab of sealer on each trailing edge of the stiffeners - top and bottom. The deal with this is supposedly the stiffeners can vibrate against each other, or more likely the rivet shop heads and cause cracks in the rudders trailing edge. Most common solution to this is drilling the cracks to prevent them, then drilling again to put sealer in the rudder. I would rather not do this. Then I spread the stuff on the wedge. I started at one end and worked myself up each side of it - 4" on one side, flip, 4" on other side, flip, etc.. I did it all the way until the end when mu gloves were sticky as hell. Then I went over the hole thing to spread it out evenly. There wasn't a thick coat on it. No more then 1/64" I would say. Just enough that there was even coverage. You will get a good feel for it with a popsicle stick. It leads the way to easy street. So the wedge is pro-sealed, I then slammed it into the rudder and popped out everything I had to keep the rudder spread open. I put in a cleco at either end just to check alignment. Next I clecoed on the aluminum angle to the rudder with the first and last cleco first, Then I put all the rest of them in, making sure that the trailing edge hung off the table as Van't tells you to. Finally was clean up. I tried a rag with MEK on it, but that seemed to just make more of a mess than I started with. I didn't have that much leakage, just a little here and there. I went upstairs and got some Q-Tips and used those. They made the job easy for two reasons. I MEK's one end, cleaned what I could until it wa sjust dragging sealer, took a wire snipper and cut off the one end of the Q-Tip, then use the other end to do the same. I snipped the one end off because I didn't want MEK soaked sealer all over my gloves. Plus I am cheap and wanted to get every inch out of the Q-Tips. The other great thing about this is I didn't have anything that was soaked in MEK touching my gloves. Finally, I got a MEK soaked rag and wiped down everything to get the rest off of the skins. I checked everything out and I am thrilled with the results. Cleanup was easy - I just rolled everything up in the paper and tossed it. Somehow the cauk gun is stuck to the ProSeal tube. I couldn't seperate it to save my life. I am going to let this stuff dry and I will cut off the ProSeal cartridge later on. I accidentally got some proseal on my skin while checking everything. Normal soap didn't take it off for me. I used Lava soap and that worked well. RV Trailer with the trailing edge drilled out. 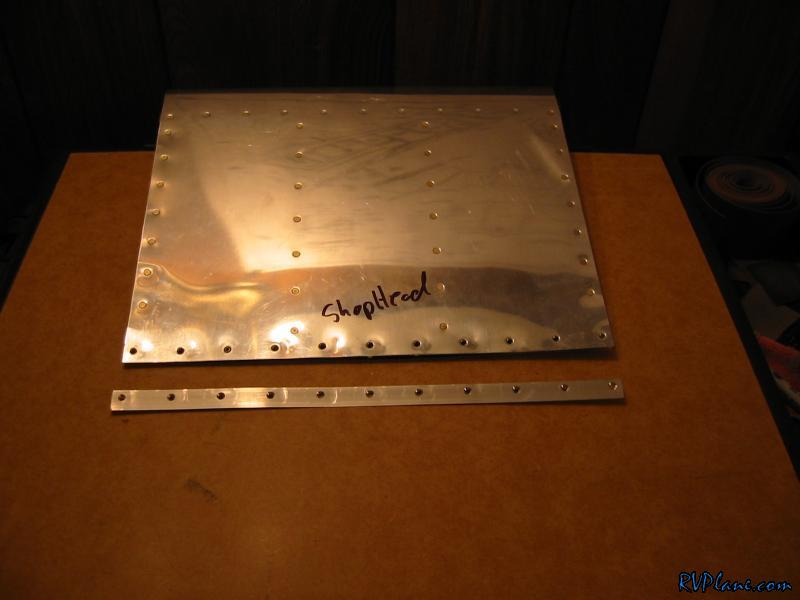 Everything layed out and ready to go. 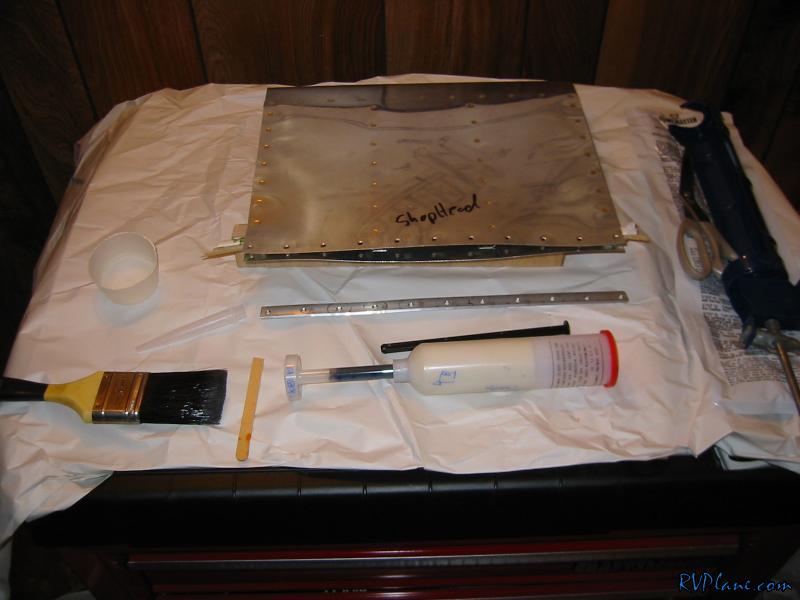 This is how I trimmed my brush. I figured that if it was a great idea, it would be nice to fully document this. This thing didn't work nearly as nice as the popsicle stick for this job. It did work well, and I might use it for the tanks, but not here. 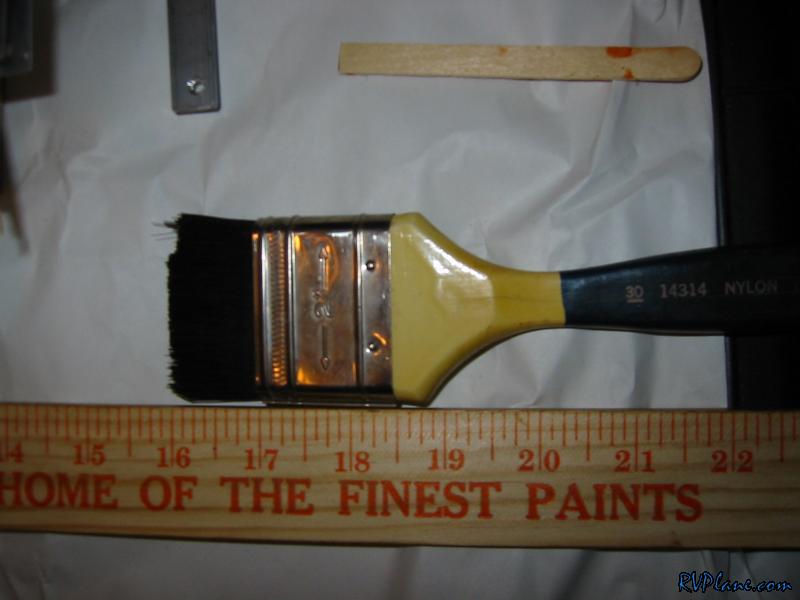 Pro-Seal mixed up. 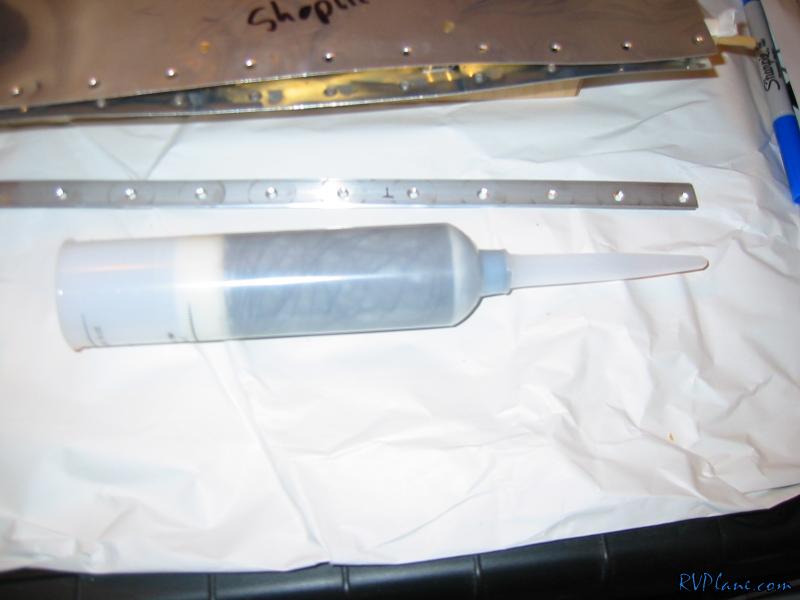 Pro-Seal ready to dispense. 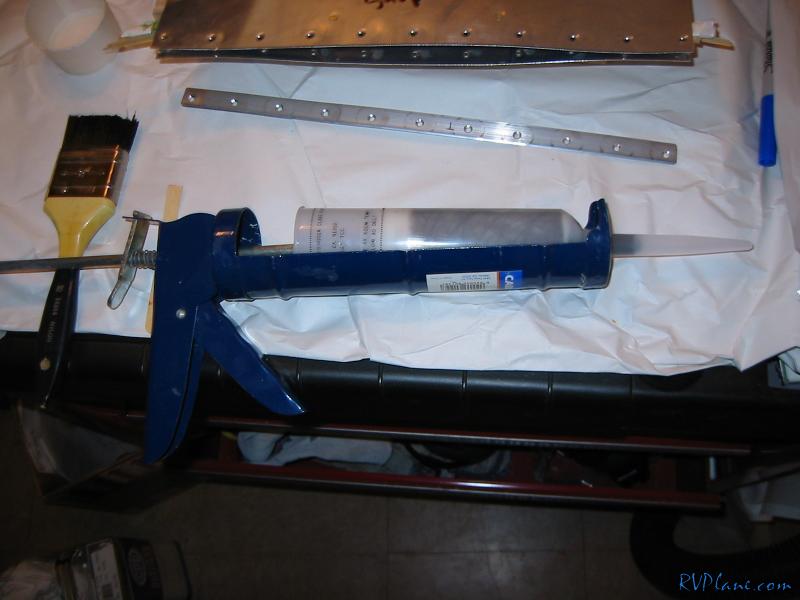 My test piece with the brush. Coverage was excellent. My concern was uniformity and leaving buldges in the trailing edge. I can see this method working very well for the tanks though. 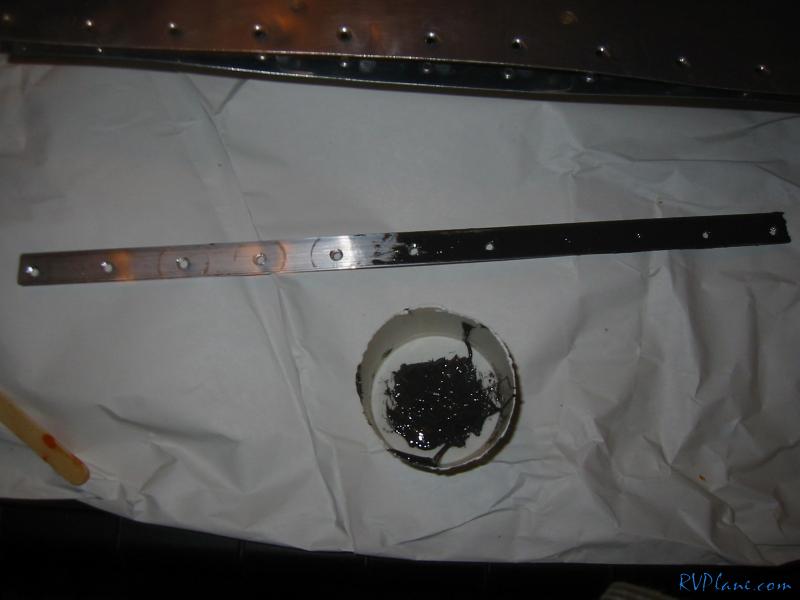 This is how I was applying the sealer to the brush. Cauking it right onto it.  Next I gooped the trailing edge rivets on the stiffeners. 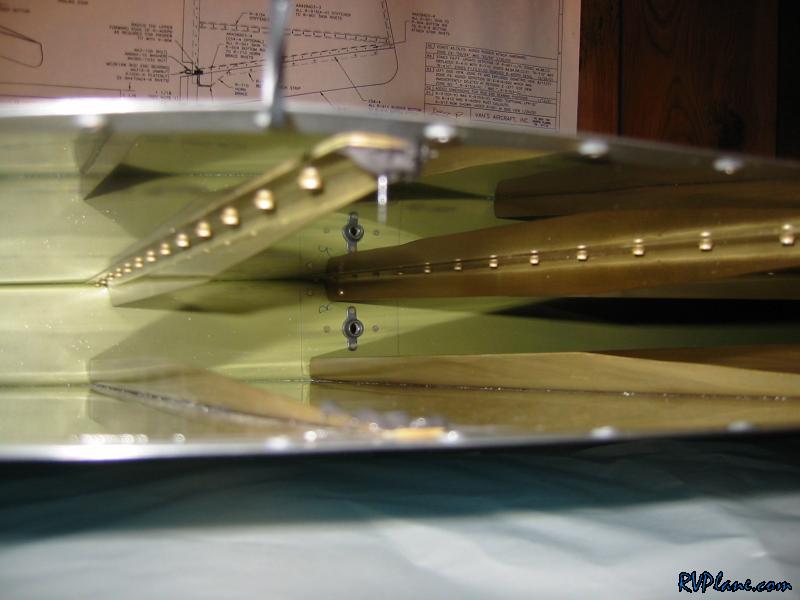 Everything cleaned up. Note that you have to leave the trailing edge (and aluminum angle) hanging off the end of the table to allow the edge to set straight. Elevating it up on a table could cause a bend...sure. 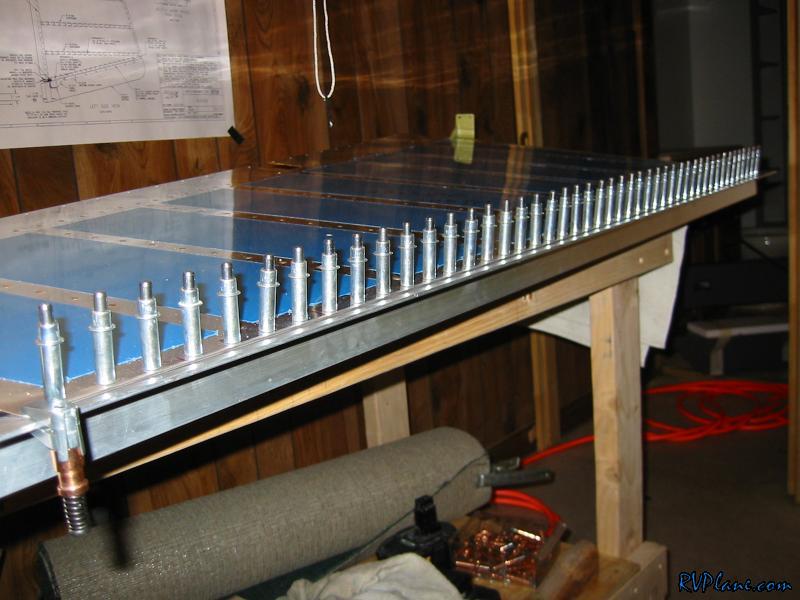 This is how the whole trailing edge looks. Beautimous! 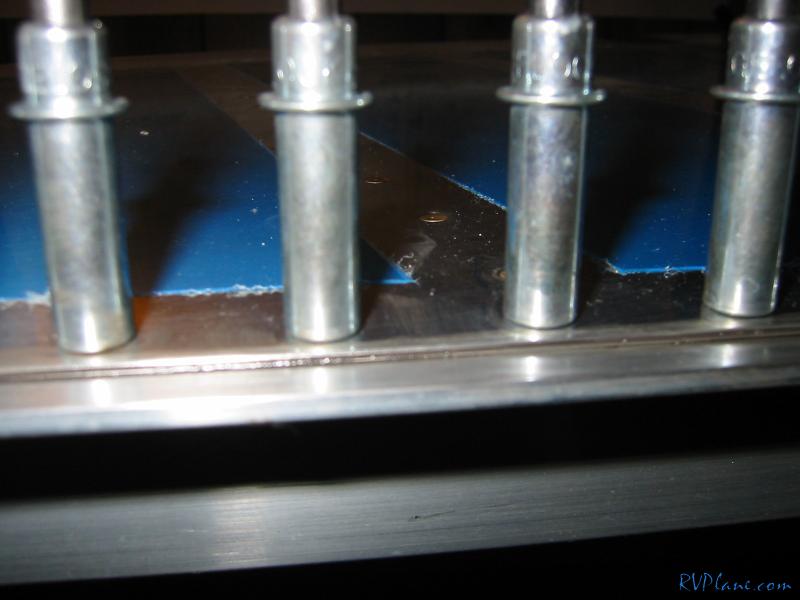
|
|||||
|
http://RVplane.com |
Last Modified: August 13, 2023 |