
|
 |
||||
Lots of deburring the dimpling. I got through everything for the skeleton for the elevators and trim. Its rainy out today so I may get motivated and clean the parts, alumiprep and alodine, but who knows. Definitely no priming today as weatherbug is telling me about the 100% humidity. When it came to dimpling the trim system access plate, I dimpled the forward 4 holes and countersunk the trailing two. The servo has basically no clearance with this plate on the trailing side. If I had a dimple and rivet, I would have interference issues. With the countersink I will use a shorter rivet and hit it a few more times to get the clearance I need. I have seen other people make shims for the servo to raise it slightly to accomodate this rivet. Trim plate with the back 4 holes dimpled and the front 2 countersunk. 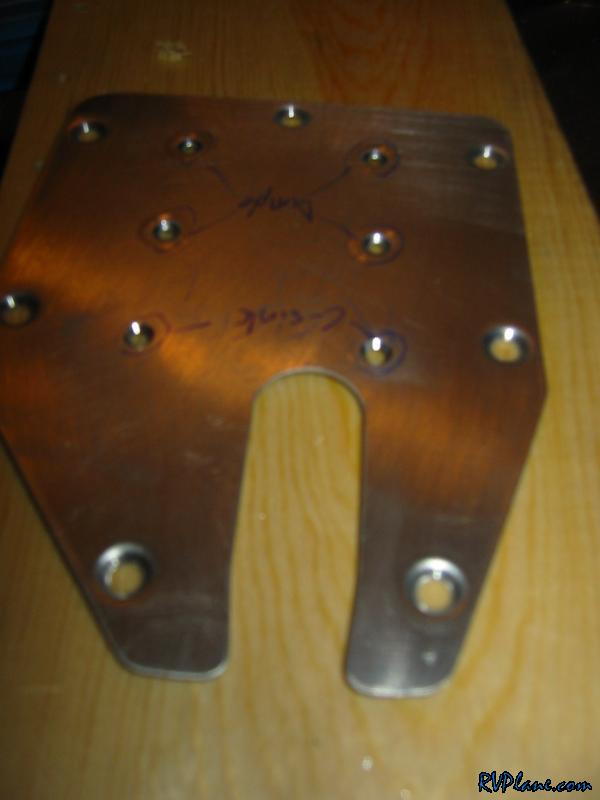 I took pics of where I scribed in the orientation of all of the parts. Its amazing how hard it can be to see this stuff through the primer. I think I am going to break out the old reliable blue sharpie on the parts because it will bleed through the primer. A little belt and suspender method for getting the parts on the right side. Out of all the the things I have learned on the RV, the priming method seems to evolve the most from each iteration to the next. 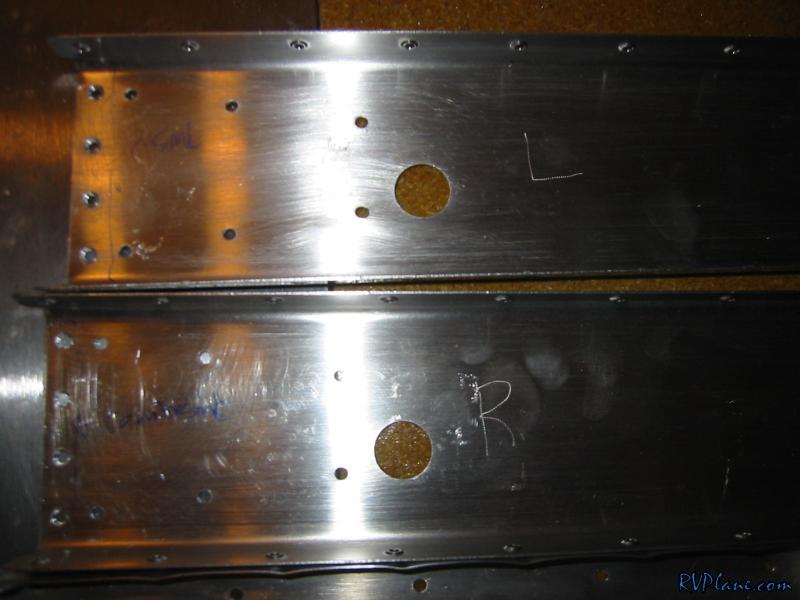 More parts labeled. 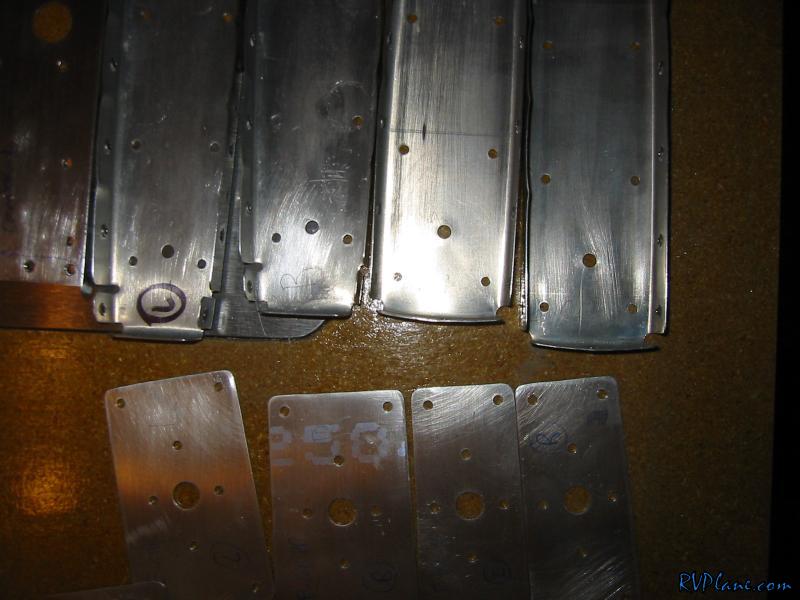 The last batch of labeling 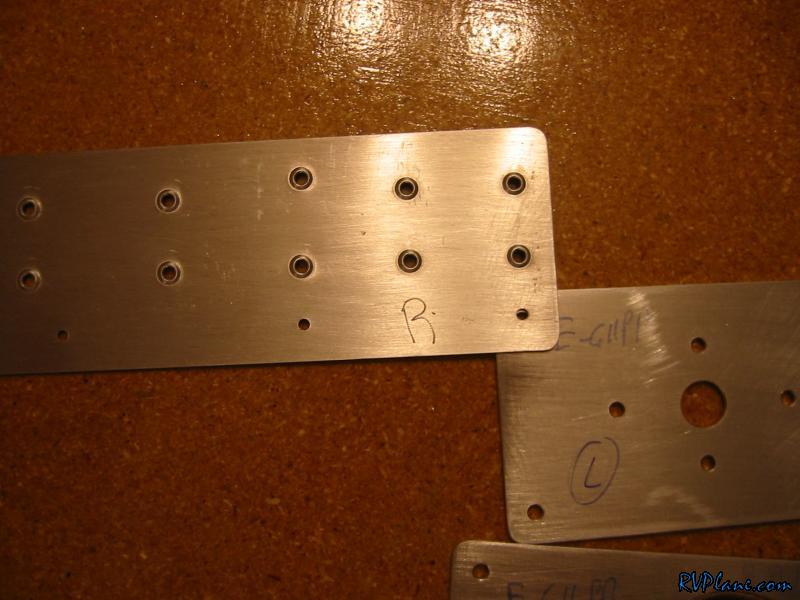 This is everything ready for the priming process. 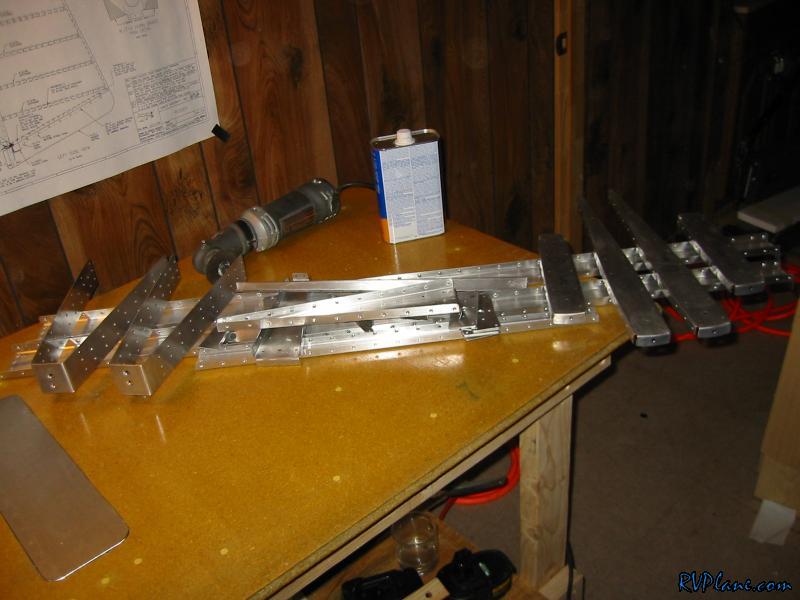 I was able to alumiprep and alodine everything today. Here is the short stuff that I could submerge in alodine. 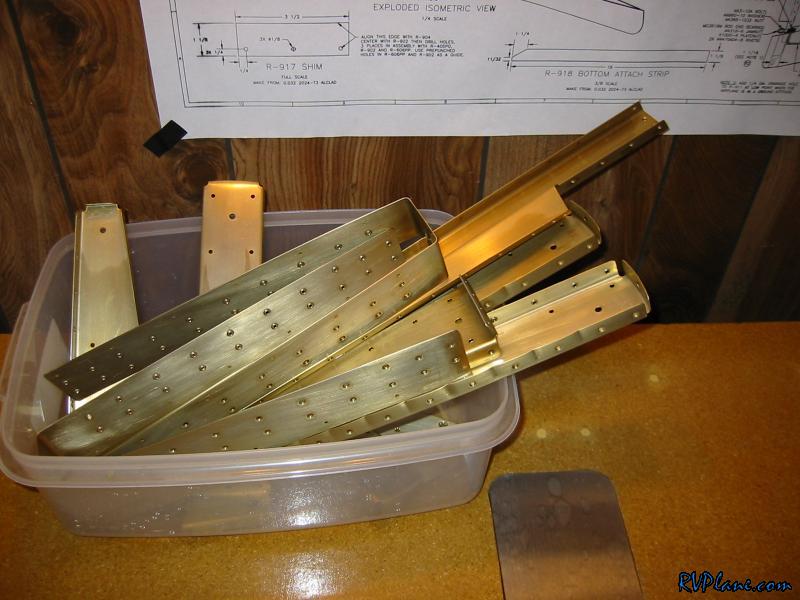 The rib (top) was submerged in alodone, while the spar (bottom 2) were brushed on. You can see how much more of a thorough coverage the submersion method works. The brush on method is somewhat spotty. 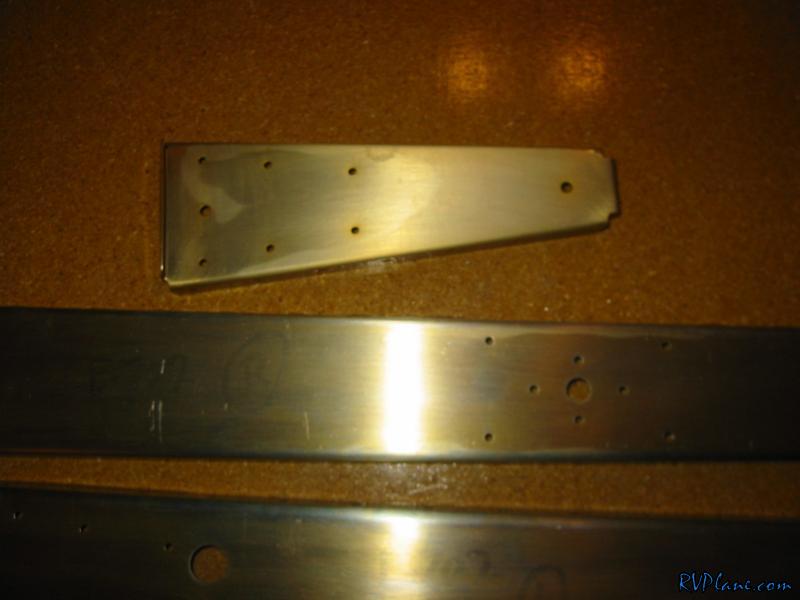 Everything drying. 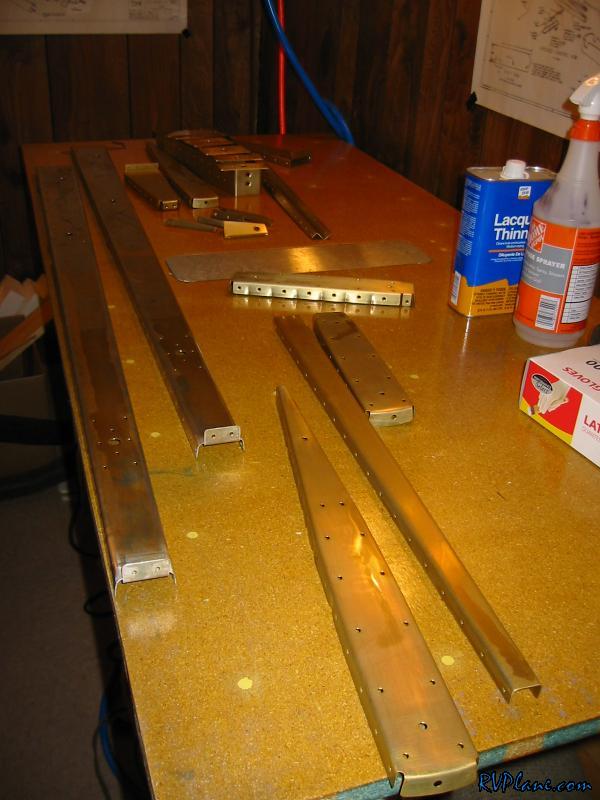
|
|||||
|
http://RVplane.com |
Last Modified: August 13, 2023 |